My sourdough starter gets weekly “feedings” to keep it healthy and active. This recipe for Sourdough Pretzel Buns is a great way to use starter that I would normally toss out, in order to feed it. The bread turned out tender with a perfect “crumb”. These are perfect for hamburgers or as sandwich rolls.
Sourdough is naturally leavened bread, which means it doesn’t use commercial yeast to rise. Instead, it uses a ‘starter’ – a fermented flour and water mixture that contains wild yeast and good bacteria – to rise. This also produces the tangy flavour and slightly chewy texture you’ll find in sourdough. Source
We love the “tang” of sourdough bread. A perfect sourdough loaf should be crunchy on the outside, with a bit of chew. Whenever we visit our Northern neighbor, San Francisco, a stop at the Boudin Bakery is a must. Their sourdough bread is incredibly delicious!
Bread baking is one of my favorite foods to make. I started out with the bread machine craze way back in the 80’s. Nowadays, a Kitchen Aid Stand Mixer is my choice when it comes to mixing and kneading dough. It’s a lot less elbow grease!
Sourdough is a fun variation in bread baking. There’s a bit of a learning curve, most of which I learned on King Arthur Flour. They have a really informative web page that answers ALL of your questions about sourdough baking here. You can make your own sourdough starter, or buy one from King Arthur Flour (that’s what I did). I’ve been feeding my sourdough starter for ten years. (I’ve named it Clint Yeastwood.)
One thing about having a sourdough starter is learning about the care and feeding of it. A portion of the sourdough starter needs to be discarded, before feeding it with fresh water and flour. It pains me to toss it, so I’ve been on the hunt for recipes that uses the discard. This one worked great!
Mixing the dough wasn’t difficult at all. The ingredients are basic AP flour, water, active dry yeast, sourdough starter discard, salt and a little bit of melted butter. Place the dough into an oiled bowl and allow to double for 60-90 minutes. I invested in a bread proofing box that keeps my bread dough at a steady temperature– winter or summer. It’s a little pricey, but I use it at least once a week. The dough proofed in one hour!
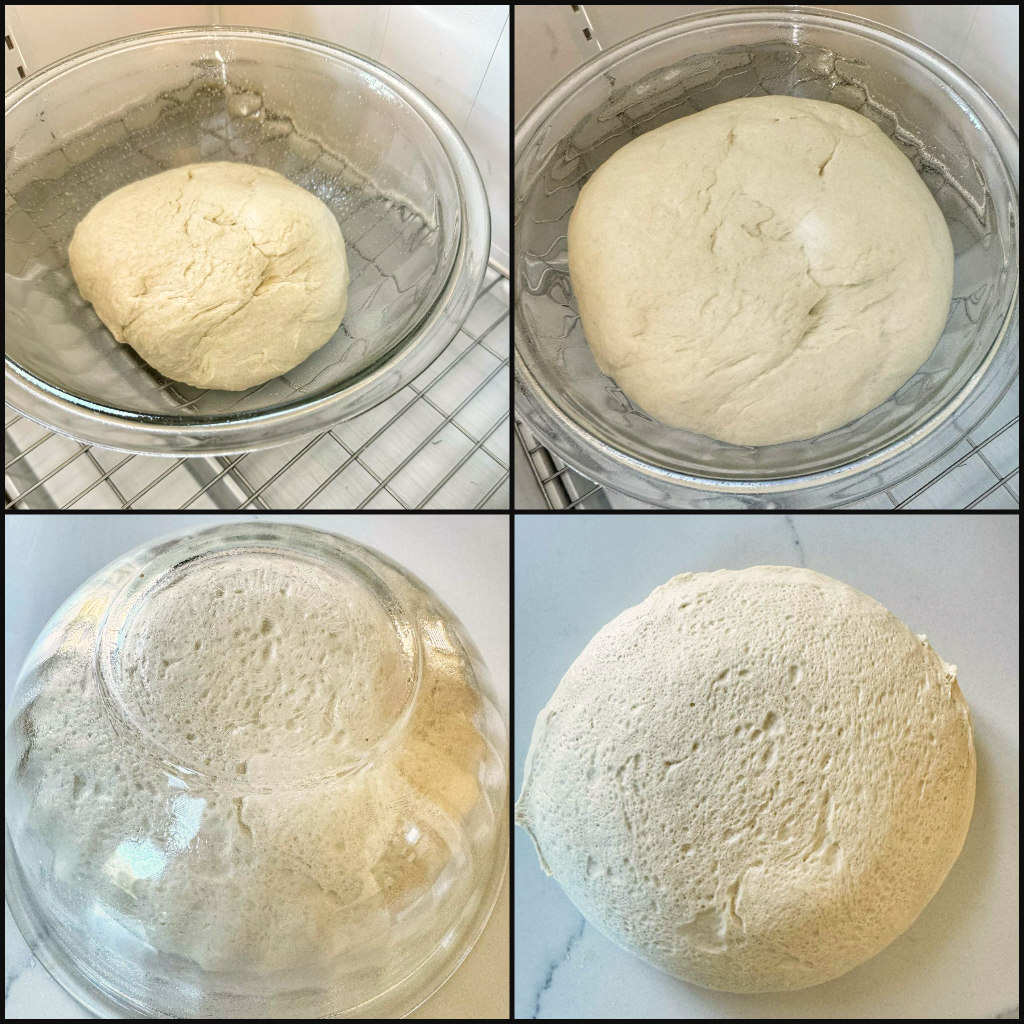
By flipping the bowl, the dough easily slid out. Nice!
Here is my favorite part (besides eating the finished product). Shaping! Bread dough is like edible Play Dough!

On a clean surface, a little bit of oil is prayed to prevent sticking. Divide the dough into 8 pieces. I decided to shape four hot dog buns and four round pretzel buns.
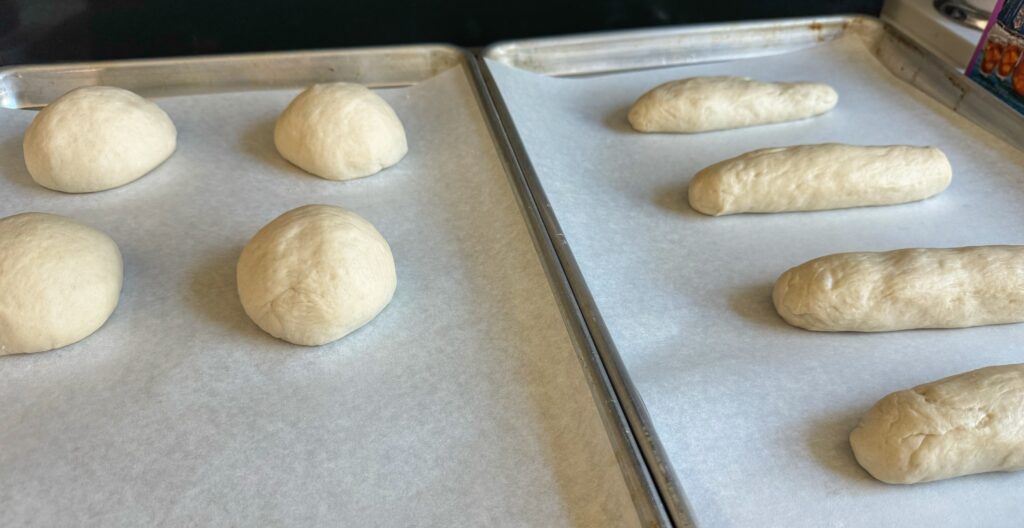
Place the shaped rolls on a parchment (or silpat mat) lined baking sheet, cover with a clean towel and allow to rest for about 20 minutes. In the meantime, preheat the oven to 450F and start a large pot of water and baking soda to boiling.
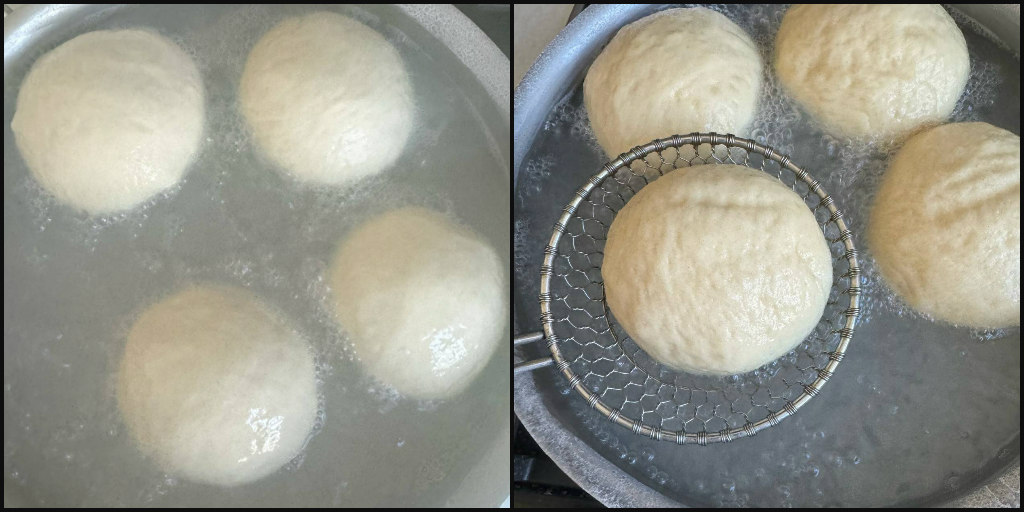
Gently add the shaped rolls into the boiling water for about 30 seconds. Remove with a slotted spoon or a spider. This is also called the “float test”. If the dough doesn’t rise, remove from the water and cover and allow to proof some more. As you can see, mine floated perfectly. Whew!
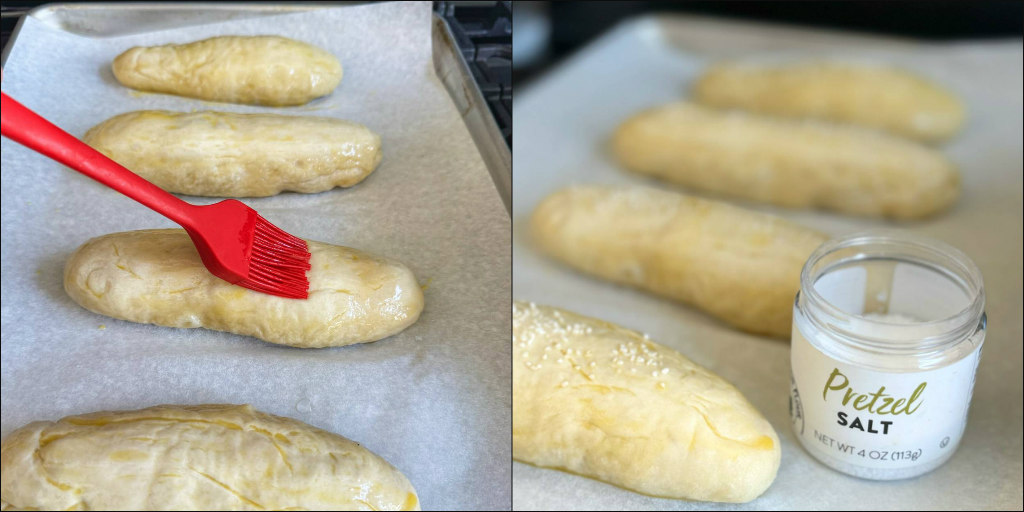
The oven is preheated, so it’s the perfect time to brush an egg wash and sprinkle with Pretzel Salt (or flaky sea salt).
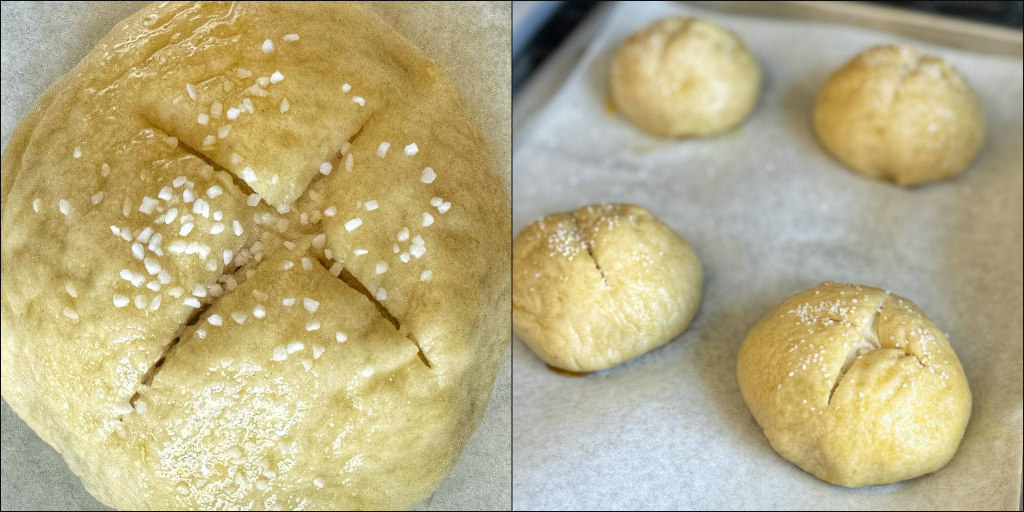
The final step is to “score” the rolls. Why? Steam needs to escape. I’ve used a sharp knife, but my recent purchase of a “lame” is helping to improve my scoring techniques.
Bake for about 15 minutes or until the buns have that classic dark brown color.
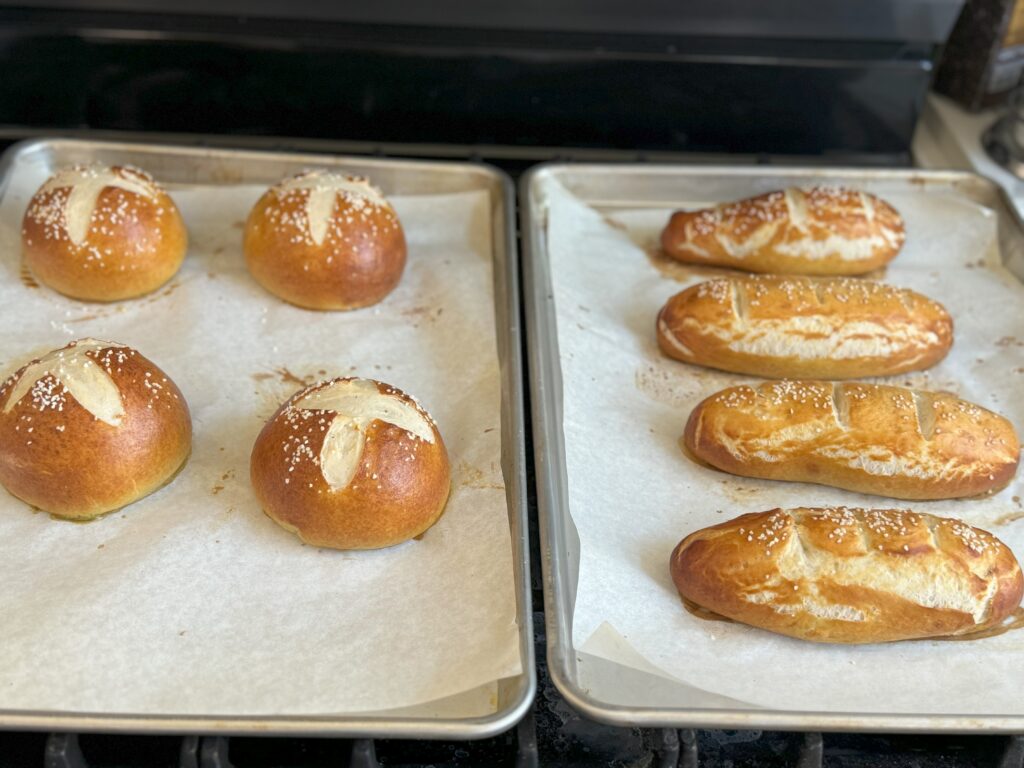
While I was happy with the color of these buns– the hot dog buns. Hmmm. They didn’t quite turn out as picture perfect as I had hoped. After searching for YouTube videos on shaping the buns, I learned some better ways to shape them. I’ll try again. (NOTE: They still tasted delicious)
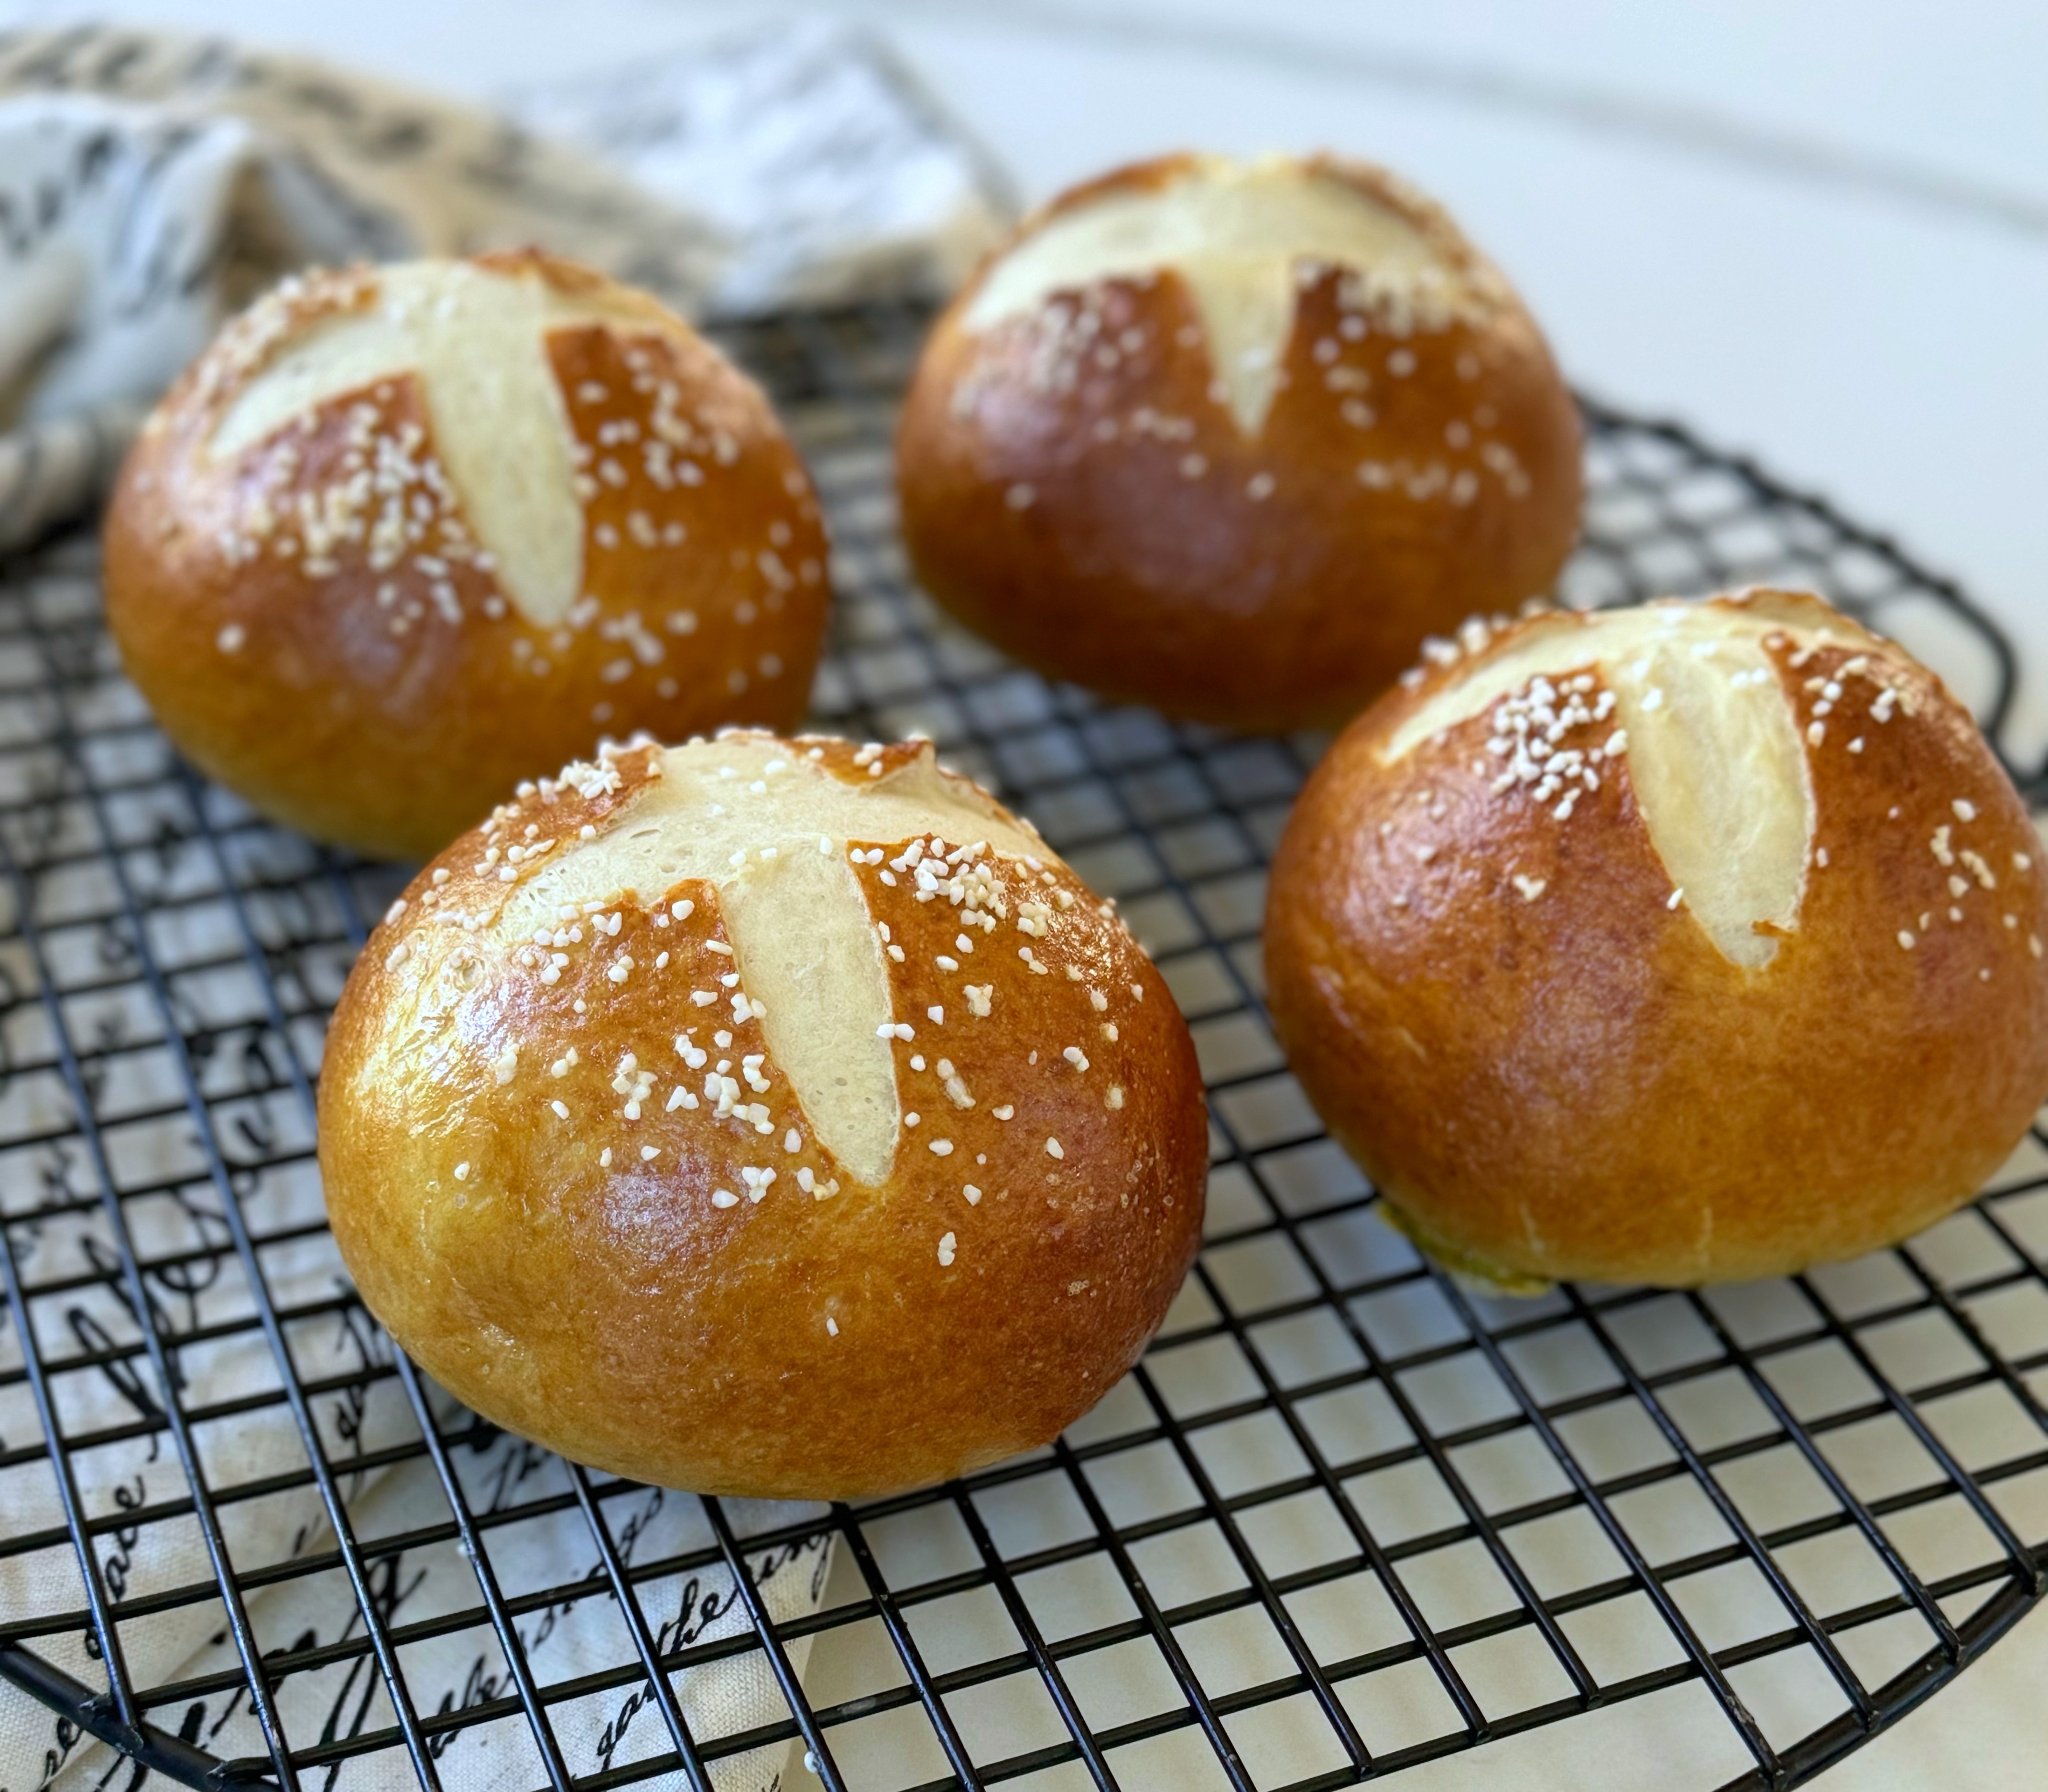
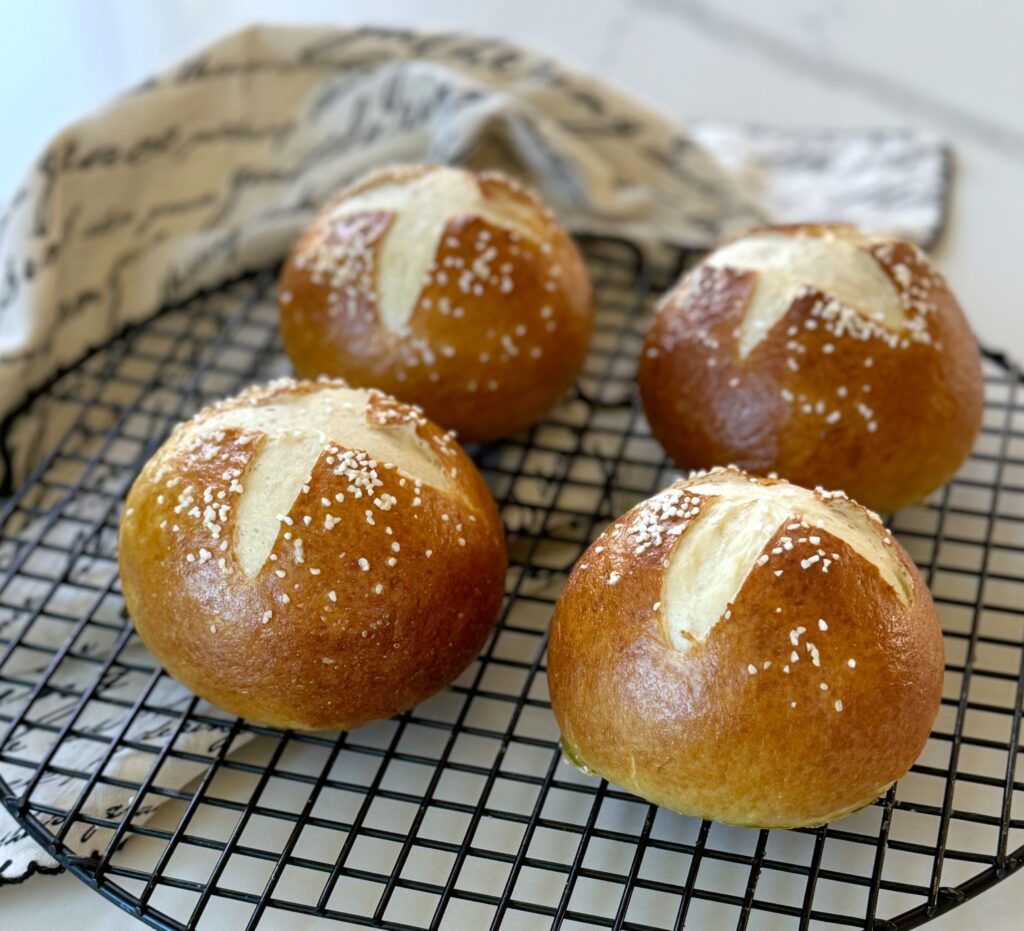
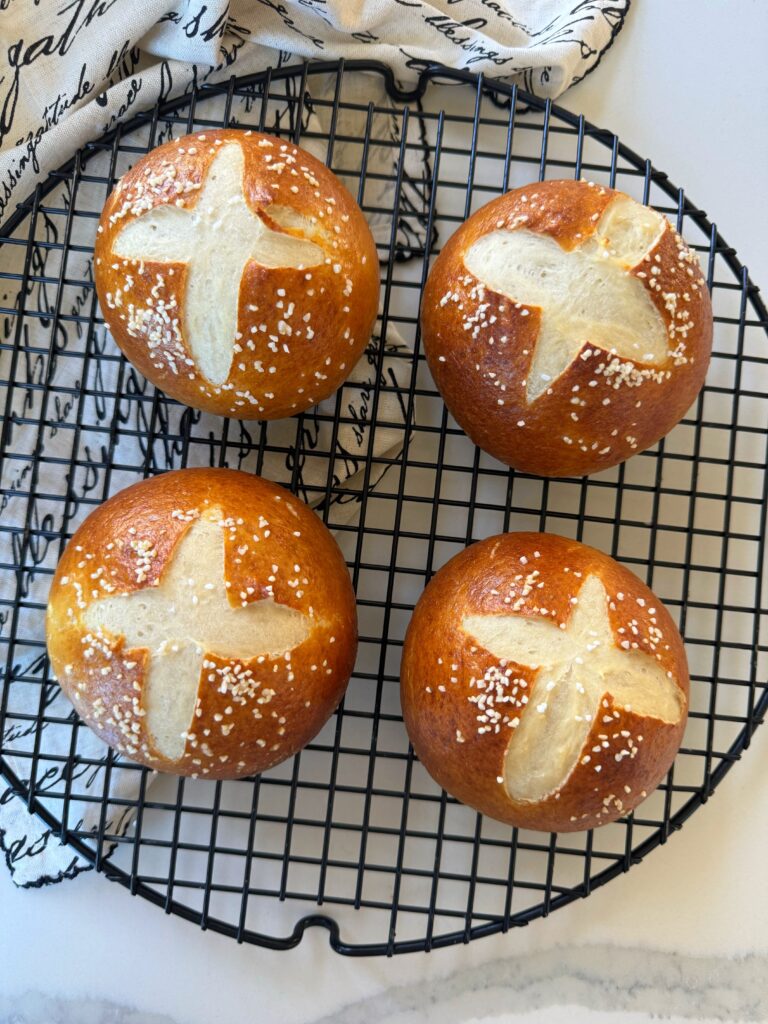
Yes! I was really excited to see how pretty these Pretzel Buns turned out. I was really happy with the scoring on top!
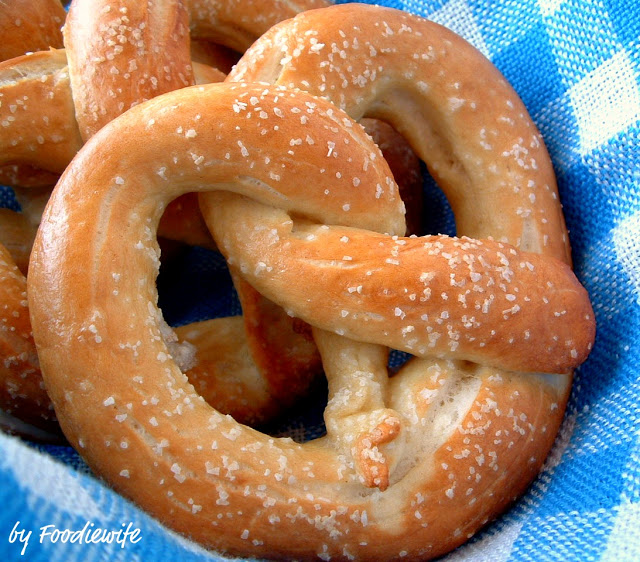
I’ve also shared my recipe for Regular Soft Pretzels (German Bretzen) that doesn’t require sourdough starter here.
TASTING NOTES: The inspiration to make Pretzel Buns came from my husband’s fondness of Bratwurst in a Pretzel Bun. He was paying $8.00 each at a local fast food chain. I was confident I could bake these for a lot less money, and they’d be just as good– if not better. I was right! Not only was this a great way to avoid tossing out sourdough starter, it was both fun and easy to make.
After a few hours, the buns began to soften, and the pretzel salt began to melt into the bread. My suggestion is to bake them (I used the bake feature on my air fryer at 350F for 3-5 minutes. This crisped them right up! These can also freeze well, then bake to refresh them after thawing.
SOURDOUGH NOTES: Sourdough baking is a lot of fun. There are lots of easy no-knead recipes on the internet–and I have a few I have yet to post. There are countless sourdough discard recipes in blogsophere– from bread to cakes to pancakes. My goal is to bake a successful “boule” and to fine-tune my scoring skills. My classroom has become free YouTube videos. There are countless videos that is teaching me the advanced art of hydration, cold fermentation and a LOT of technical terms about sourdough baking. Have fun with it. I sure am!
Sourdough Discard Pretzel Buns
Equipment
- Spider easy way to scoop up pasta or food items
- Bread lame for slicing bread dough
Ingredients
For the Dough
- 1 cup + 2 Tablespoons warm water
- 1 Tablespoon brown sugar
- 2 teaspoons kosher salt
- 1 ¼ teaspoons active dry yeast
- 200 grams about ¾ cup unfed sourdough discard unfed room temperature
- 4 cups all-purpose flour King Arthur Flour recommended
- 4 Tablespoons unsalted butter melted
For Boiling the rolls:
- 10 cups water
- ⅔ cup baking soda see notes
For the egg wash:
- 1 egg with 1 Tablespoon water beaten
- flaky sea salt, or Pretzel salt, for topping
Instructions
- Combine the warm water (1 cup + 2 Tablespoons) and brown sugar in the bowl of a stand mixer fitted with the dough hook attachment*. Sprinkle the yeast on top and let sit for 5 minutes until the yeast begins to foam.
- Add the sourdough discard, flour and salt and mix on low speed. While the mixer is running, pour in the melted butter and mix until combined. Change to medium speed and continue to knead until a smooth dough forms, about 4-5 minutes (you can also knead by hand if preferred).
- Add more water, if needed (1 Tablespoon at a time) to reach your desired consistency. You'll want the dough to be soft, smooth and not sticky.
- Transfer the dough in a ball to a large, oiled bowl. Cover with plastic wrap and let sit for 60-90 minutes, or until doubled in size.
Shaping the rolls:
- Line 2 half-sheet baking trays with parchment paper or a baking mat (such as a Silpat mat) and set aside.
- Turn the dough onto a smooth, dry surface. Divide into 8-10 equal-sized pieces (8 for larger buns, 10 for smaller buns). Using one palm for friction, roll the dough into a ball with the seam on the bottom.
To shape into hoagie or hot dog buns:
- Roll each piece of dough into a ball in your palm. Use both hands to roll the dough into a small log about 5 inches long, with the dough seam on the bottom. Continue with the directions as written.
Final proof:
- Place the buns on the prepared baking sheets and cover with plastic wrap or a clean kitchen towel to rise for 20 minutes while you prepare the next step.
Prepare the water bath:
- Preheat the oven to 425℉. Add ⅔ cup baking soda to 10 cups of water in a large pot and bring to a boil.NOTE: Don't make my mistake! I added the baking soda AFTER the water came to a boil and it made a terrible mess all over my burners!
- Place the buns in the boiling water for 20-30 seconds on each side. You can likely boil several buns at once, but make sure they have room to float freely. A longer boil will create a thicker crust.
- The buns should float (called "passing the float test"); if not, see notes section below. Remove the buns from the water using a slotted spatula or a "spider" and shake off excess water. Return the buns to the baking sheet. Lightly brush each buns with egg wash and sprinkle with flaky sea salt or pretzel salt.
- Use a bread scoring tool, sharp knife, or scissors to score an X or a line on top of each bun. This does not need to be deep – just enough to break the surface to allow steam to esacpe. It will expand as the buns bake.
- Bake for 14-16 minutes until a deep, golden brown (that classic pretzel color). Remove from the oven and let cool fully before serving.
Notes
Passing the float test: When you boil the buns, they should float in the water. If your buns do not float, cover the unboiled buns with plastic wrap and let rise for another 10 minutes, then try again. If they are not floating, they have not risen long enough and will be dense (which is why they sink). After a few hours, the buns began to soften, and the pretzel salt began to melt into the bread. My suggestion is to bake them (I used the bake feature on my air fryer at 350F for 3-5 minutes. This crisped them right up! These can also freeze well, then bake to refresh them after thawing. Recipe source: This Jesscooks
Nutrition



Leave a Reply