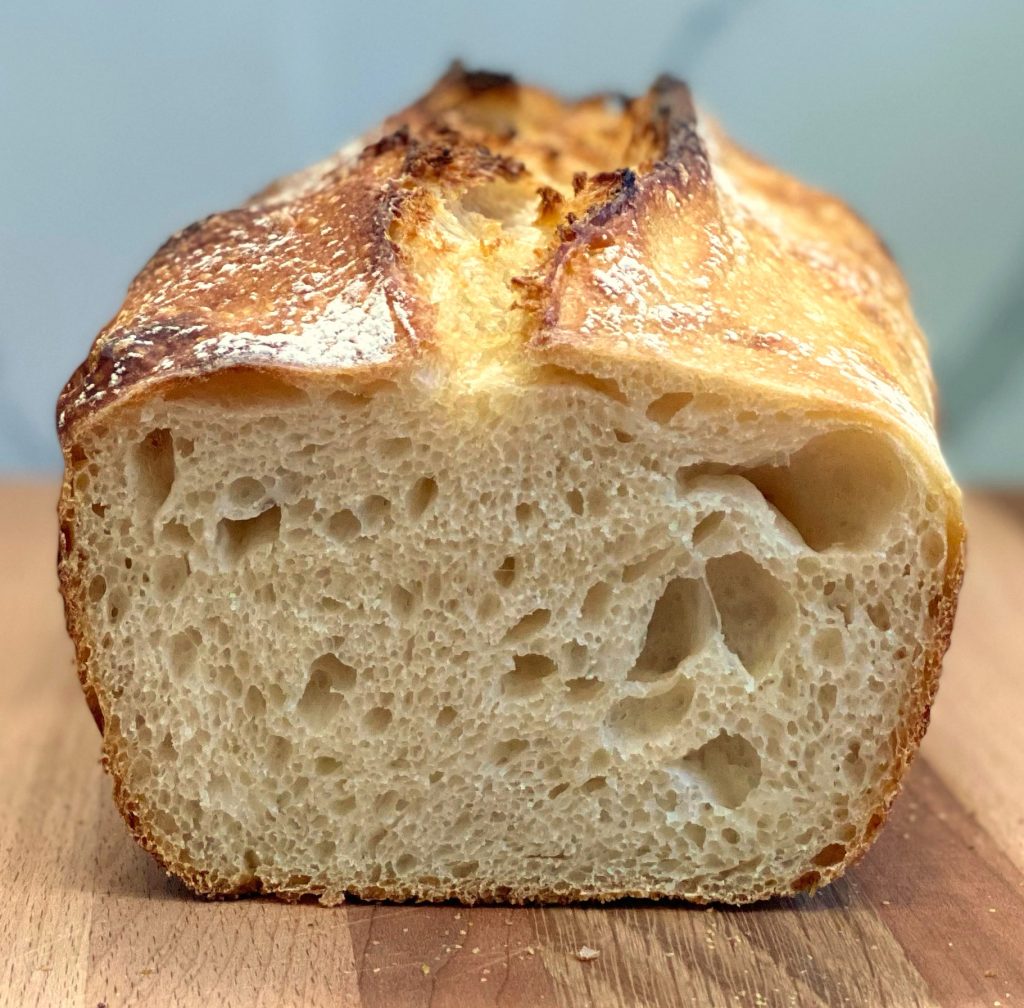
This was my first attempt at making a No-Knead Sourdough Bread loaf, without adding additional yeast (other than my sourdough starter). The dough took only minutes to make without a mixer! Plan on making the dough the night before so you can do a final proof in the morning. This is, by far, the best sourdough loaf! The crust had a chewy texture, and the crumb was tender with a perfect tangy flavor. This freezes well and makes great toast.
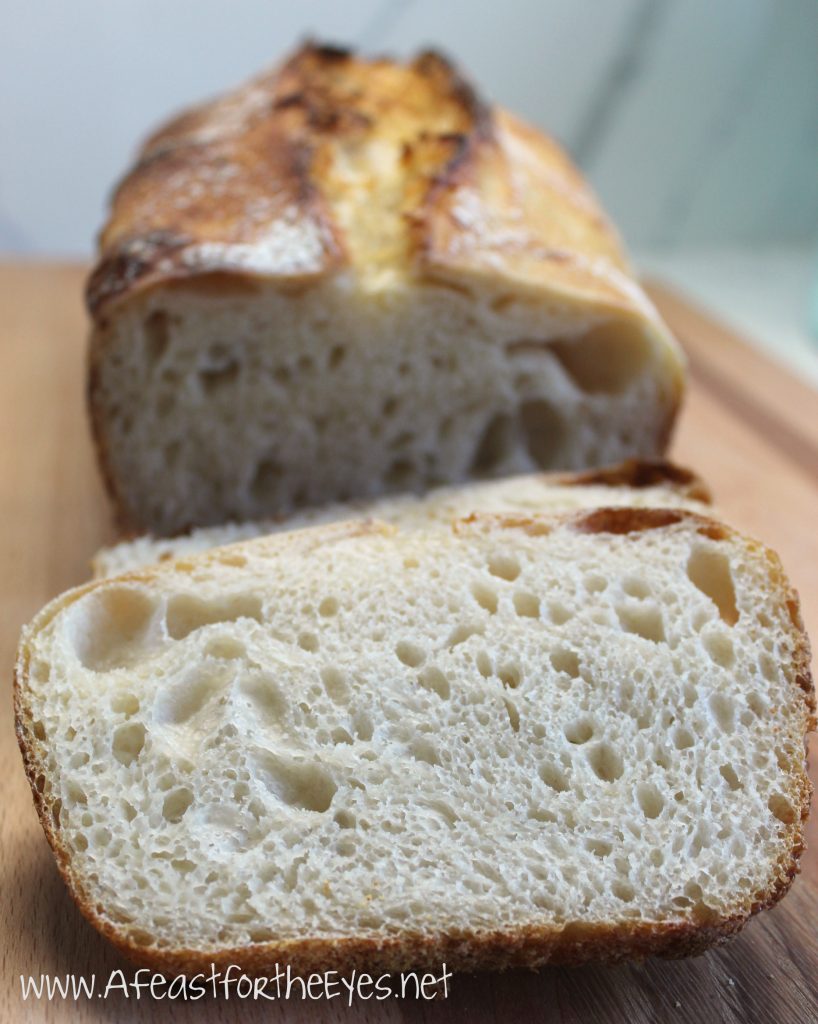
I have loved sourdough bread, for as long as I can remember. The best loaves have that tangy flavor, with a crispy crust and a soft and chewy center. Whenever we take the two-hour drive to San Francisco, a stop at the Boudin Bakery is a must– so good!
At last, I believe I’ve created a sourdough bread that reminds me of San Francisco sourdough! I did it! I actually made a loaf of sourdough bread that I’m in-love with!
I’ve been baking bread for many years. I’ve had both failures and successes. I started out with bread making machines, and then graduated to using my Kitchen Aid Stand Mixer and learning how to knead bread by hand. I find that hand mixing and kneading is quite therapeutic– and gratifying! I always have SAF Yeast in my freezer, so I was prepared for the “yeast shortage”. I’ve also kept my King Arthur Flour Sourdough starter, well fed and maintained, for many years!
Instead of devoting this post on how to make (or purchase) a sourdough starter, please do visit one of my favorite websites: www.kingarthurflour.com You can buy their own sourdough starter (which I did), or find instructions on how to make their own.
I’ve made some sourdough rolls, before, but this is my very first time making sourdough bread without any added yeast. Wow, did this recipe ever deliver great results!
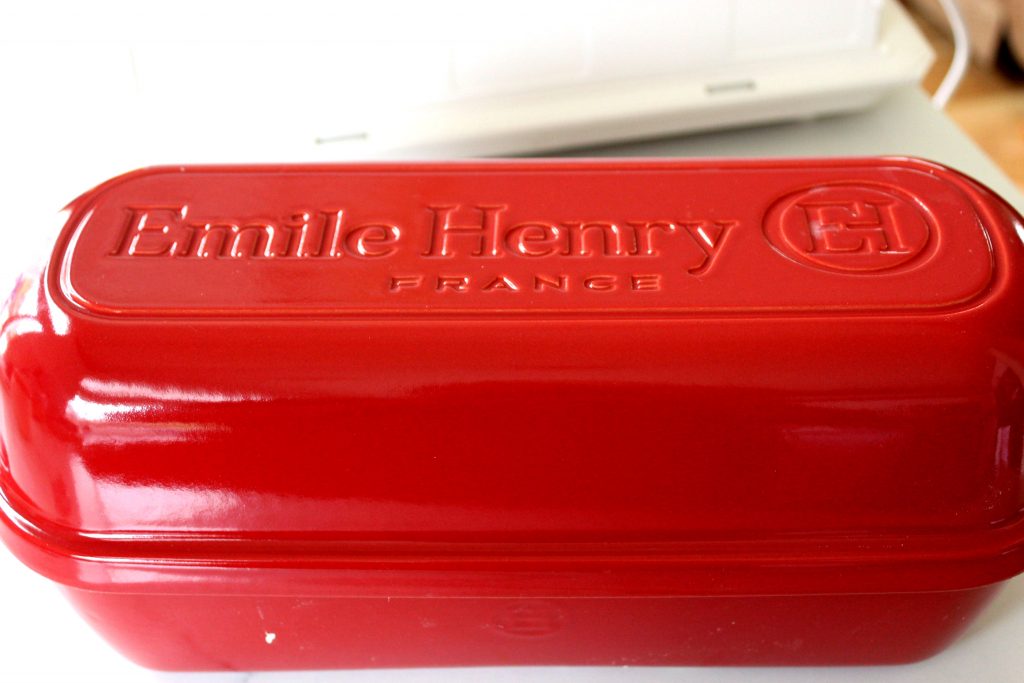
You don’t have to own a fancy schmancy Glazed Long Covered Baker, like this one that I finally invested in. This is an item I’ve wanted for a long time. I will say that this baker helped my bread to get the right amount of steam to create that beautiful golden crust.)
I watched a few videos on King Arthur Flour’s YouTube channel, that helped me to learn some key tips on how to mix the dough and the proper care and feeding of my sourdough.
I didn’t photograph the process of making the dough. It’s actually not that complicated. Of course, you need to “feed” your dough so that it’s active. I watched a few videos on King Arthur Flour’s YouTube channel, that helped me to learn some key tips on how to mix the dough and the proper care and feeding of my sourdough. It’s best to make the dough a day before, so it can develop the flavor you want.
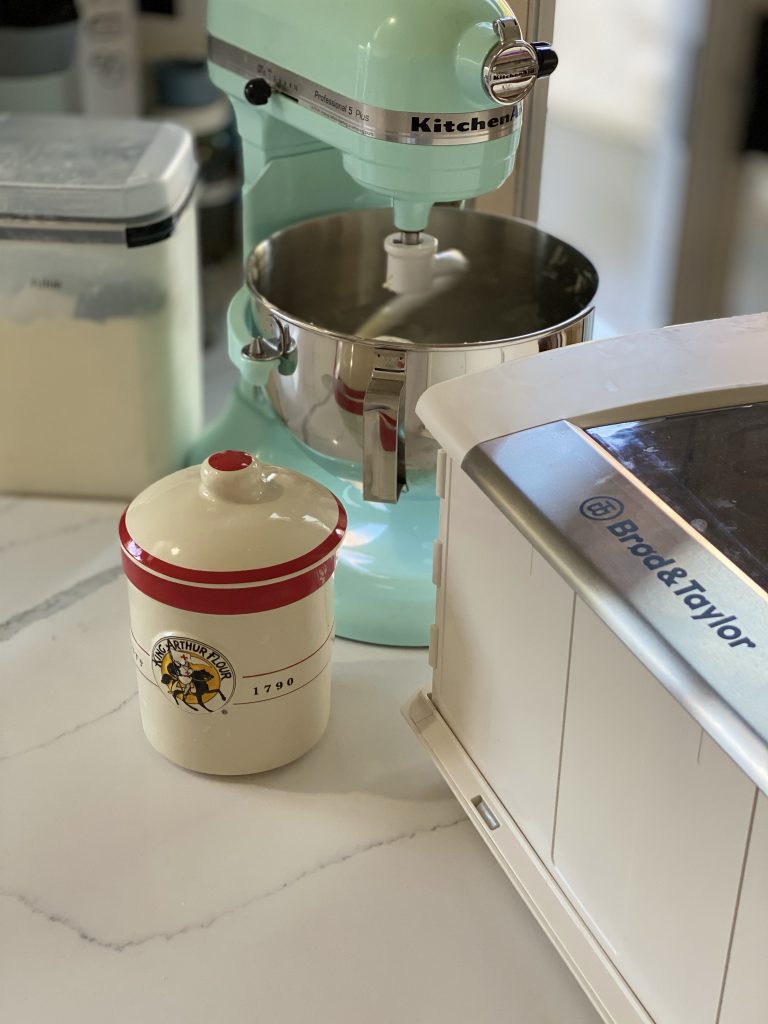
I’ve had friends say that they can’t get their dough to rise. Been there, done that. Don’t let that discourage you! Yeast wants to be warm and cozy. During the winter, I used to preheat my oven to a low temperature for just a minute or two, then turn it off. My yeast loved that environment. Recently, I finally invested in a “folding dough proofing box“. It took a while to finally get one, and I love it. It’s not a cheap “tool”, but it’s something I use a lot. I like that I can set the temperature to a precise amount. I use this to feed by sourdough starter every two weeks.
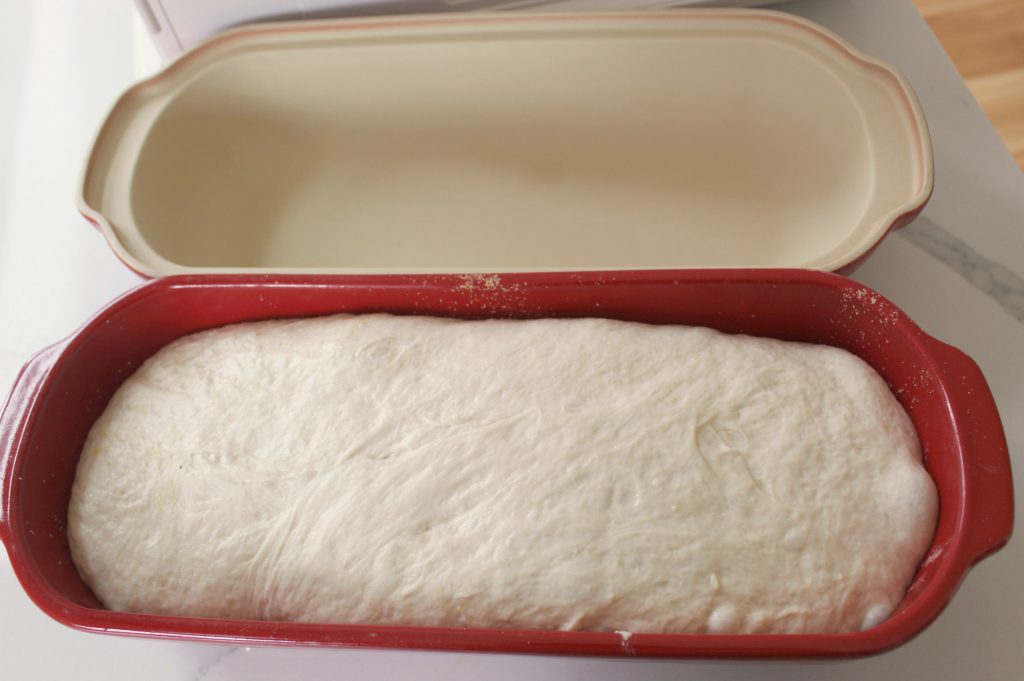
The next morning I let the dough come to room temperature for about 30 minutes and then gently shaped into my baker and let this proof (rise).
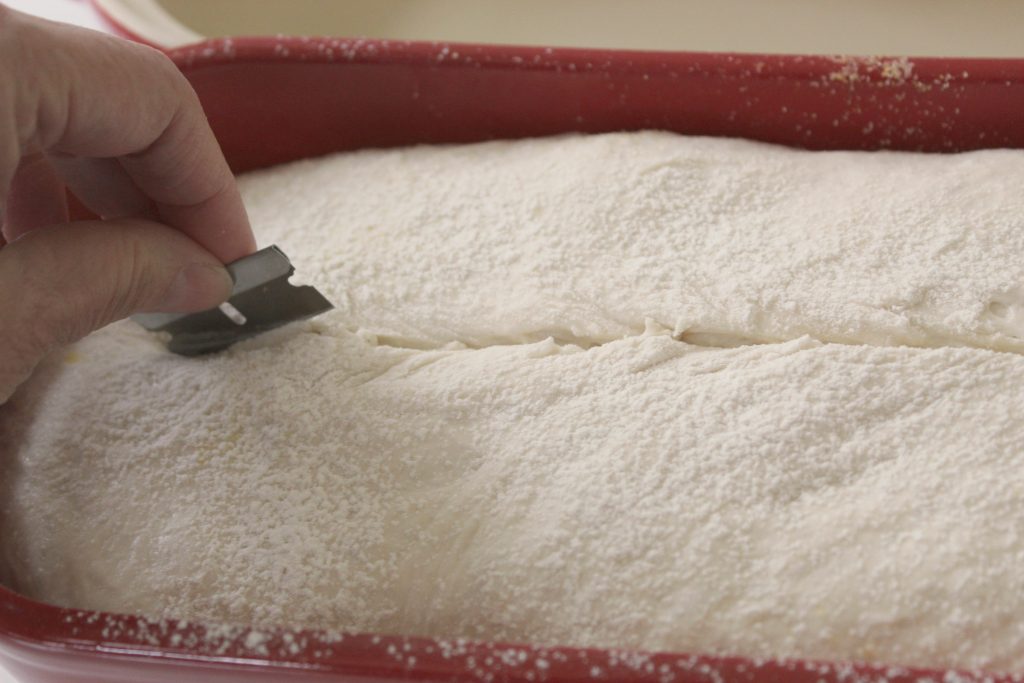
Lest you think I own every bread baking tool imaginable– I don’t! I haven’t perfected the art of making beautiful designs with a bread lame. So, I used a razor. The cut is to let steam escape, in case you’re curious as to why.
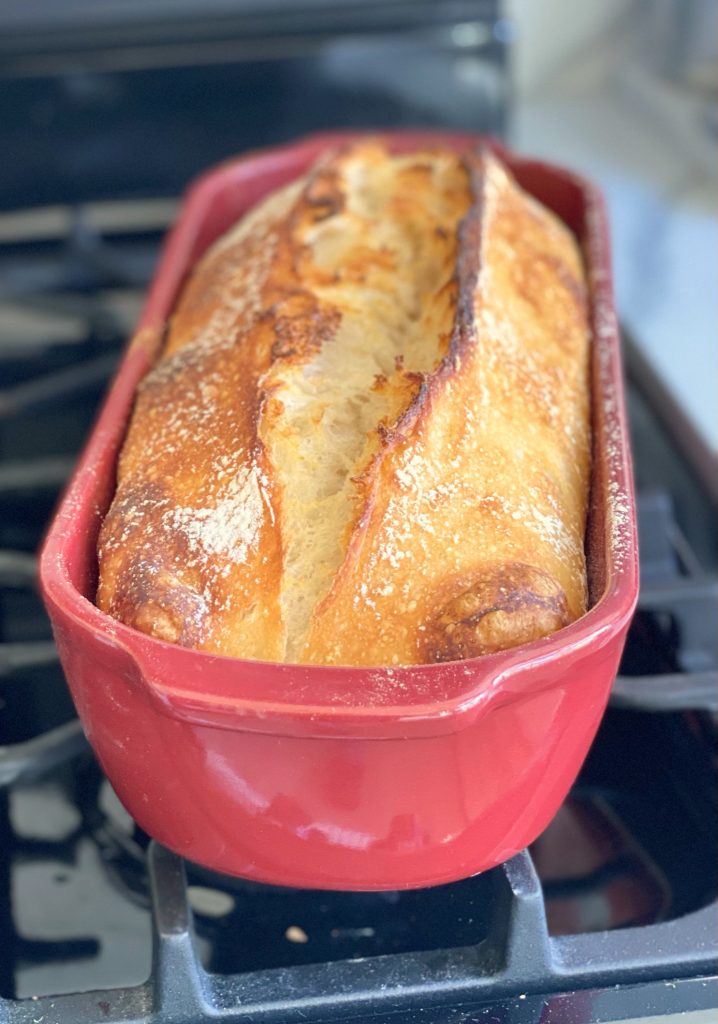
The big ta-da! I always bake my bread to “temperature” so I don’t end up cutting into a raw loaf. 210 degrees. Perfect! Yes, I was really excited with how this loaf baked to a beautiful golden brown.
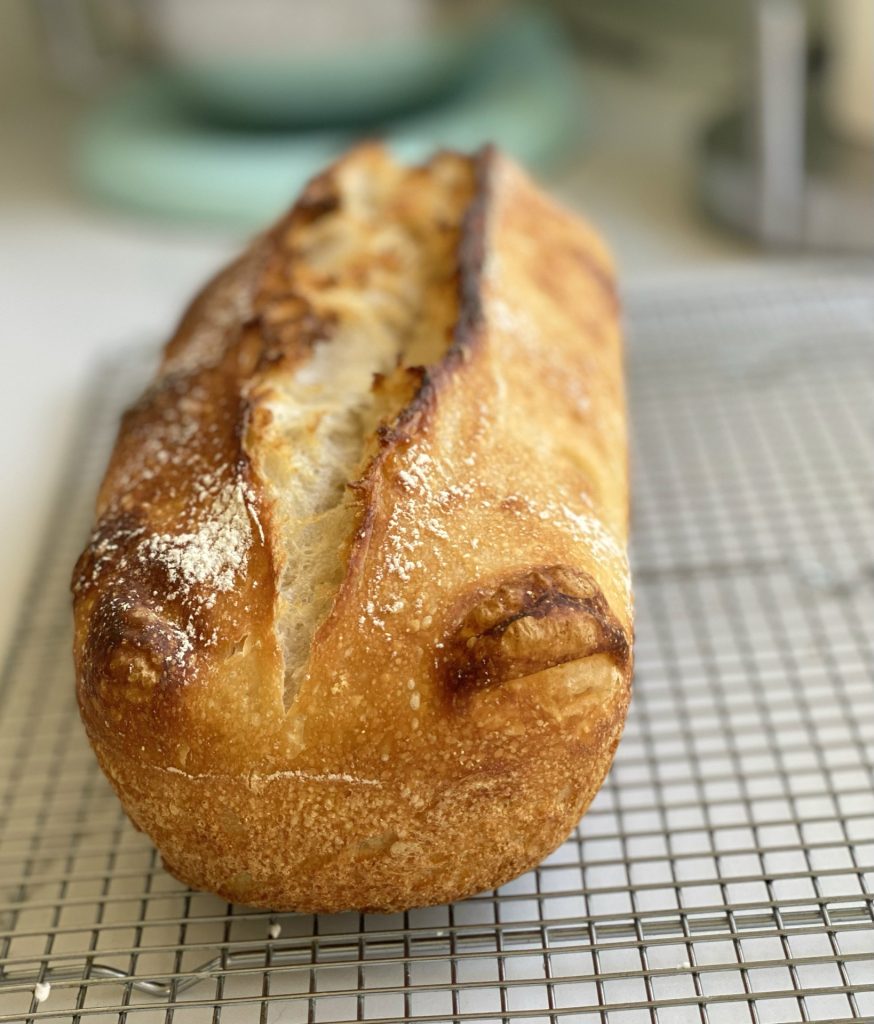
This is where patience is important– letting the loaf cool properly.
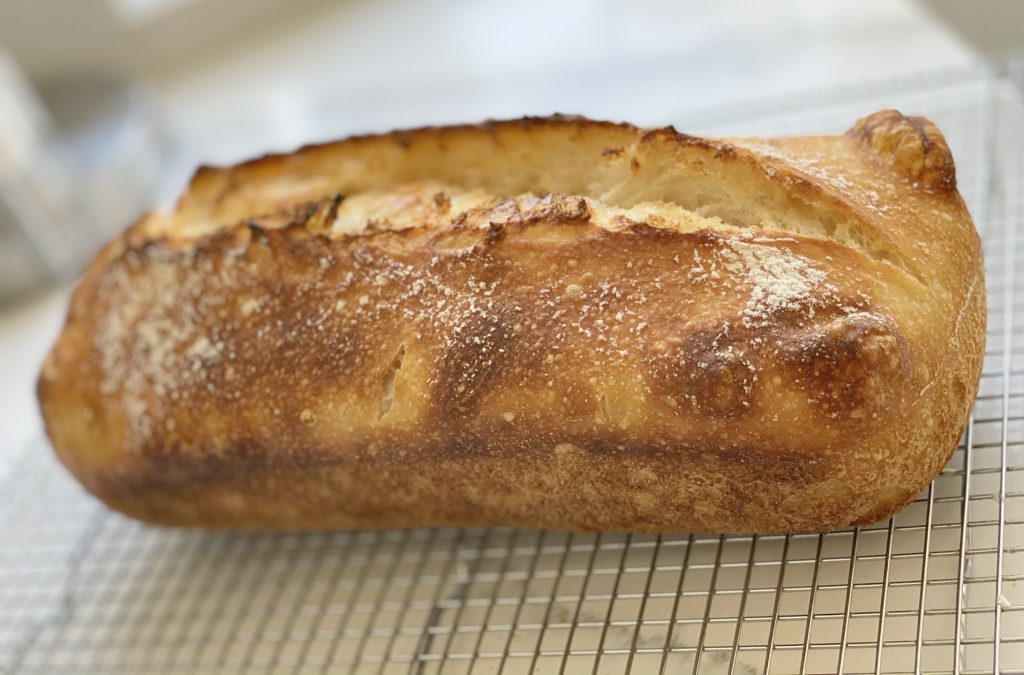
I was so excited to finally slice into this loaf of bread.
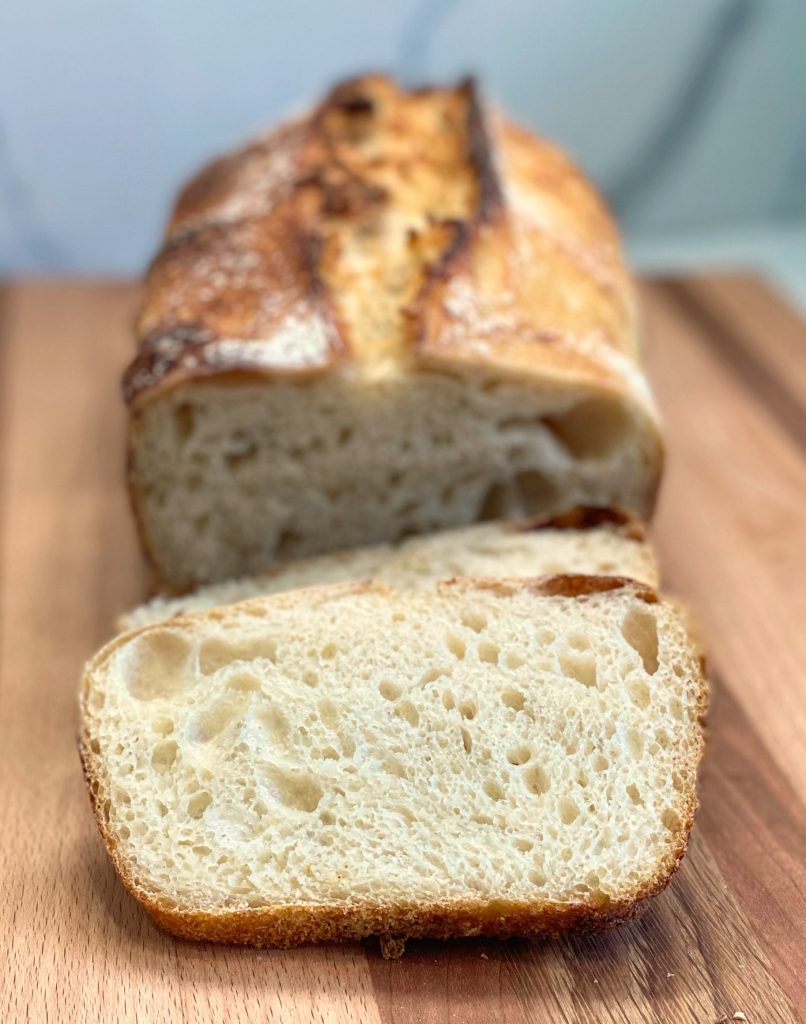
TASTING NOTES: I would be hard pressed to find an even better recipe than this one. I made a few mistakes, and the loaf still turned out! What mistakes? I accidentally used all-purpose flour, instead of bread flour. D’oh! I proofed the dough before shaping it– so it was double-proofed! Still, my loaf of bread turned out great. My husband ate SIX SLICES of this bread– that’s how much he liked it.
I encourage anyone and everyone to conquer your fears of working with yeast. If you make a mistake, keep on going! You’ll get there. Believe me, I’ve baked my share of hockey pucks and doorstops. Watch videos, read blog posts on baking sites like King Arthur Flour. Call their free hot line for advice (and I’ve done that several times).
It’s so gratifying to bake your very own loaf of bread– and, believe me, homemade bread is way better than grocery store brands.
The Best No-Knead Sourdough Bread
Ingredients
- 1 cup ripe (fed) sourdough starter 227g
- 1 3/4 cups water, lukewarm 397g
- 5 cups King Arthur Unbleached Bread Flour 602g
- 1 tablespoon salt 18g
- 2 teaspoons diastatic malt powder optional for a more golden color and stronger rise (can be purchased at King Arthur Flour)
Instructions
Mix the dough:
- Weigh your flour; or measure it by gently spooning it into a cup, then sweeping off any excess.
- Combine all the ingredients in a large mixing bowl, or a large (6-quart) food-safe plastic bucket.
- Mix and stir everything together to make a sticky, rough dough. If you have a stand mixer, beat at medium speed with the paddle attachment for 30 to 60 seconds. If you don't have a mixer, just stir with a big spoon or dough whisk until everything is combined.
- Leave the dough in the bucket or 6-quart bowl, cover it with the bucket’s lid or a piece of plastic wrap, and let it rise for 1 hour.
"Fold" the dough:
- Gently pick up the dough and fold it over on itself several times, cover it again, and let it rise for another hour.
- Repeat the rising-folding process one more time (for a total of 3 hours), folding it again after the last hour. Then, place the bucket or bowl in the refrigerator, and let the dough rest for at least 8 hours (or up to 48 hours).
Bake the bread:
- When you're ready to make bread, turn the dough out onto a well-floured work surface, and shape it into a rough ball. Leave the dough seam-side up, cover it, and let it rest on a floured surface for 15 minutes.
- Next, shape the dough to fit the vessel in which you’ll bake it: a 13” log for a 13" pain de mie pan or long covered baker, such as a glazed long covered baker; or a large boule (round) for a round baker or Dutch oven, such as our bread baking crock. Place the shaped dough into the lightly greased or semolina-dusted base of the baker and cover it with the lid.
Proof the dough:
- Let the loaf warm to room temperature and rise; this should take about 2 1/2 to 3 hours. It won't appear to rise upwards that much, but will relax and expand.
- With a rack positioned in the middle, start preheating the oven to 500°F one hour before you’re ready to bake.
- Just before baking, dust the loaf with a fine coat of flour and use a lame or a sharp knife to make one or several 1/2” deep slashes through its top surface. If you're baking a long loaf, one arched slash down the loaf lengthwise is nice, or if baking a round, a crosshatch or crisscross pattern works well.
- Cover the baker with its lid and place it in the oven. (If you're using a pain de mie pan, leave the lid off.) Reduce the oven temperature to 450°F and bake the bread for 45 minutes.
- Remove the cover of the baker and bake the bread for 10 to 15 minutes longer, until the bread is deep golden brown and crusty, and a digital thermometer inserted into the center of the loaf reads at least 210°F.
- Remove the bread from the oven and transfer it to a rack to cool completely.
- Store leftover bread in a plastic bag at room temperature for several days; freeze for longer storage.
Notes






[…] the dough mixing. I really enjoy touching, feeling and kneading bread dough. I’ve made a few sourdough bread recipes, and learned a lot about the process of proofing, shaping and baking– and devouring a […]