Brioche Bread is made with butter and eggs, to add a rich and tender crumb. This recipe is super easy and makes perfect Brioche Hamburger Buns in One Hour! Yes, that’s true!
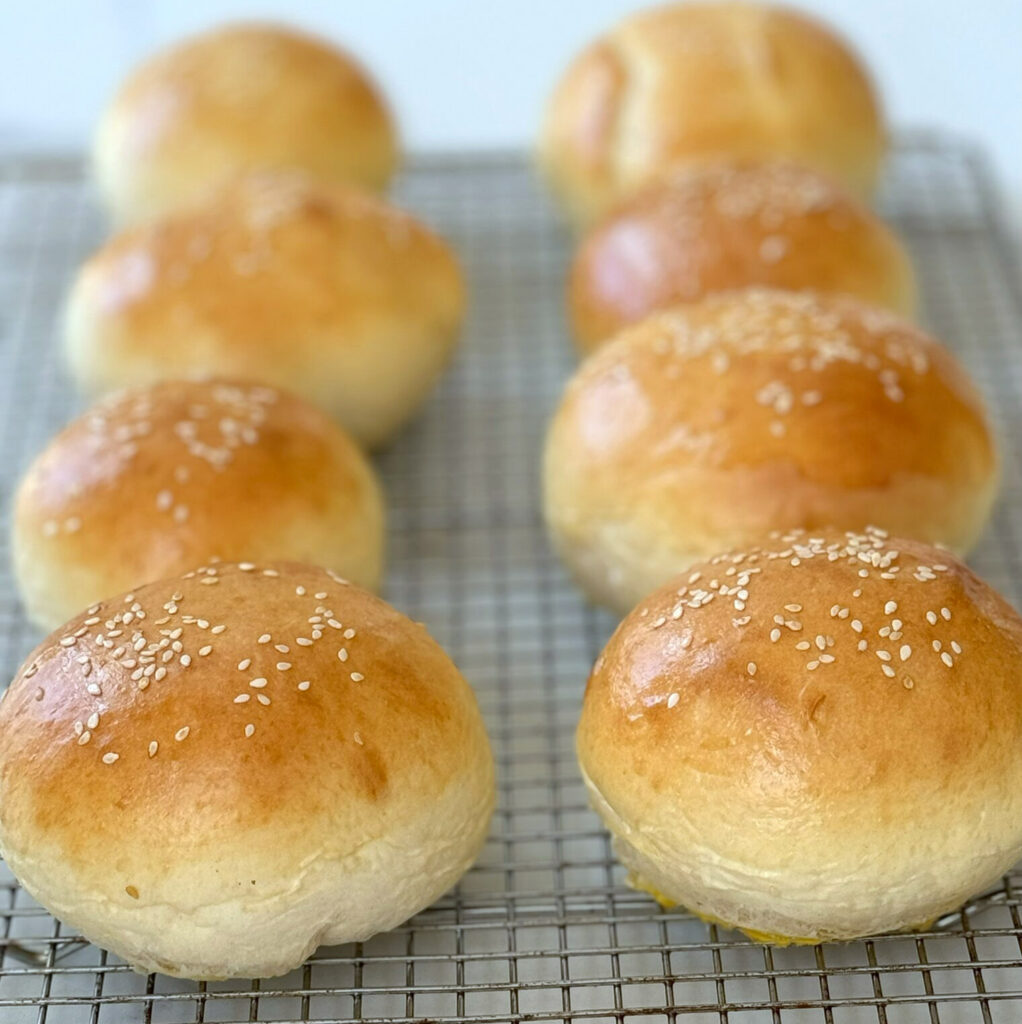
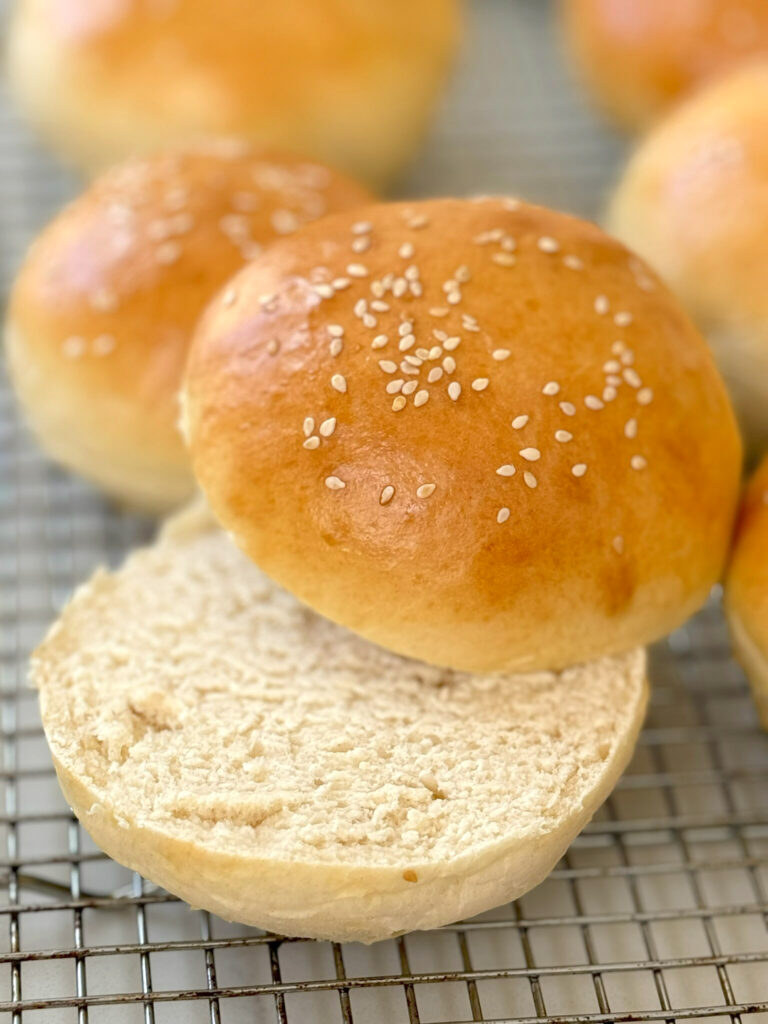
Whenever I get a hankering for a juicy and special hamburger, I resort to a recipe that is on my blog. It’s a recipe that shows you how to use “flap meat” (sirloin steak tips) to make your own ground beef in a food processor. The only problem is, I didn’t have any hamburger buns. I’ll bake some myself! My recipe for Perfect Hamburger Buns in an hour is a great choice. This time, a Brioche Bun was a first time challenge I wanted to try.
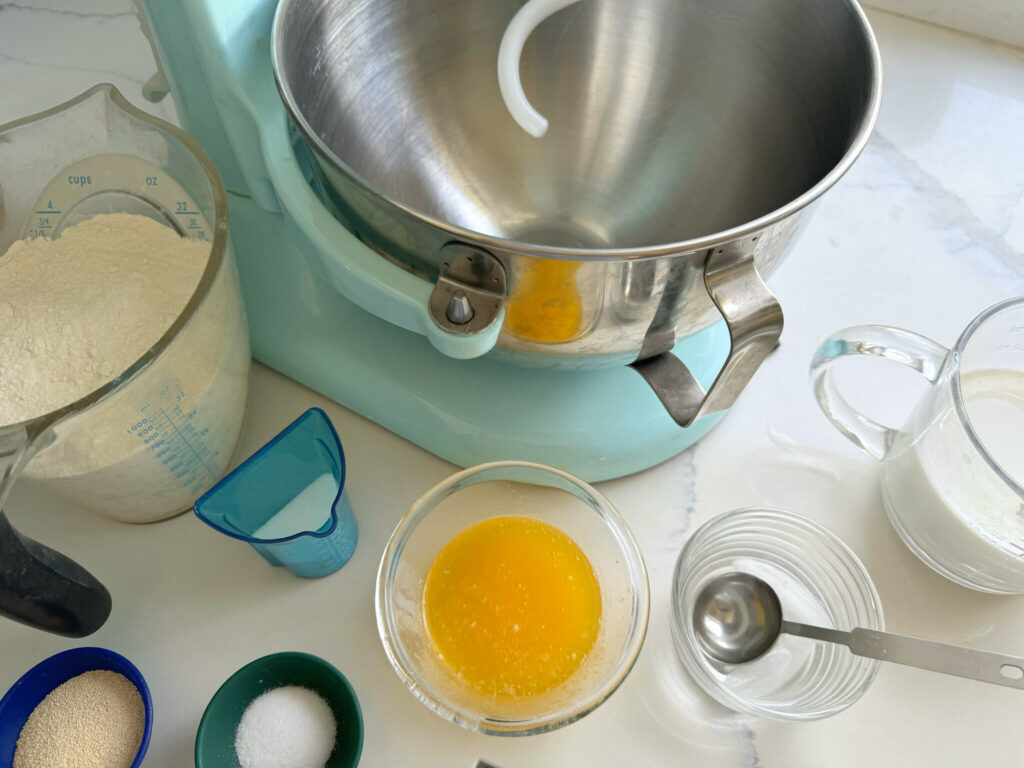
The ingredients are pretty standard for bread baking: Flour, butter, yeast and salt. To make brioche bread, butter and eggs enrich the bread. Let’s go!
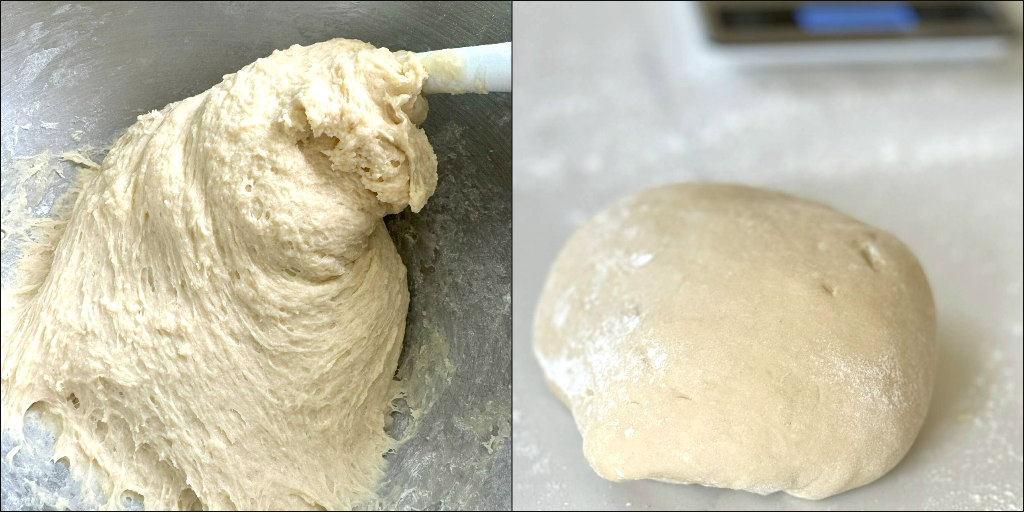
A stand mixer, with a dough hook, eliminates using elbow grease. Getting the dough to the right consistency has taken practice, over the years. In the first shot, the dough is smooth. I want to see the dough clearing the bottom and sides of the bowl. Add more flour, one tablespoon at a time. Perfect! Dump the dough on a lightly floured workspace. The recipes says I don’t need to proof the dough, right out of the mixer. Okay!
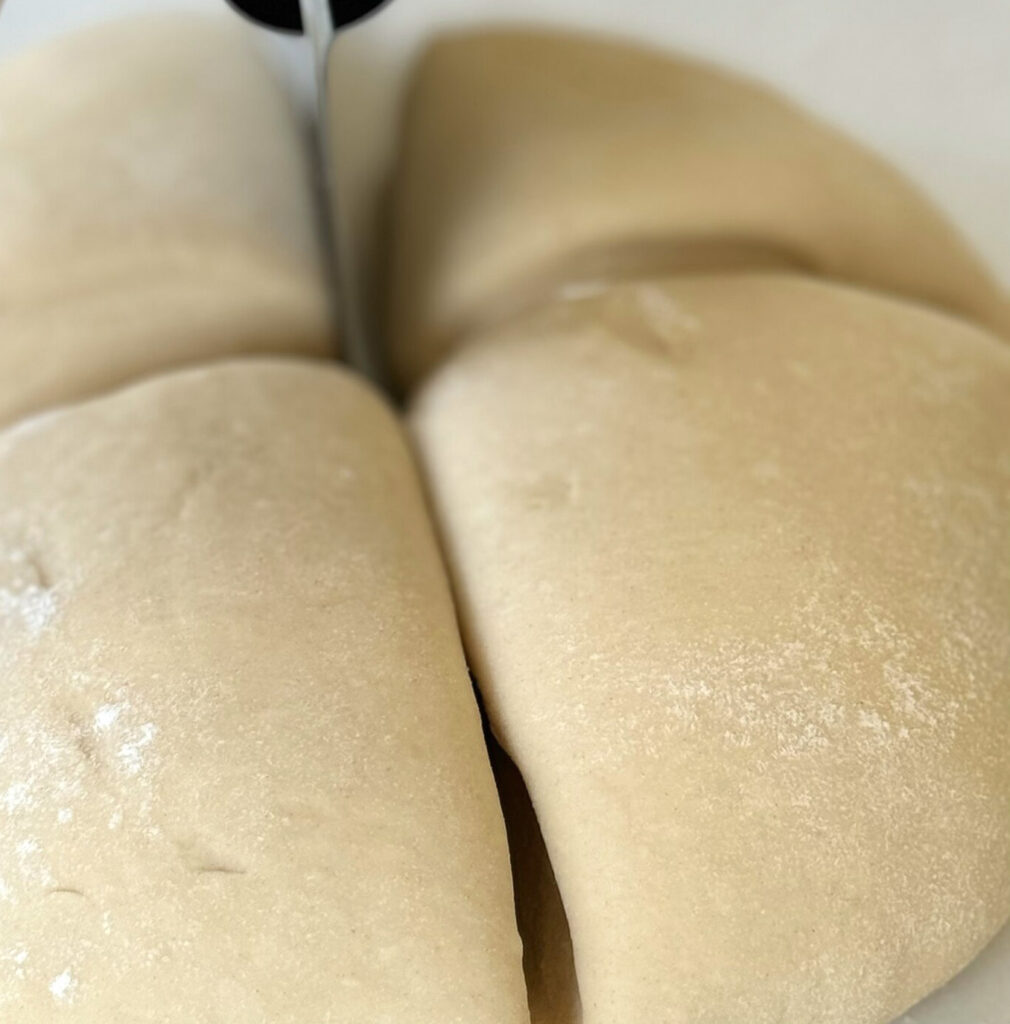
My thoughts were that I could just make four rolls. Sounds good, right?
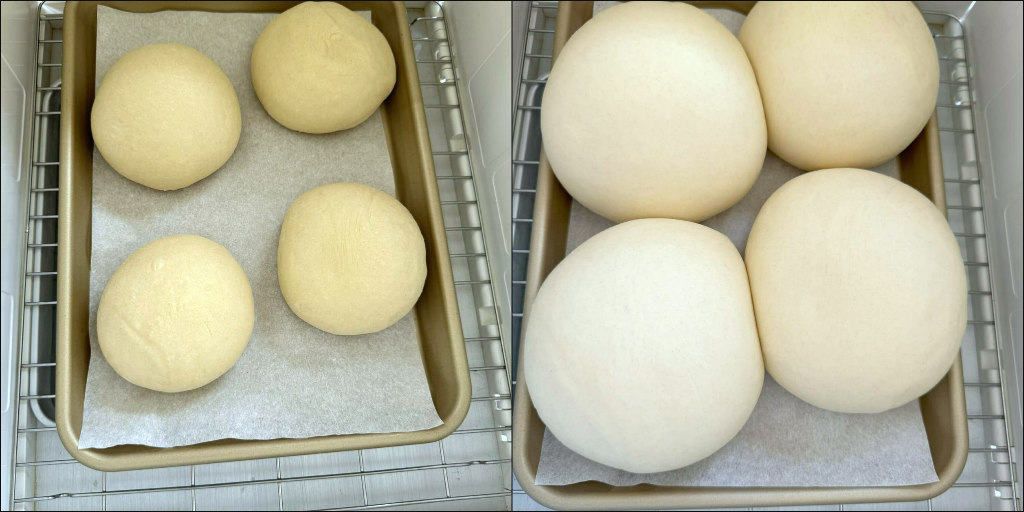
Who needs to read recipe instructions, when I’ve made plenty of different yeast rolls. Hmmm. The rolls seem a tad large. 45 minutes later, these just about triple in size. Whoa! Let’s get them in the oven.
What happens when you fail to read a recipe from start to finish
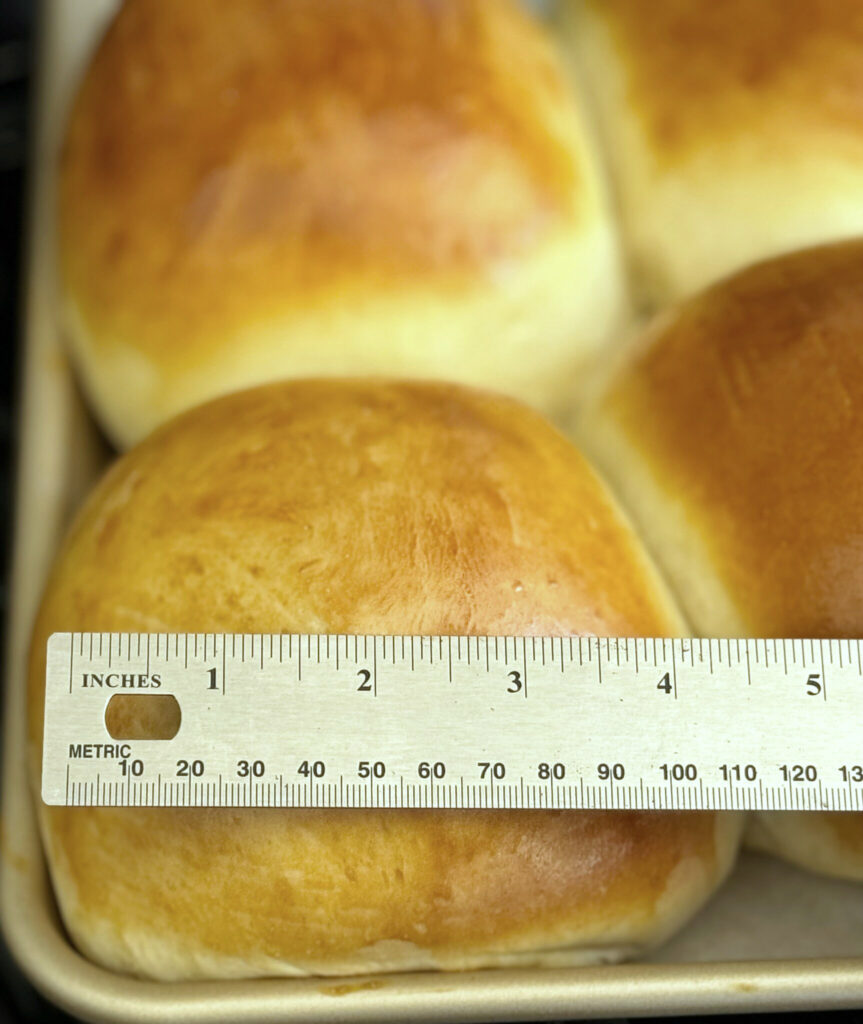
Let’s just say, that these rolls are “Godzilla” size. They were wide and tall as a mini bread loaf . Oof! Our burgers would have to match that size. Nope! These will now become sandwich rolls. Sigh. I shared these on my Facebook page, because I was laughing at my error in not thoroughly reading the recipe. Readers liked the rolls, but suggested that I should have made 6-8 rolls. Agree!
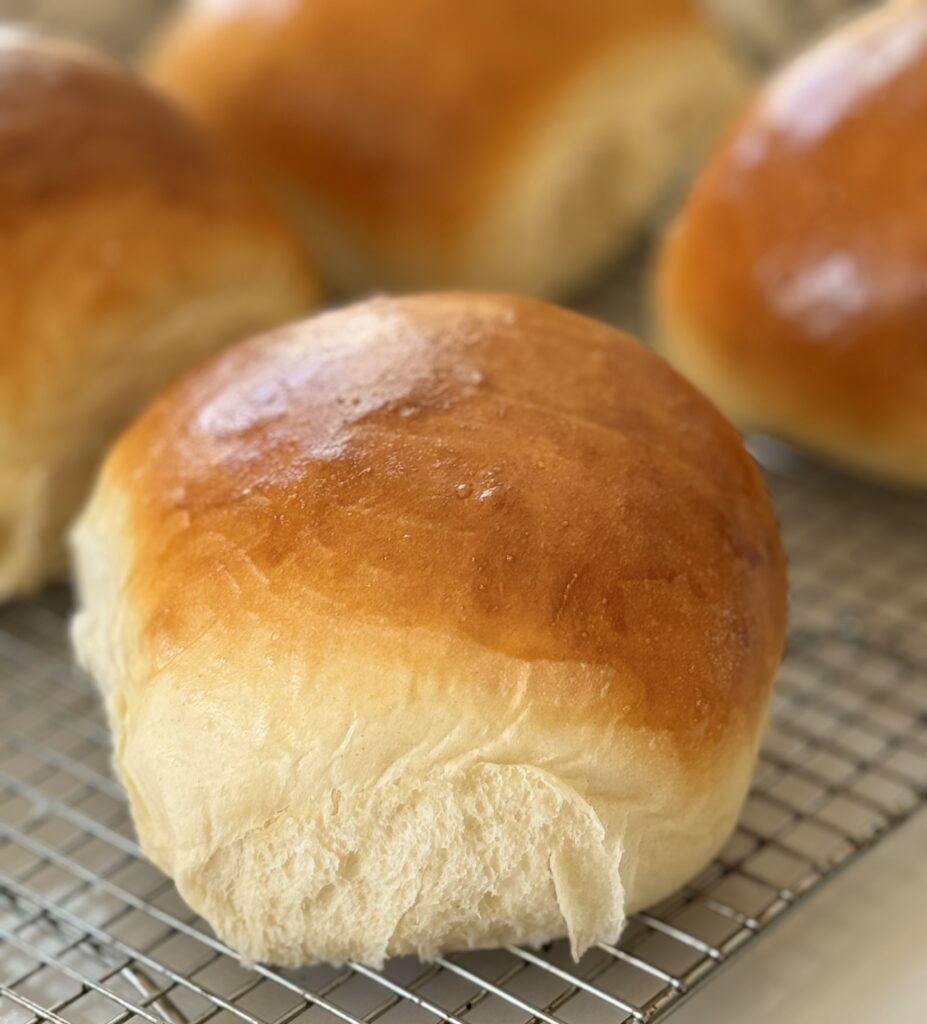
The rolls were tender and tasted good. Still, I vowed that I needed to give this recipe another go. What did I miss? Oh dear! I did not need to do a 45 minute second proof of the rolls (smacks forehead). Obviously, the dough should be shaped into a minimum of six rolls, up to eight. That’s it! Attempt #2.
I began making the dough, at 12:00 noon. It took less than 15 minutes to mix, knead and shape the rolls.
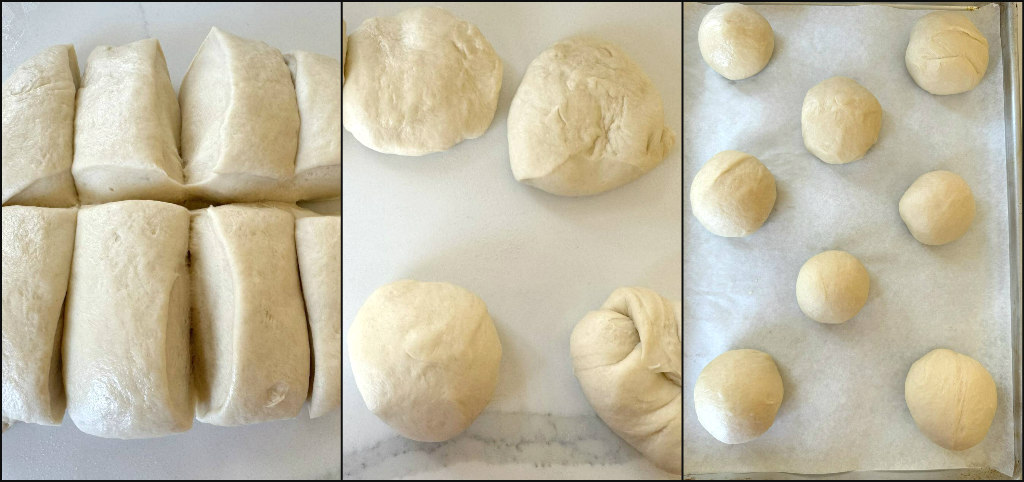
Eight piece of dough. Done. Flatten, grab the corners into a “purse”, flip and shape into a round ball. The recipe said to proof the rolls for ten minutes– not 45 minutes! Mistake #2.
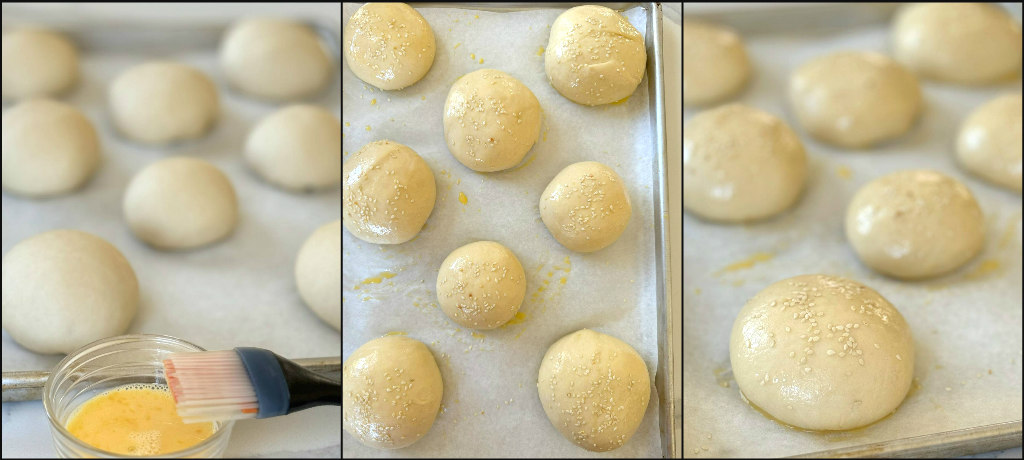
A quick egg wash (for shine) and some sesame seeds (why not?) and the rolls are ready for the oven. It’s now 12:40pm. The timer is set for 12 minutes.
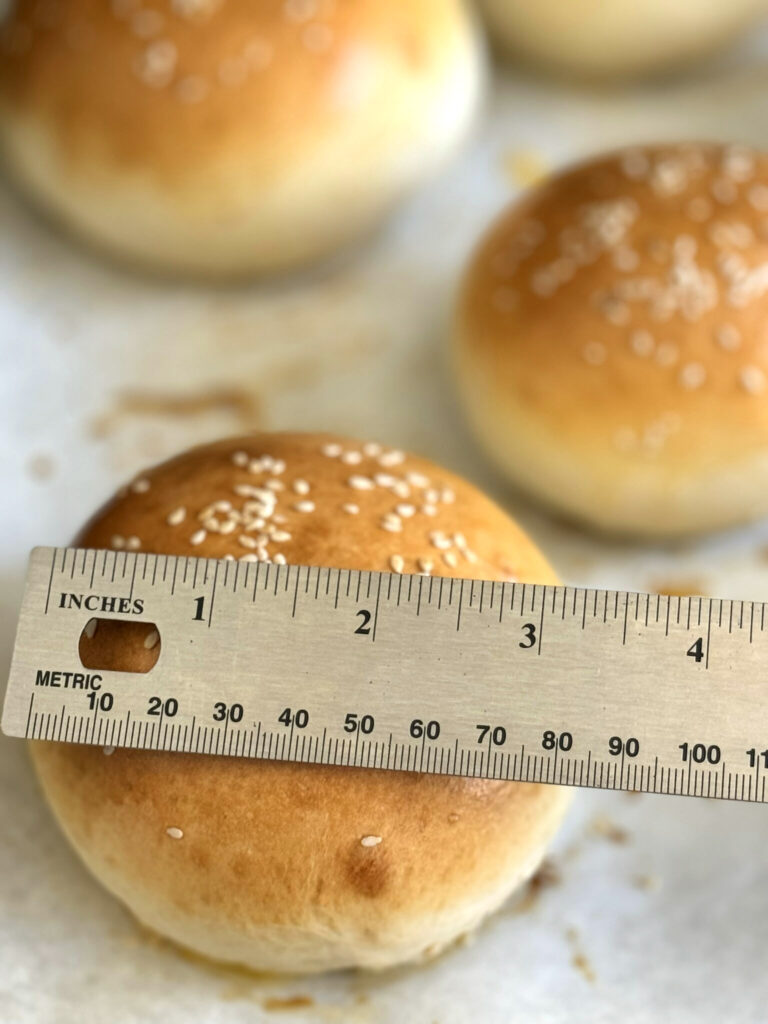
Much better! The rolls are smaller, and will be perfect for hamburgers. Lesson learned: Read the recipe in its entirety! If I fail, try again. It was 1:00pm and the rolls were finished. Yay.
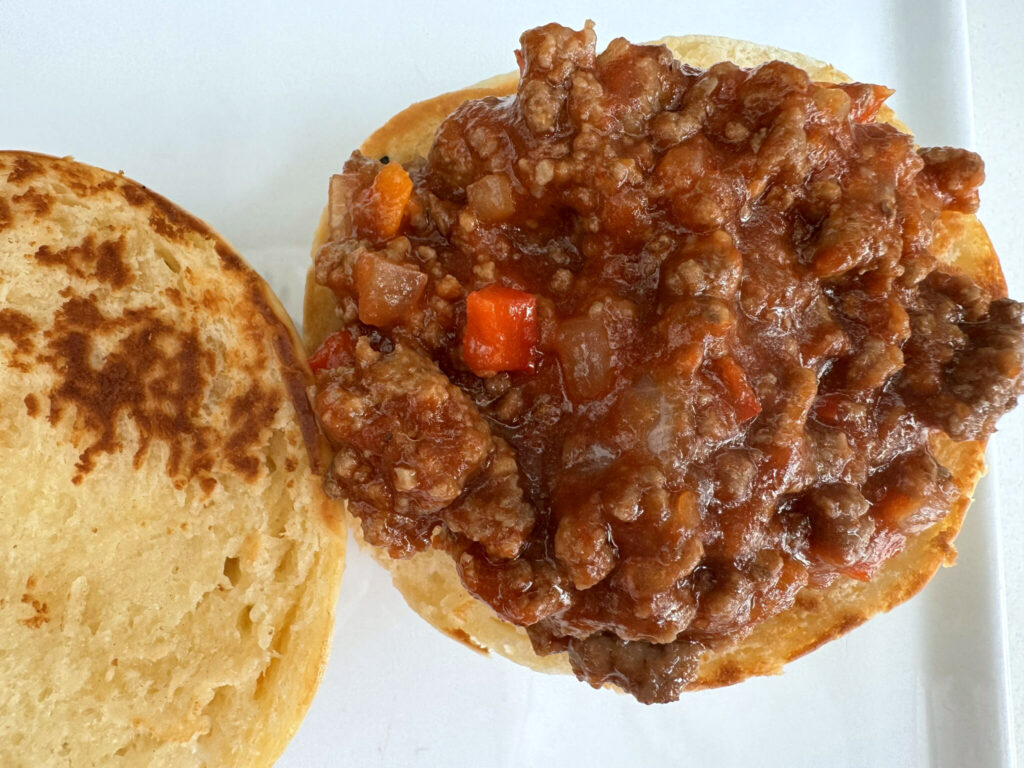
About the hamburgers… they morphed into my husband’s beloved Sloppy Joe’s that I’ve been making for many years.
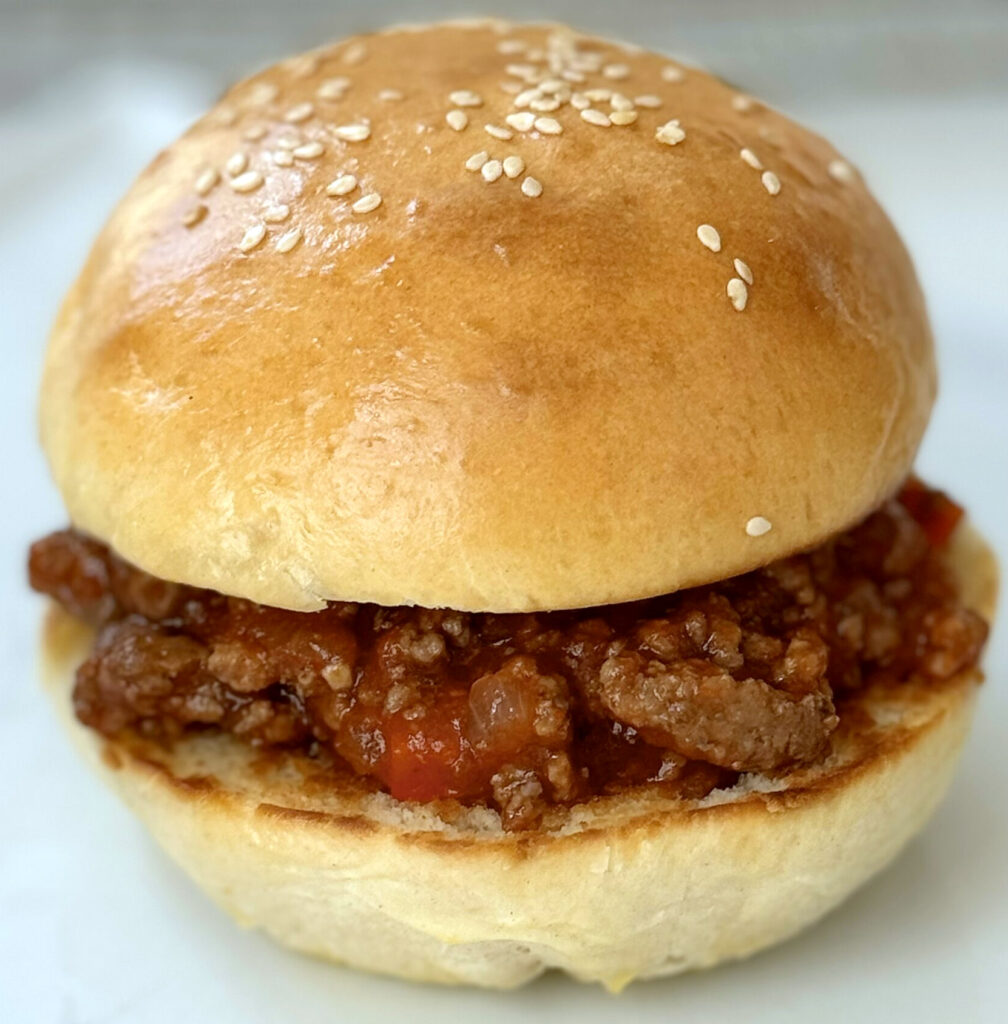
TASTING NOTES: That it only took one hour to make the rolls is amazing and super helpful if you’re in a pinch for hamburger rolls. The rolls were tender, but not fluffy. I think that would take a longer rise to achieve that. Are these as perfect as Brioche rolls that takes longer to proof? Not quite. In fact, my next challenge is to find a recipe that takes longer. I’d love to see what the texture and flavor differences are. The next time I find myself needing hamburger rolls, in a hrryThe remaining rolls are covered in plastic wrap and in a sealed freezer bag. The Sloppy Joe’s are a no-fail recipe that is ready in less than 30 minutes. I’m glad that I decide to redeem my error, so that I could deem this recipe worthy to be made.
Homemade Brioche Buns In An Hour
Ingredients
- 1 ¼ cups milk warmed to 105 – 110 degrees
- 2 tablespoon instant yeast or 3 packs active dry yeast
- 2 tablespoon sugar
- ⅓ cup butter 5 tablespoon + 1 teaspoon – unsalted, melted and set aside to cool
- 2 large eggs divided; 1 egg at room temperature, the other for the egg wash
- 1 ½ teaspoon salt
- 3 ½ cups all-purpose flour plus more flour for your working surface
- 1 teaspoon water cold (for the egg wash)
Instructions
- If using active dry yeast, In the bowl of a stand mixer, add the milk, yeast and sugar and let stand for 5 minutes to activate the yeast. Once activated, add the melted butter and 1 egg.
- If using instant yeast, in the bowl of a stand mixer, add the warmed milk, instant yeast, sugar, melted butter and one o the eggs. Gently stir all of the ingredients together.
Make the dough:
- Using the dough hook attachment, add the salt then flour, beginning with about 3 ¼ cups. You are looking for a sticky dough that will stretch without breaking. You can add the rest of the flour, if the dough seems to be sticking to the bottom of the bowl. Add in one tablespoon increments.
- Knead the dough with your stand mixer for about 5-7 minutes until the dough is smooth and elastic, and clears the sides and bottom of the mixing bowl.Turn out the dough on a lightly floured bench (or lightly oiled Quartz or Granit work surface). Divide your dough into 8-10 buns (I usually make eight 3" buns).
- Shape the dough portions into round dough balls. My technique is to flatten the dough, pulling four corners of the dough to the center (like a purse), then roll seam side down until nice and round. Place each piece of dough on a parchment paper lined baking sheet, leaving about 3 inches spacing between each bun and also the baking sheet edges. Cover lightly with oiled plastic wrap or a clean kitchen towel and allow to rise for 10 minutes. Yes, that's right! These buns only require one rise, no need for a second rise
- Preheat the oven to 425 degrees while the dough balls are rising. Whisk the second egg with the cold water and gather any additional toppings (sesame seeds, poppy seeds) if desired.
- Brush the tops of the risen dough balls with the egg wash and add toppings (if using). Bake at 425 degrees for 10-12 minutes, or until the tops of the buns are nicely golden in color and the bottoms are also lightly browned.
- Remove from the oven, remove from the parchment paper and transfer to a wire cooling rack.
Notes
Keep the brioche buns, stored in an air tight container or storage bag, for one to two days at room temperature. The brioche buns can also be frozen your by wrapping individual buns tightly in heavy duty aluminum foil and place in a freezer storage bag. They will last up to 3 months, for best results. Recipe source: Bake It With Love




Leave a Reply