Sourdough baking has become a recent obsession now that I’m retired. When I give my sourdough starter a weekly feeding, I try to find ways to avoid tossing part of the starter into the trash. This recipe was perfect timing because this recipe was successful and incredibly delicious!
Baking with yeast is a fear I conquered a very long time ago. Baking with sourdough has been a more timid journey for me. I’ve baked No Knead Sourdough bread that tastes great. Nowadays, I’ve been spending a lot more time learning how to make Artisan Sourdough Bread and I’ve had recent successes (post to come). Still, I need to keep my “Clint Yeastwood” starter healthy and active and that entails discarding a portion of the unfed starter starter and feeding it with fresh water and flour.
I was intrigued with this recipe for Sourdough Discard Brown Bread that was posted on Amy Bakes Bread because I had a feeling it would make delicious morning toast as well as sandwich bread. Spoiler Alert: It is!
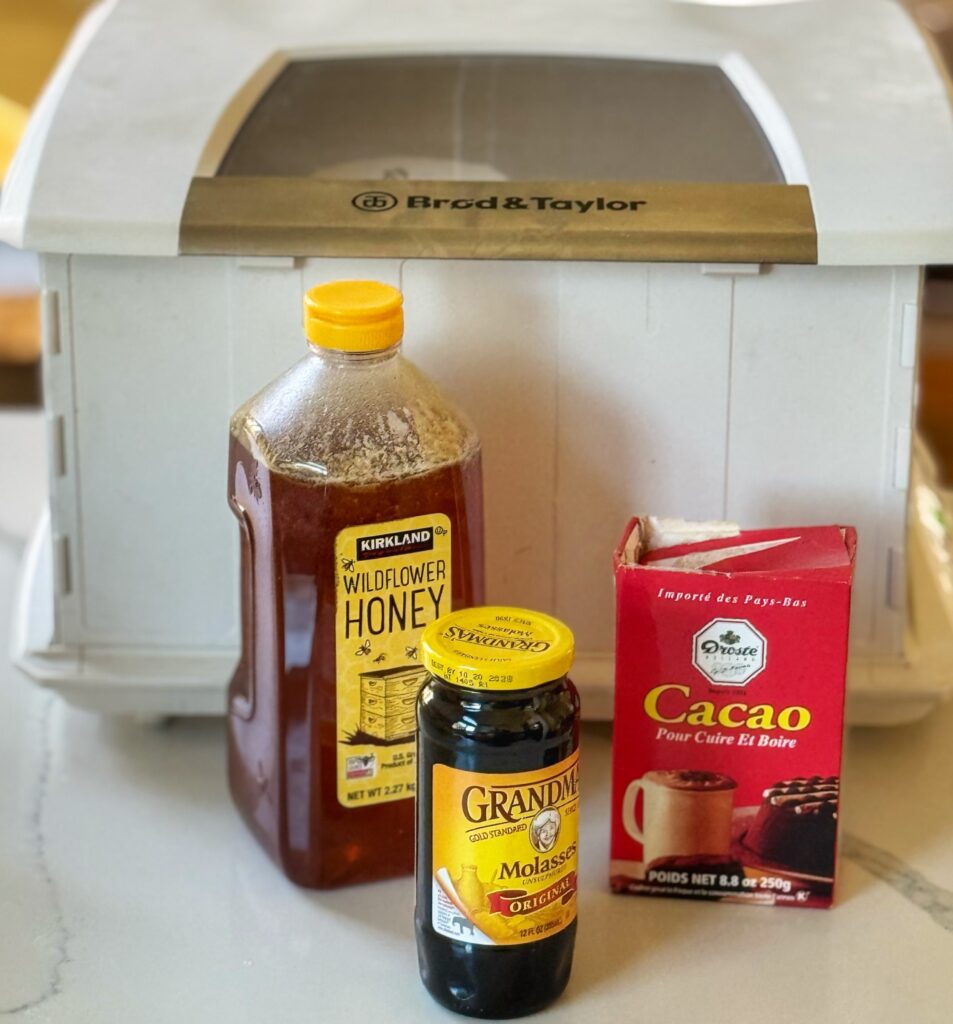
You’ll need honey, molasses and Dutch Process Cocoa. In the background is one of the best investments I’ve made for bread baking. My Brod & Taylor Folding Proofing Box has improved my bread baking a LOT! Setting the temperature is super handy during the cooler months of the year. I find that dough proofs a lot faster, because it’s free of drafts and cold air. It folds easily, and I can store it in my kitchen for quick access (I do access it at least once a week). (There’s also a slow cooker and yogurt making feature, that I have yet to use.)
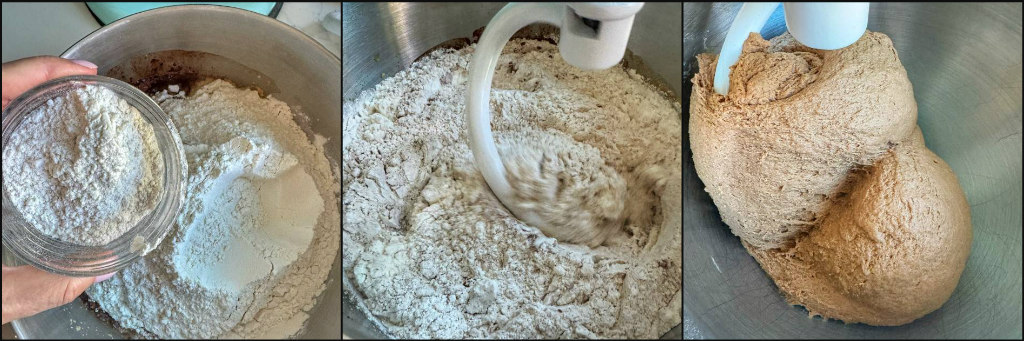
In my stand mixer, the sourdough discard, water, molasses and honey is measured into the mixing bowl. The recipe calls for both bread and whole wheat flour. Add the water and the dough hook mixed the dough perfectly.
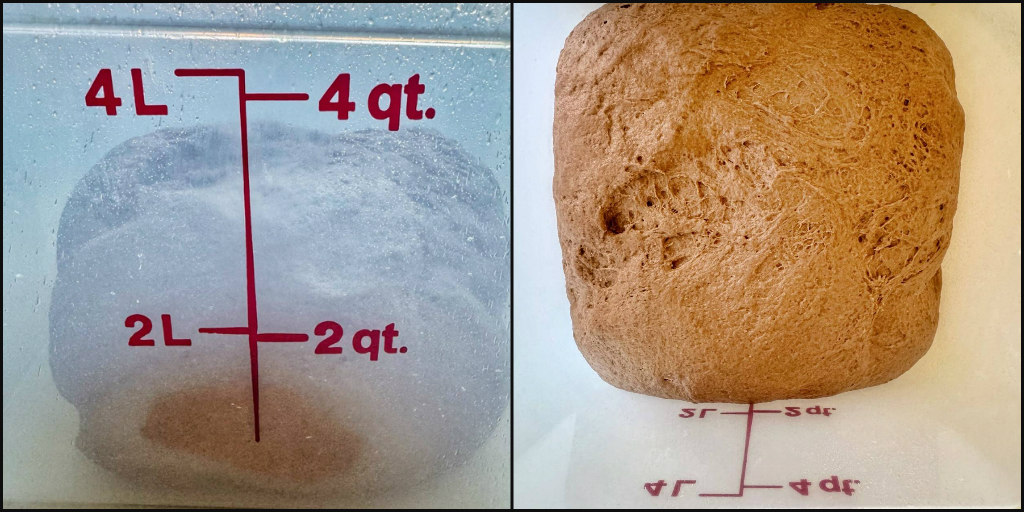
The dough is set into a dough bucket and set into the proofing box (set at 75F). Just over an hour later, the dough had doubled!
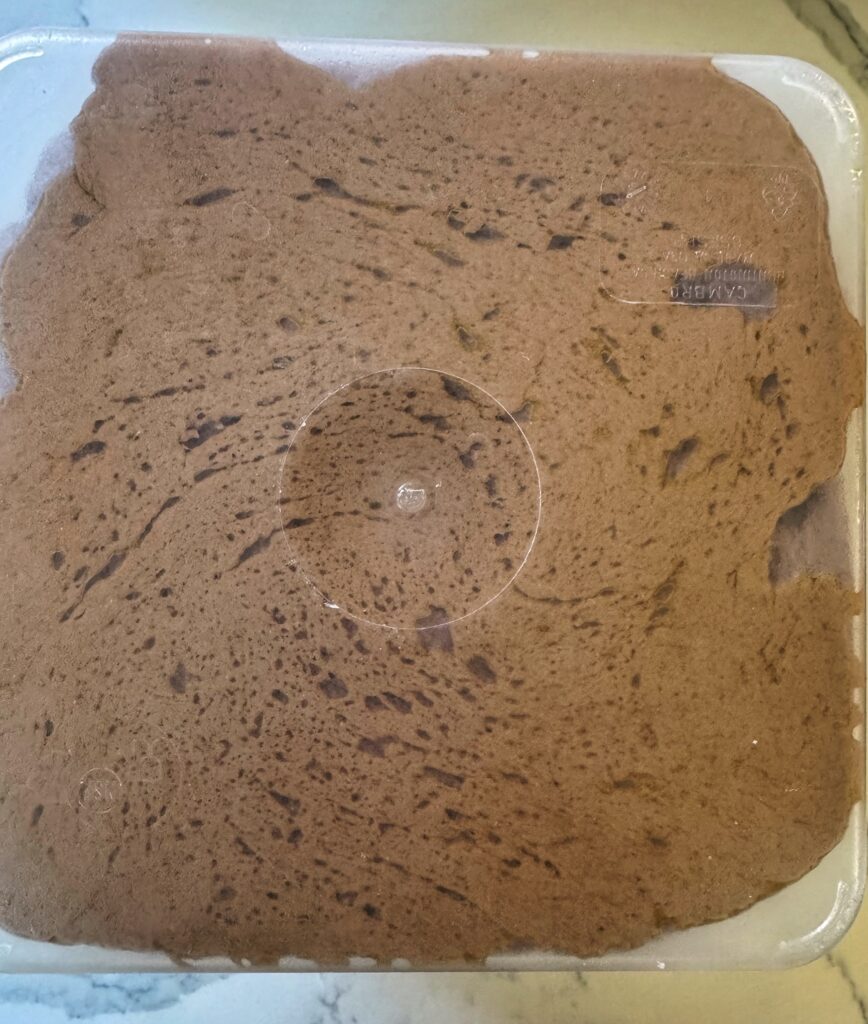
I’d say that the sourdough discard and added yeast has done its job well. Nice gas bubble! Flip the dough over and it slid right out. Yes!
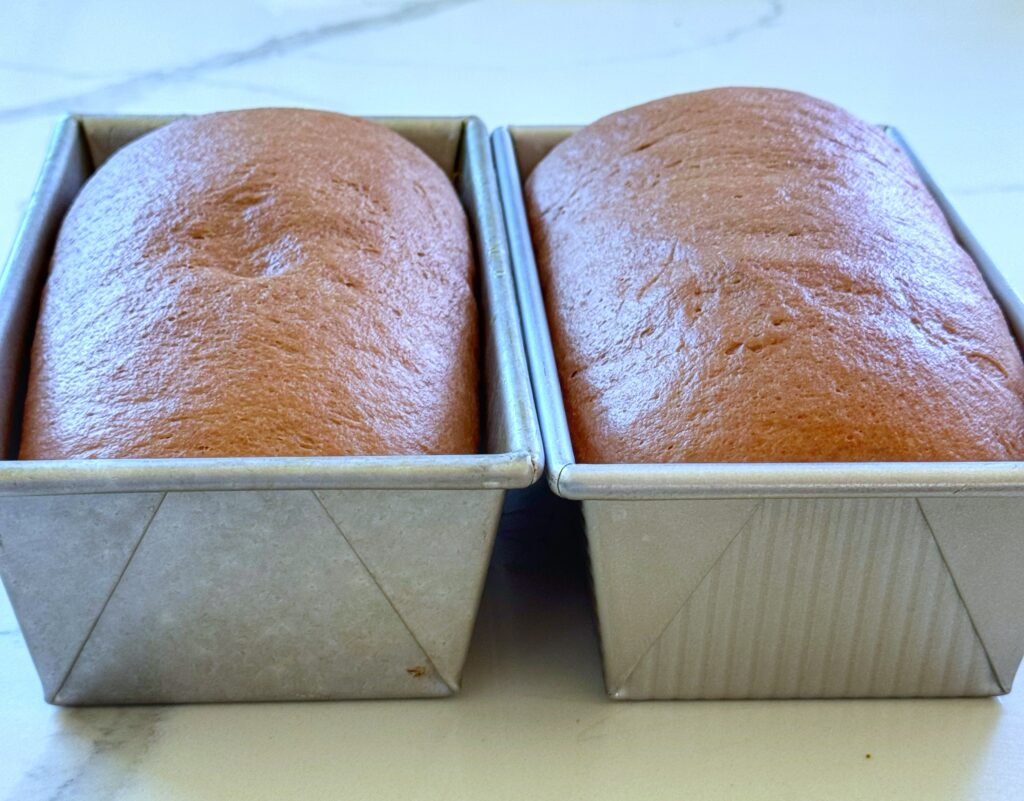
Divide the dough in half, and gently press or roll it into a rectangle. These USA Bread Pans are my favorite, because they’re non-stick.
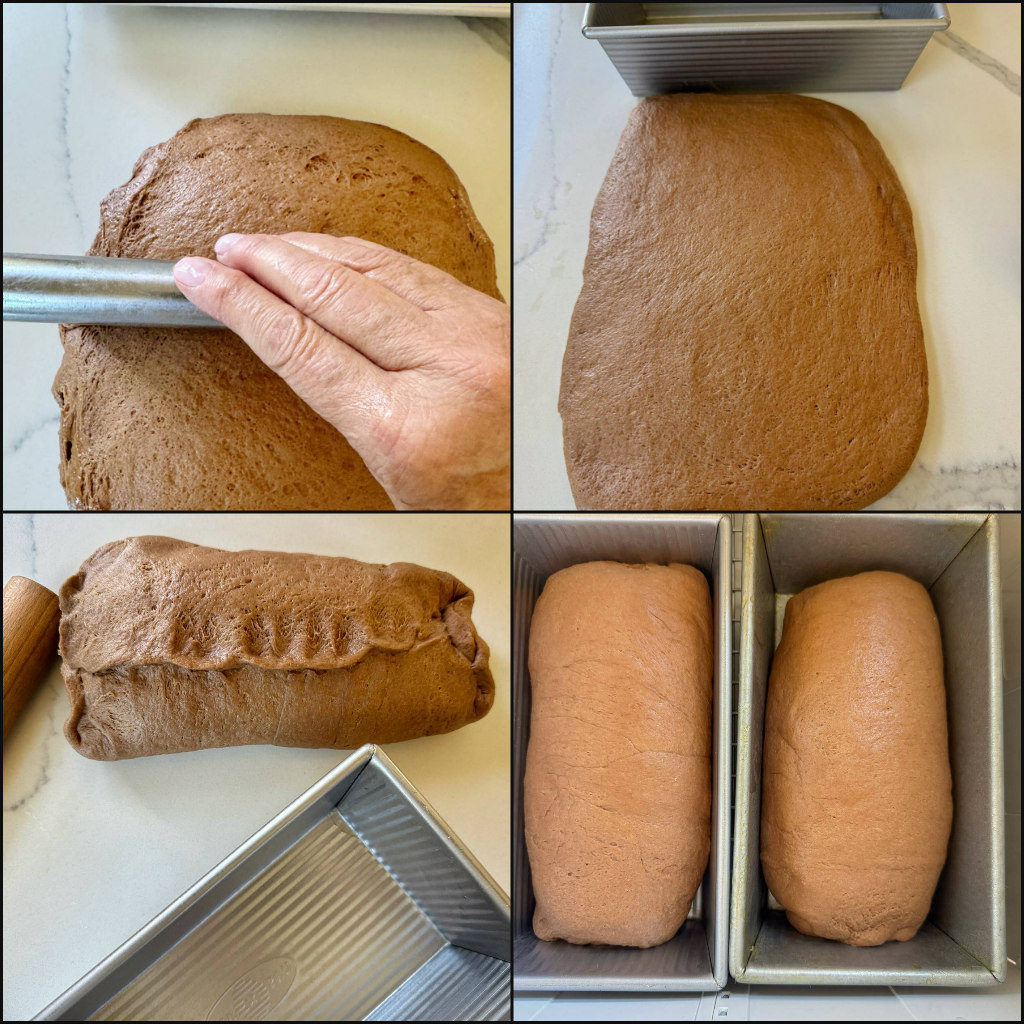
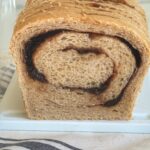
Roll up the log, and pinch the side and top seam together. Second proof the dough.
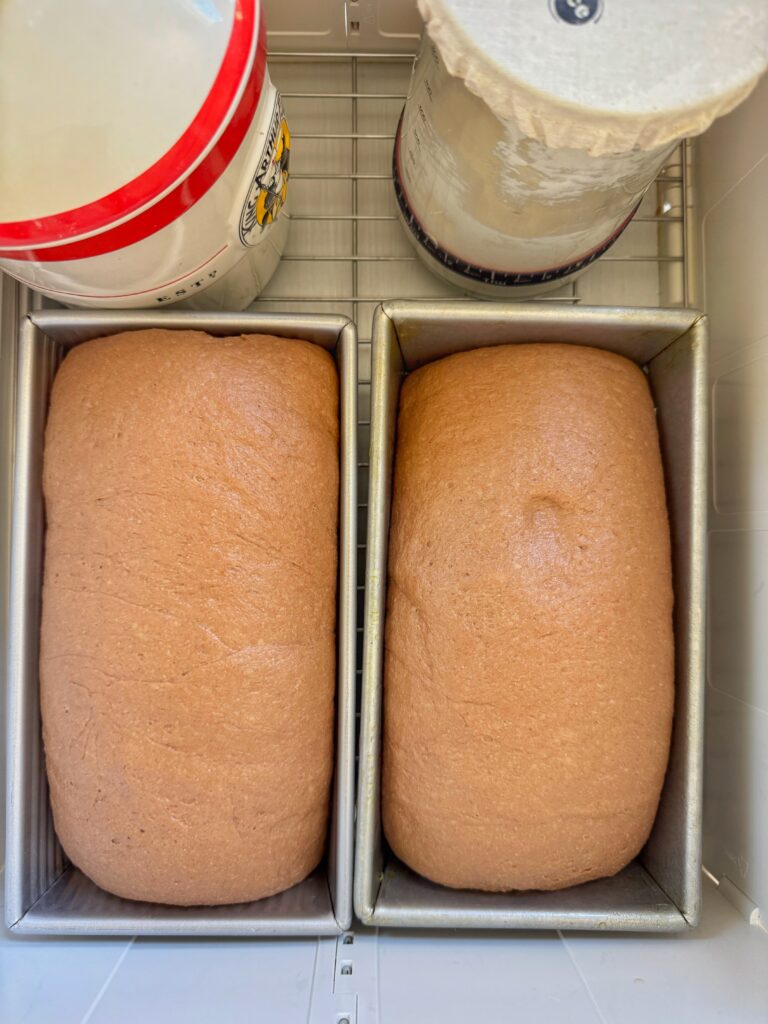
The second proof took less than an hour to double inside the proofing box. You can also see where my “Mother” Sourdough starter has been fed, as well as additional starter for a sourdough loaf of bread.
Bake the loaves at 350F for 40-45 minutes. An instant read thermometer should show a temperature of 200F.
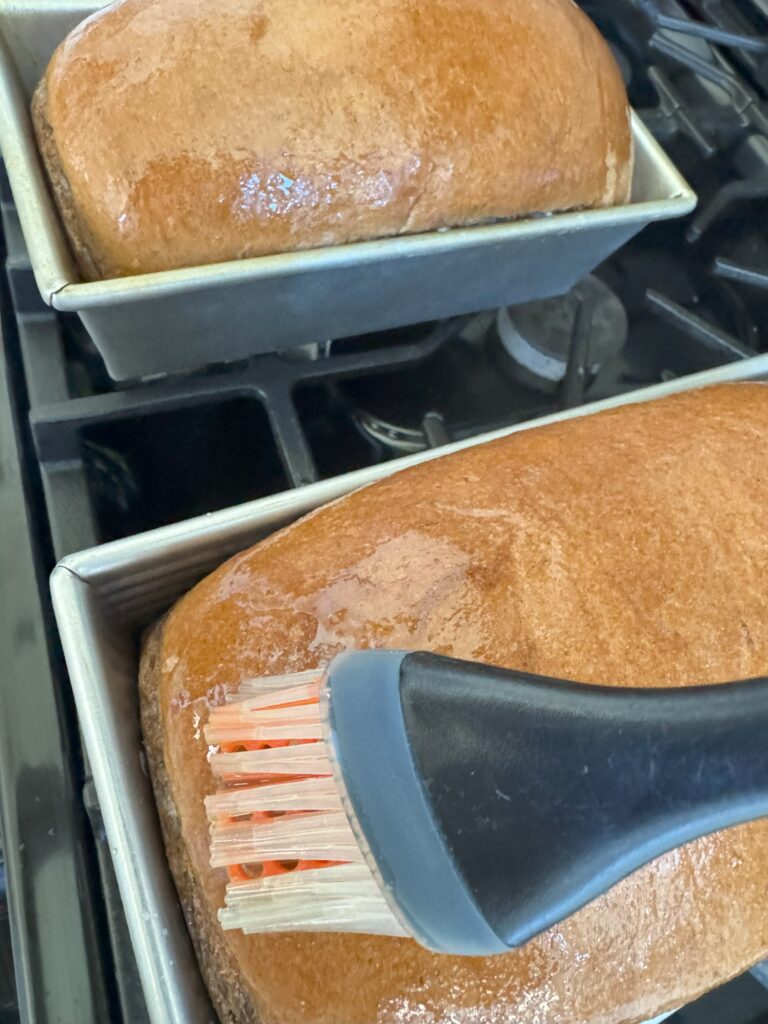
If desired, immediately brush melted butter over each baked loaf (for a softer crust).
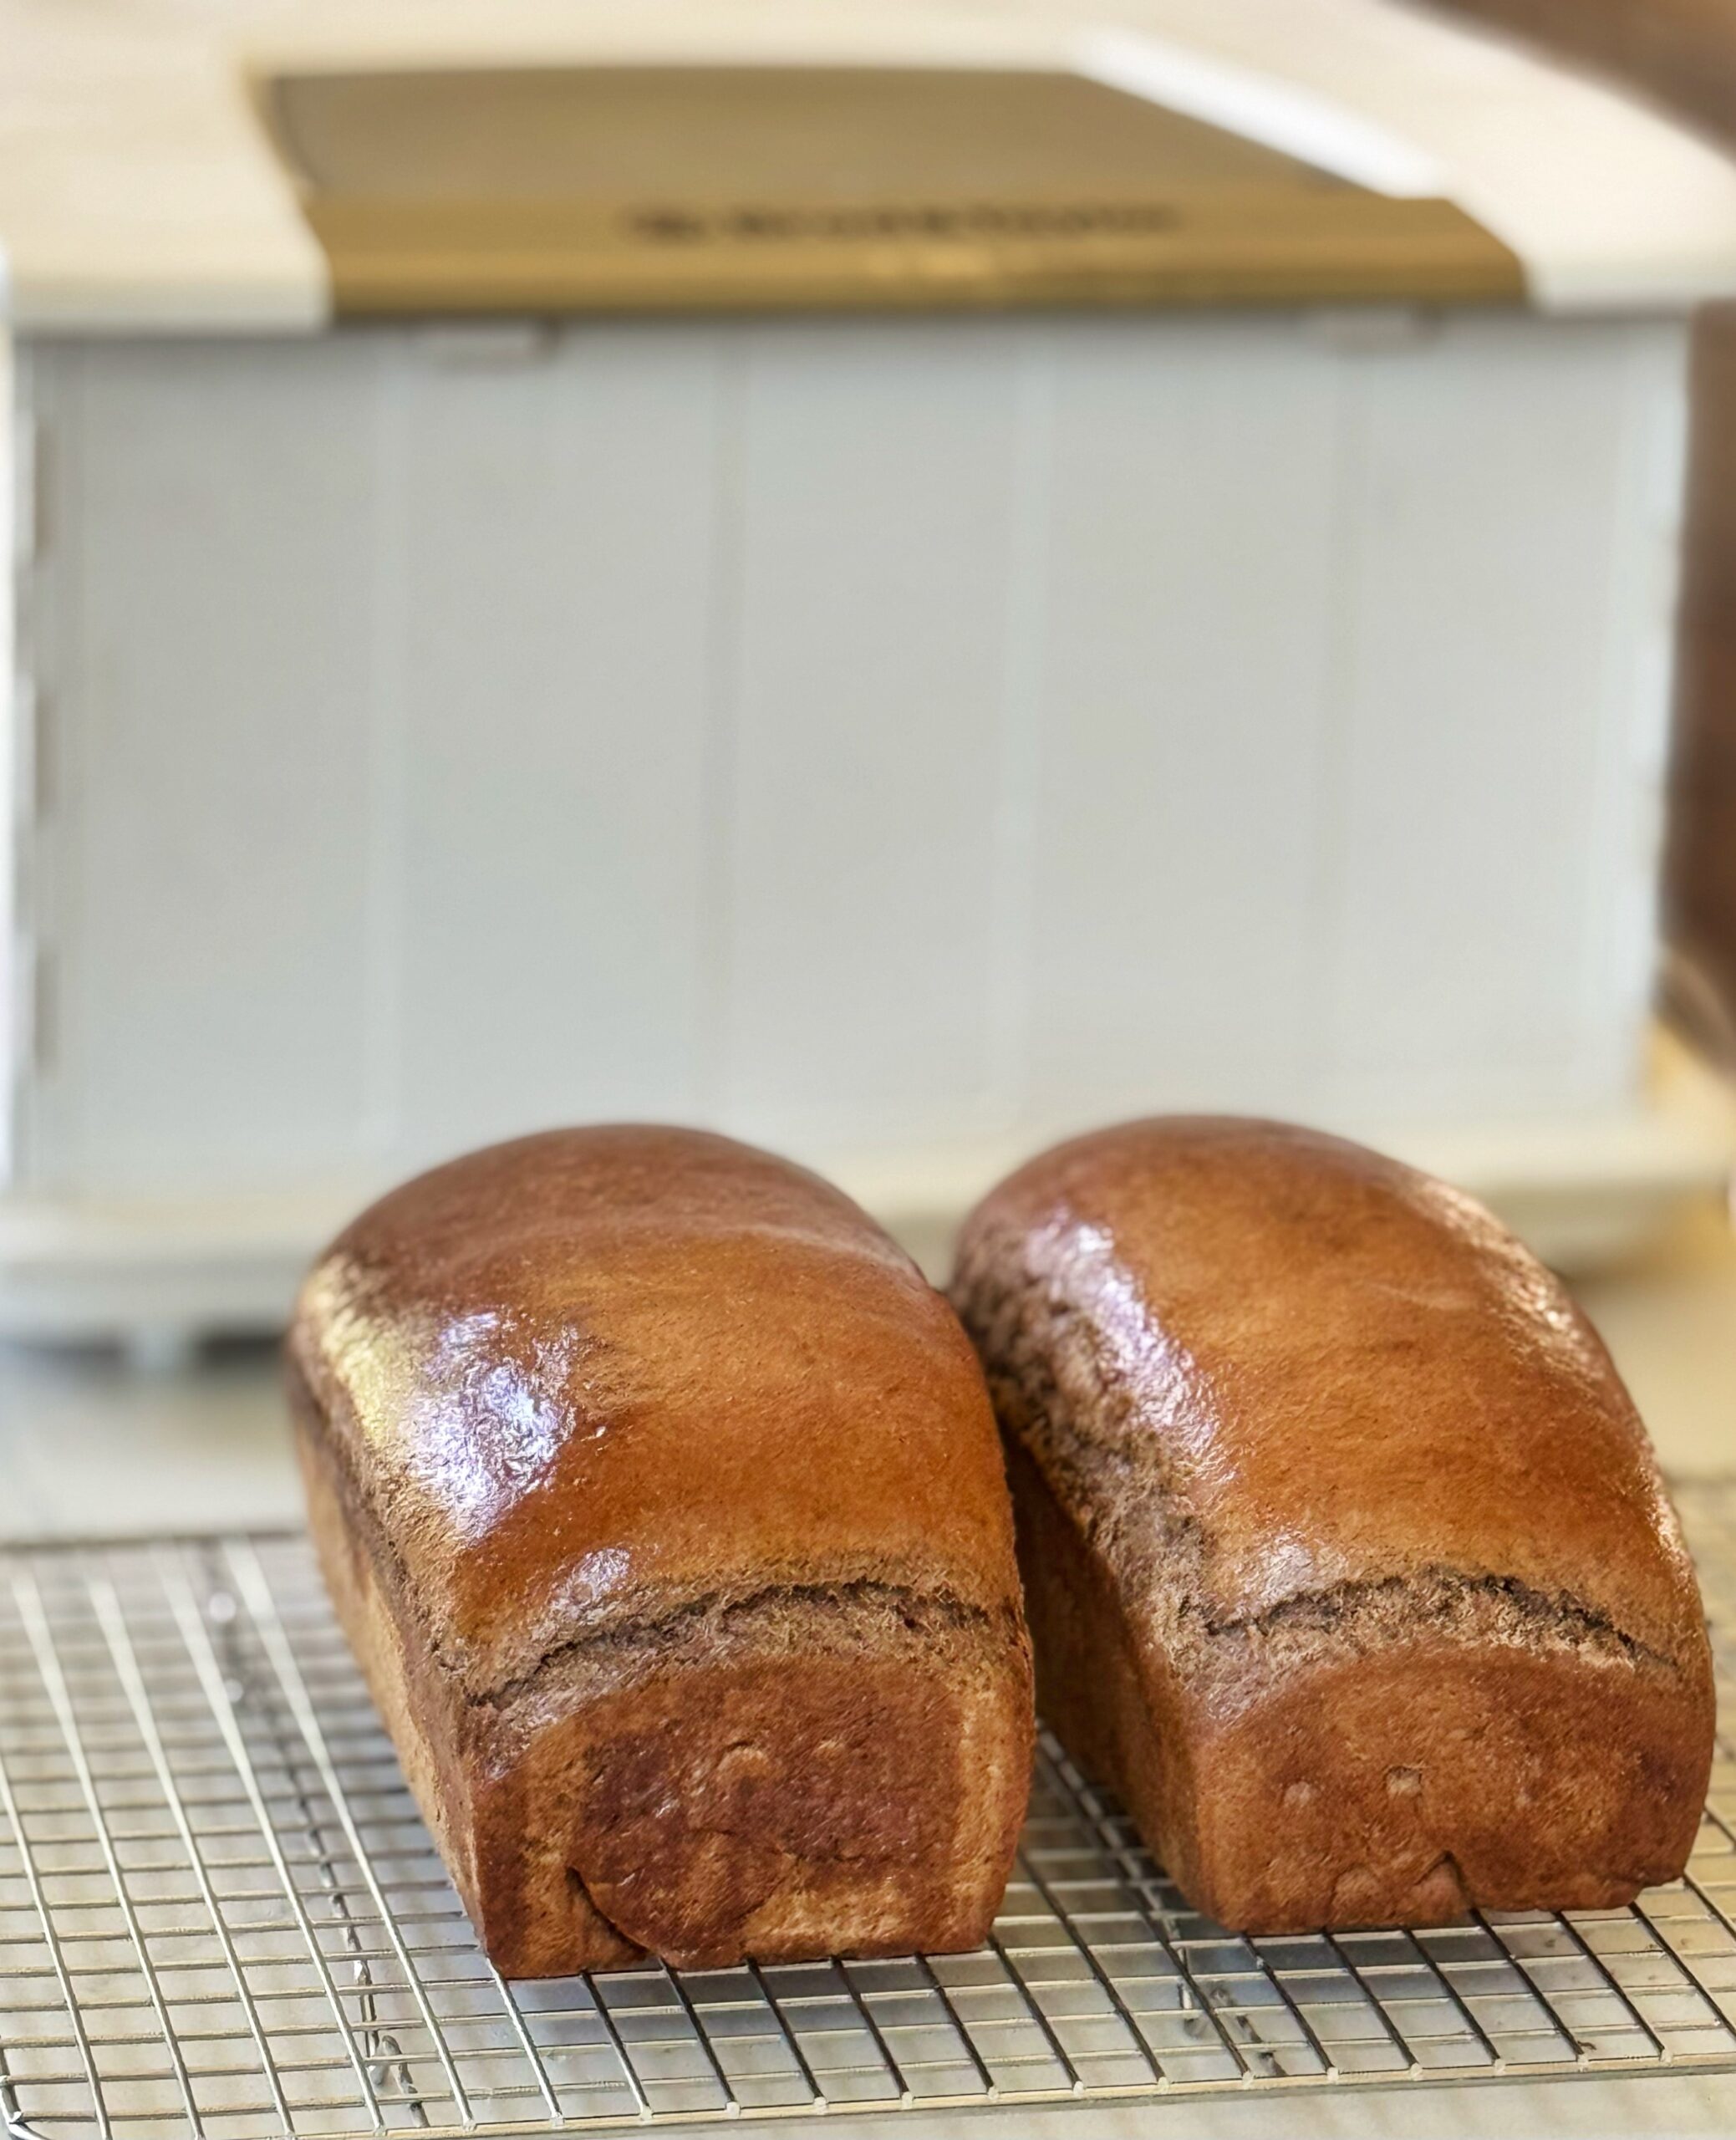
Allow the bread to completely cool before slicing, for optimal results.
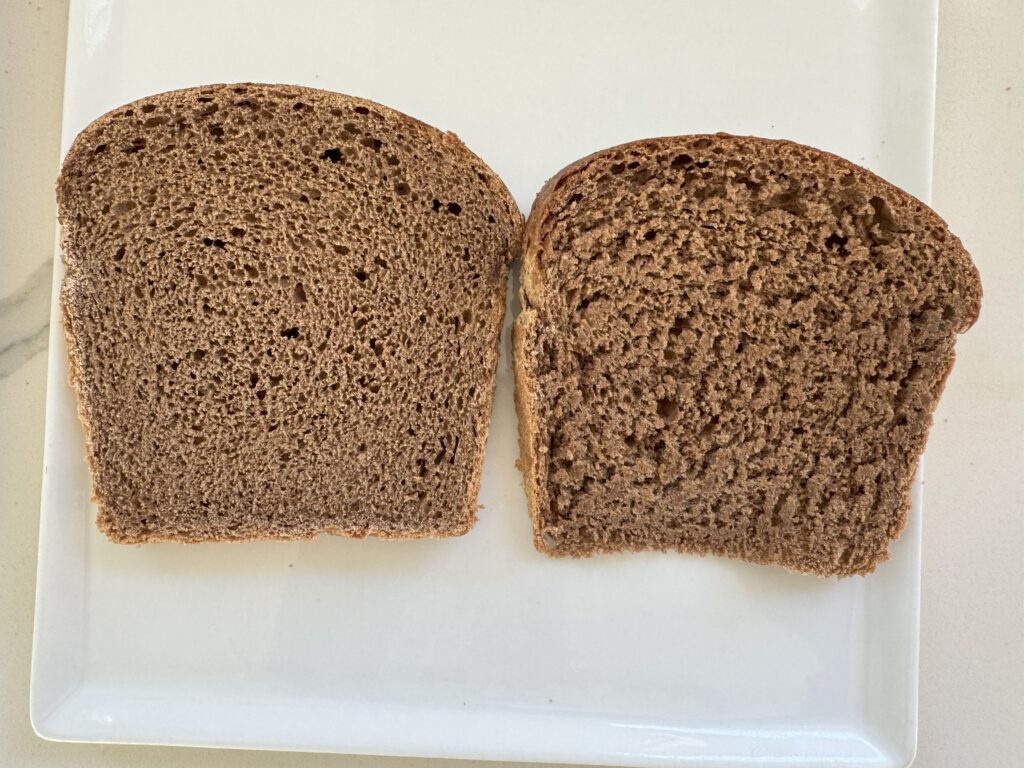
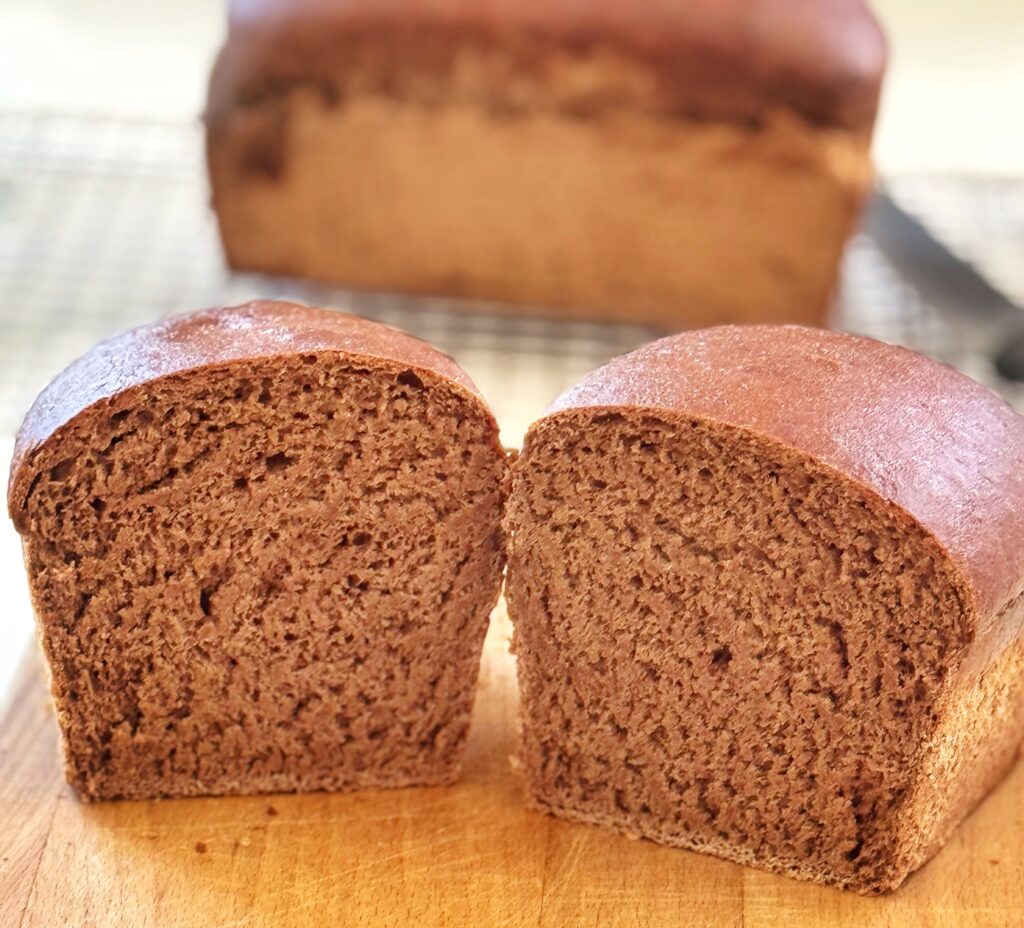
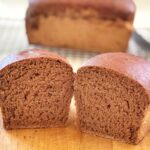
Patience isn’t my strongest virtue. Can you see the difference between the two slices? The one on the left has a finer crumb because it was sliced when cool. The slice on the right was was cut when the bread was still warm (I was anxious to taste it).
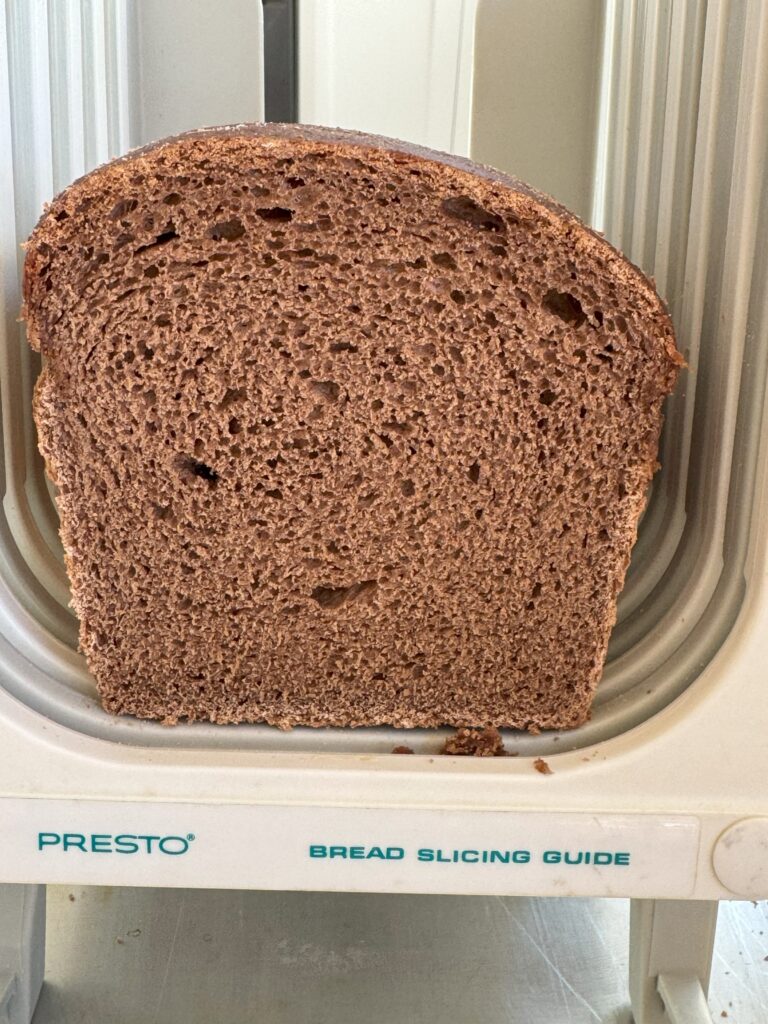
Here’s a close up of the cooled loaf after it was sliced. NOTE: The bread slicer is one I purchased decades ago. Sadly, it’s no longer made but I still use it with every loaf of bread that I bake.
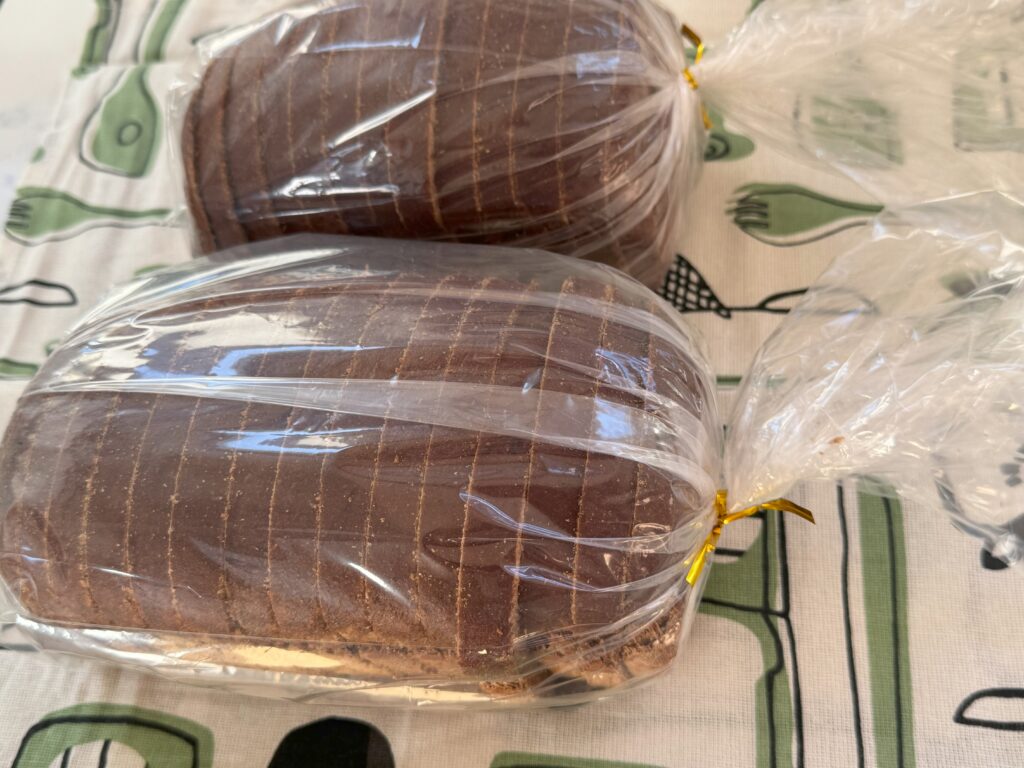
Once the loaves are sliced, slip them into bread bags and into the freezer. One loaf is set aside for immediate consumption.
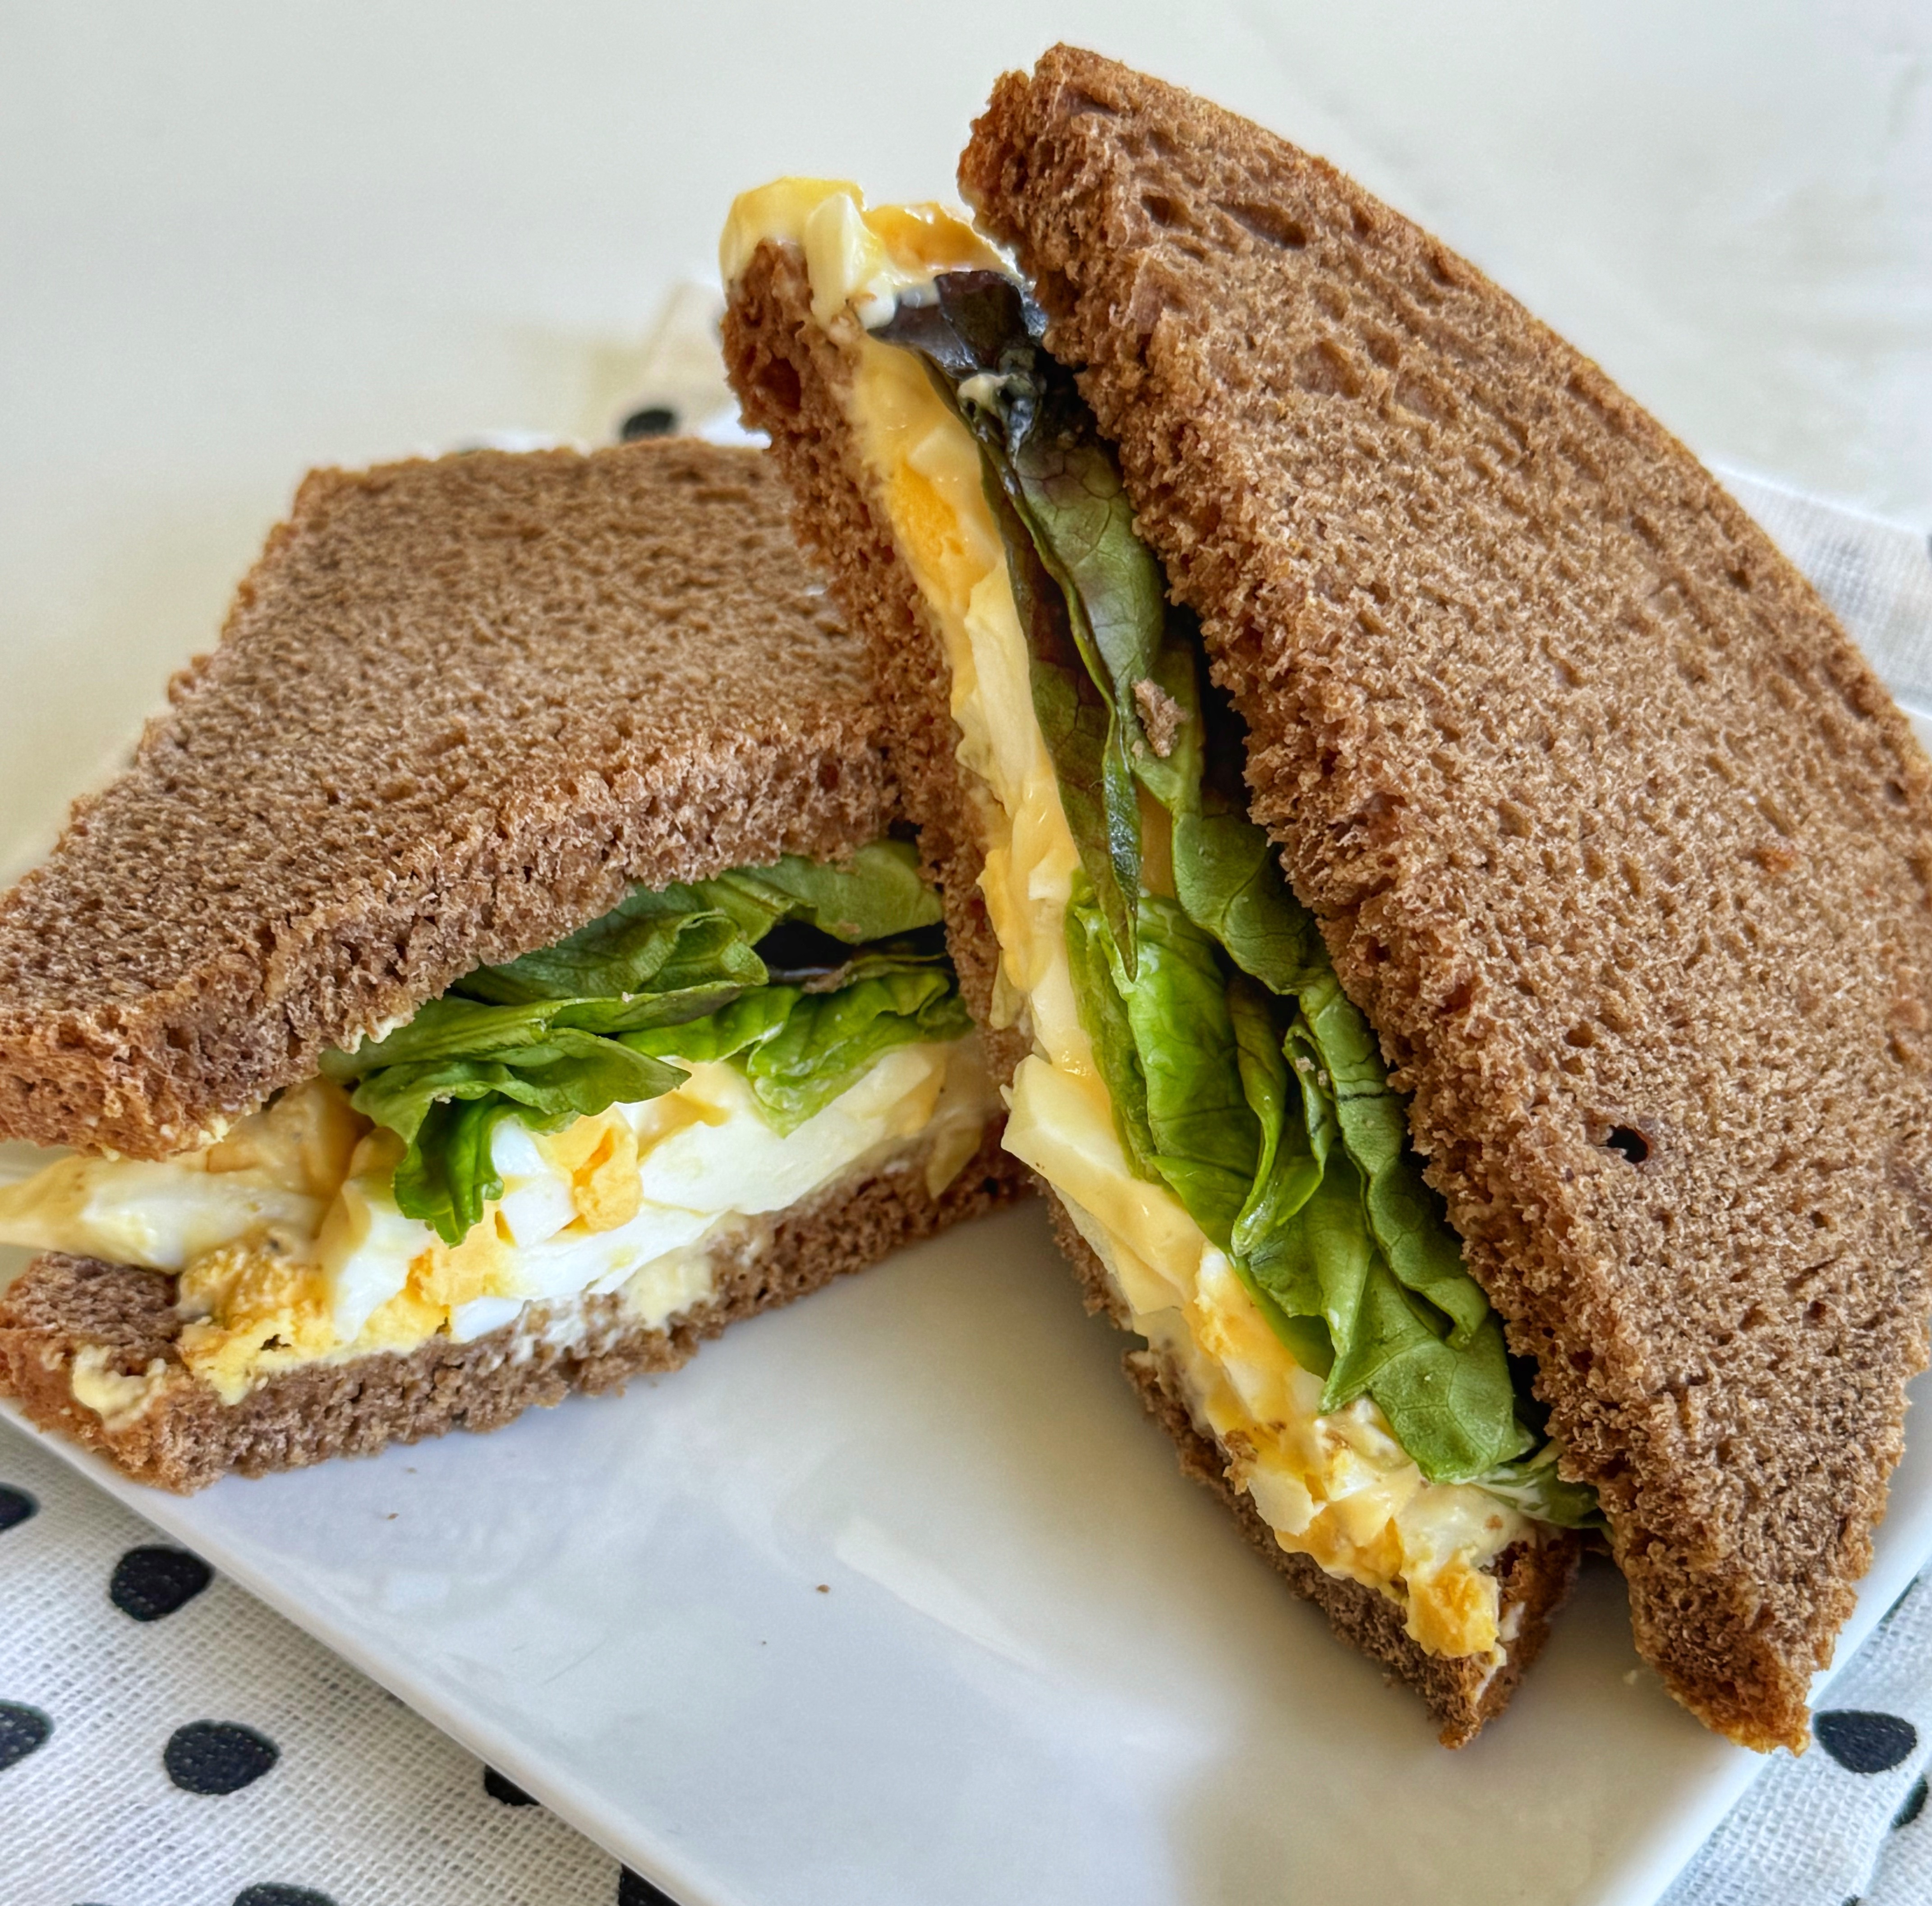
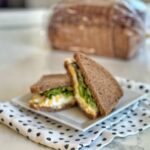
TASTING NOTES: If you’ve ever eaten at an Outback Steakhouse, this bread reminds me of those warm loaves of brown bread that are brought to you. The bread is mildly sweet, with a subtle hint of honey and molasses. The bread is super soft. Not only did the bread make delicious morning toast, it was perfect with egg salad. I have a feeling this bread will become a weekly staple in our home. It was gone in no time!
Sourdough Discard Brown Bread
Equipment
- Digital Kitchen Scale much preferred way to accurately weight bread ingredients
- Stand Mixer with dough hook (dough can also be kneaded by hand)
- Proofing Box Not mandatory but a GREAT investment
Ingredients
- 450 grams water warmed about 1 3/4 cup plus 2 Tablespoons
- 80 grams molasses about 1/4 cup
- 175 grams honey about 1/2 cup
- 9 grams instant yeast 1 Tablespoon
- 200 grams sourdough discard heaping 3/4 cup
- 30 grams cocoa powder
- 14 grams salt about 2 teaspoons
- 460 grams whole wheat flour f about 3 1/3 cups (freshly milled can be used)
- 550 grams bread flour about 4 cups
Instructions
Make the dough:
- To the bowl of a stand mixer add the warm water, molasses, honey and instant yeast.
- Add the sourdough discard, cocoa powder, salt, whole wheat flour and bread flour. Reserve a little of the flour (a little less than a cup) and add it in as needed. Knead the dough for 8-10 minutes until cohesive and strong. The dough should pull away from the sides of the bowl or gather all together as it kneads. It will feel tacky to the touch, but should not be overly sticky. If it is very sticky, add a little bit more flour 10-20 grams at a time until it feels tacky and workable. This dough can also be kneaded about 10-20 minutes by hand.
Bulk Rise:
- Transfer the dough to a large container and cover (with a plastic shower cap or kitchen towel). Let rise for about an hour or two until doubled in size. The warmer you keep the dough, the faster the dough will rise.
Divide the dough:
- Once the dough has doubled in size and is light and airy, dump the dough on the countertop and separate into two equal portions.
Shape the dough:
- Pat one of the portions out into a rectangle. Starting at the edge closest to you, roll up the dough. Take care to press in the dough at the seam after each roll and pinch the seam closed at the end. Pinch and round the ends of the dough just a bit to get a uniform loaf. Place in a greased 8.5-by-4.5 loaf pan and cover. NOTE: I use USA Bread Pans that are non-stick, so no need to grease. Repeat with remaining portion of dough. You can watch a shaping video here.
- Rise: Let the bread rise in the pan until the dough has risen over the edge of the loaf pan. Press in gently on the dough with a finger. If the dough springs back immediately, it needs a little more time to rise. If it leaves a little indentation and springs back just a little bit, it is ready to bake.
- Note: Keeping the dough at a warm temperature will encourage this bread to rise more quickly. Do not bake the bread until it has at least doubled in size.
Bake the bread:
- Pre-heat oven to 350ºF. Bake the loaves of bread for 40-45 minutes until the loaf is baked through and the internal temperature is about 200ºF. Spread melted butter on the tops of the loaves if desired. Let bread cool completely before slicing for sandwiches. This bread freezes well.
Notes


Looks and sounds so good. Got some discard from a friend today. I’ve never worked with sourdough. Want to make this after church tomorrow. Any suggestions?
The first thing is to learn how to feed and maintain your starter. I’d start with a no knead recipe. Artisan sourdough takes practice to achieve good results. I’ve had my share of fails. I’ve watched a lot of YouTube videos that taught a lot of sourdough techniques. This recipe is one that works well for a beginner:
https://afeastfortheeyes.net/2021/02/the-best-no-knead-sourdough-bread.html