Fresh Tomato Bruschetta, on homemade grilled pizza dough, is a perfect way to enjoy summer tomatoes and basil. This homemade pizza dough can be made in advance. Plus, it’s even better than pizza delivery, for a lot less money.
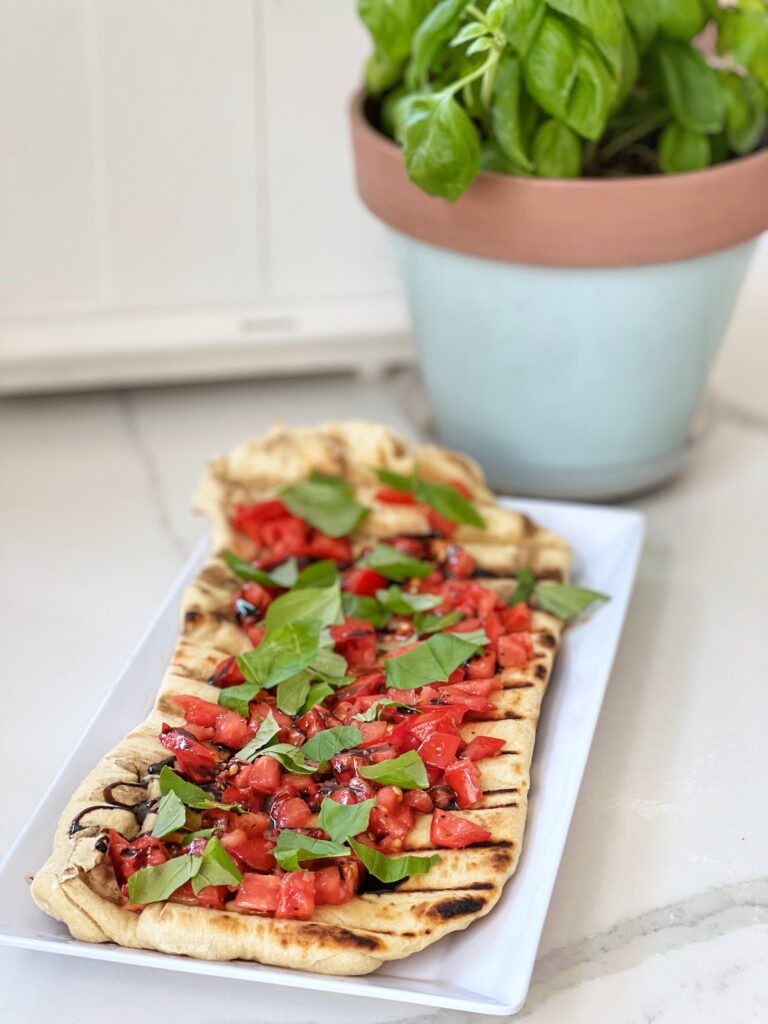
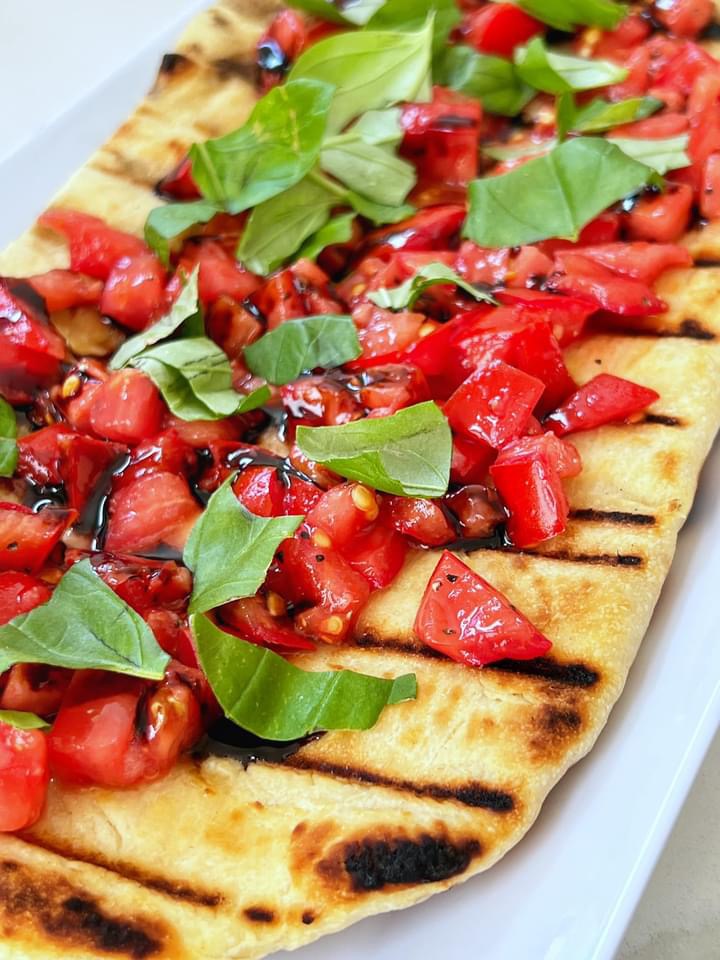
Bruschetta is a delicious “condiment” that showcases summer tomatoes.
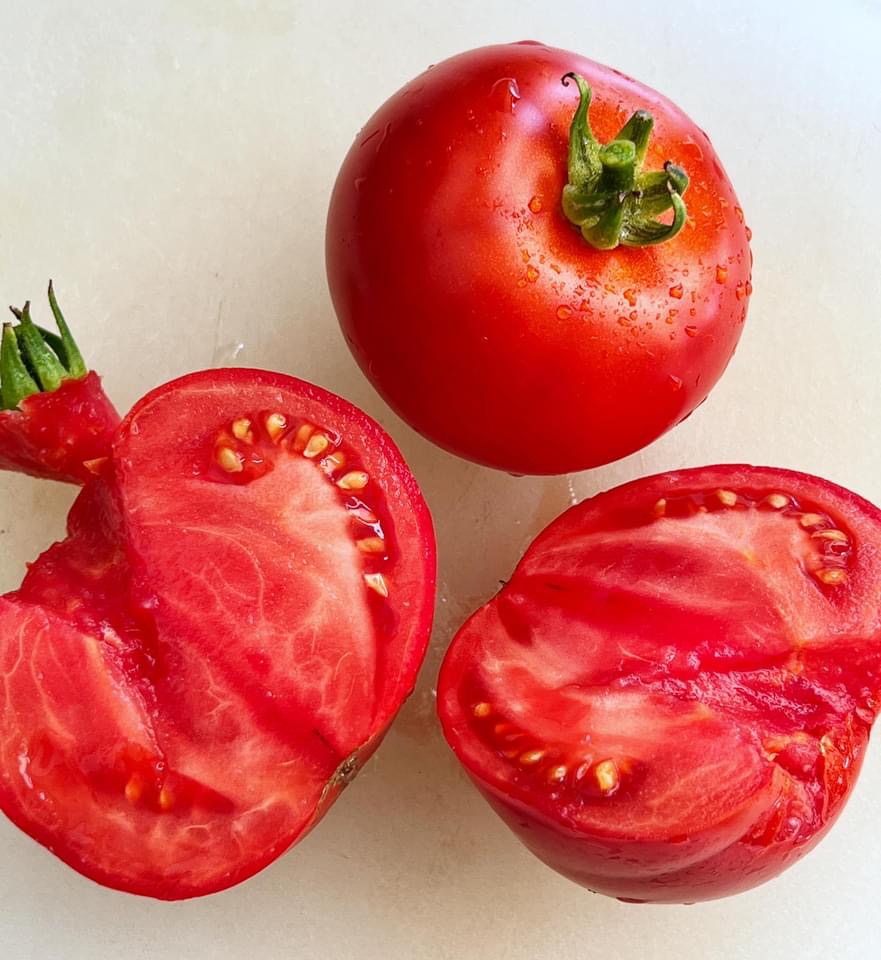
Traditionally, we enjoy Bruschetta piled atop toasted baguette slices. This time, I had leftover homemade pizza dough. Why not grill the pizza dough, and make a flatbread pizza?!
First, let’s start with making this easy pizza dough. King Arthur Flour is one of my most trusted recipe sources, when it comes to working with yeast. My stand mixer kneaded the dough with ease. Elbow grease works just as well.
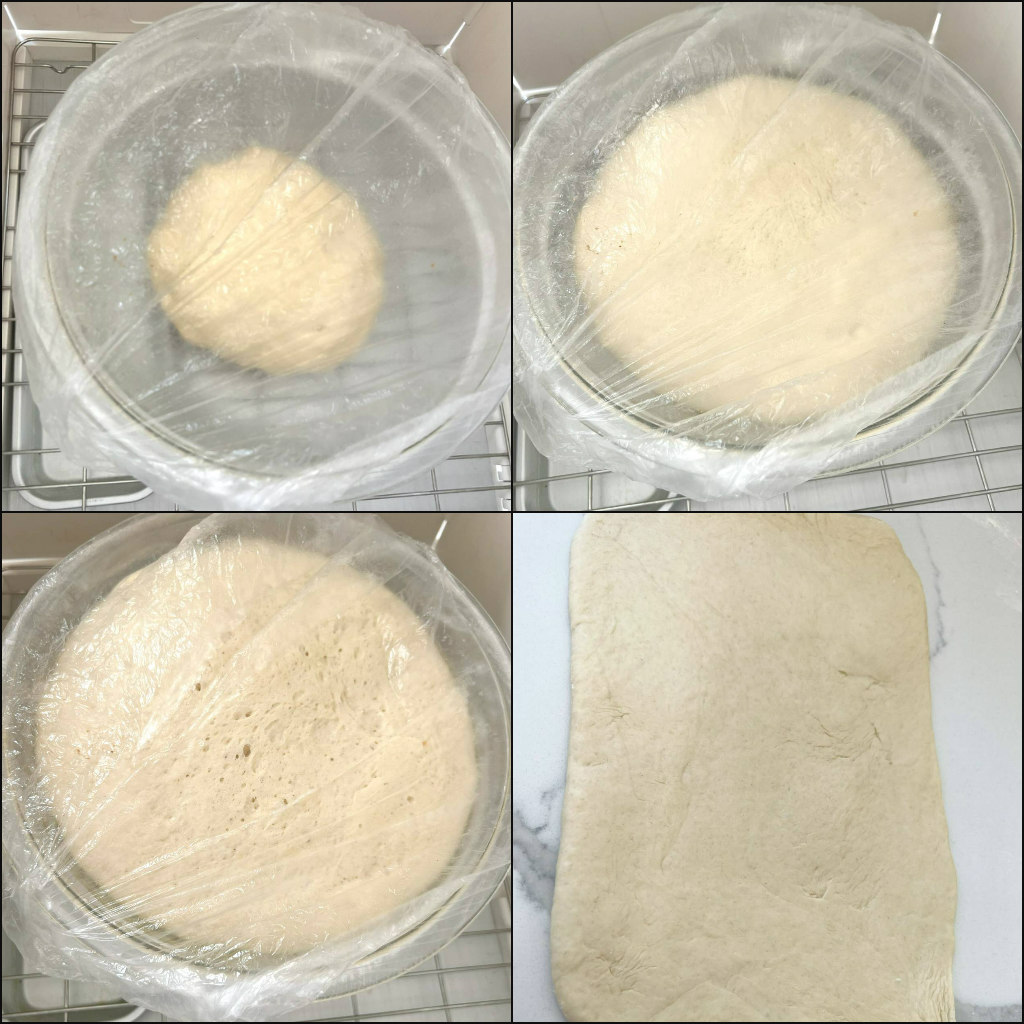
It’s so gratifying to watch yeast dough starting to rise. Finally, the dough is “poofy” and ready to shape. A few years ago, I invested in a dough proofing box. It’s a luxury, for sure. Since I so enjoy working with yeast, I don’t have to worry about drafts, or a cold kitchen in the winter.
Once the dough has been shaped, pop it onto a hot grill for 2-3 minutes per side. The sky’s the limit on what toppings you choose. For me, Bruschetta is always my first choice.

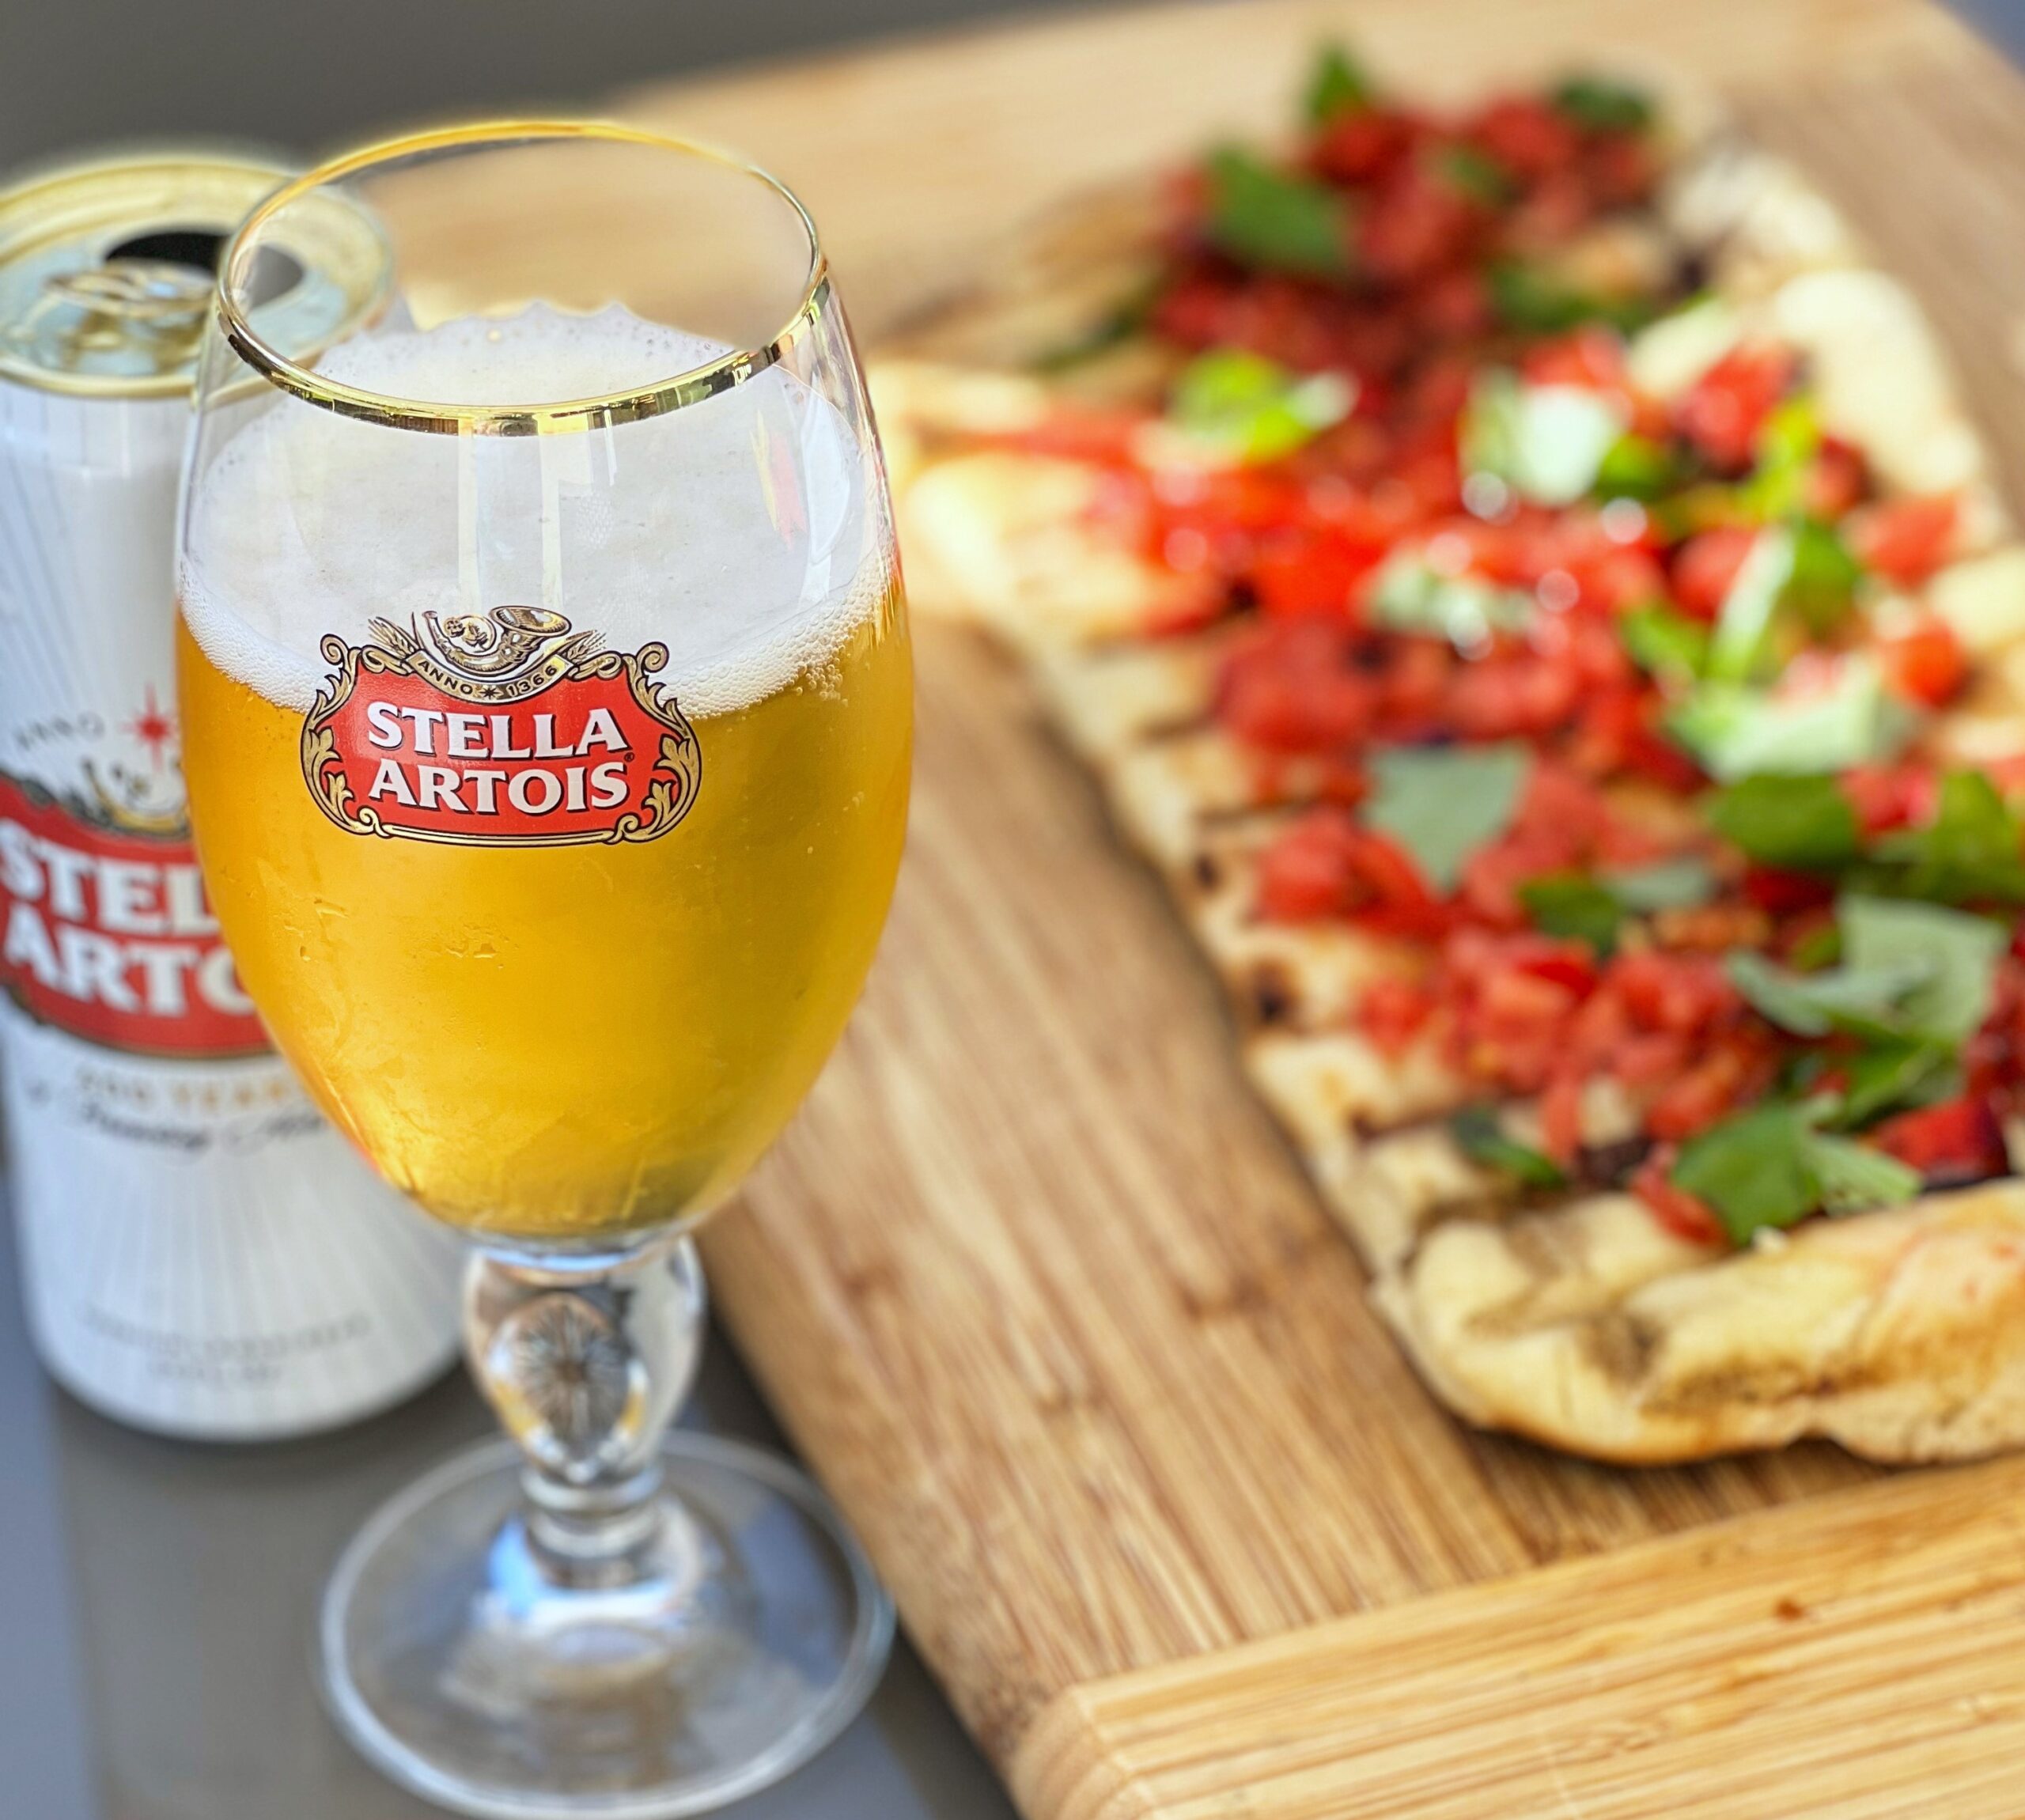
TASTING NOTES: While I’m not sponsored by this beer company, it’s my favorite beer to enjoy with pizza. On a lovely summer day, on our patio, pizza and beer is a simple and satisfying meal. Out of many pizza dough recipes, this one is so simple and it’s cost effective, too! Can you bake this instead? Of course! If it’s a really hot day, though, a grill can keep your kitchen nice and cool.
Perfect Homemade Pizza Dough
Ingredients
- 2 teaspoons active dry yeast or instant yeast
- 7/8 to 1 1/8 cups lukewarm water* 198g to 255g
- 2 tablespoons olive oil 25g
- 3 cups All-Purpose Flour 360g recommended: King Arthur Flour
- 1 1/4 teaspoons table salt 8g
Instructions
- If you're using active dry yeast, dissolve it, with a pinch of sugar, in 2 tablespoons of the lukewarm water. Let the yeast and water sit at room temperature for 15 minutes, until the mixture has bubbled and expanded. If you're using instant yeast, you can skip this step.
- Weigh your flour; or measure it by gently spooning it into a cup, then sweeping off any excess. Combine the dissolved yeast (or the instant yeast) with the remainder of the ingredients.
- Mix and knead everything together —by hand, mixer or bread machine set on the dough cycle — till you've made a soft, smooth dough. If you're kneading in a stand mixer, it should take 4 to 5 minutes at second speed, and the dough should barely clean the sides of the bowl, perhaps sticking a bit at the bottom. Don't over-knead the dough; it should hold together, but can still look fairly rough on the surface.
- Place the dough in a lightly greased bowl, cover the bowl, and allow it to rise till it's very puffy. This will take about an hour using instant yeast, or 90 minutes using active dry. If it takes longer, that's OK; just give it some extra time.
- Take it a step further
- To make pizza up to 24 hours later
- To make pizza later: Allow the dough to rise, covered, for 45 minutes at room temperature. Refrigerate the dough for 4 hours (or for up to 24 hours); it will rise slowly as it chills. This step allows you more schedule flexibility; it also develops the crust’s flavor. About 2 to 3 hours before you want to serve pizza, remove the dough from the refrigerator.
- Divide the dough in half, for two pizzas; or leave it whole for one pizza.
To make pizza now:
- If you're making a rectangular pizza, shape the dough into a rough oval. For a round pizza, shape it into a rough circle. In either case, don't pat it flat; just stretch it briefly into shape. Allow the dough to rest, covered with an overturned bowl or lightly greased plastic wrap, for 15 minutes.
- Use vegetable oil pan spray to lightly grease the pan(s) of your choice. Drizzle olive oil into the bottom of the pan(s). The pan spray keeps the pizza from sticking; the olive oil gives the crust great flavor and crunch.
- Place the dough in the prepared pan(s). Press it over the bottom of the pan, stretching it towards the edges. You’ll probably get about two-thirds of the way there before the dough starts shrinking back; walk away for 15 minutes. Cover the dough while you’re away, so it doesn’t dry out.
- When you come back, you should be able to pat the dough closer to the corners of the pan. Repeat the rest and dough-stretch one more time, if necessary; your goal is to get the dough to fill the pan as fully as possible.
- Allow the dough to rise, covered, till it’s noticeably puffy, about 90 minutes (if it hasn’t been refrigerated); or 2 to 2 1/2 hours (if it’s been refrigerated). Towards the end of the rising time, preheat the oven to 450°F.
- Bake the pizza on the lower oven rack till it looks and feels set on top, and is just beginning to brown around the edge of the crust, but is still pale on top. This will take about 8 minutes for thinner crust pizza; about 10 to 12 minutes for medium thickness; and 12 to 14 minutes for thick-crust pizza. If you’re baking two pizzas, reverse them in the oven (top to bottom, bottom to top) midway through the baking period.
- To serve pizza immediately: Remove it from the oven, and arrange your toppings of choice on top. Return to the oven, and bake on the upper oven rack for an additional 10 to 15 minutes, until the crust is nicely browned, both top and bottom, and the cheese is melted. Check it midway through, and move it to the bottom rack if the top is browning too much, or the bottom not enough.
- To serve pizza up to 2 days later: Remove the untopped, partially baked crust from the oven, cool completely on a rack, wrap in plastic, and store at room temperature. When ready to serve, top and bake in a preheated 450°F oven, adding a couple of minutes to the baking times noted above. Your goal is a pizza whose crust is browned, and whose toppings are hot/melted.
- Remove the pizza from the oven, and transfer it from the pan to a rack to cool slightly before serving. For easiest serving, cut with a pair of scissors.
Notes
Two 1/2″-thick 14″ round pizzas (pictured);
Two 3/4″-thick 12″ round pizzas;
One 3/4″ to 1″-thick 13″ x 18″ rectangular (Sicilian-style) pizza (pictured);
One 1 1/2″-thick 9″ x 13″ rectangular pizza;
One 1″-thick 14″ round pizza. Tips from our King Arthur Flour Bakers To freeze partially baked pizza crust: Partially bake crust as directed. Remove from the oven, cool to room temperature, wrap well, and freeze for up to 3 months. When you’re ready to serve pizza, remove the crust from the freezer, and allow it to thaw, loosely wrapped, at room temperature. Once it’s completely thawed, top and bake in a preheated 450°F oven, adding a couple of minutes to the baking times noted above. Your goal is a pizza whose crust is browned, and whose toppings are hot/melted. To add flexibility to your schedule, let the dough rise once at room temperature, gently deflate it, then cover and put in the fridge overnight. Next day, remove the dough from the fridge and stretch it into its pan. Let it rest and warm up until slightly puffy, then proceed with the recipe as written. If you like pizza with a deep golden brown, crispy crust, bake on a baking stone. Preheat the stone in the middle of the oven for 45 to 60 minutes. Shape and top your pizza on parchment paper or a baker’s peel and when you’re ready to bake, slide the pizza onto the hot stone (parchment and all, if you’re using parchment).
Nutrition






Leave a Reply