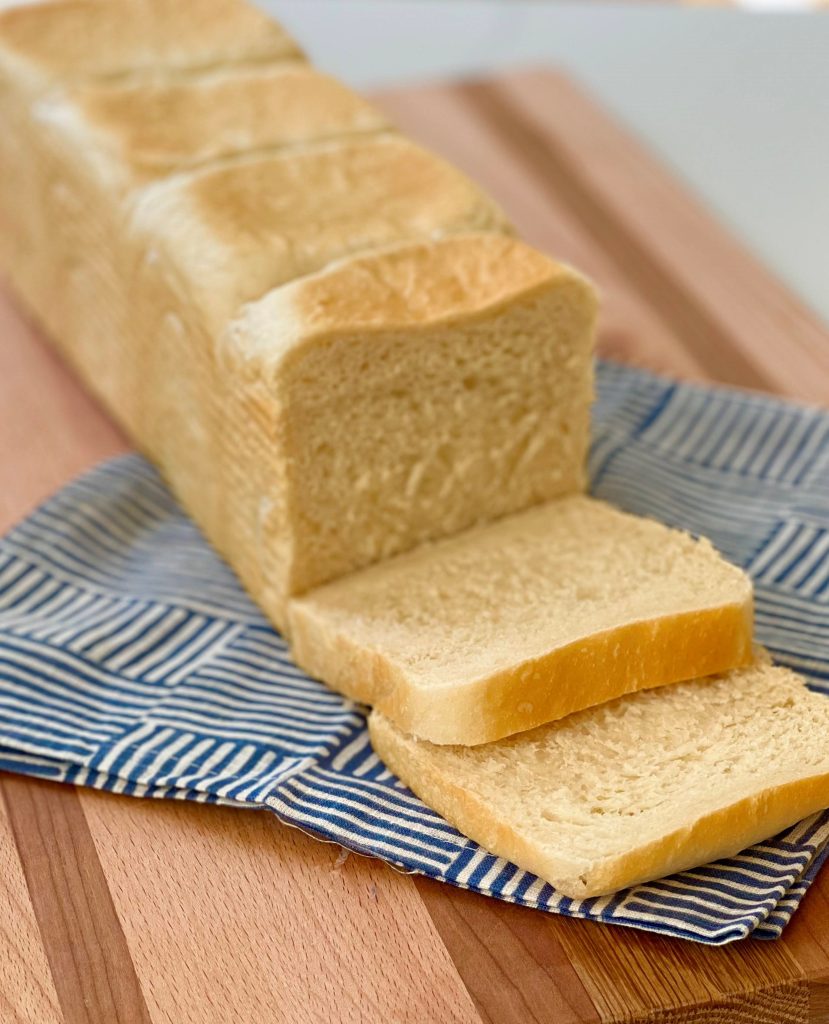
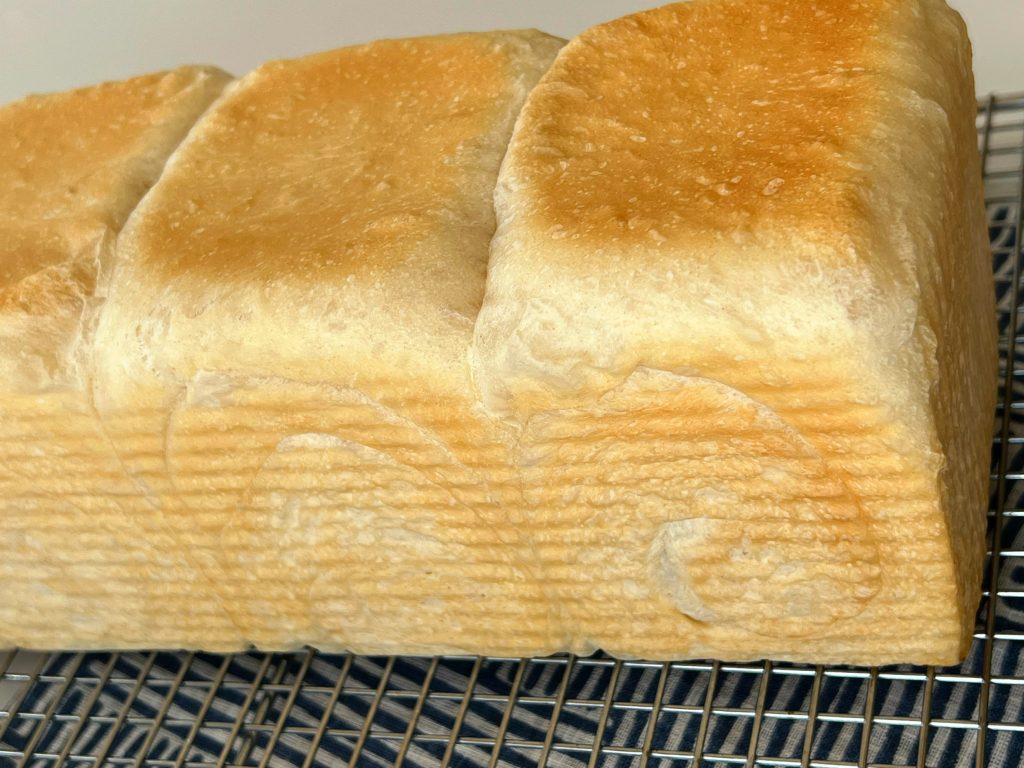
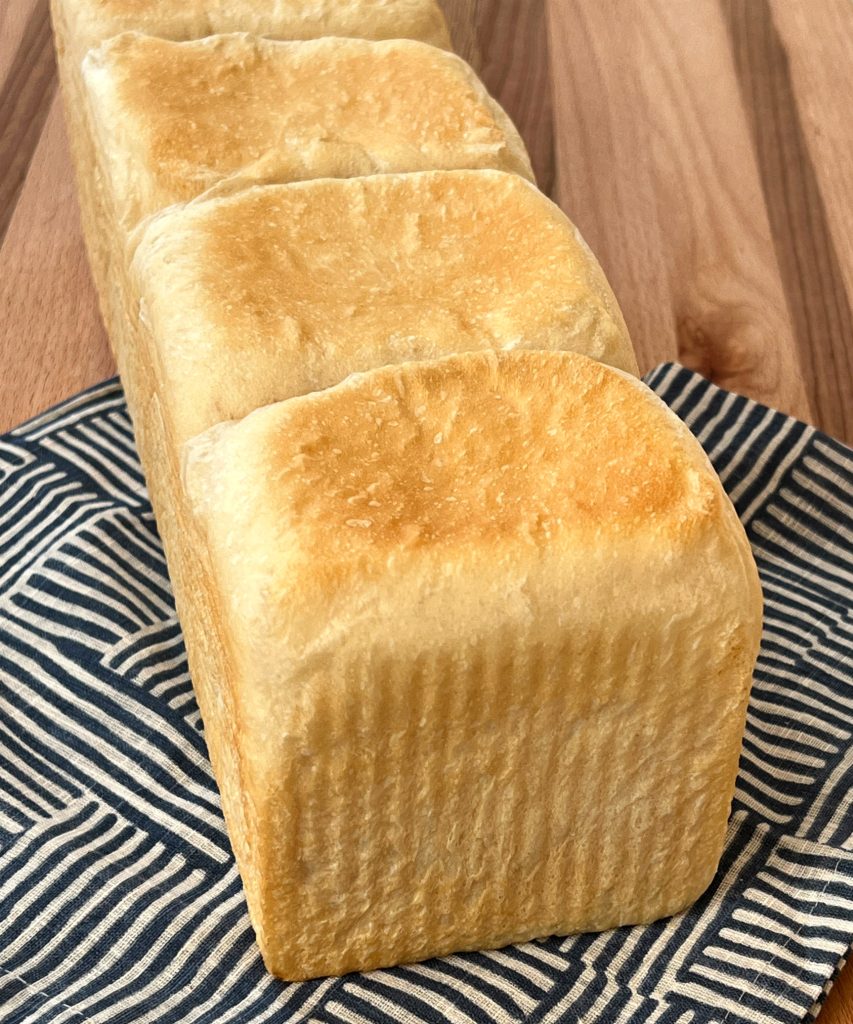
Shokupan is the soft and fluffy authentic Japanese pillowy square-shaped milk bread made using the Yudane method (also keeps the bread from drying out quickly). Think of Yudane as a “water roux” that is added to a flour and milk yeast dough. The bread has a milky-sweet flavor and a feathery soft texture that melts in your mouth. I had so much fun making this bread, and it makes the most incredible toast, grilled cheese, French Toast– and I haven’t explored all the different ways to enjoy this wonderful bread.
I doubt that anyone would disagree that homemade bread not only makes a kitchen smell great, but it’s far better than commercially bought bread. I’ll give locally owned mo and pop bakeries credit as being homemade. The aroma of fresh baked bread is so comforting.
Many years ago, I bought a bread machine, and I admit it was exciting to pull out a small loaf of homemade bread. Eventually, I invested in a Kitchen Aid Stand Mixer, and it was worth every single dime! It’s a game changer, letting the powerful motor do most of the dough mixing. I really enjoy touching, feeling and kneading bread dough. I’ve made a few sourdough bread recipes, and learned a lot about the process of proofing, shaping and baking– and devouring a tangy slice of delicious bread.
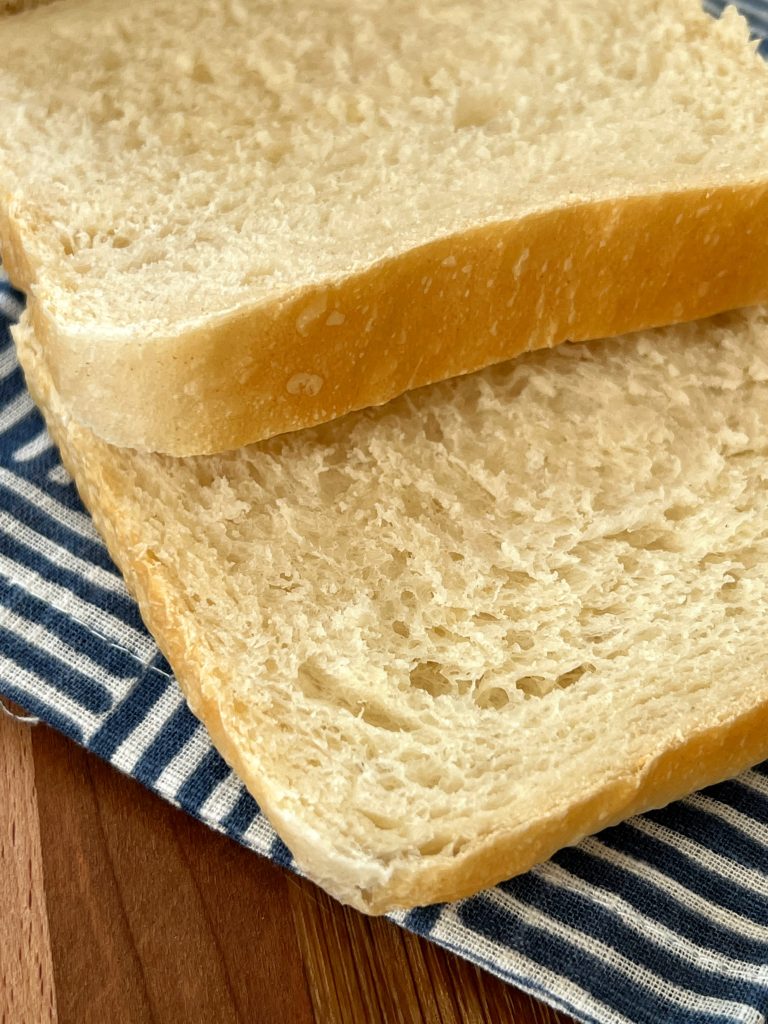
It’s no secret that I’m a devoted fan of both Cook’s Country and Cook’s Illustrated Magazine. In the May/June 2022 Issue, there was an article on how to make Japanese Shokupan Bread. I wasn’t familiar with this Japanese bread. In general, I tend to lean more towards eating Multi Grain bread. However, I was intrigued by the beautiful swirls in the bread, and the promise that it’s tender and keeps fresh longer than a typical loaf of white bread. Well, let’s go!
The first step, however, is making the Yudane. What is Yudane?
Yudane (a Japanese term) involves pouring boiling water over the flour and stirring, essentially scalding the flour. The ratio of flour to liquid is typically 1:1 by weight.
King Arthur Flour.com
I was a little apprehensive about this step, but I took a deep breath and forged on. I was concerned that I didn’t get the consistency right, once I added the boiling water to the bread flour.
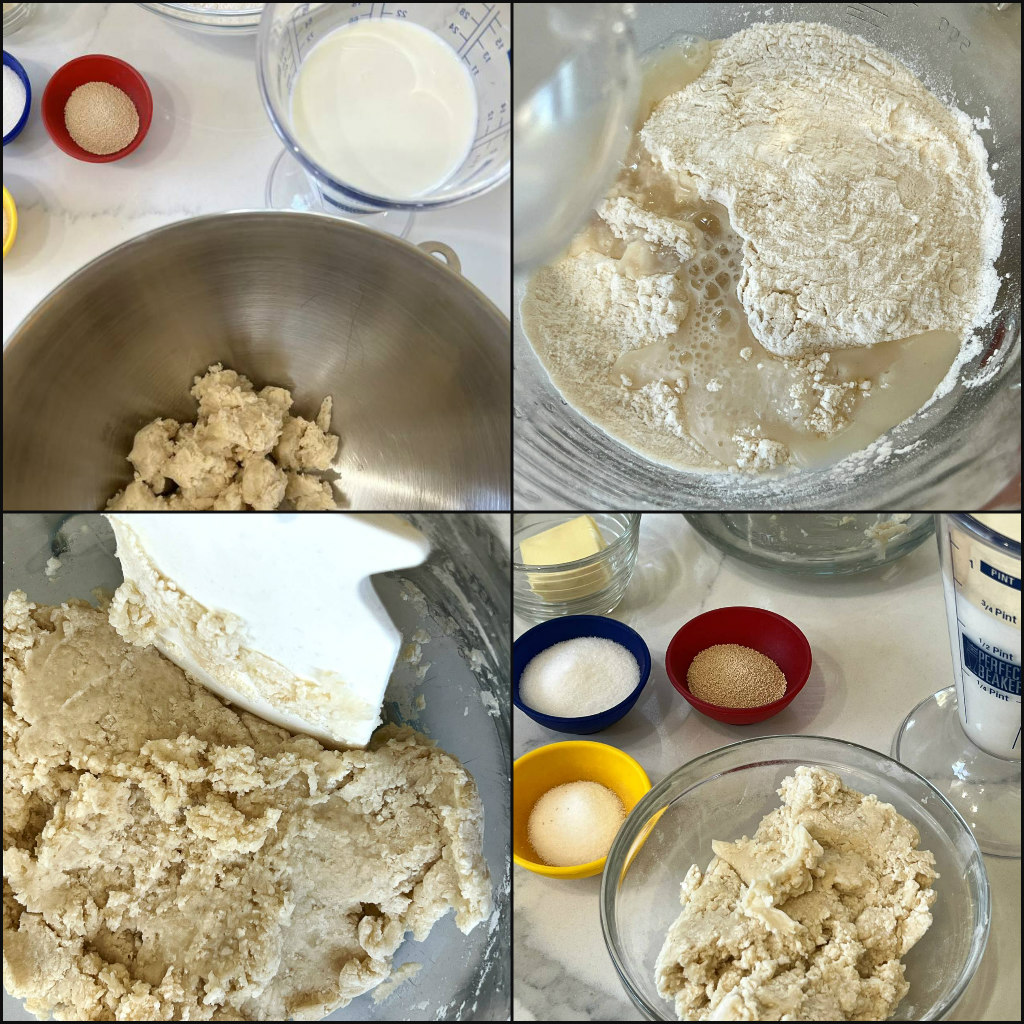
I pressed the Yudan together, to form a rough dough, hoping for the best.
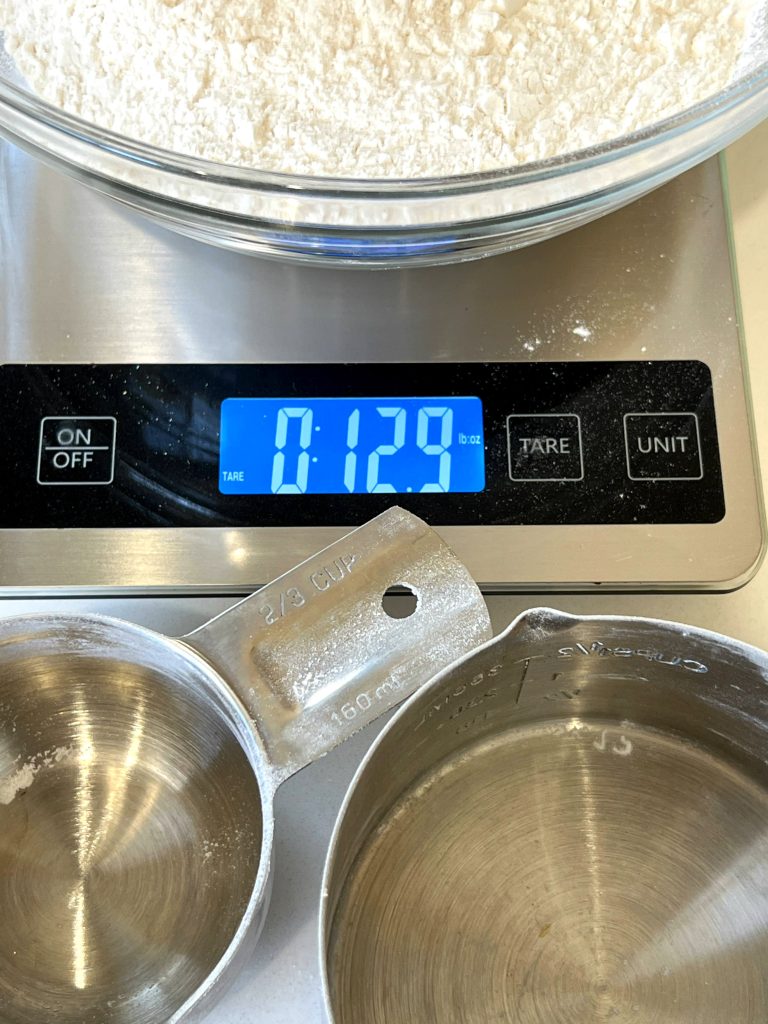
When baking bread, I trust my kitchen scale more than I do measuring cups. Below is an example of why weighing dry ingredients is best. The recipe says to measure 2-2/3 cups bread flour or 14-2/3 ounces. Using my measuring cups, you can see that does not equal 14-2/3 ounces! Kitchen scales aren’t terribly expensive, and I use mine all the time!
The Yudane mixture has rested for 15 minutes, so it’s time to make the dough.
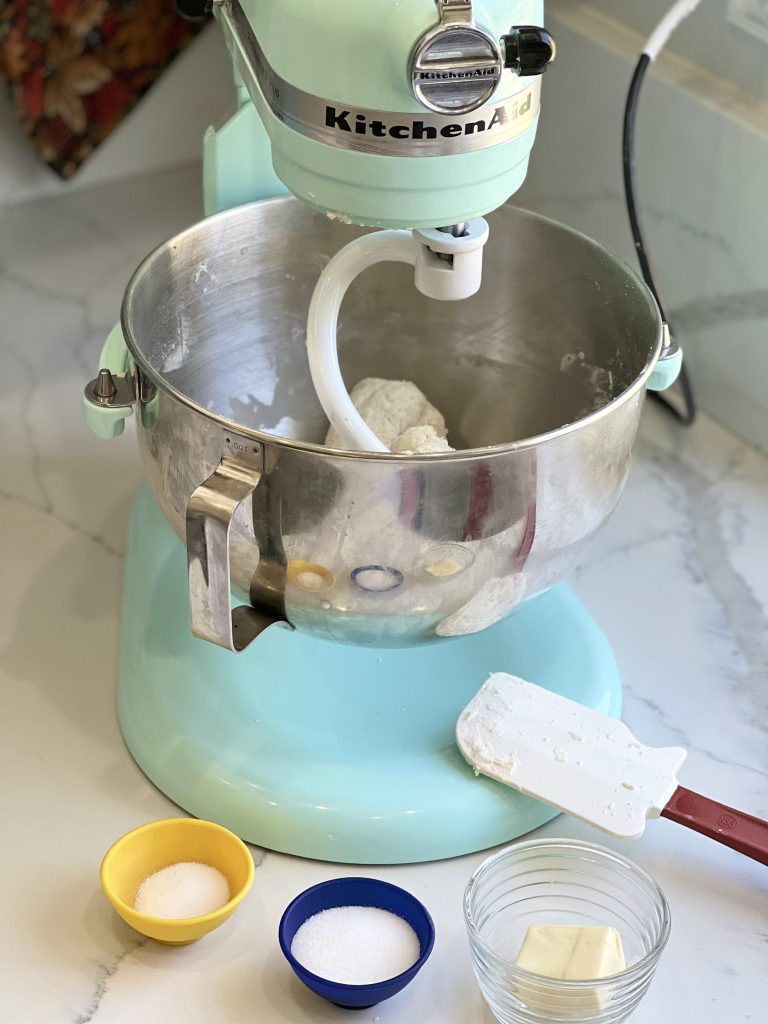
There aren’t any unusual ingredients– bread flour, sugar, salt, milk, butter and Instant Yeast.
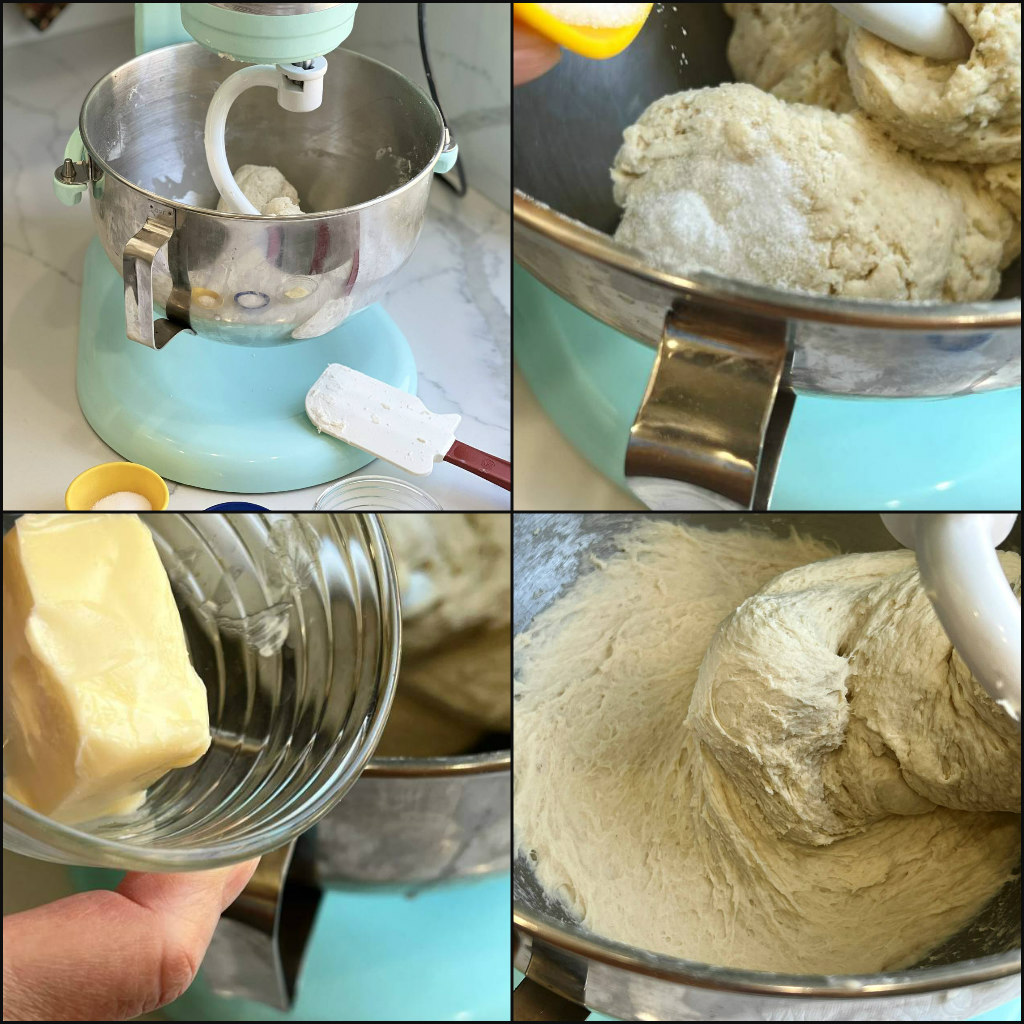
Per the recipe, I added the remaining ingredients. In the past, I used to worry that the dough wasn’t combining fast enough. I’d add more liquid and then I’d have a mess! I’ve learned to be more patient, and allow the mixer to do its magic. Yes! The dough came together!
I lightly oiled my counter, and shaped the dough into a ball. Seam side down, it was placed into a lightly greased bowl and covered with plastic wrap. I’ve waxed poetic, before, about how much I love my Brod & Taylor Folding Proofer & Slow Cooker, (that you see in the background). Granted, this kitchen tool is something a serious baker would want– and it’s not a cheap investment. I especially love this proofer in the colder months, so that I can proof my dough much faster and more efficiently. I use it to “feed” my sourdough starter. I haven’t used the slow cooker or yogurt making feature, but that’s a cool bonus.
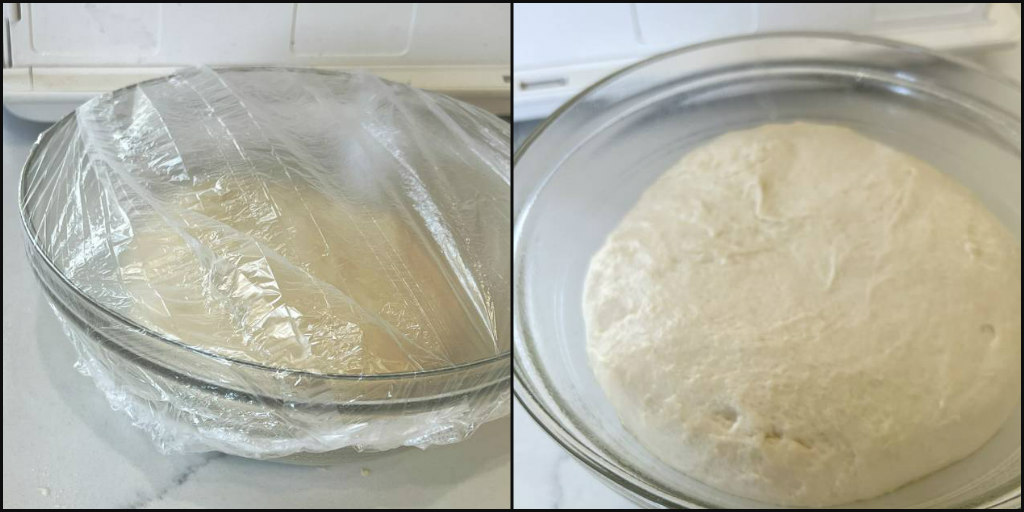
Moving along… the dough doubled in an hour!
Now, for the fun part–playing with dough. Divide the dough into four equal pieces., then rolled into balls.
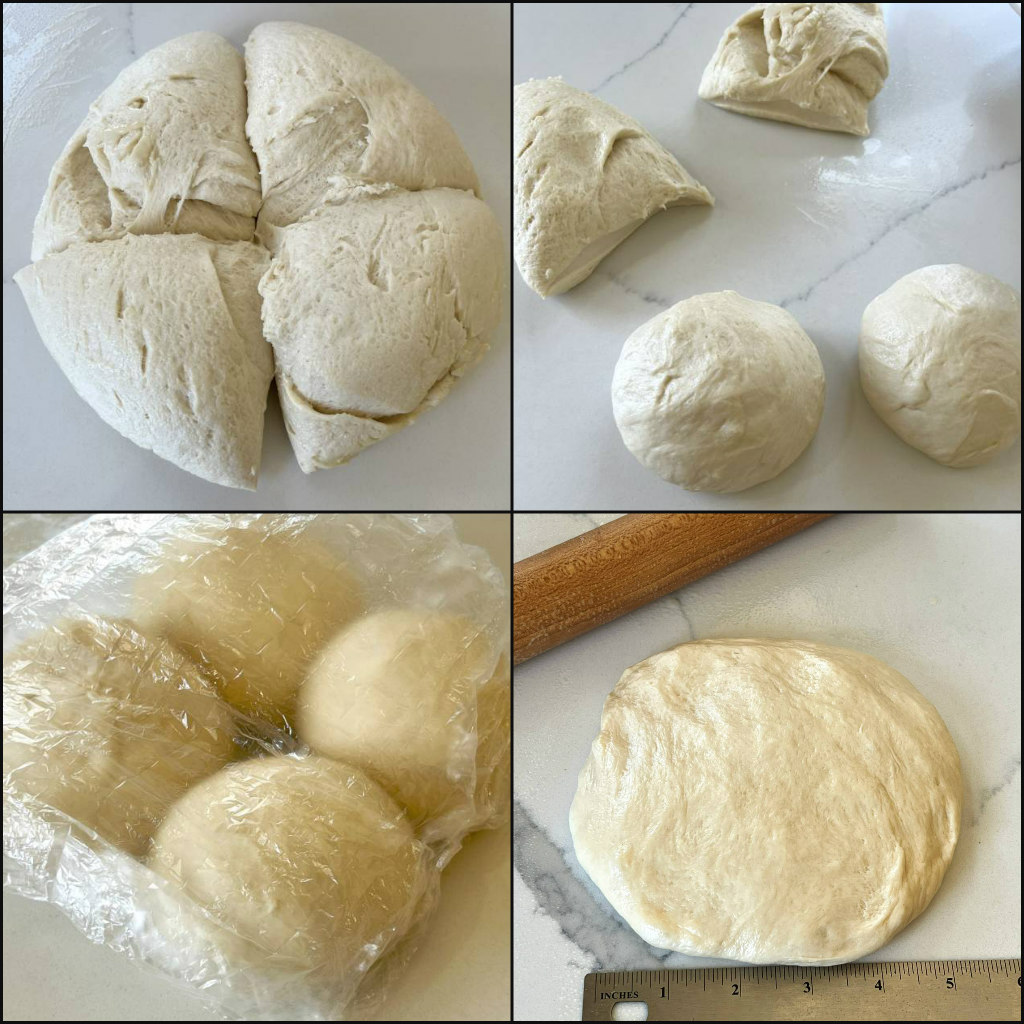
Cover with plastic wrap and let rest for 15 minutes. Press each ball into a 5-inch square.
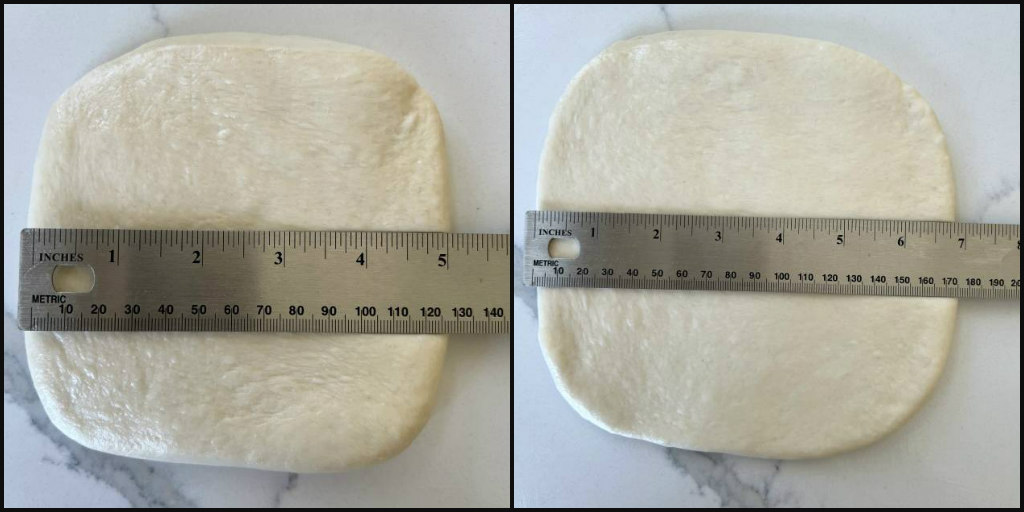
For me, this is the fun part of bread baking– playing with dough. Using a rolling pin, we’re pressing out bubbles and getting ready to shape the dough into the signature “swirls” of Shokupan Bread. First, we roll the dough into a 5″ square, turn it 1/4 of the way, and roll it into a 7″ square.
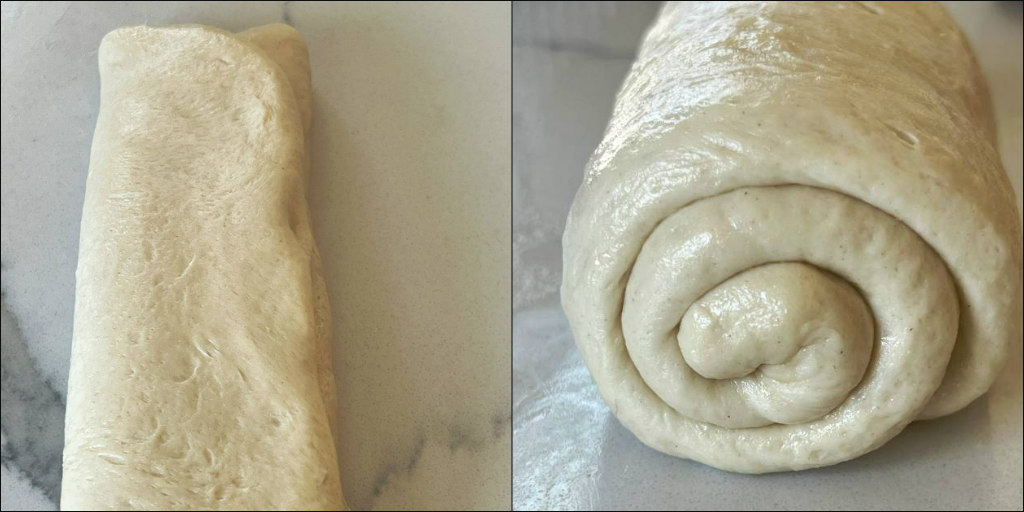
We fold the dough into thirds (kind of like an envelope) and flatten it– then roll it. Done!
Here is where the rubber meets the road. Ideally, you’ll want to use a 13″ Pullman Loaf Pan to give the Shokupan bread it’s traditional square shape.
Yes, you can use a regular loaf pan (and that’s called Japanese Mountain Bread), and I provide instructions for that in the printable recipe card.
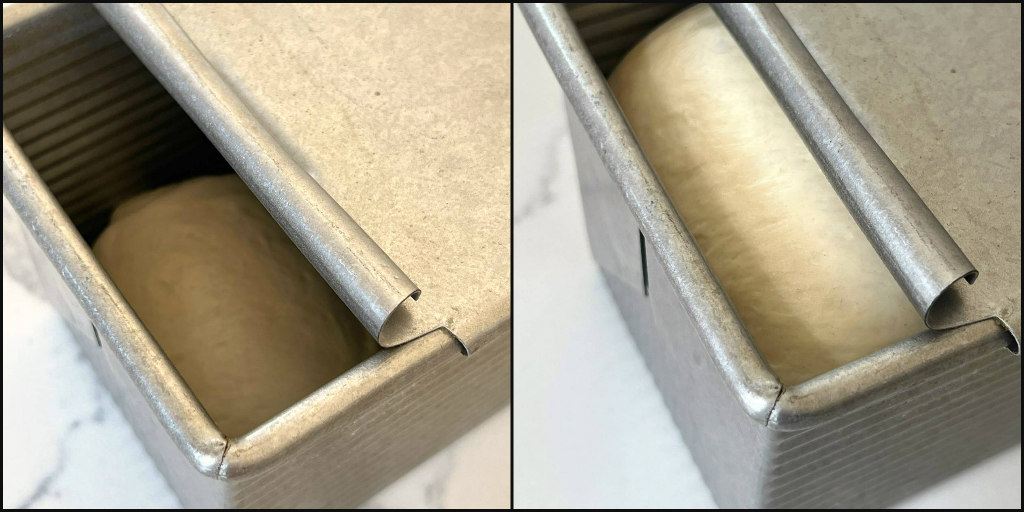
There are three “rolls” of dough set into the pan. Now to wait, and hope the dough proofs– about an hour, or so. Let’s talking about proofing, because this is very important. This is not the time to paint your house, or run errands! If you over-proof your dough, you won’t have a pretty loaf of bread. I bake bread at a time of day when I know I don’t need to go anywhere. I checked my dough 1 1/2 hours later, and it still wasn’t within 1/2″ from the top of the pan. Oh dear. 30 minutes later, it was read to bake. Whew!
Yes, you bake the bread with the lid on– and that’s what gives the bread its square shape.
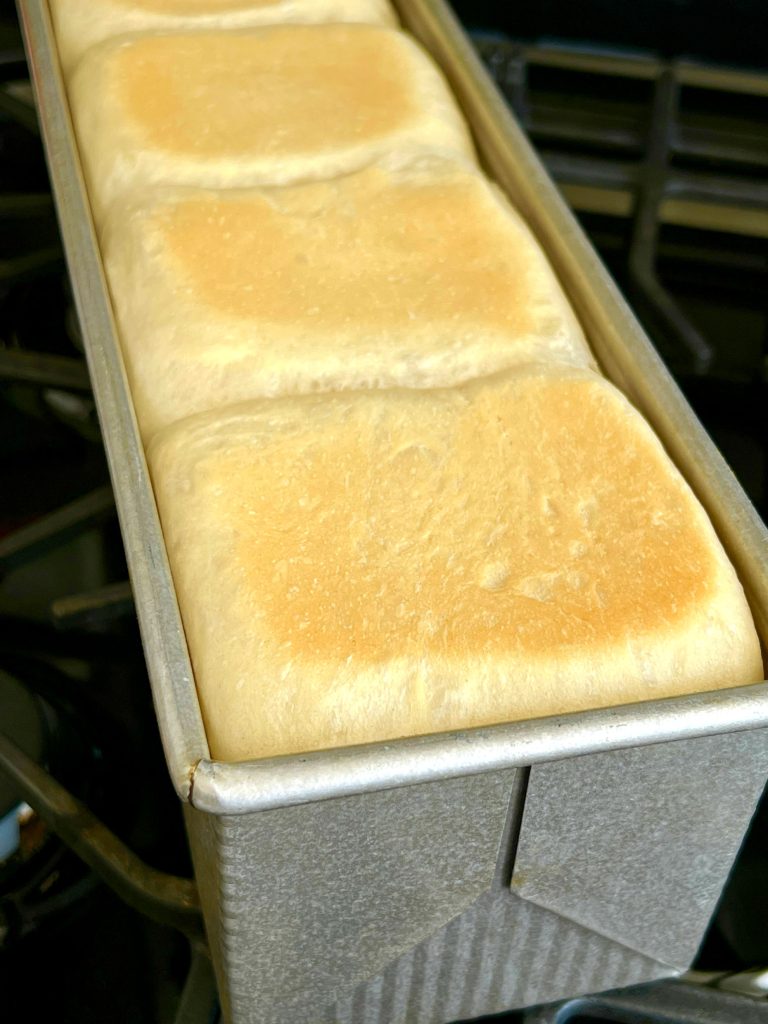
For the last ten minutes of baking, remove the lid to get a more golden color. What’s important is to check the temperature of the bread with a thermometer. It should be between 195F and 200F.
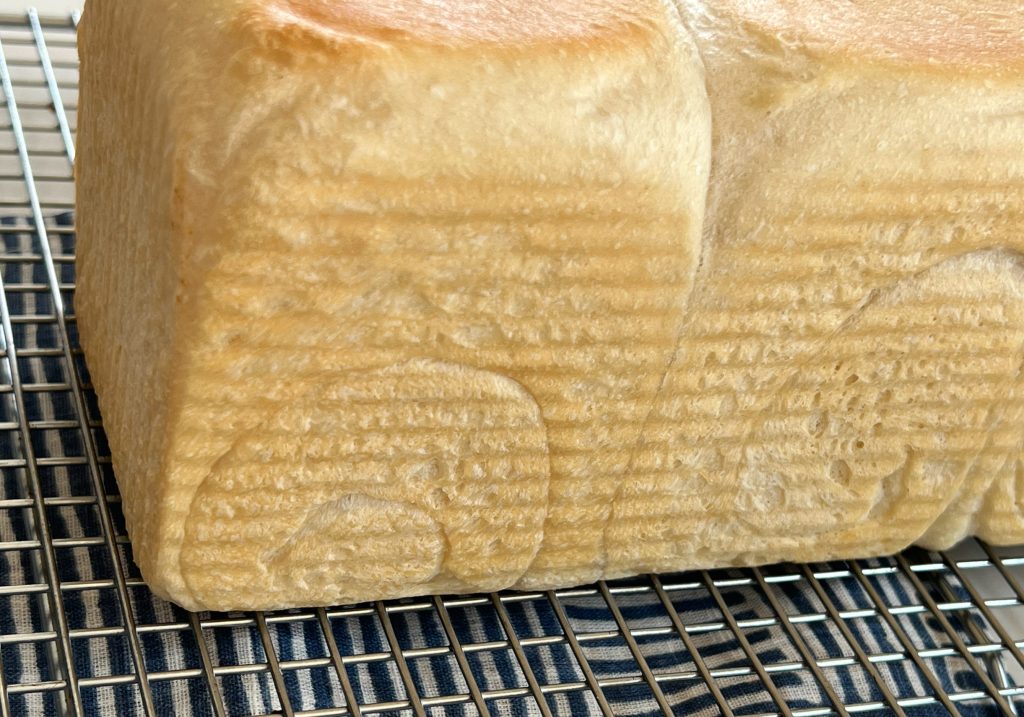
I held my breath, and exhaled when the bread slipped right out of the pan. I re-inverted the loaf onto a cooling rack. Now, for the wait– and this is important! Three hours! Yes! Otherwise, this soft and billowy loaf of bread will “smoosh” and it won’t look pretty. In the meantime, the sweet aroma wafted from my kitchen and I could hardly wait!
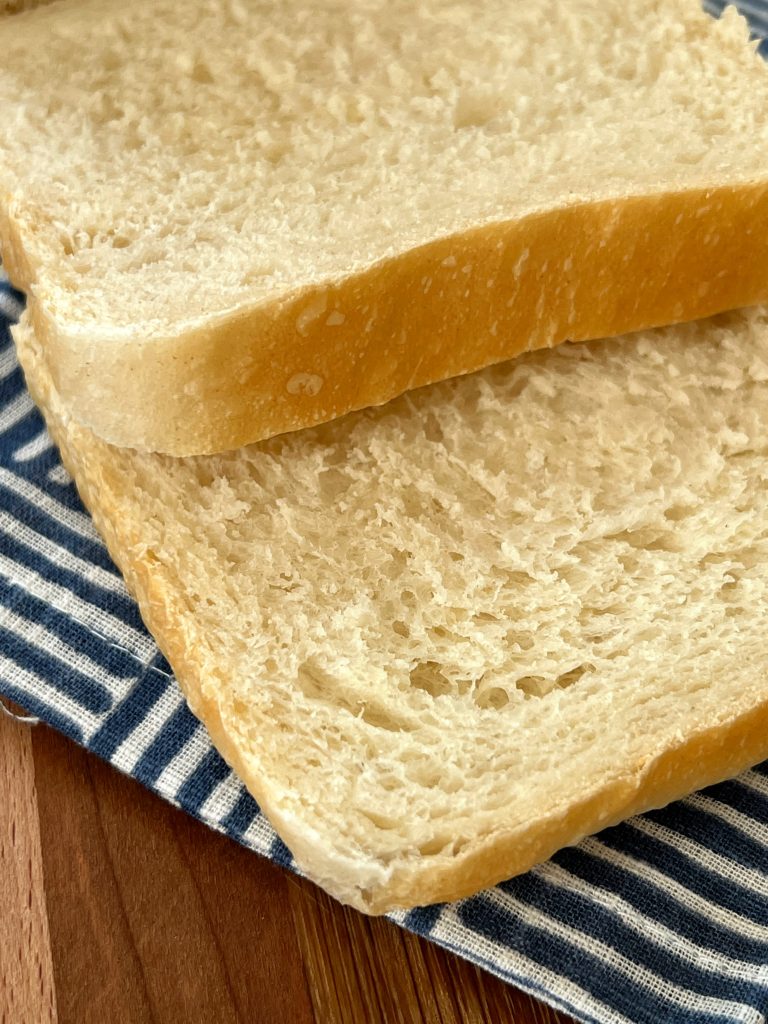
Ideally, you’ll want to gently “saw” the slices with a serrated bread knife. Ooooh!
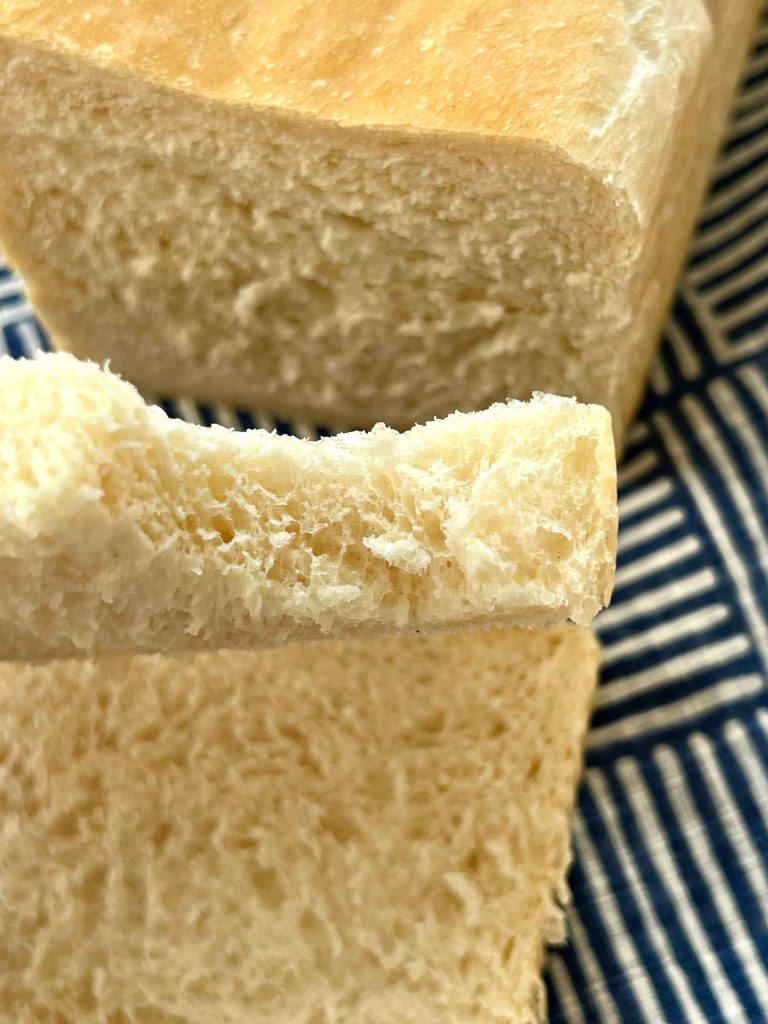
TASTING NOTES: As I hoped, bread is soft and tender. The flavor has a subtle sweetness to it. This bread makes perfect morning toast.

It was delicious as a Grilled Cheese Sandwich.
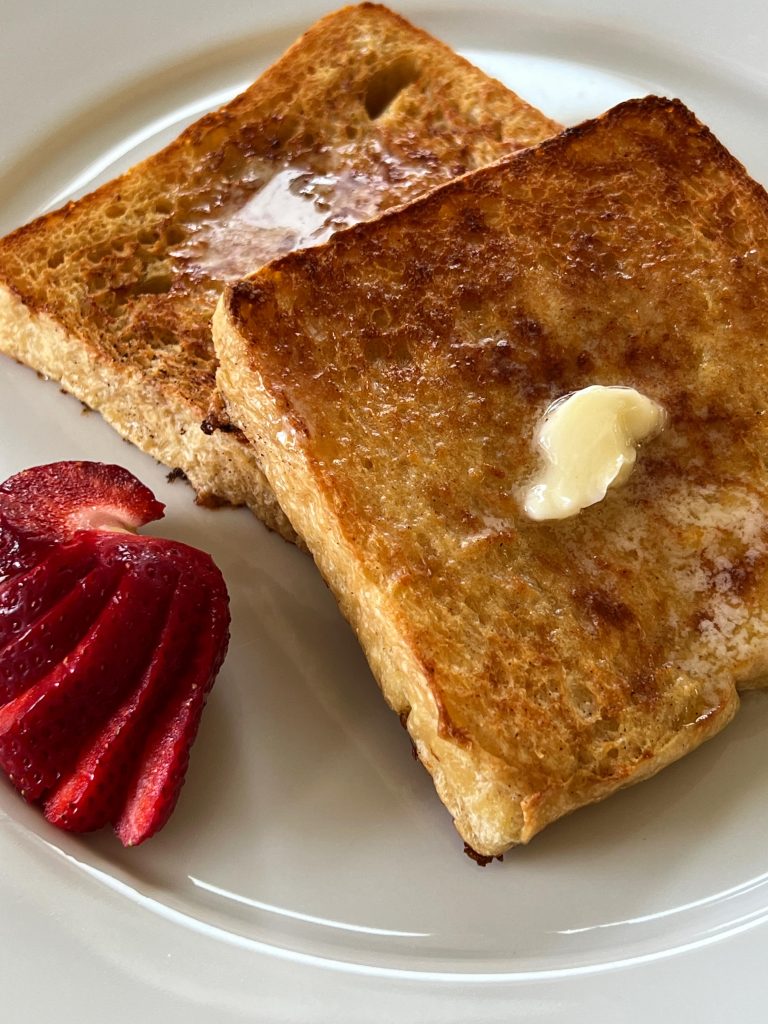
With the remaining slices, I made Baked Cinnamon French Toast .
TASTING NOTES: The steps to making this bread might seem like a lot of work. Honestly, for me, it wasn’t. If you have a paid subscription to Cook’s Illustrated’s website, they have a wonderful video that shows you step-by-step how to make this. Alas, I haven’t learned how to make “how-to” videos. Someday…
Shokupan (Japanese White Bread)
Equipment
- 1 13" Pullman Loaf Pan highly recommended; see notes on how to use a regular loaf pan
Ingredients
Yudane:
- ¾ cup bread flour 4⅛ ounces
- ½ cup boiling water
Dough:
- 1¼ cups milk
- 2⅔ cups bread flour 14⅔ ounces
- 2 teaspoons instant or rapid-rise yeast
- 2 tablespoons sugar
- 1½ teaspoons table salt
- 2 tablespoons unsalted butter softened
Instructions
BEFORE YOU BEGIN
- We strongly recommend weighing the flour. For an accurate measurement of boiling water, bring a kettle of water to a boil and then measure out the desired amount. If your dough clears the sides of the bowl before the time stated in step 3, continue mixing for at least the minimum time to ensure the proper structure. If using a Pullman pan, (the USA Pan 13 by 4-inch Pullman Loaf Pan & Cover), there's no need to grease it; for other pans, check the manufacturer's instructions. The loaf will continue to fill out the top of the pan while the oven heats, so be sure to wait at least 15 minutes between closing the lid and putting the loaf in the oven.
INSTRUCTIONS
FOR THE YUDANE:
- Mix the flour and boiling water in bowl of stand mixer to form rough but uniform dough. When dough is cool enough to handle, lightly grease your hands and tear yudane into approximate 1-inch pieces.
FOR THE DOUGH:
- Add milk to yudane in mixer bowl and stir to combine (mixture will remain lumpy). Add flour and yeast. Fit mixer with dough hook and mix on low speed until all flour is moistened, 1 to 2 minutes. Let stand for 15 minutes. This is an important step, so don't rush it!
- Add sugar and salt and mix on medium-low speed for 10 minutes, scraping down bowl and dough hook halfway through mixing. With mixer running, add butter. Continue to mix on medium-low speed, scraping down bowl and dough hook if necessary, until dough clears sides of bowl, 5 to 10 minutes longer. Transfer dough to lightly oiled counter. Knead briefly to form ball and transfer, seam side down, to lightly greased bowl; cover and let rise until almost doubled in volume, about 1 hour.
Shaping the dough:
- Divide dough into 4 equal portions. Shape portions into balls and place seam side down on counter. Cover and let rest for 15 minutes.
- Lightly oil counter, your hands, and rolling pin. Turn 1 dough ball seam side up on counter and press and pat to 5-inch square. Using rolling pin, roll into 7-inch square, taking care to press out all air bubbles (stretch dough into shape with your hands, using tackiness of dough to hold it in shape). Fold dough lengthwise into thirds to form 7-inch strip. Roll into 9 by 3-inch strip. Starting on short side, roll dough to form snug cylinder and pinch seam to seal. Place seam side down on counter. Repeat with remaining dough balls.
- Spray 13 by 4 by 4-inch Pullman pan and lid with vegetable oil spray (you can skip this step if you're using the USA brand 13" Pullman Pan). Place 1 dough cylinder seam side down in 1 end of prepared pan with spirals facing long sides of pan. Repeat with remaining dough cylinders, spacing cylinders evenly in pan. Slide lid into place, leaving last inch of dough exposed to monitor rise. Cover gap with plastic wrap. Let rise until dough is ½ inch from top edge of pan, 1 to 1¼ hours.
- Remove plastic and slide lid closed. Adjust oven rack to middle position and heat oven to 375 degrees. (Loaf will continue to rise while oven heats.) Bake until bread registers 195 to 200 degrees, 30 to 35 minutes.
- Remove lid and invert bread onto wire rack. Reinvert loaf. Let cool completely, at least 3 hours. Slice with serrated bread knife, sawing gently and using very little downward pressure. Serve. (Loaf can be wrapped and stored at room temperature for up to 3 days.)
Notes
Make Mountain Bread





Never heard of this method! Looks delicious. Might have to give it a try 🙂
It changed my opinion of white bread. I hope you give it a try!