Homemade Pita Bread
This Greek-Style Pita bread is surprisingly easy to make at home and so much better than the dry and tough versions that comes in bags from the grocery store. The dough is a breeze to work with, and puffs up beautifully in the oven, then relaxes to a “pita pocket” bread that has endless “stuffing” possibilities. We particularly enjoy this bread with homemade Ground Lamb Gyros.
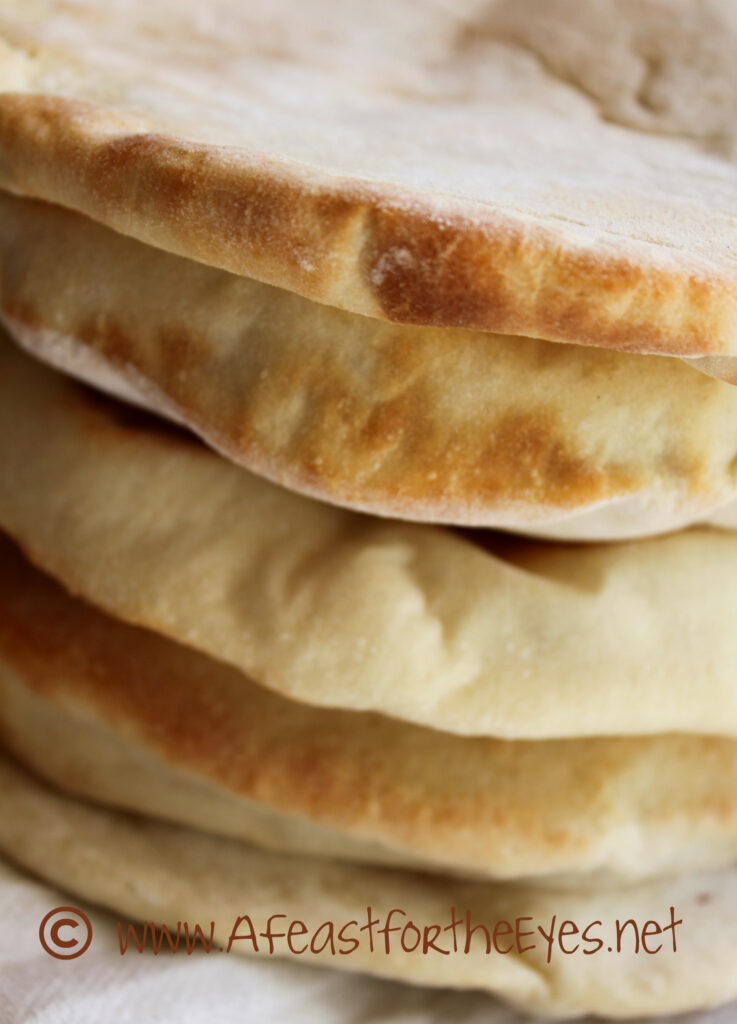
I have always loved to bake. Bread baking used to intimidate me, because I was afraid of working with yeast. I didn’t really understand how it works, and the few times I tried making bread– it fell flat. Literally.
So, I do understand why so many people are afraid to make bread. Then, a revolutionary invention hit the market in the late ’80’s. Automatic Bread Machines! Yes, I bought one. It was fun to just toss in all of the ingredients, press a button or two and then a square loaf of bread would emerge. Victory!
For a while, I lost interest on bread making. Then, I finally had an “aha” moment. My Kitchen Aid Stand Mixer! My bread baking days were reignited, and I haven’t looked back since. For me, the beauty of using a stand mixer is that 1) I use it for just any kind of cake, cookie or dough mixing. 2) The motor does all of the hard work for me 3) I really like shaping the dough, by hand. Working with bread dough is fun for me. I’ve been using my Stand Mixer for 20 years and I use it all the time.
It’s no secret that I am a dedicated fan of America’s Test Kitchen. Just look at my recipe index, and I have shared a LOT of recipes from their various publications. One of my favorite books I’ve recently purchased is “Bread Illustrated“.
It’s a beautiful book, loaded with valuable information for beginner bread bakers to the experienced bread baker. There are step-by-step photos and I really love that! I have a recipe for Ground Lamb Gyros that is really old– and desperately needed updated photos. In order to make that recipe, I needed Pita Bread. In this cookbook I discovered how to make my own Pita Bread and so I decided I was going to do it. I’ll skip to the end, right now… it was easier than I could have imagined. It was fun to make, and my husband said it tasted authentic.
Let’s make pita bread!
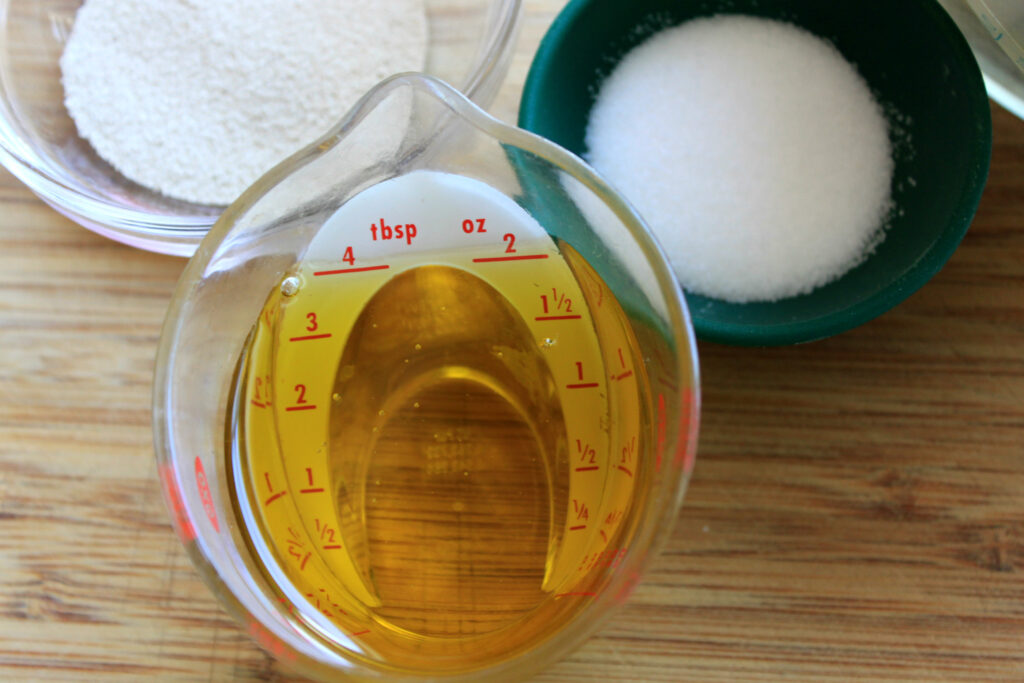
Whisk together sugar, water and olive oil.
For the yeast, I prefer SAF Instant Yeast. I also like Fleischmann’s Rapid-Rise Yeast, so that is what I chose for this recipe. Whisk, in the stand mixer bowl the flour, yeast and salt.
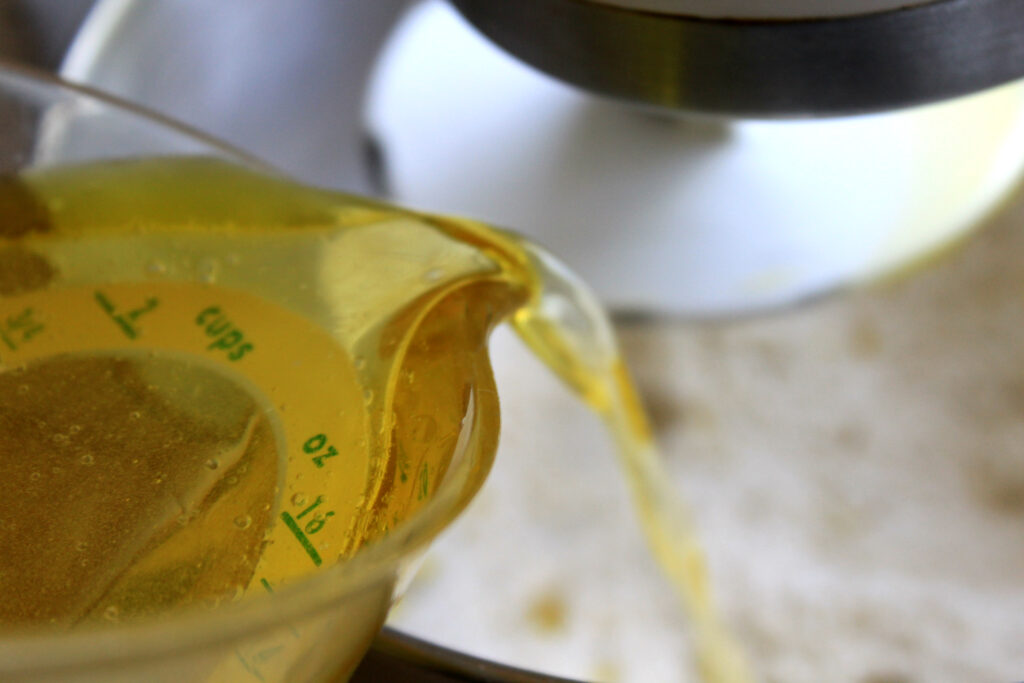
Using the dough hook, on low speed, add the liquid ingredients. This is where patience pays off. When I first started making bread dough, I’d panic that the dough was too dry and I’d immediately add more liquid! Hang on! It really does come together. Only add more liquid if you’ve waited a good long while (at least 5 minutes) and you’re still seeing lots of dry flour.
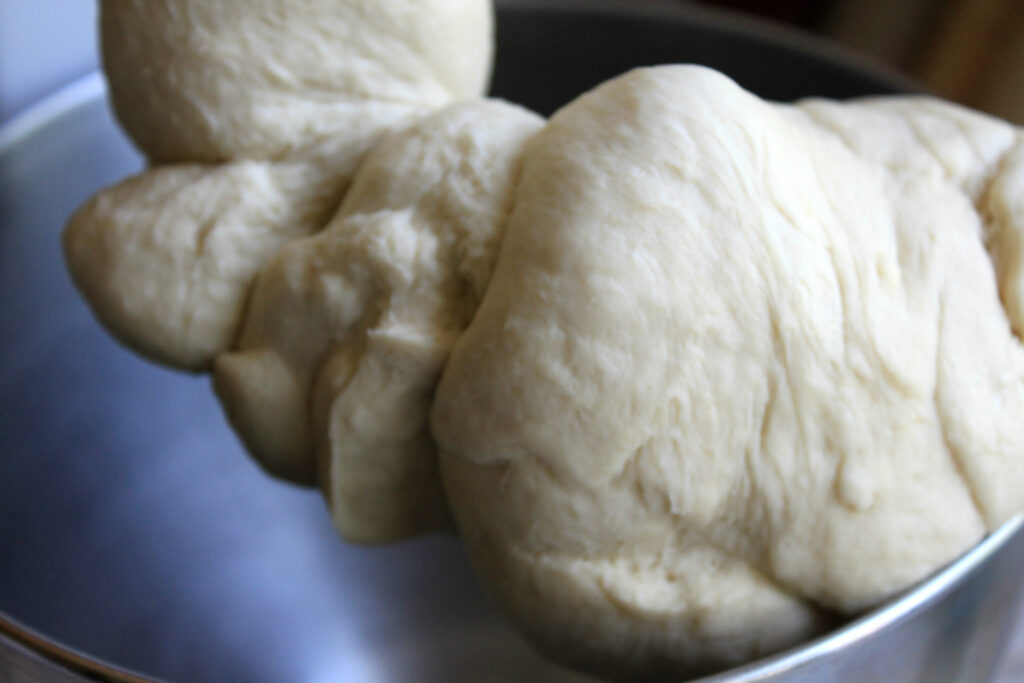
There we go. The dough is smooth and elastic (and my photo is a bit out of focus, I admit).
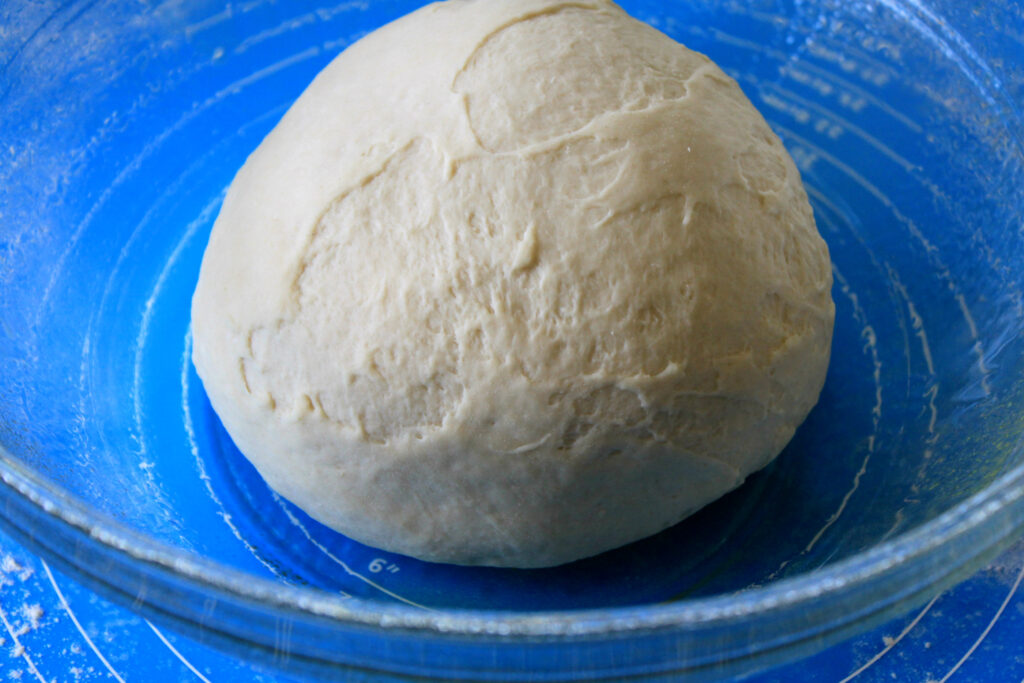
Before our kitchen remodel included quartz counter tops, rather than tile and grout, I relied on this silicone baking mat. For shaping pie, sweet rolls, bread rolls or bread loaves– I find this to be one of my most used kitchen tools. Simply dampen my tile counter and this mat sticks like glue! Lightly flour the baking mat, and knead the dough into a round ball (about 30 seconds). Spray a large bowl with olive oil and set it, seam side down.
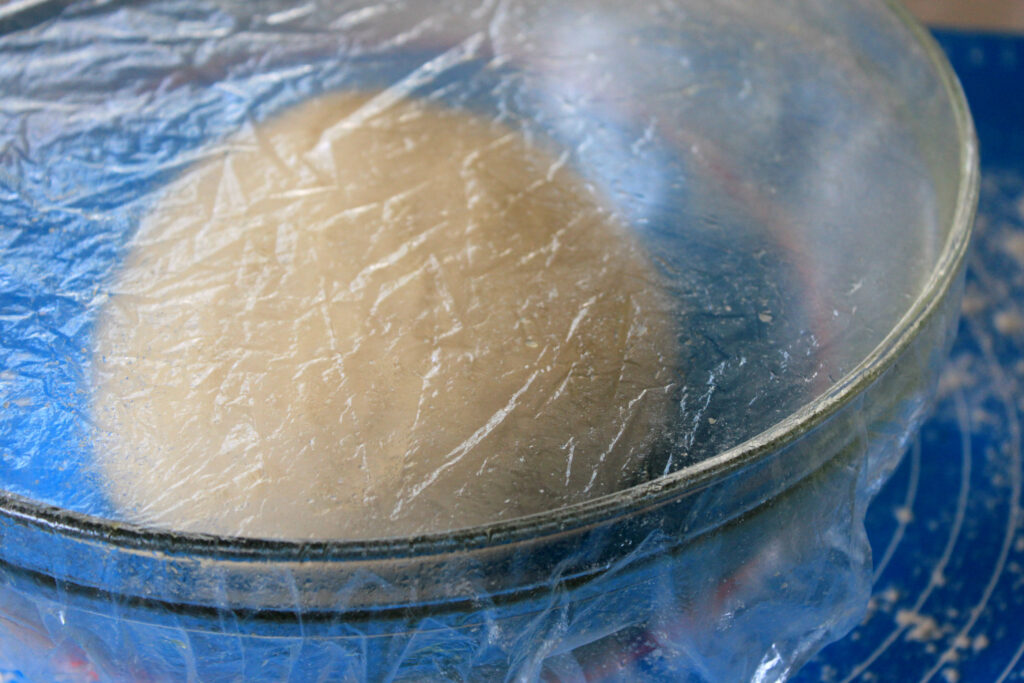
I buy plastic covers with elastic bands to cover my bread dough (I save shower caps from hotel stays too!) Otherwise, spray plastic wrap with oil so it doesn’t stick to the dough. This is where beginner bakers get nervous. Will the dough rise? Yeast likes a warm (not hot) environment. Until purchasing a bread proofing box, my working around technique was to create my own “proofing drawer”. Preheat the oven on WARM for only ONE MINUTE and then shut it off. Place the bowl of dough inside, shut the door and let the yeast do its magic.
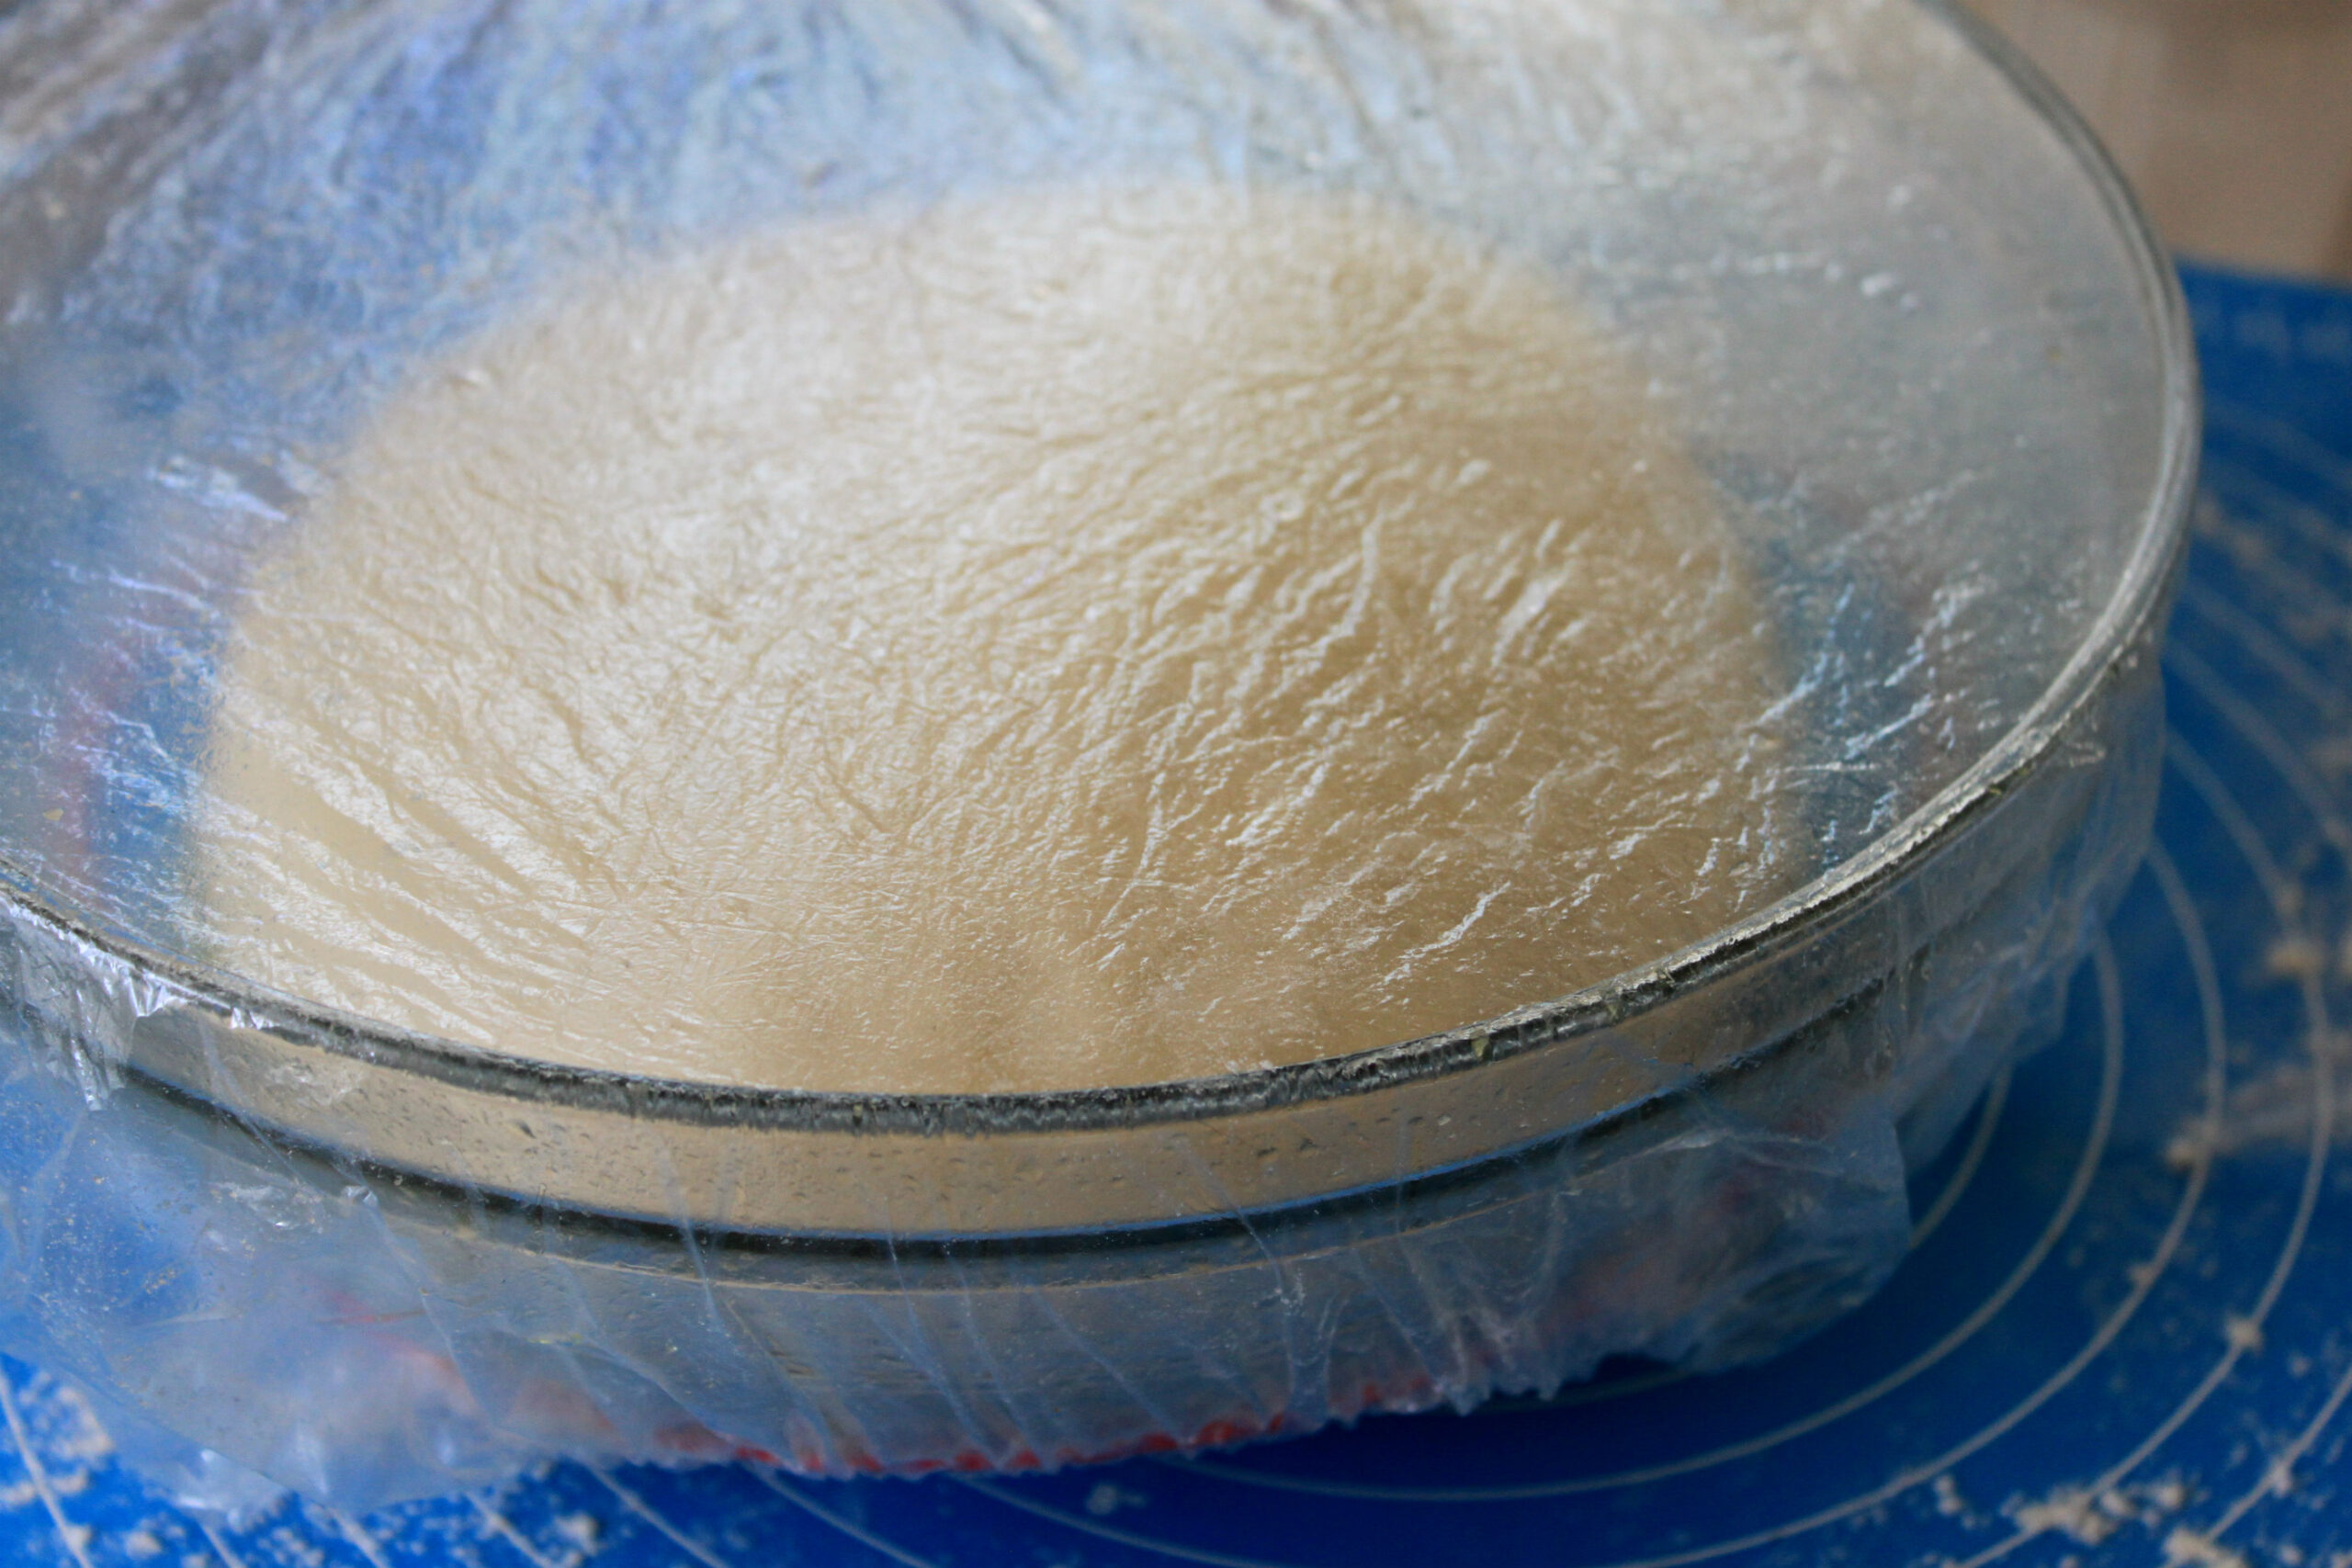
It’s been a little over an hour, and the dough has “proofed”/risen. Exhale.
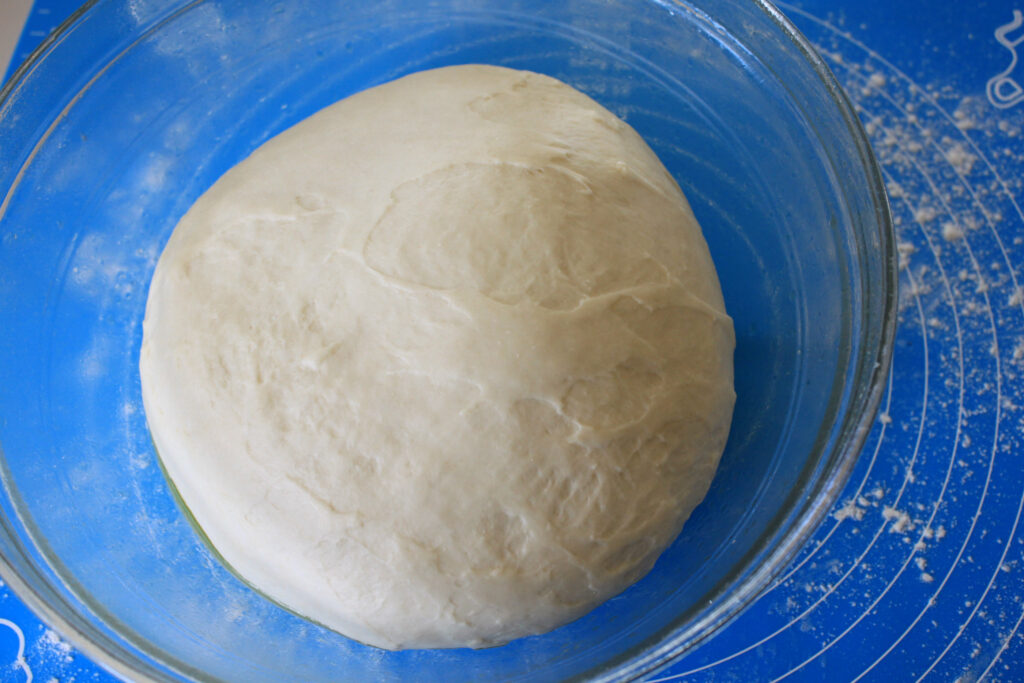
With floured hands, remove the dough, and gently press it down to deflate (on my floured silicone mat).
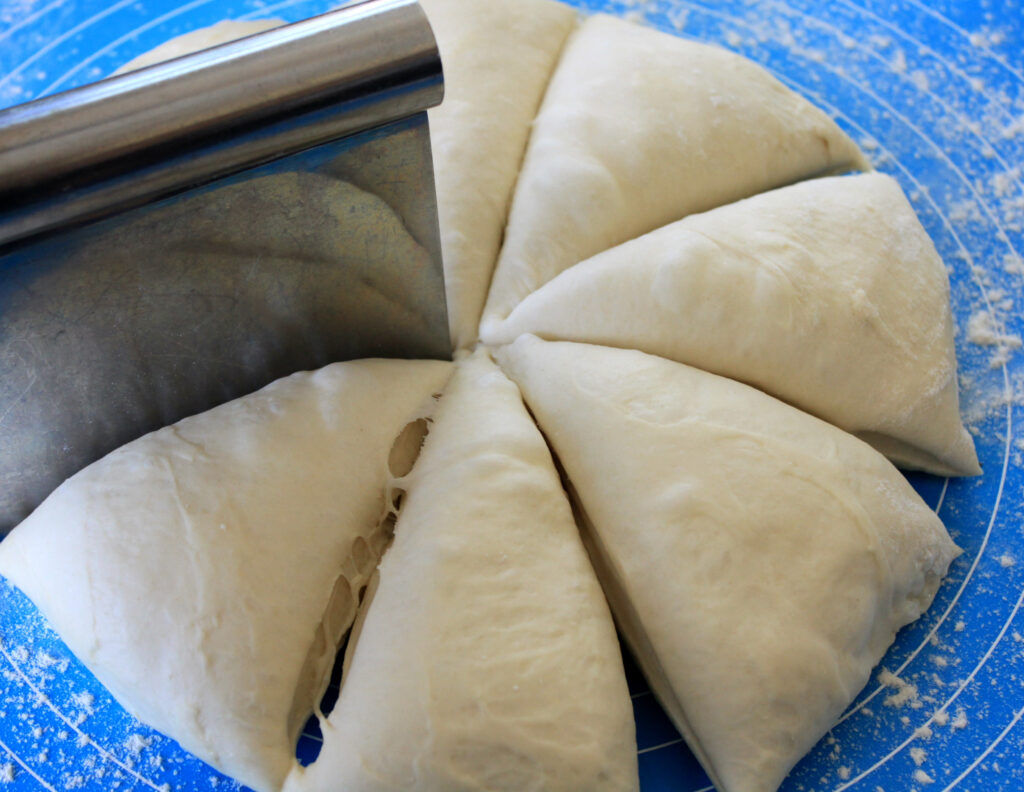
For me, here is where the bread making fun really begins. A bench scraper is a tool that I use almost every time I cook or bake. It’s perfect for cutting the dough into fourths and then into eighths. Bam! (Besides cutting dough, the bench scraper is used to scoop up cut up vegetables– it’s more efficient than using my hands.
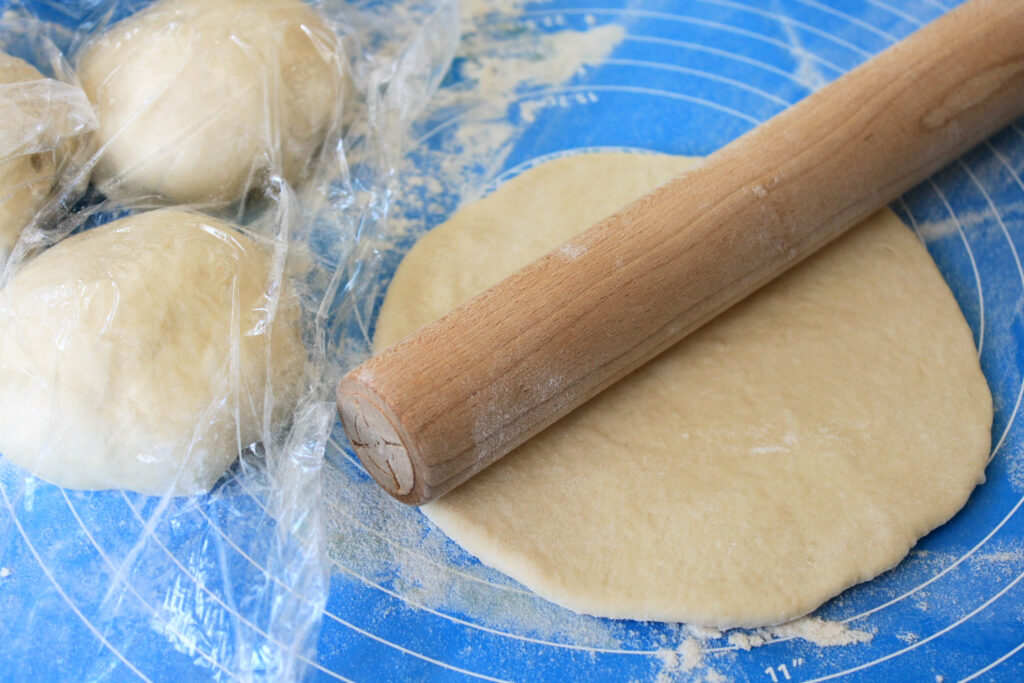
It takes some practice to learn how to stretch out a piece of dough, gathering the corners together, twisting and rolling to become one round roll. There’s no right or wrong way and it’s fun. Next, you want to roll out each piece of dough into an 8″ round circle. I keep the dough covered loosely with plastic wrap while shaping each piece of dough. NOTE: I found that the dough resisted being rolled to 8″ so I set it aside to relax for a few minutes and went on to the next one. That worked great!
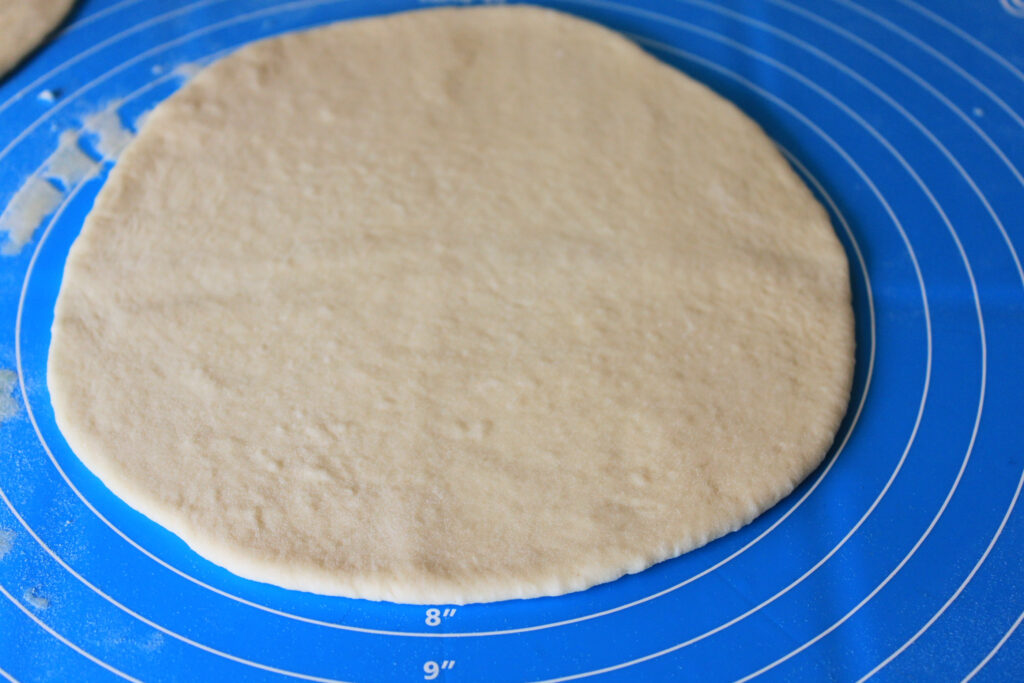
I appreciate that with this baking mat, I have measurements right before my eyes! I’m going to pitch one more baking tool that I’m so grateful to own. No, you don’t have to buy one but it’s truly a game changer. What is it? A baking stone. Before I bought one, preheating a baking sheet worked okay. A baking stone, however, heats up much higher and that results in crispy pizza crusts, better bread rolls that are crispy underneath– and this is the ideal way to make pita bread. My baking stone stays in my oven every day. I keep it on the bottom rack until I bake bread– and then I move it up. I absolutely love it! So, that’s what I did. I preheated the baking stone to 500F while shaping the pita dough.
A pizza peel also comes in handy and I use mine often. If you don’t have one, I’ve used an inverted baking sheet that has been floured and that does the job, too. So, let’s bake pita bread!
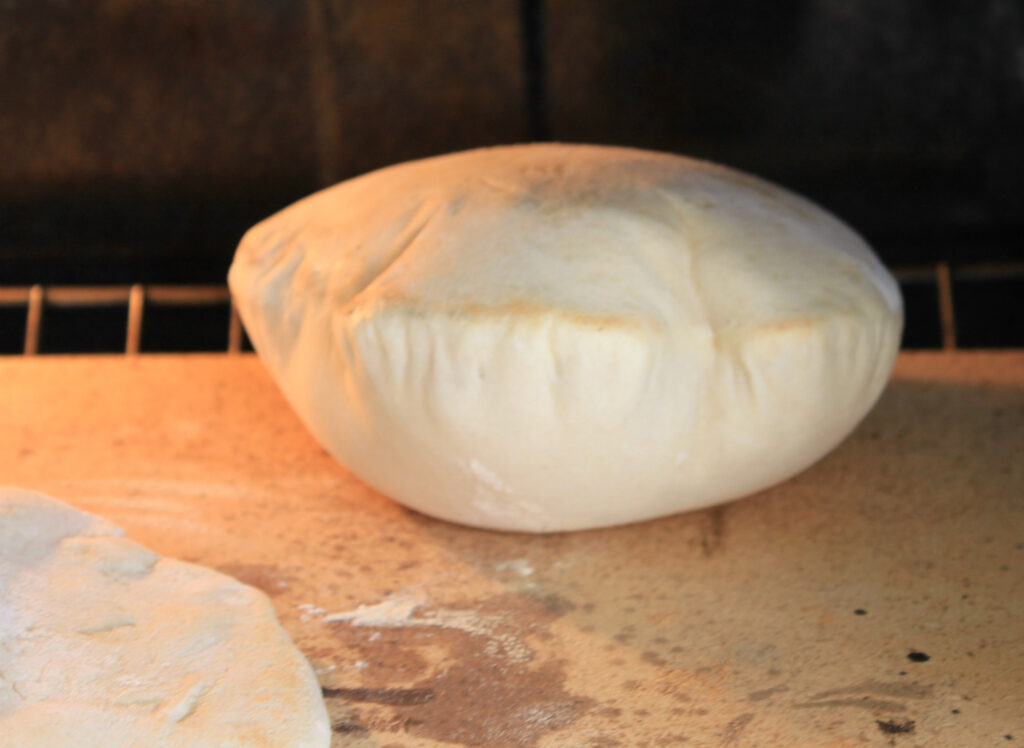
Believe me, I was holding my breath– hoping that I’d get that puffiness that the recipe said needs to happen. The first batch (of two) I had one puff up. The one on the left…. nope. Okay… I carefully pulled out the baking rack, and flipped over the puffing one and let the other one bake for one minute more. At last! That one puffed up, too. Moral of the story: I’d say that my oven has some hot spots. That’s my story!
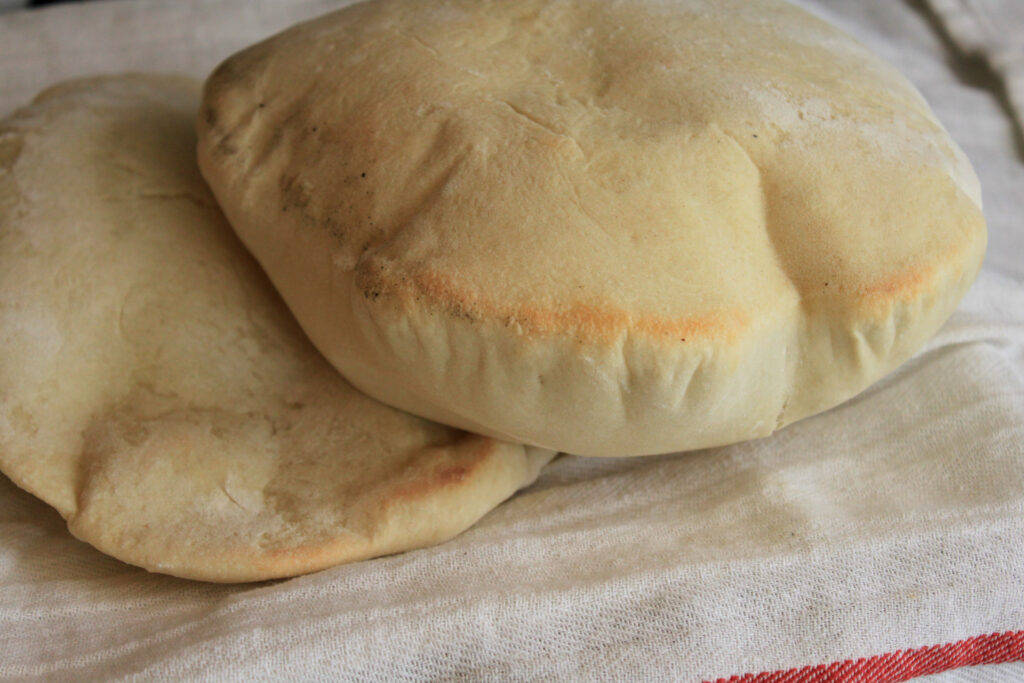
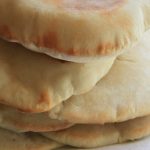
It was exciting for me to remove each pita bread, and to cover it with a dish cloth. I wondered if the puffiness would go away. So, I made three more batches of two rounds of dough.
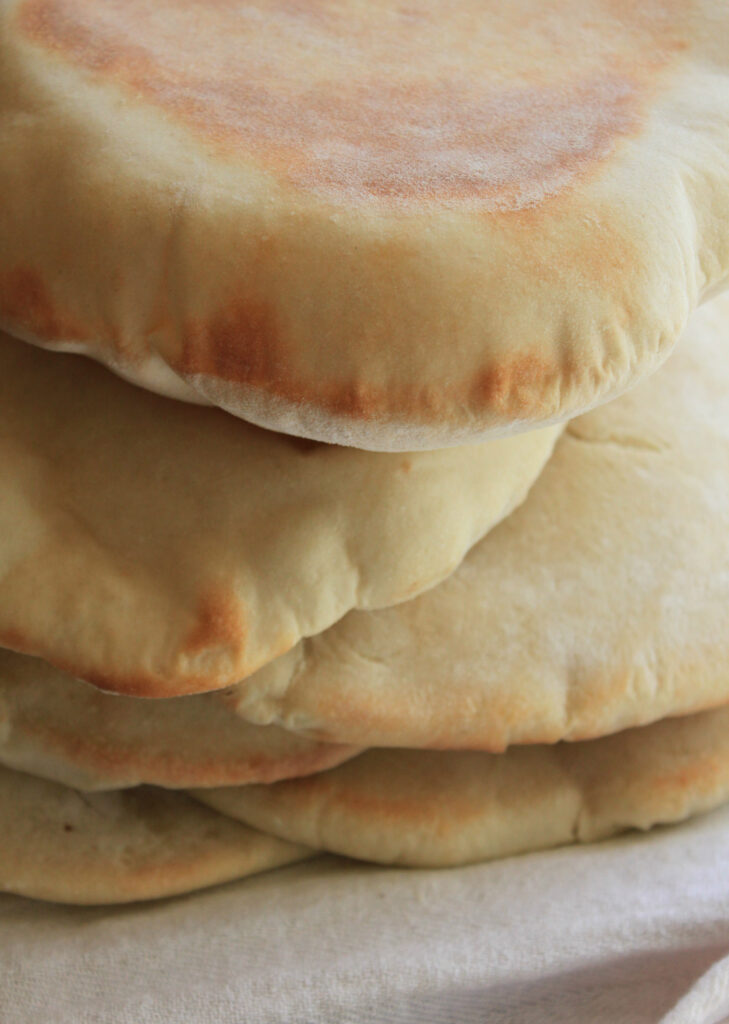
Yes, the puffy pita bread began to slowly deflate. That was fun! I grabbed a warm pita bread, tore off a big chunk and gave one to my husband and waited….
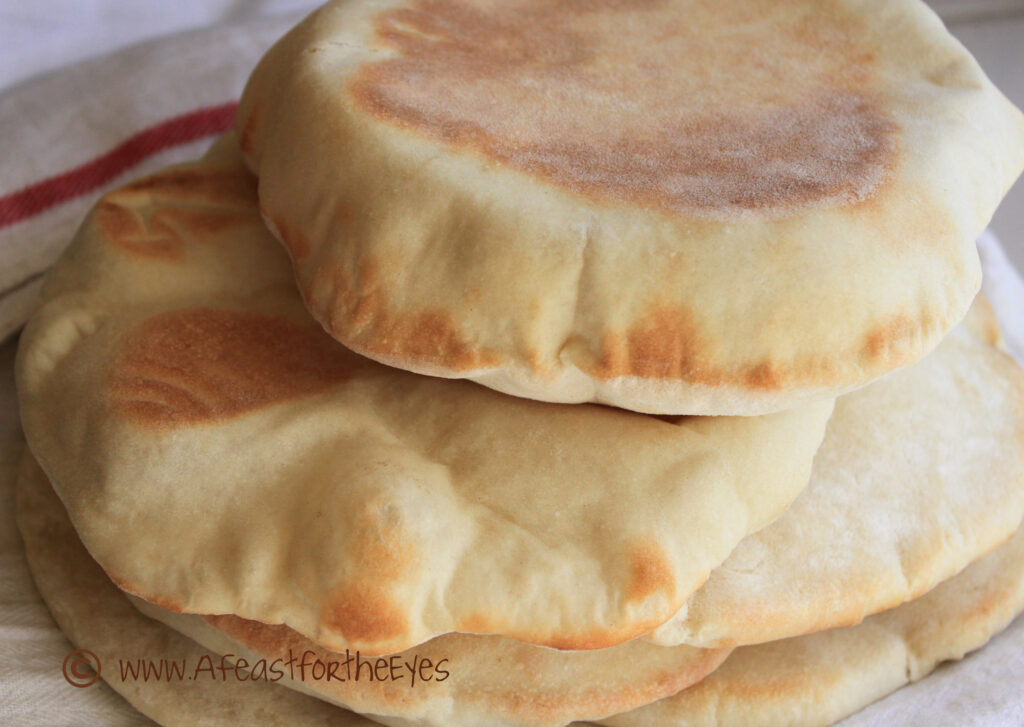
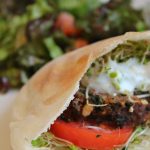
My concern was “will this bread have the pocket that I want?” Here was my answer:
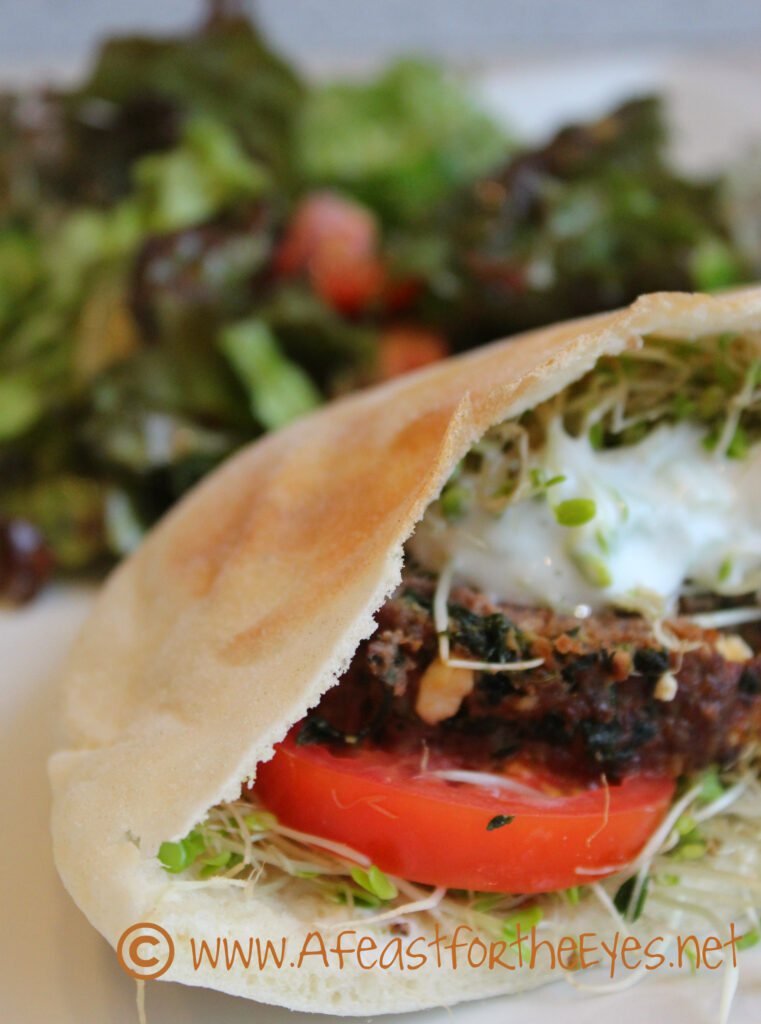
Yes, indeed! In my next post, I will share how I made this Ground Lamb Gyros recipe that takes about 40 minutes and tastes just like the real deal.
TASTING NOTES: My husband said that this pita bread tasted authentic. I was really pleased with the flavor and texture. This is way better than the tough and chewy pita bread that I’ve bought at a supermarket. I’m a convert, for sure! I would happily make these again.
Homemade Greek-Style Pita Bread
Ingredients
- 3 1/2 cups bread flour (20 1/8 ounces)
- 2 1/2 tsp rapid-rise yeast or instant yeast
- 2 tsp salt
- 1 1/2 cups water room temperature
- 1/4 cup olive oil
- 2 1/2 tsp sugar
For the dry ingredients:
Instructions
For the dry ingredients:
- Whisk the flour, yeast and salt together in the bowl of a stand mixer.
For the wet ingredients:
- Whisk water, oil and sugar in a 4-cup liquid measuring cup until the sugar has dissolved.
- Mix the dough:
- On low speed, using the dough hook, slowly add the wet ingredients to the dough and mix until the dough becomes cohesive and starts to form– no dry flour remains. Keep scraping down the ingredients, about 2 minutes. Be patient, it will happen!
- Increase the speed to medium low and knead until the dough is smooth and elastic and clears the side of the bowl– about 8 minutes.
- Transfer the dough to a lightly floured surface and knead by hand to form a smooth, round ball, about 30 seconds. Place the dough seam side down in a lightly greased bowl or container, cover tightly with plastic wrap, and let it rise until double in size, 1 to 1 1/2 hours.
Shape and rolling the pitas:
- Press down on the dough to deflate. Transfer the dough to a lightly floured counter and divide into quarters, then cut each quarter into halves (a bench scraper makes this easiest). Cover loosely with plastic wrap.
- Working with each piece of dough, one at a time (keep the remaining dough covered), for the dough into a rough ball by stretching the dough around your thumbs and pinching the edges together so that the top is smooth.
- Generously coat one dough ball with flour and pace on a well-floured counter. Press and roll into an 8-inch round of even thickness and cover loosely with great plastic wrap. NOTE: If the dough resists stretching, let it relax for 10-20 minutes. Repeat with the remaining balls. Let the dough rounds rest for 20 minutes.
- One hour before baking, adjust the oven rack to lower-middle position, place a baking stone on the rack and heat the oven to 500 degrees. Gently transfer 2 dough rounds to well-floured pizza peel. Slide the rounds onto the stone and bake until single air pocket is just beginning to form, about 1 minute.
- Working quickly, flip the pitas using a metal spatula and continue to bake until golden brown, 1 to 2 minutes.
- Transfer the pitas to a plate and cover with a clean dish towel OR transfer to a baking sheet with a rack and cover with a clean towel. The pitas will be puffy, but will relax after a few minutes. Allow them to cool 10 minutes before serving.
WHOLE WHEAT VARIATION
- Reduce the bread flour to 1 3/4 cups (9 2/3 ounces) and combine with 1 3/4 cups (9 2/3 ounces) whole-wheat flour in step 1.
Notes
- Stand Mixer (of course, you can do this all by hand!)
- Baking Stone (wouldn’t be without it for pizza or bread baking)
- Pizza peel
Nutrition
I have provided links to recommended products through my Amazon Affiliate program. If you purchase any these products via my links they are at no additional cost to you, and helps to support my cost of running this blog. Thank you for your support.



You sure made it look simple and delicious so I’ll see if the family baker would like to whip up a batch
Thanks, Larry. Welcome home! That was some trip you and Bev took!
Love your step by step photo illustration and simple instructions…while reading your post, I noticed that your “dream” kitchen aid mixer is the one I currently own…. and I want to caution you about this mixer. Although the raised bowl is great for a lot of things, it’s not so good with dough… I have to hold the bowl in place as it tends to bounce off the pegs when kneading dough. If my mixer ever dies I’m going to be looking for one with a bowl that sits flat on the stand.
I finally upgraded to a bowl lift and love it!!
delicious and easy. thank you for a great recipe!
I’m so pleased that you enjoyed it. It was easy, wasn’t it?
These are amazing!! I’ve made them several times and they turned out perfectly!!
That makes me happy to read this! Thank you for the positive feedback.