Homemade bread rolls taste so much better than package ones at the grocery store. This bread dough is so simple to make and it’s versatile. It can be adapted with whole wheat and shaped in so many different ways.
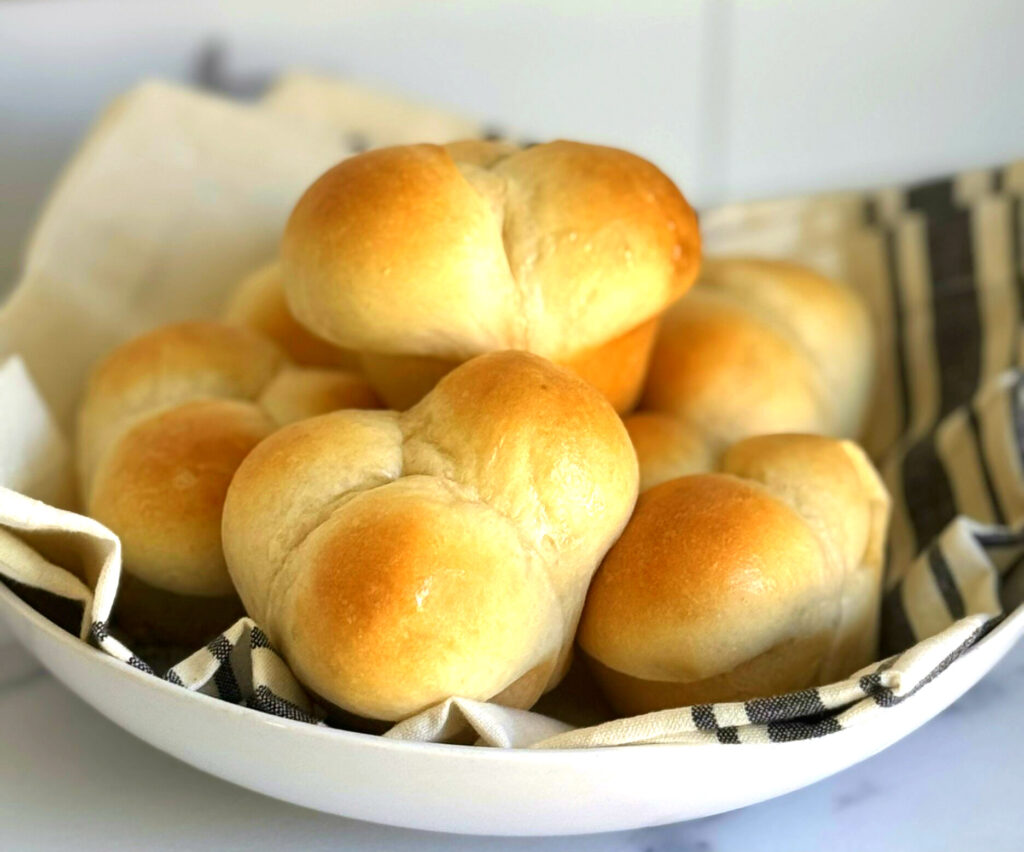
The aroma, fluffy texture and taste of homemade bread just can’t be beat! I’ve posted dozens of yeast bread recipes over the years and I’ll continue sharing new ones. Bread baking is so fun for me.
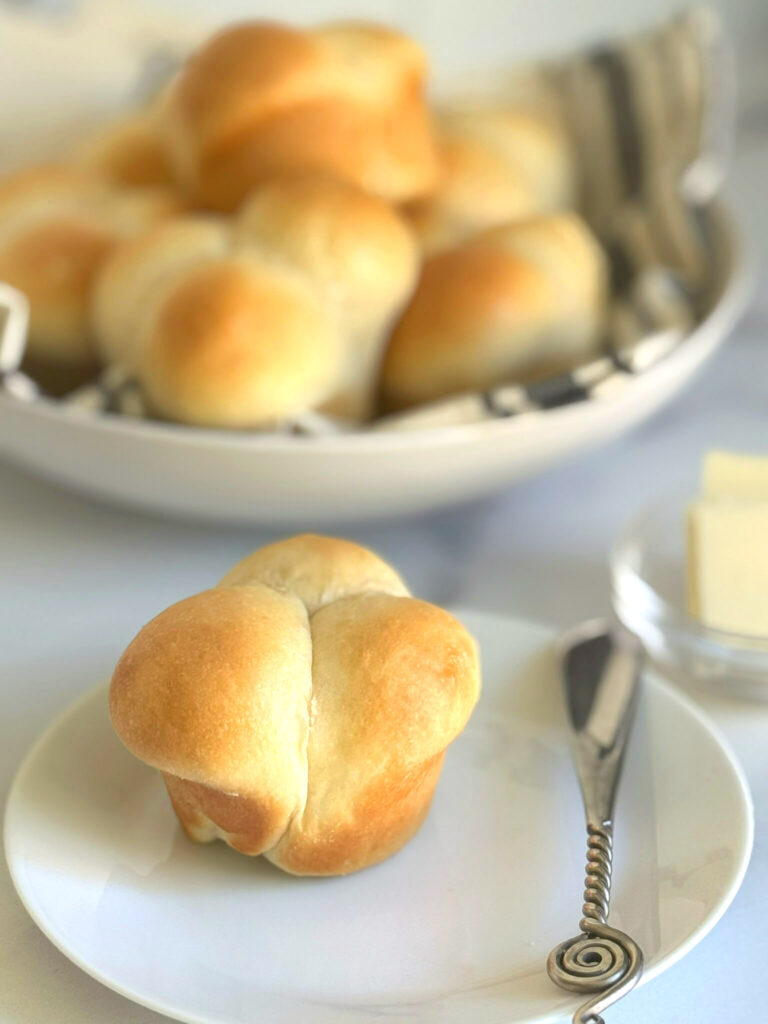
Nowadays, most of my cookbooks are purchased in Kindle Format. Why? I don’t have room for any more! One cookbook that I own and cherish is the Better Homes and Gardens New Cookbook. It’s a comprehensive cookbook with so many classic recipes. That’s how I came across this recipe for dinner rolls.
The bread dough uses basic pantry ingredients. Flour, milk, eggs, yeast and salt. Pretty simple, right?
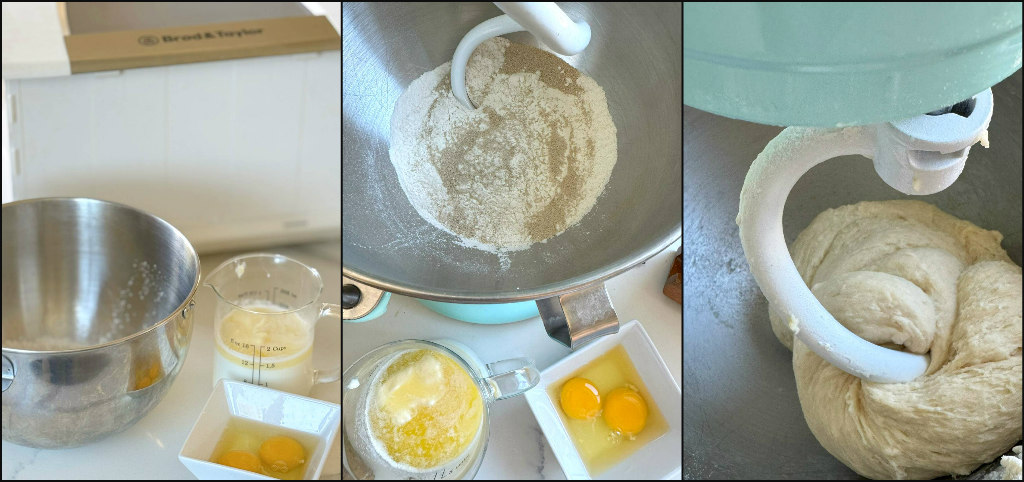
I have two kitchen equipment that have become vital tools for me. The Brod and Taylor Folding Proofer was a bit of an investment. An upgraded Kitchen Aid Stand Mixer makes kneading dough a breeze. While they are both pricey, these items get a work out year round and they are indispensable for my bread baking. Okay, so that dough has been mixed and kneaded.
The dough is shaped into a ball, and placed into a greased bowl. It isn’t necessary for me to cover the dough with plastic wrap, because the proofer has a small dish that is filled with water. Once the lid is closed, the dough won’t develop a “crust’. One hour later, the dough has proofed! That’s why my bread proofer is such a great tool.
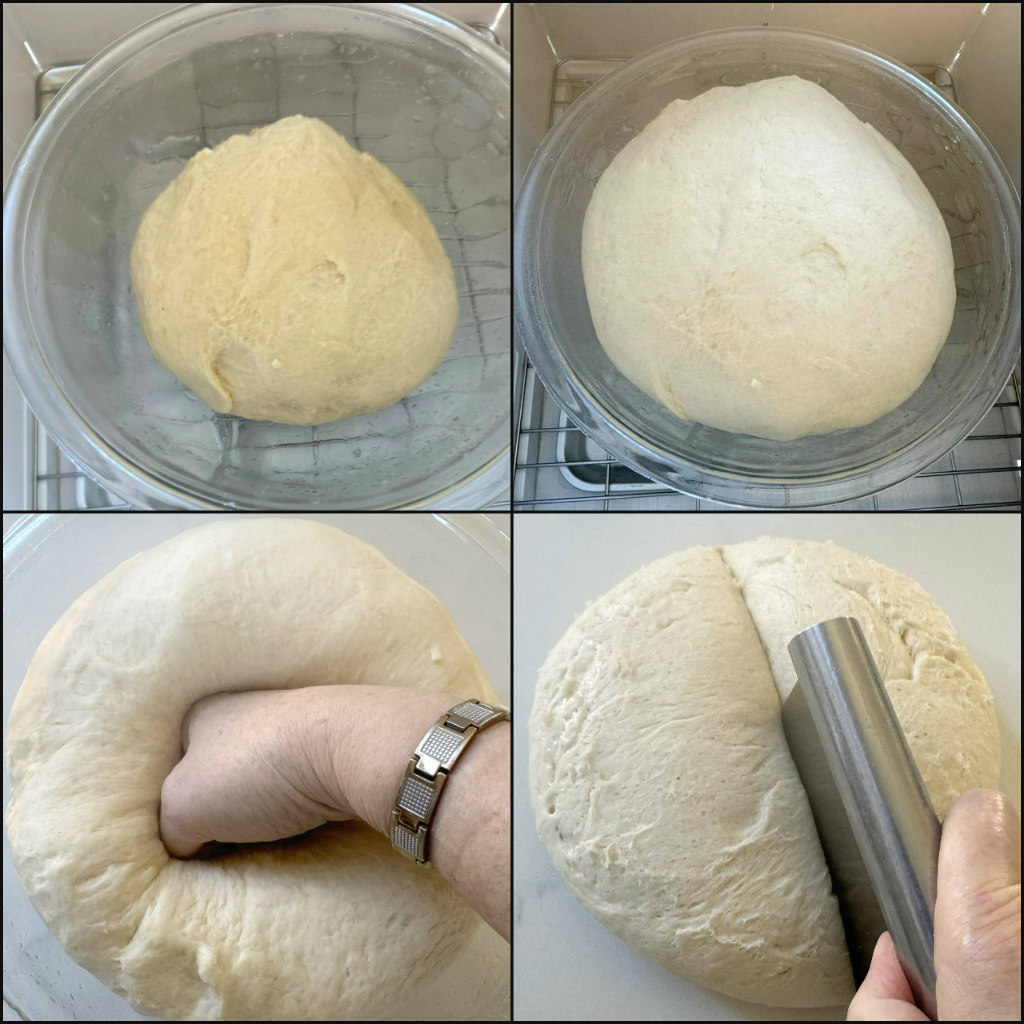
Punch the dough and the shaping begins.
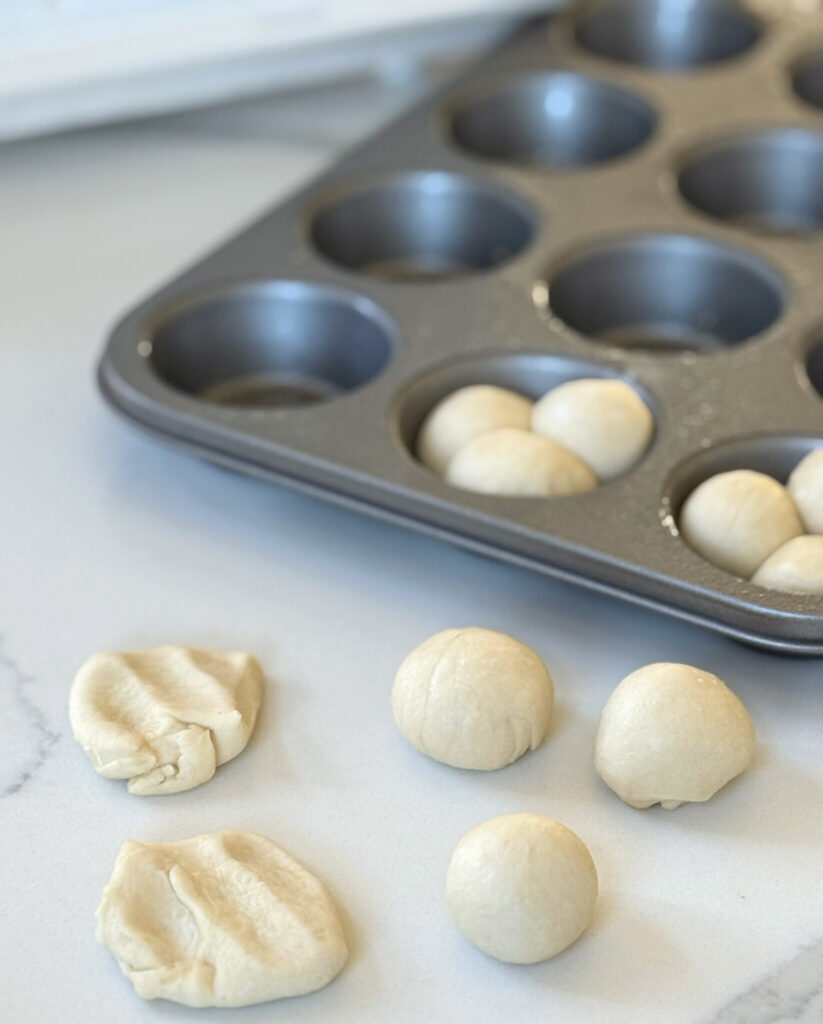
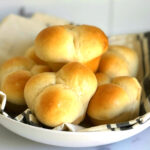
The fun part with this dough is deciding how to shape the rolls. This time, “Clover Leaf Rolls” was the direction I chose. A kitchen scale helps to create the balls to be even in shape and size. (See recipe notes for ideas on different shapes.)
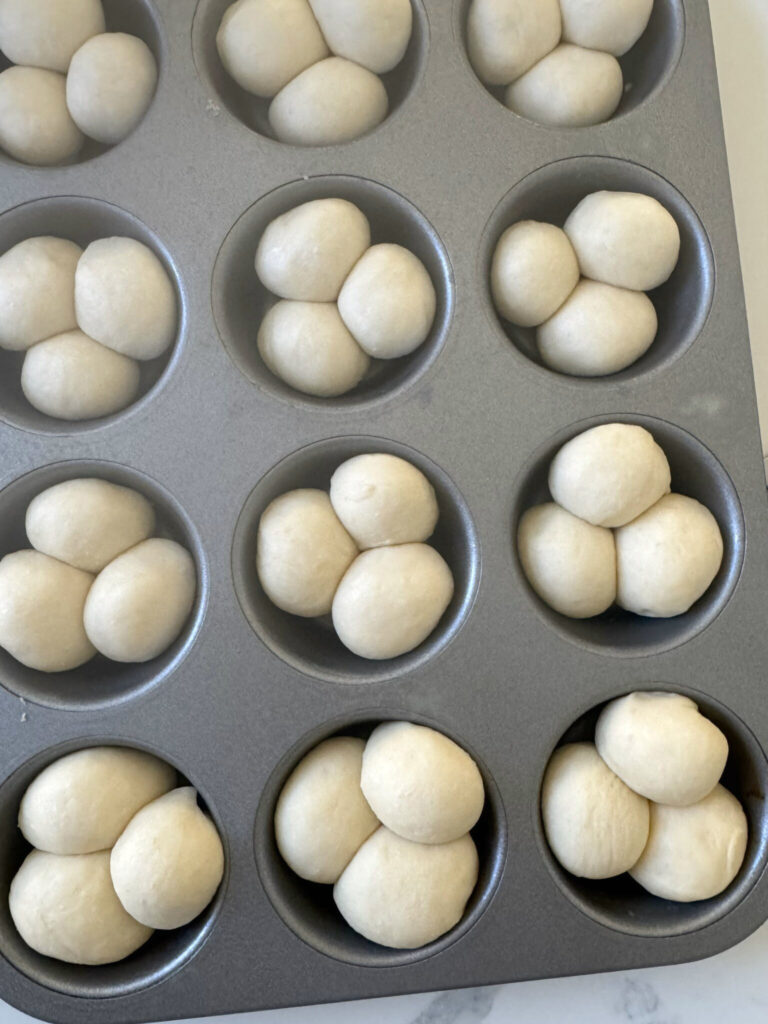
Clover Leaf Rolls bring back childhood memories of the packaged rolls my mother used to buy. They remind me of Thanksgiving, for sure. The tray is too large to fit into my proofer, so the rolls were tucked in with a clean tea towel and allowed to rise.
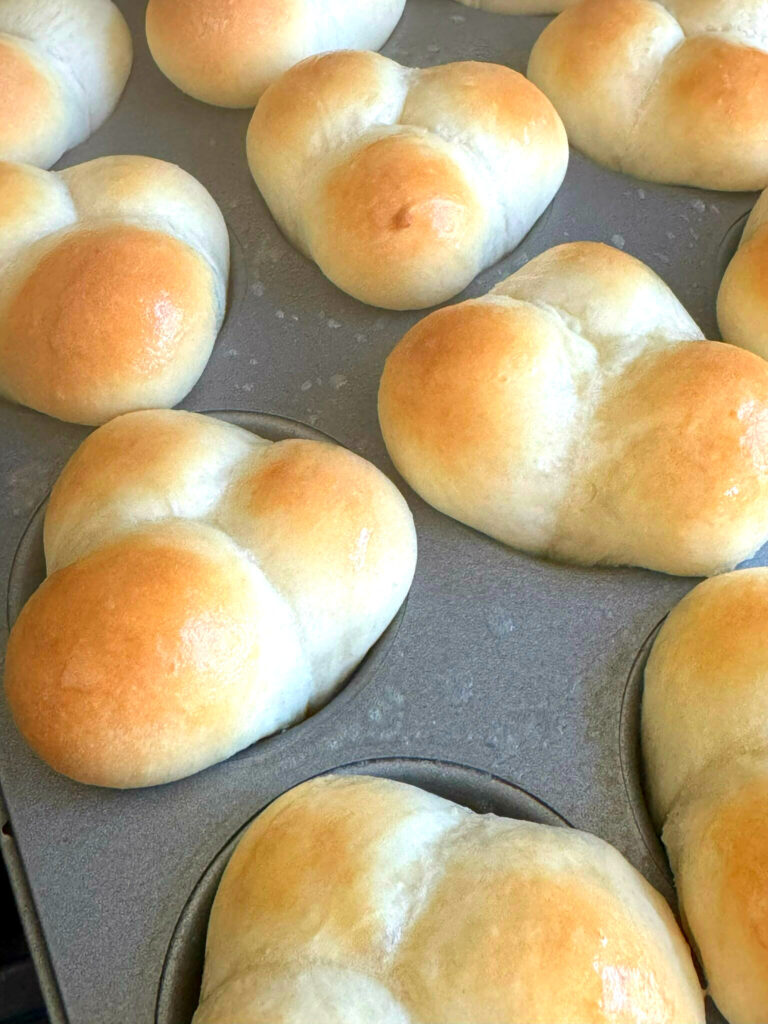
Whoa! The rolls really puffed up during baking! The rolls were brushed with some melted butter.
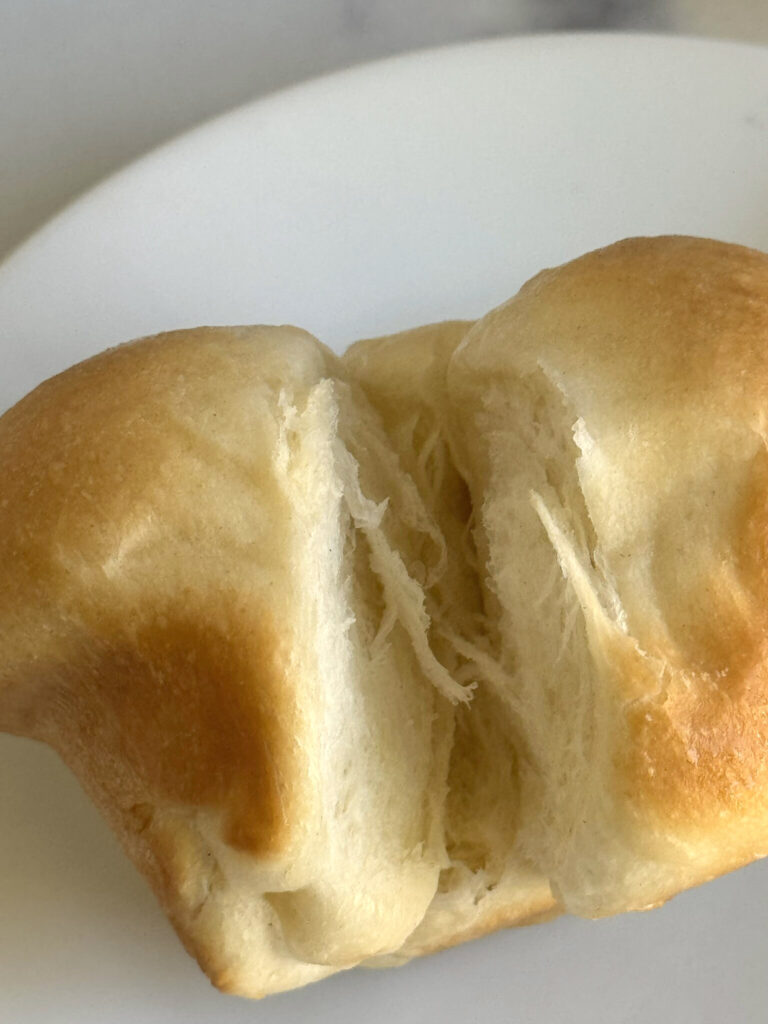
Beautiful tender and fluffy rolls!
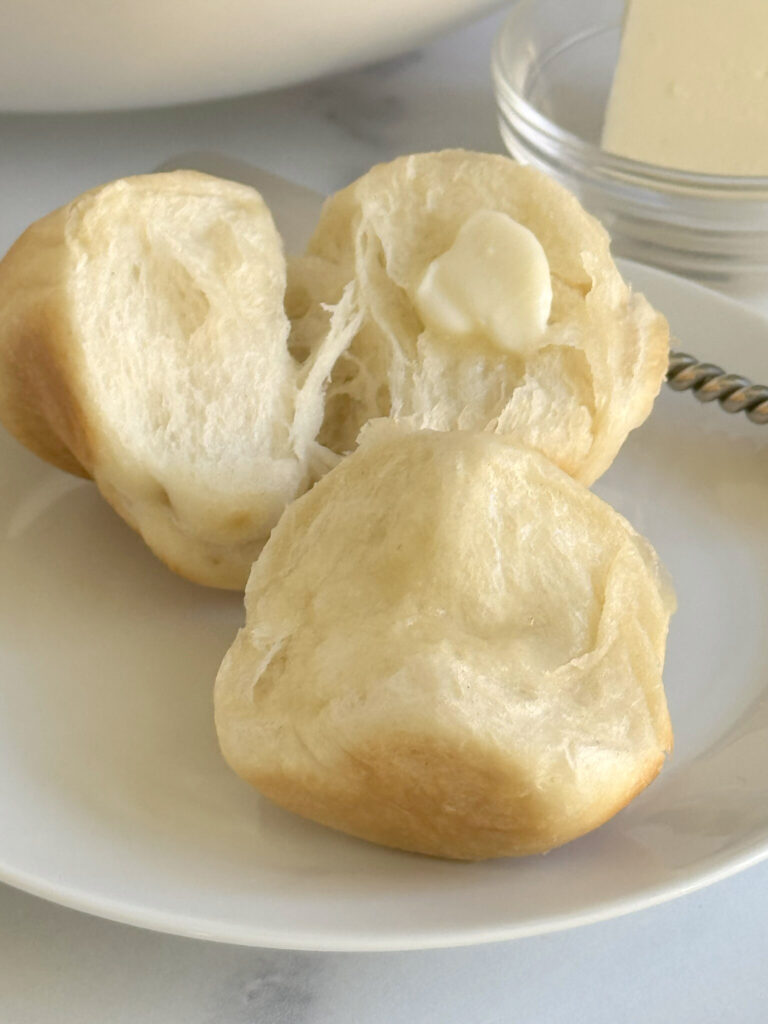
Butter and hot rolls are meant for one another. Time to dig in.
TASTING NOTES: These rolls are so classic. They can easily be adapted with whole wheat flour (see recipe notes). The Clover shape was fun to do. I’ve also made this recipe as butterhorn rolls (like those refrigerated crescent rolls in the refrigerated section). The sky is the limit on how you can shape these, including Parker House rolls and hamburger rolls.
Fluffy Bread Rolls
Equipment
- Bread Proofer My favorite bread baking equipment
Ingredients
- 4½ – 5 cups bread flour I used 4¼ to 4¾ cups
- 1 package active dry yeast
- 1 cup whole milk
- 3 Tbsp sugar
- ⅓ cup butter
- 1 tsp. salt
- 2 eggs room temperature
Instructions
- In a large mixing bowl, stir together 2 cups of flour and yeast.
- Heat milk, sugar, butter and salt until warm (120F-130F) and butter almost melts.
- Add to flour mixture, along with eggs.
- Beat with a mixer on low to medium speed for 30 seconds, scraping sides of bowl constantly.
- Beat on high speed for 3 minutes Stir in as much of the remaining flour as you can.
- In a stand mixer, knead dough on high to make a moderately stiff dough that is smooth and elastic. (If kneading by hand this takes 6-8 minutes).
- Shape dough into a ball.
- Place in a greased bowl; turn once to great surface of the dough.
- Cover; let rise in a warm place until double (about an hour)
- Punch down dough. turn dough out onto a lightly floured surface.
- Divide dough in half. Cover and let rest for 10 minutes.
- Shape dough into 24 desired shapes (see notes), then place on a lightly greased 13x9x2-inch baking sheet.
- Cover; let rise in a warm place until double in size (about 30 minutes).
- Preheat oven to 375℉. Bake for 12-15 minutes for individual rolls or 20 minutes for pan rolls or until golden.
- Immediately remove rolls from pans. Cool on wire racks.
Notes
Nutrition




Can I use a bread maker machine
I haven’t used a bread maker machine in many years. I would guess you could use the machine to mix and proof the dough. At that point, you’d have to shape the rolls and then bake them in the oven. I hope this helps.
Great recipe