The beauty of these Overnight Cinnamon Rolls recipe is that you make the dough a day ahead, let it slowly proof in the refrigerator. In the morning, roll out the dough, spread the cinnamon filling, bake and frost. These are truly the best cinnamon rolls I’ve baked. My guests raved about them. The next day, they reheated beautifully and were just as fluffy and good.
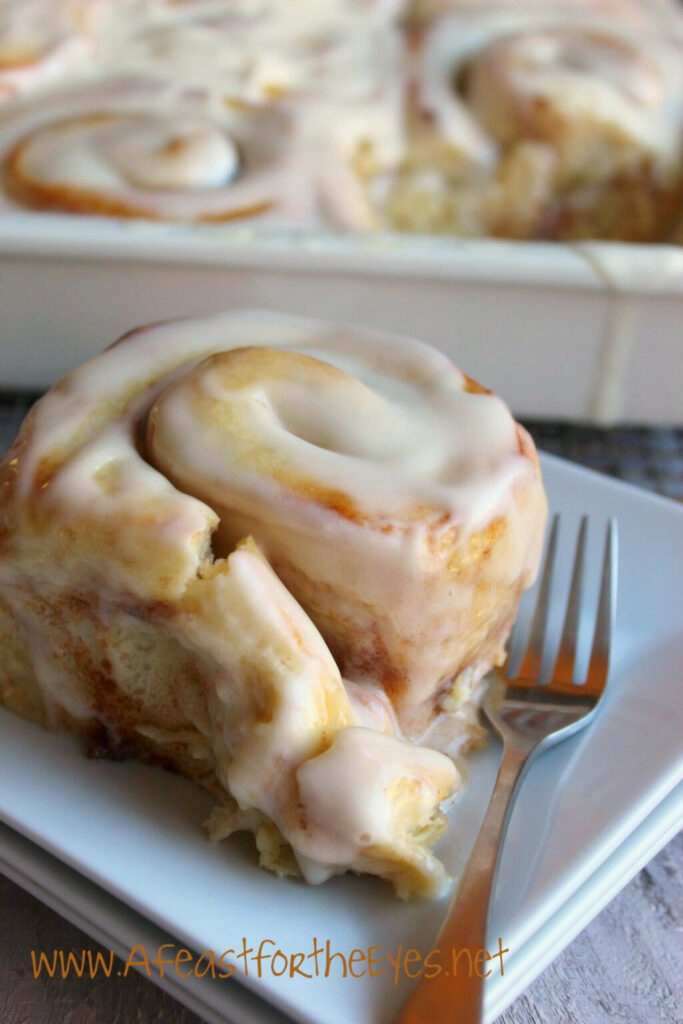
Cinnamon rolls are a guilty pleasure that I save for special occasions. They are hard to resist.
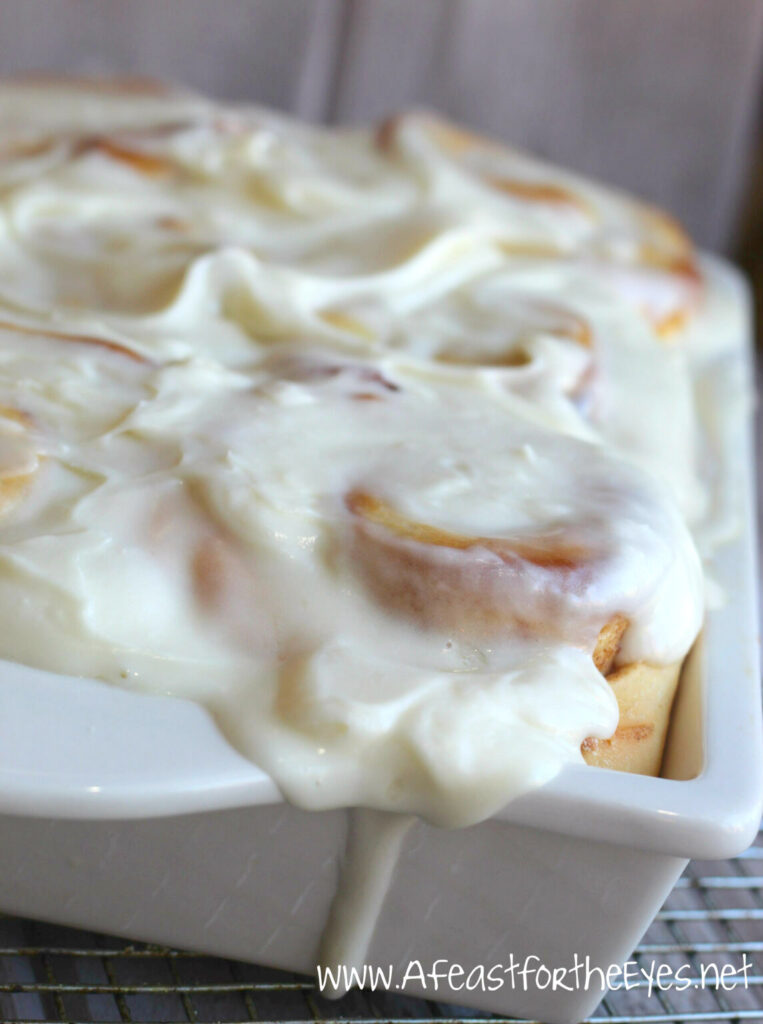
Oh, Cinnamon Rolls. How I love thee! They are decadent. I don’t even want to think of how many calories there are. Fortunately, I don’t indulge in these often. But, when I do, they are pure bliss to devour.
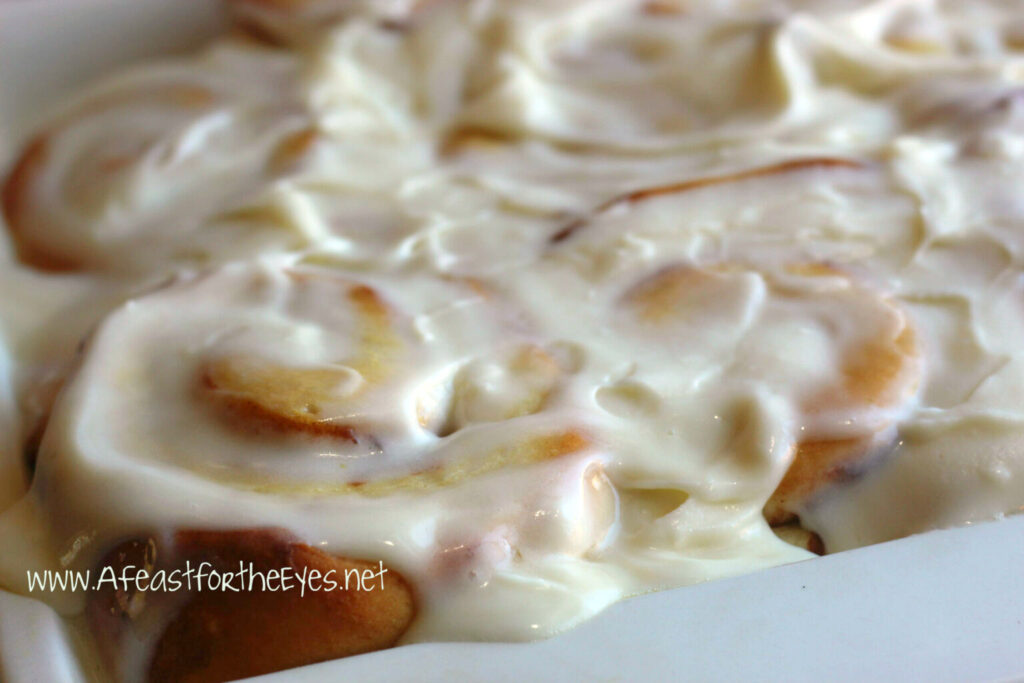
The perfect cinnamon rolls is best enjoyed freshly baked, and still warm. The frosting is just as important, too! Velvety and smooth cream cheese frosting– that’s the ticket!
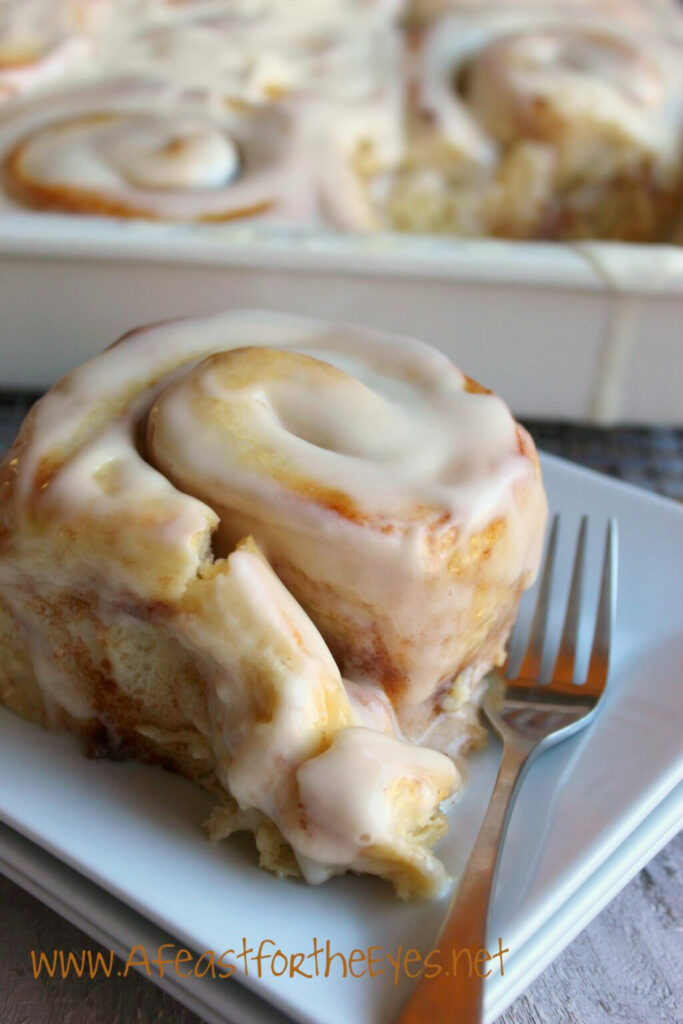
They are a special treat with a cup of morning coffee. The trick is having 3-4 hours to make the dough, proof it, shape them, proof them again, bake them and frost them! I’m not enough of a morning person to get up at 3:00am to start the process.
You can break this up by making the dough the night before… the next day, you shape them, proof them (for about 45 minutes), then bake them (for about 22 minutes) and frost them (5 minutes later).
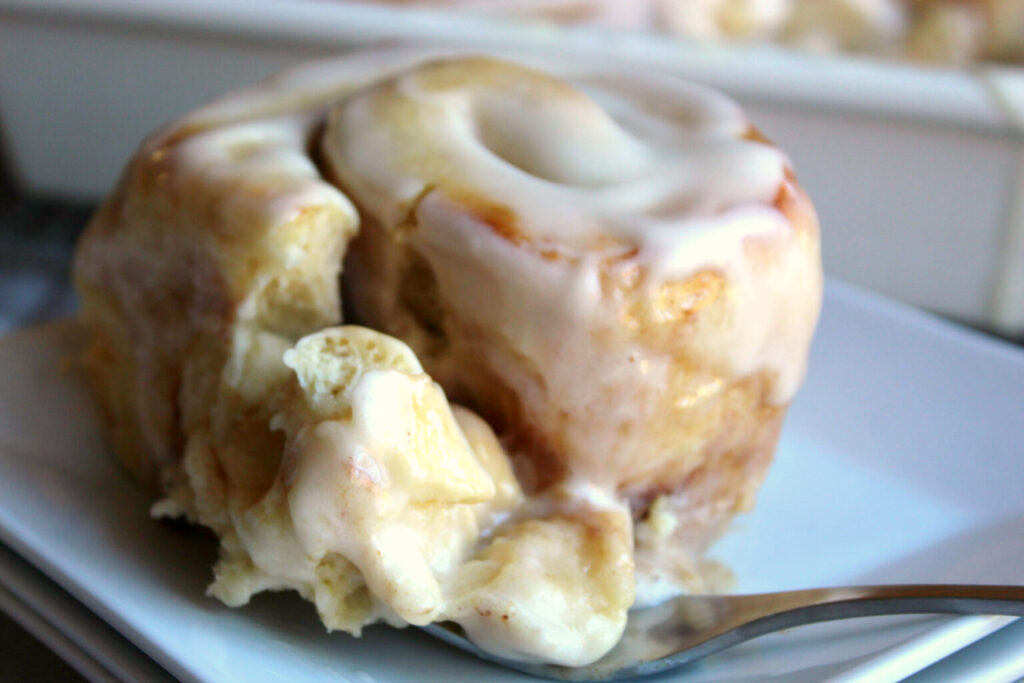
Heaven! I made these on Saturday morning (right after Christmas) for my family and a guest. The delight in their eyes was so worth the effort to make these. They were fluffy, tender and decadently good. (Honestly, they weren’t terribly difficult to make.)
Let’s make them!
My Christmas gift to me was an upgraded Kitchen Aid Bowl-Lift Design Stand Mixer. I am on a bread baking kick (more recipes to come) so I wanted to upgrade to this model because it kneads dough even better than my tilt-model. I didn’t photograph how I made the dough, but it’s not terribly difficult. Once the dough was mixed (took about 20 minutes of prep work), place it into an oiled bowl, covered it with plastic wrap. Set into the refrigerator the night before (around 5:00pm).
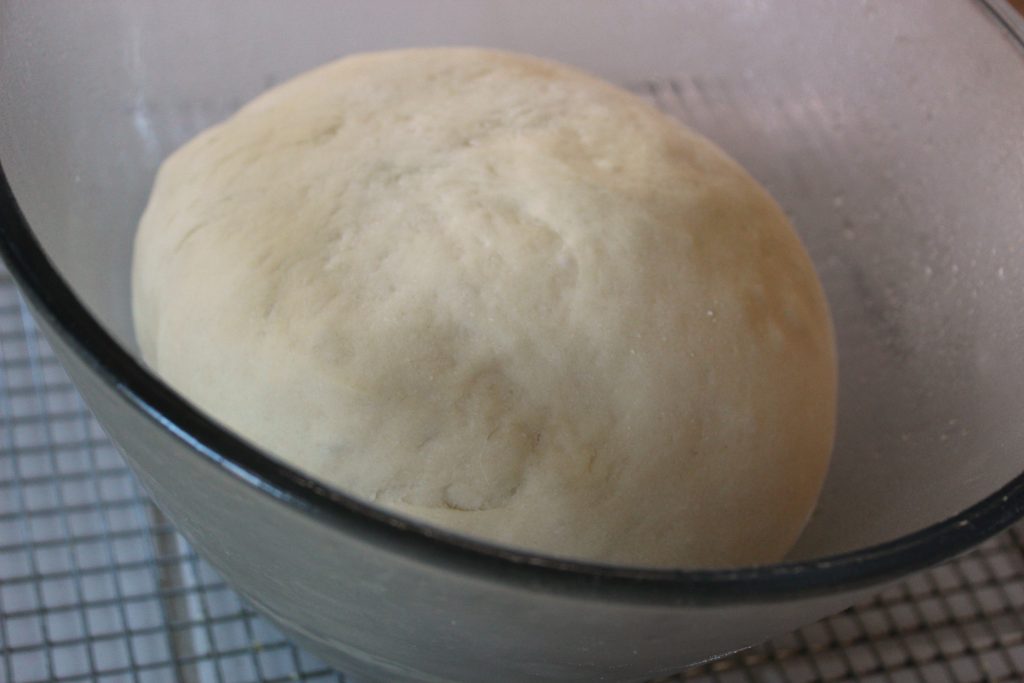
The next morning (around 9:00am) remove the bowl from the refrigerator. I was pleased to see that the dough had doubled in size!
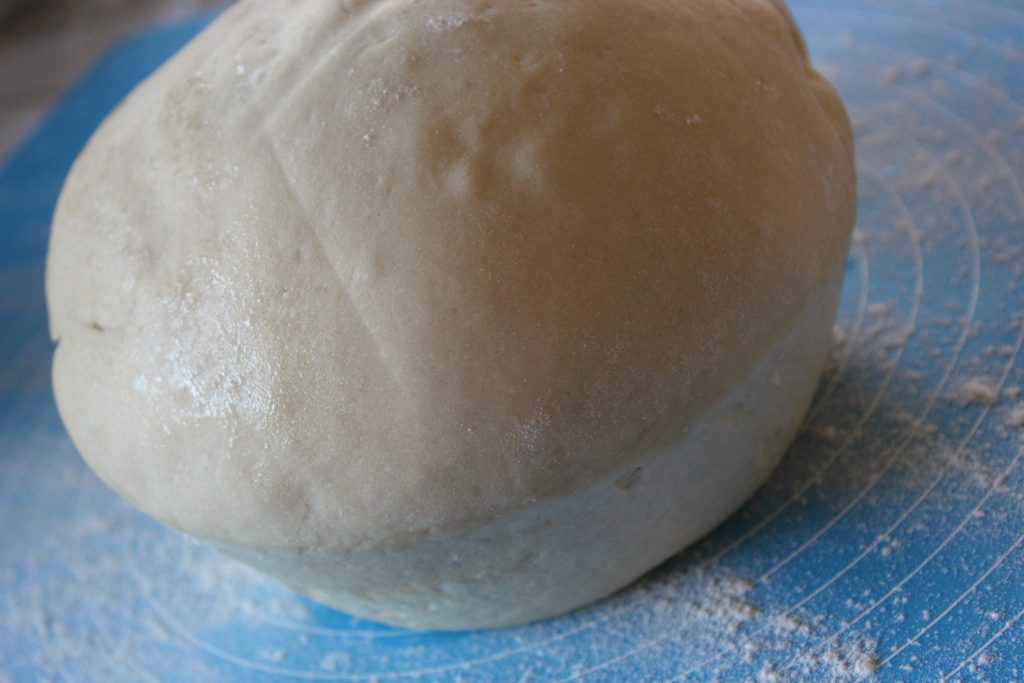
I lightly floured my silicone baking mat and grabbed my French rolling pin. As I started to roll out the dough, I was concerned that the dough felt stiff. But, with a little elbow grease (and patience)…
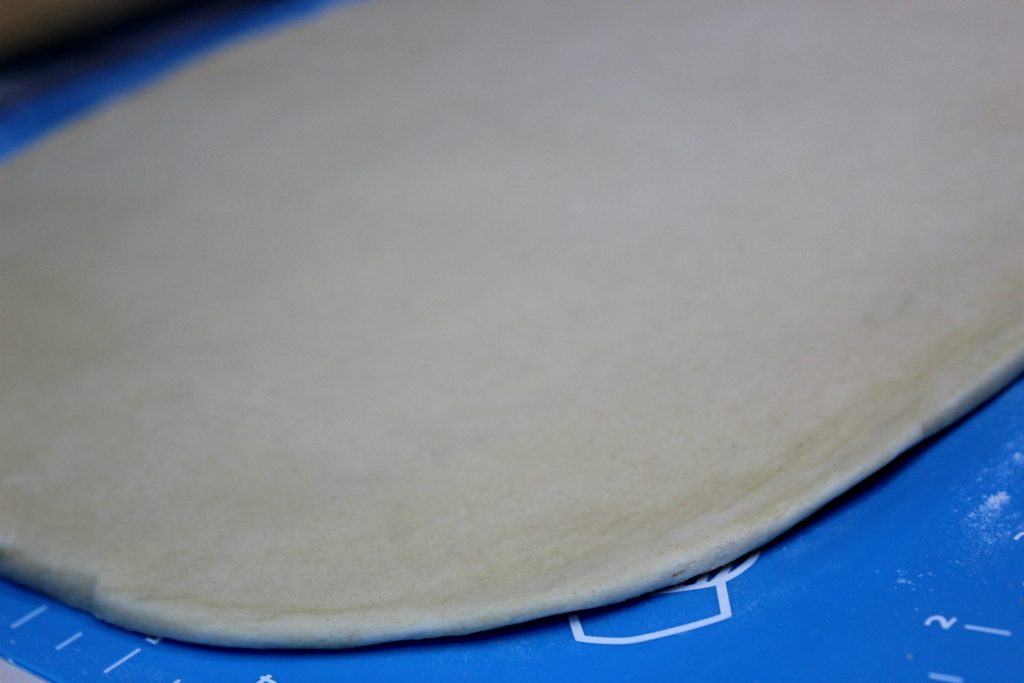
…the dough began to soften and I shaped it into a 12×16 rectangle.
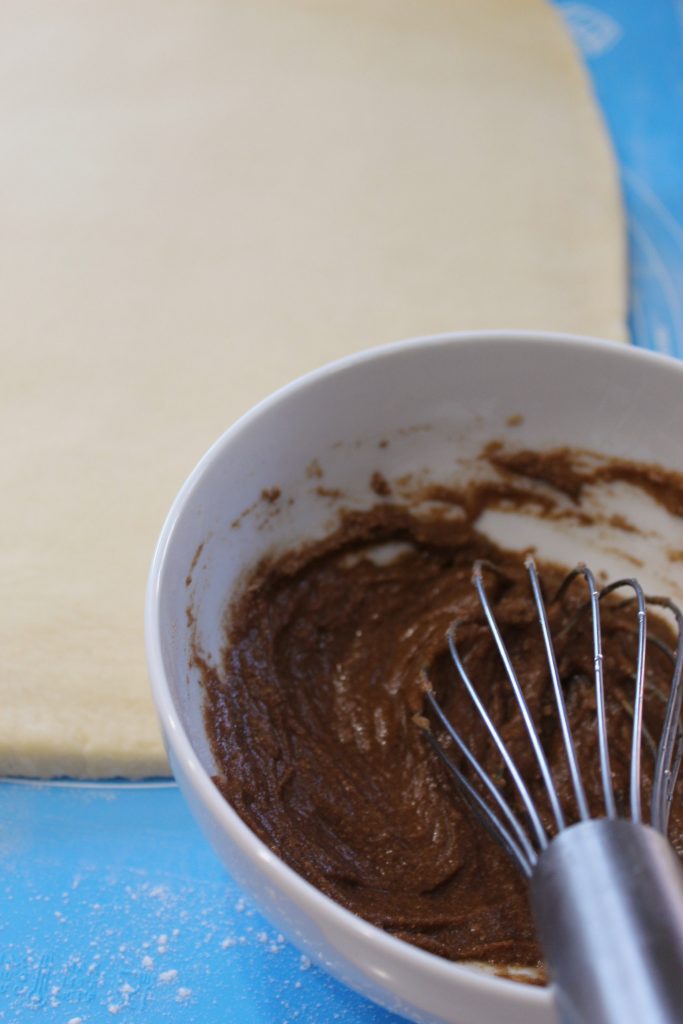
Most cinnamon fillings consist of spreading butter, sugar and cinnamon. Makes sense. However, I prefer to make a cinnamon “schmear”. I have purchased Baker’s Cinnamon Filling from King Arthur.com (you can make your own, recipe to follow).
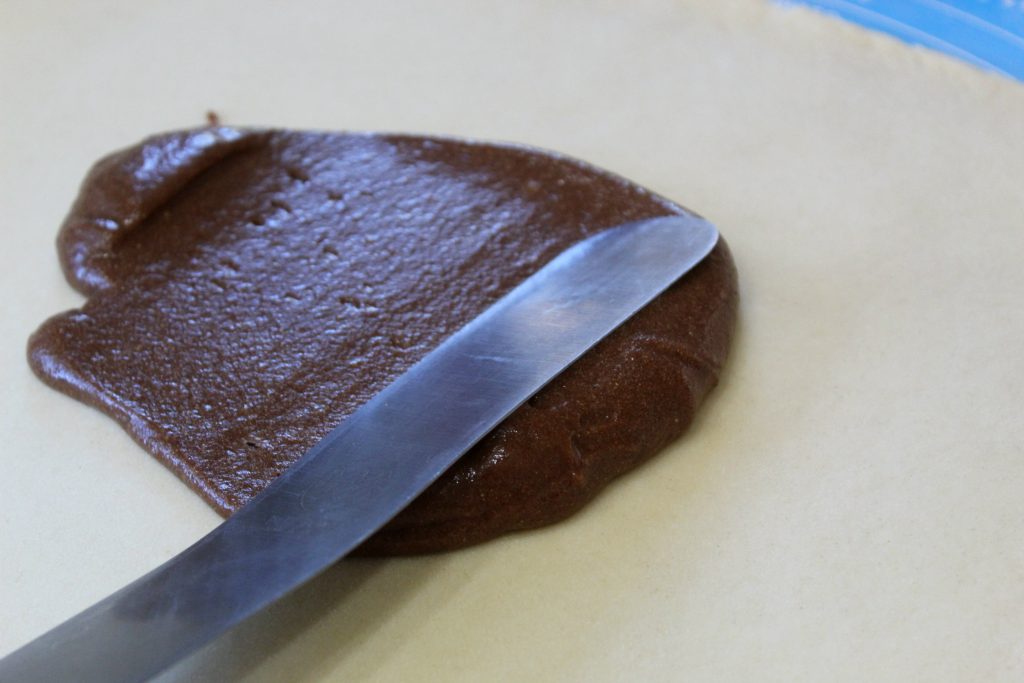
The reason I prefer a “paste” is that I’m convinced this gives a lot more cinnamon flavor– and that’s what these rolls should be all about!
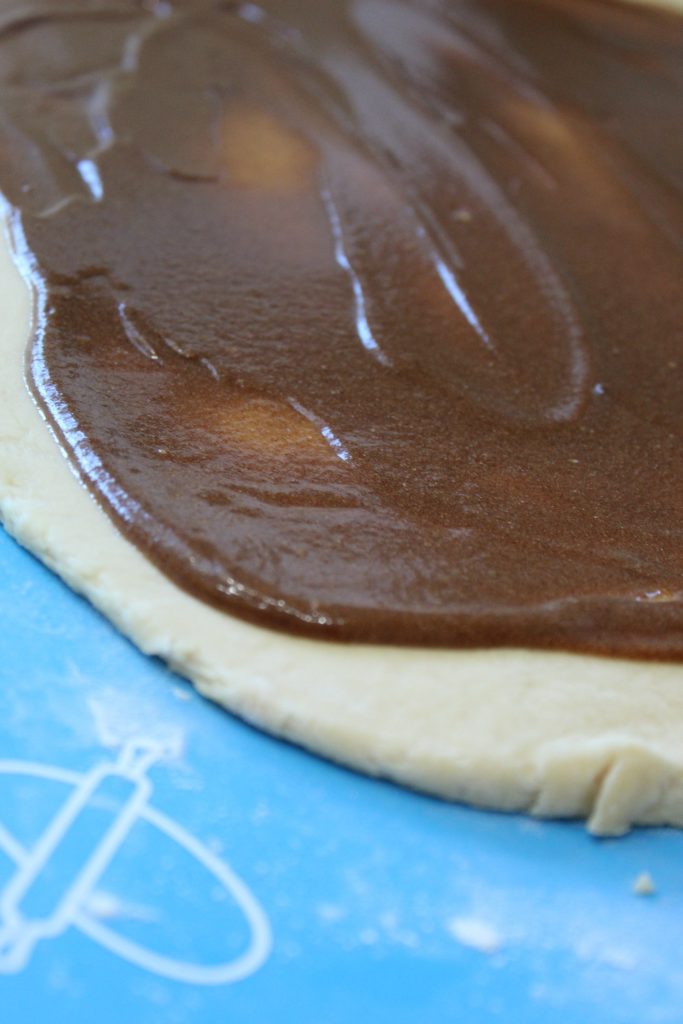
It’s important to leave a good 1-inch border, so that when you start to shape the rolls– the filling doesn’t ooze out. I confess, I made a bit of a mess by going too close to the edges– but I cleaned it up well.
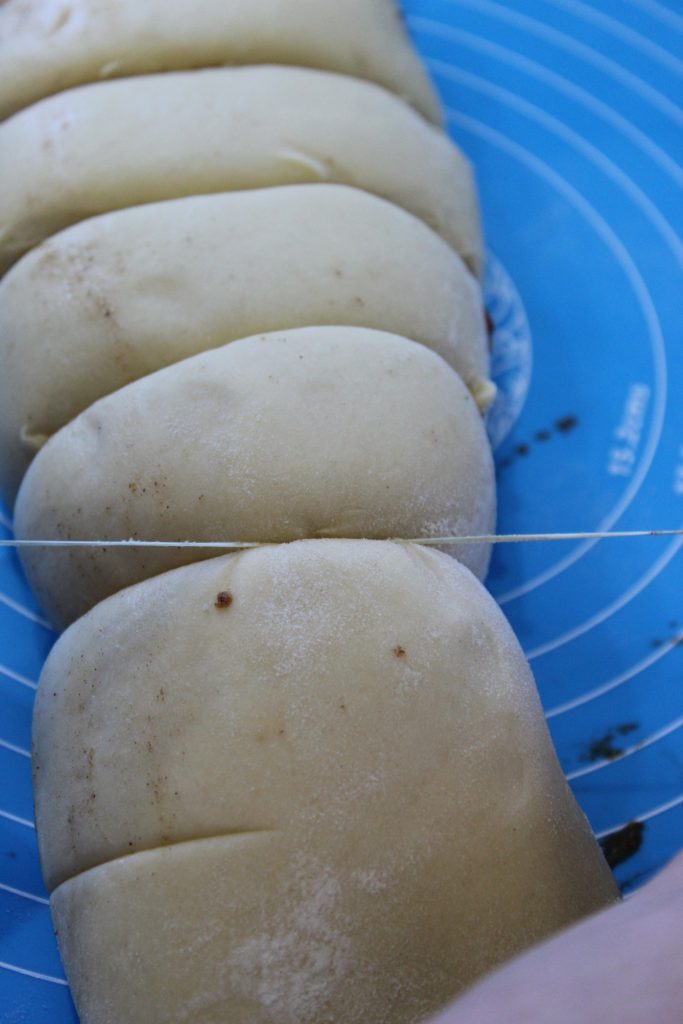
My favorite way for me to cut cinnamon rolls is to make each piece with a knife. Basic math– I measure the halfway point, then measure each of those in half, and then one more in half. I got eight rolls! Aha! Do you see that I’m using dental floss? (Unused, of course!) It’s a cool trick a learned years ago, and I love it. I find that using a sharp knife is okay– but it can smoosh my rolls. Try it!
NOTE: You could reduce the calorie-guilt by cutting the rolls even smaller– to about 12 rolls.
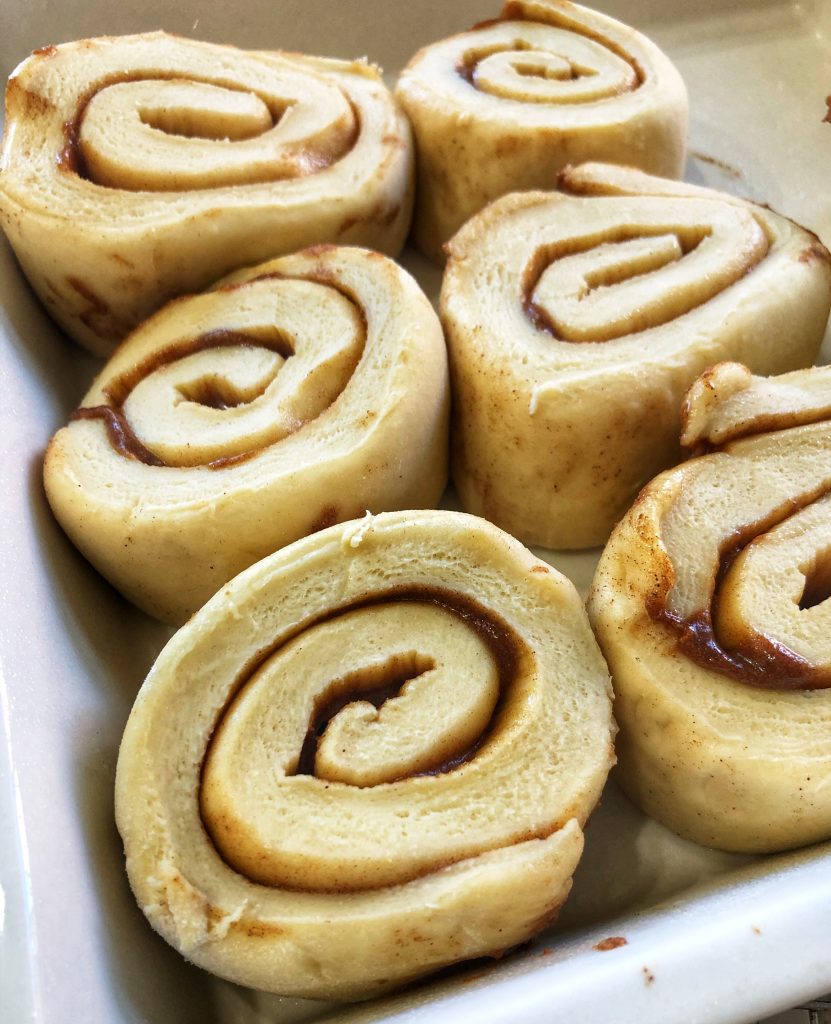
I’ll be honest. I was a little concerned that the dough looked a bit stiff– plus I use a baking dish that really needed nine rolls to fill it up. However, I covered the rolls with plastic wrap. I preheated my oven for 2 minutes on WARM to mimic a proofing drawer.
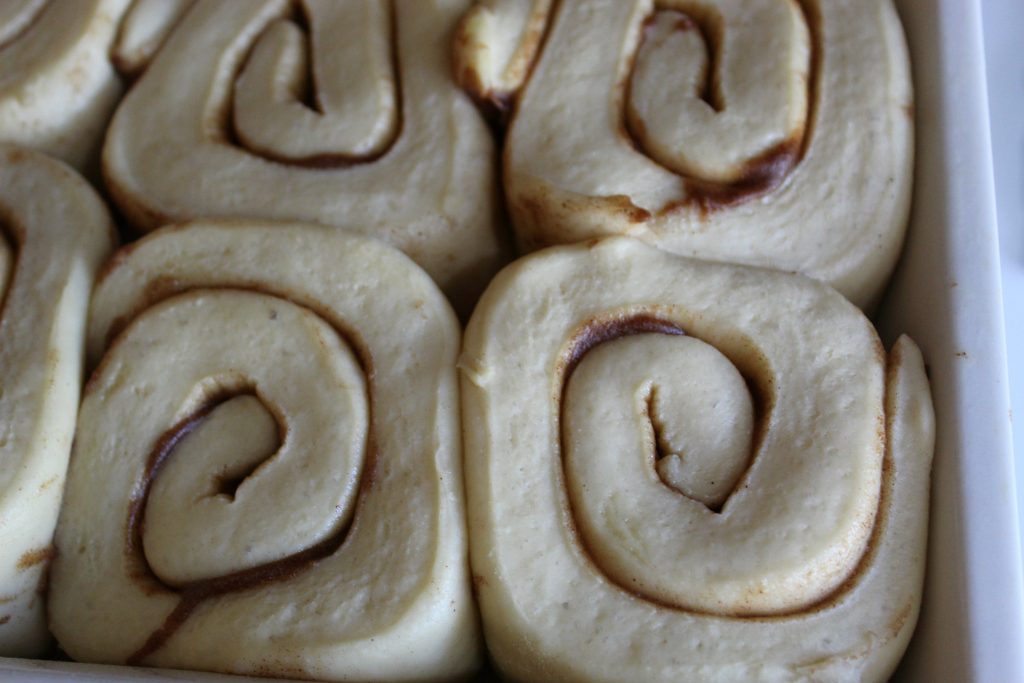
45 minutes later– wow! The dough had proofed considerably. These are going to be “Godzilla” sized rolls, I thought.
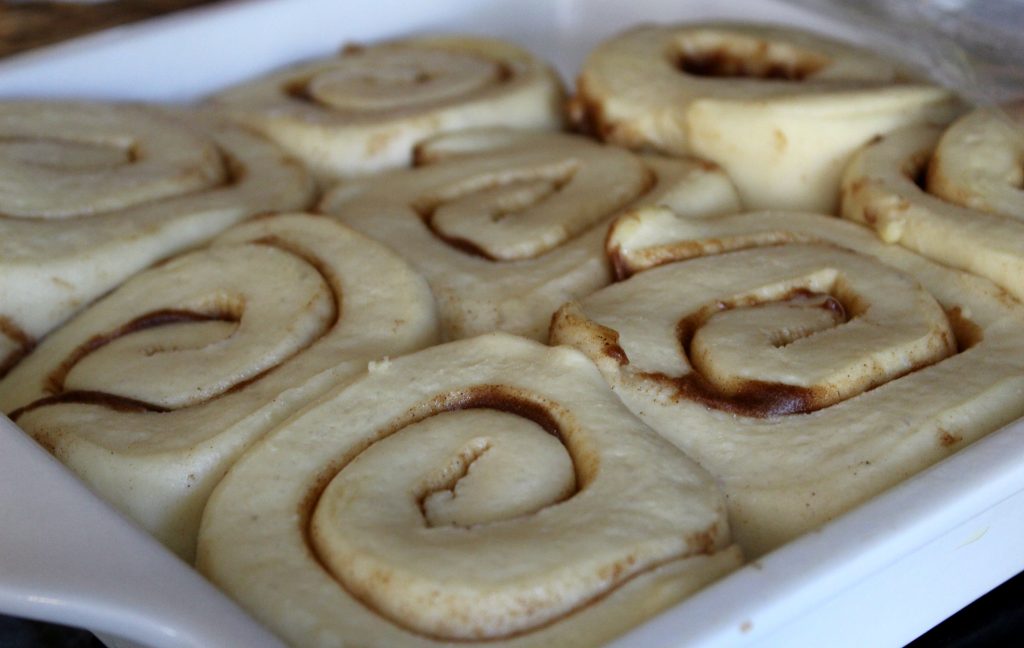
I’m so glad I finally conquered my fear of working with yeast! When dough proofs like this, it makes me really happy!
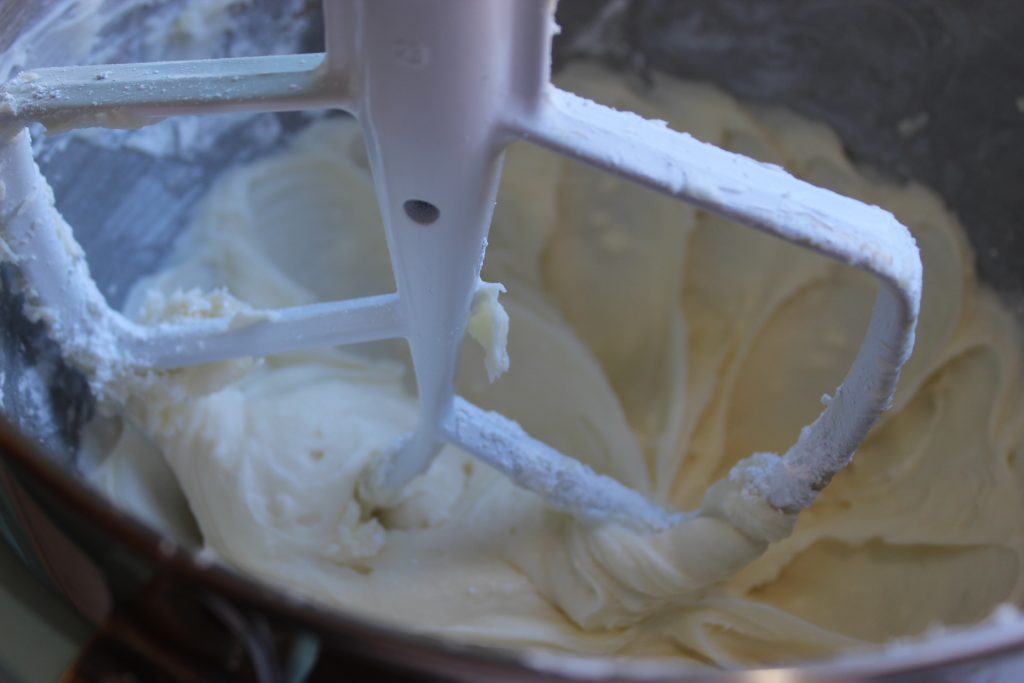
While the rolls are baking, make a frosting of softened cream cheese, unsalted butter, vanilla, a pinch of salt and a little milk.
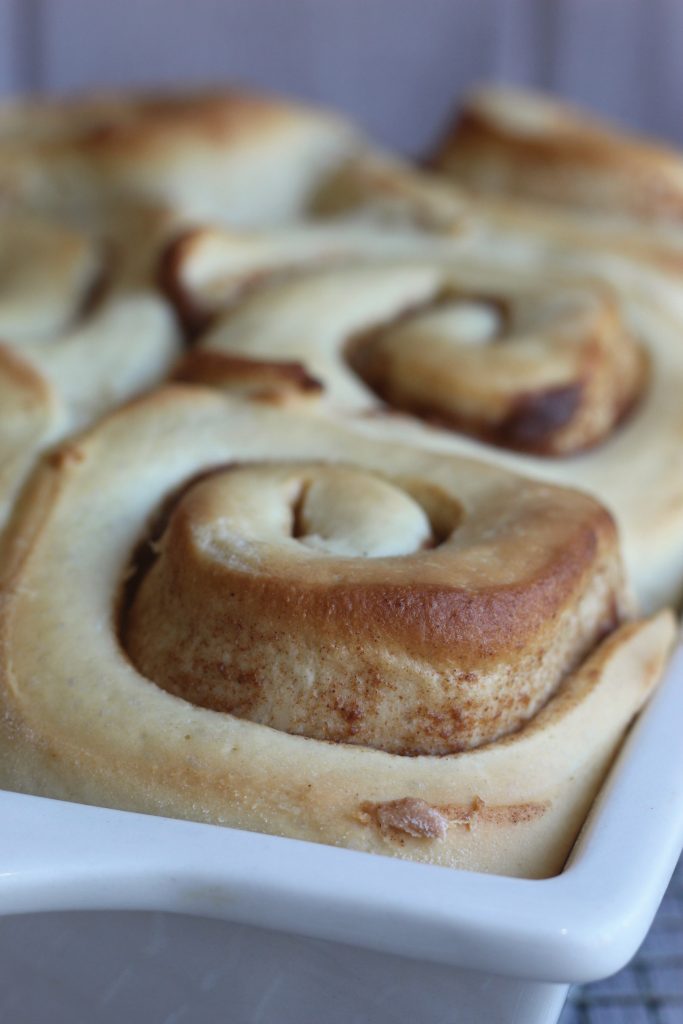
22 minutes the rolls were golden brown and ready to come out of the oven. My kitchen smelled like a bakery!
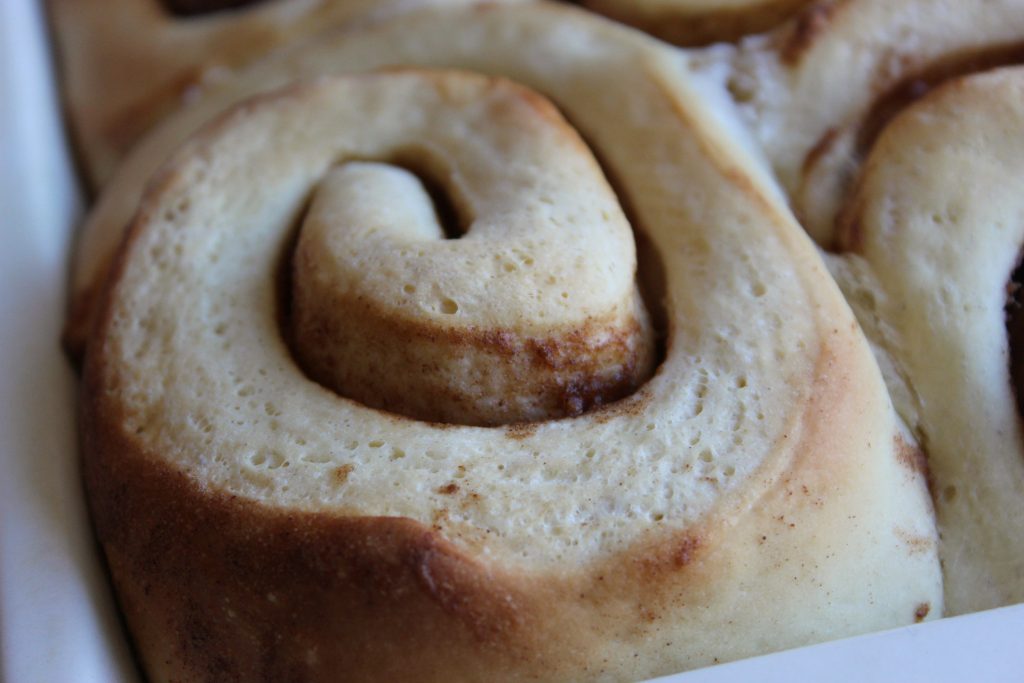
Some people might prefer a dusting of powdered sugar and be happy. As for me…
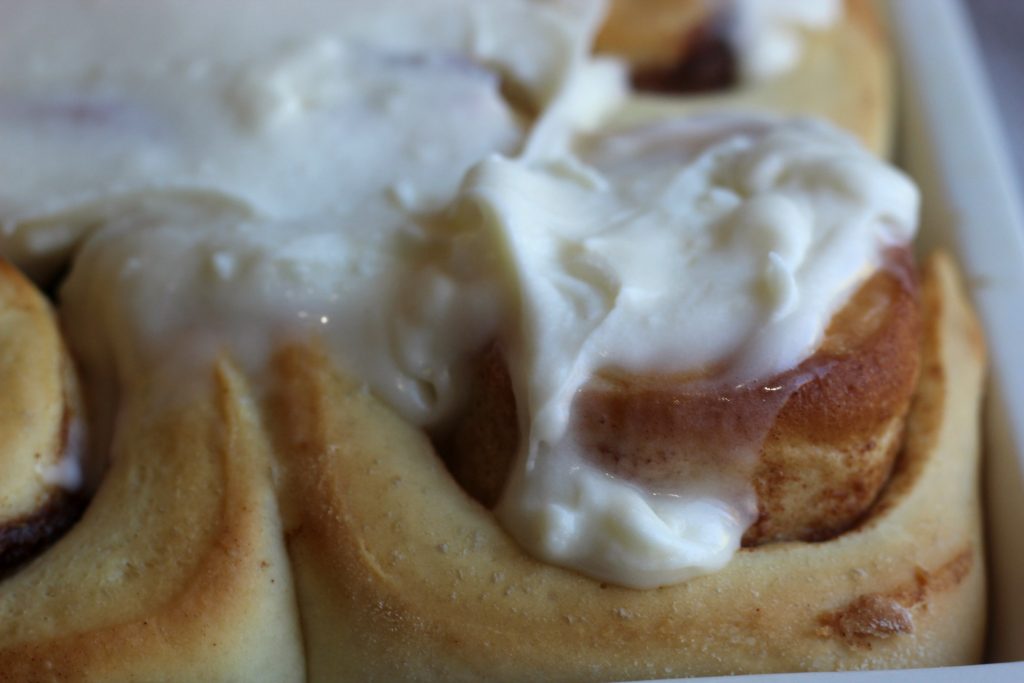
C’mon! It’s all about the frosting!
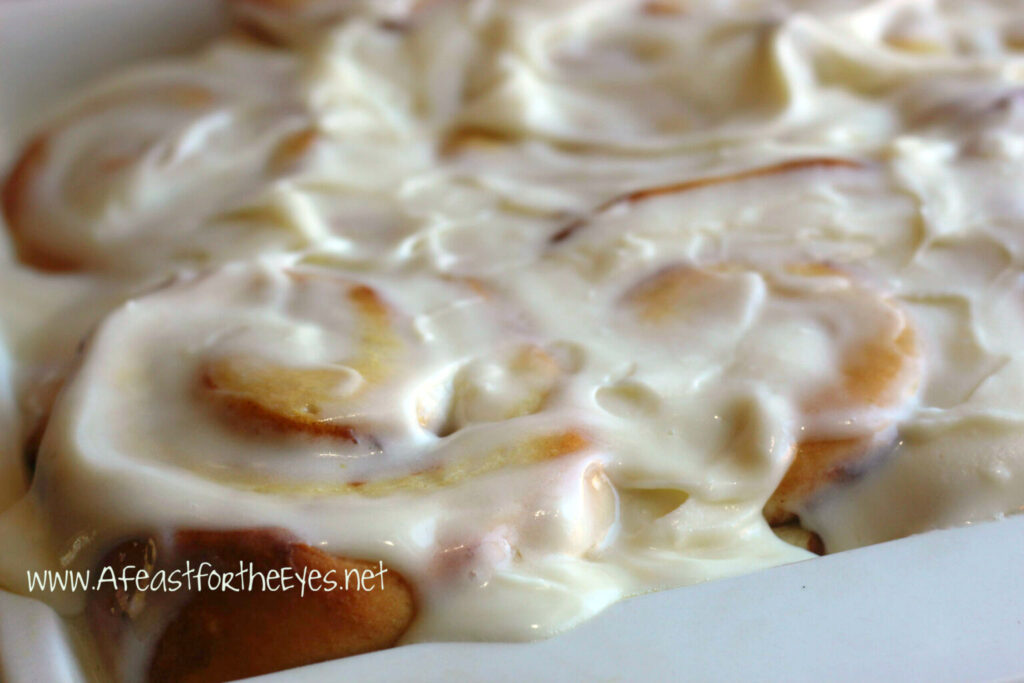
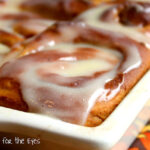
The frosting was thick, but it began to melt and ooze into nooks and crannies. Too much? Nah. If you’re going to indulge, just do it all the way!
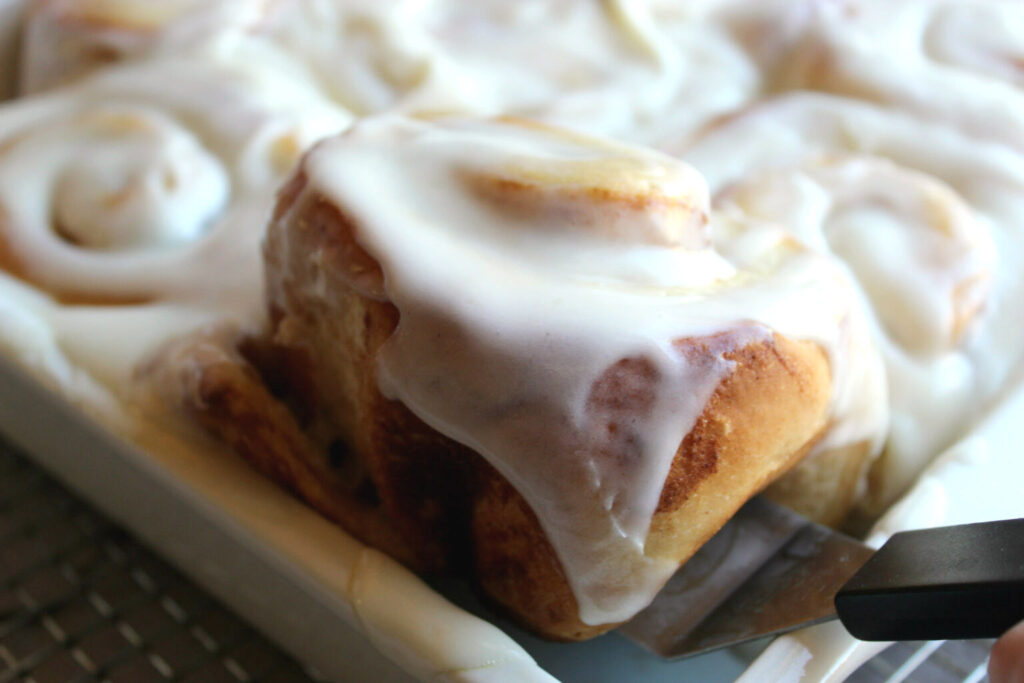
Not quite 2 hours later, the aroma of cinnamon was just too much for anyone to resist. My husband was anxious to dig in to one of these.

There you go, my Love! Enjoy! (My husband’s eyes light up.)
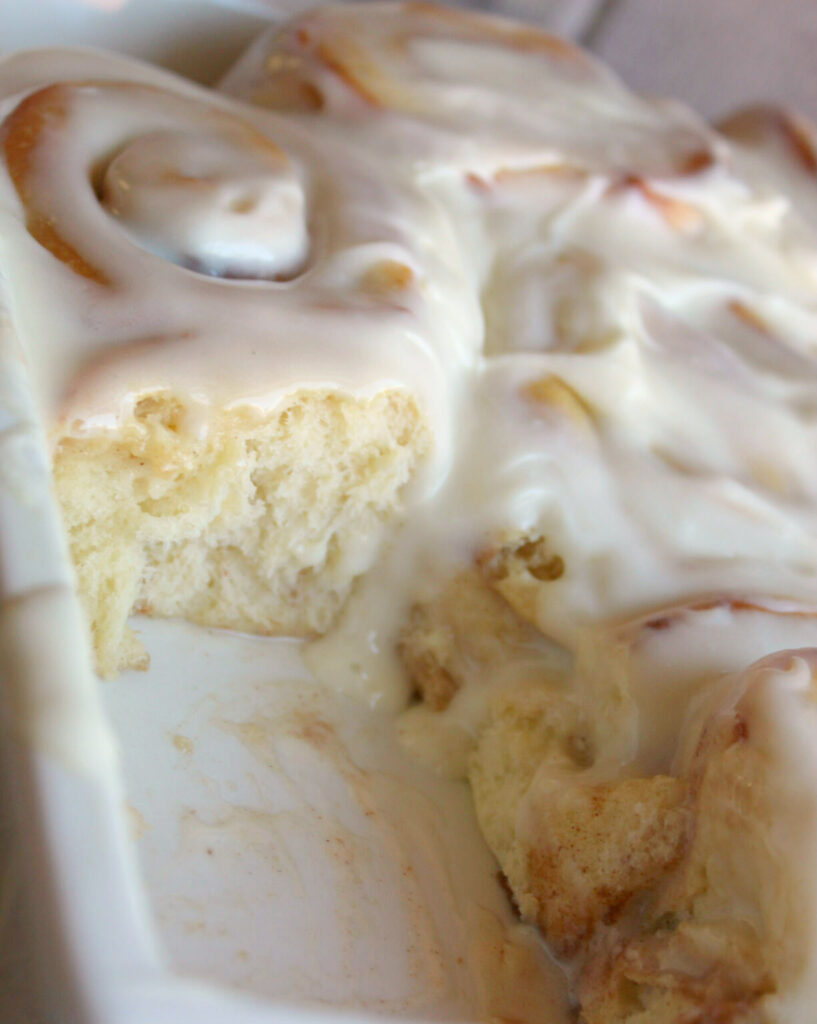
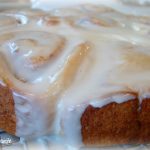
Can you see the fluffy texture? I served the rest of the family (including Yours Truly).

TASTING NOTES: Mmmm. Warm. Tender. Plenty of cinnamon. Sweet frosting, but the tang of the cream cheese was perfection. I saw my family go in for another one. Me? I resisted going in for more. These are rich, decadent and a definitely treat.
The next day, I reheated one for about 20 seconds, in the microwave. It was still tender and wonderful. I will definitely make these again– but I’ll allow a break in between. They are definitely not for the carb-conscious dieter! These are a wonderful treat to surprise your family with for brunch.
The Best Overnight Cinnamon Rolls
Ingredients
For the dough:
- 1 cup whole milk
- 2 teaspoons active dry yeast
- 1/4 cup sugar
- 2 large eggs
- 4 cups unbleached all-purpose flour
- 1 1/2 teaspoons kosher salt
- 6 tablespoons unsalted butter room temperature (very soft)
For the filling:
- 1/2 cup room temperature unsalted butter
- 3/4 cup brown sugar
- 1 tablespoons ground cinnamon
- 1/4 teaspoon kosher salt or slightly less table salt
Optional Cinnamon Filling (my preference)
- 3/4 cup brown sugar
- 2 Tablespoons cinnamon
- 1 1/2 Tablespoons Instant Clear Gel available at King Arthur Flour.com
- 2 Tbsp Water enough to create a thick, spreadable paste
For the frosting:
- 4 ounces cream cheese room temperature, soft
- 4 tablespoons unsalted butter room temperature, soft
- 1-4 tablespoons milk (whole recommended); enough to soften the frosting to a thick but spreadable consistency
- 2 cups confectioner's sugar (powdered)
- 1/2 teaspoon vanilla extract
- Pinch of kosher salt
Instructions
For the dough:
- Warm the milk in the microwave (or on the stove) in 15 second increments). You want it to be aboaut 100F– warm but not steaming hot. In the bowl of a stand mixer fitted with the dough hook, combine the warm milk, yeast, and sugar. Let the mixture stand until foamy, about five minutes.
- Add the eggs, flour, and salt to the bowl and mix on medium speed until a sticky dough is formed. Beat in the butter, 2 tablespoons at a time, until the butter is incorporated before adding the next batch. It's important that the butter is very soft in order for it to incorporate into the dough. HINT: I often forget to soften butter. I unwrap it, stick it on a small plate and microwave for 5 seconds, then flip to the next side. I repeat this until all four sides have been flipped. This yields a soft butter that is not melted.
- Once all the butter is incorporated, knead the dough for 10 minutes on medium speed (or knead by hand). You'll want to see the dough not sticking to the side of the bowl. I ended up adding about 4 additional tablespoons of flour– after each 1 tablespoon addition, I watched to see if the dough wasn't sticking to the bow.. Don't add all the additional flour at once!
- Place the dough on a very lightly floured (or oil) covered surface and shape into a lightly oiled bowl. Cover it with plastic wrap and place into the refrigerator overnight. By allowing a slow-proof in the refrigerator, this allows more flavor to develop into the dough. You'll want to leave this is the refrigerator for at least 8 hours (I left mine for 16 hours with no problems.) The dough will double in size.
Shaping the rolls:
- In the morning, remove the dough from the refrigerator. The dough will be quite stiff and firm but it will start to roll easily– with a little bit of elbow grease!, Lightly dust your work surface and a rolling pin with flour. Roll the dough out into a rectangle approximately 12×16 inches in size. Be patient, because as you roll the dough, it will warm up slightly and become pliable enough to shape into a rectangle.
Spread the filling:
- Spread the dough with butter, leaving a 1-inch border on one of the shorter edges. Combine the brown sugar, cinnamon, and salt in a bowl. Sprinkle the mixture over the butter in an even layer.
Alternative cinnamon filling (my preference)
- OR: I prefer to work with a cinnamon "paste". I find this easier to spread onto the rectangle, and I get the "punch" of cinnamon flavor that I love.
- In a bowl combine brown sugar, cinnamon and Instant clear gel, stir to thoroughly combine.Add water 1/2 a tablespoon at a time to reach desired consistency– it should be smooth but not watery. You want it to be a "schmear" consistency. Add one tablespoon at a time (2-3), and a whisk helps to make it smooth. Be sure to leave a one-inch gap all around the edges, because the paste filling does spread as you begin to roll.
Shaping the rolls:
- Starting from the short edge, roll the dough into a tight spiral. Pinch the spiral closed ). Trim the ends if they are shaggy, but this might not be necessary.
- Using a knife, cut marks at the halfway part of the roll. Make a knife mark on each half, and then another knife mark on each quarter. NOTE: I like making knife marks instead of cutting each piece because I use a clean thread of dental frost. I place the frost under the roll, line it up with my knife mark and join the two ends together. Voila! You have clean slices.Otherwise, you can slice each piece with a knife, but I find that this method can tend to "smoosh" each piece.Place the rolls in a greased 9×13-inch baking dish.
- Cover the rolls with plastic wrap (or a clean tea towel), and let them rise in a warm place for 30 to 90 minutes. NOTE: I use my own oven to proof dough. I simply turn it on to WARM for 2 minutes then turn it off. This creates a warm environment, safe from drafts. Using this method, my dough had become puffed up in about 45 minutes and the rolls were now closer to each other.
- Whele the rolls looked puffy, I removed them from the oven (likewise, if you are proofing on a counter, be sure they are covered with plastic wrap or a towel (so they don't dry out). Preheat the oven to 350°F.
Bake the rolls:
- Bake the rolls for 20 to 25 minutes until they are golden on top and puffy (about 200F). While the rolls are baking, make the cream cheese frosting.Remove from the oven and and place on a cooling rack for about five minutes.
Cream Cheese Frosting:
- Use a stand mixer (or hand mixer) to cream the butter and cream cheese, until smooth. Add about half ot he powdered sugar and half of the milk (or heavy cream), beating until combine and smooth.Add the remaining sugar and vanilla, and beat for an additional minute. Add additional milk, 1 tablespoon at a time, until the frosting is as spreadable. You don't want to be thin, like a glaze, You want a thick frosting, because it will melt as soon as you spread it on the hot rolls!
Frosting the rolls:
- Place dollops of the frosting in each corner of the pan, and one or two dollops in the middle.
- An off-set spatula (or butter knife) will help to spread the frosting, evenly, over the rolls. The frosting will begin to melt, and that is what you want. (I saved any leftover frosting for reheating the next day.)
- Serve while warm. To reheat (if there are any leftovers). use a microwave for 15-20 seconds. Add any additional frosting, if desired, before reheating.
Notes
- To freeze unbaked rolls: Make the dough, proof it, shape the rolls, but don’t do the second rise. Cover them, and freeze. To bake them, defrost in the refrigerator overnight. Let the rolls rise in a warm place for 1-2 hours or until doubled in size. Bake as directed in the recipe.
- To freeze baked rolls: It’s best to freeze unfrosted cinnamon rolls, as the frosting gets sticky when thawed. You can refrigerate the frosting in an air tight container, and use that once you bake the rolls.
Nutrition



I have to say that your cinnamon roles look simply amazing and crazy good! Pinning and adding to my ‘must make’ list. Thanks for sharing this recipe!
Wishing you the happiest new year in 2020, Debby!
Thank you, Roz! They’re decadent, but what a treat!
We love homemade cinnamon rolls and yours look very good. Happy New Year
Thank you Larry!
What a great looking recipe; I can’t wait to try these!
Thanks for all you’ve shared with us; I came to your food blog a number of times this holiday season for all of my favorites. Here’s to a wonderful new year!
Thank you, Matt! I hope you had a great holiday and here’s to a wonderful 2020.
These were really good! I used half whole wheat flour, and they are still very soft inside and a little crunchy outside. I love the overnight dough, it’s so much easier in the morning.
What a great idea to use WW flour. Thank you for taking the time to leave a review and some tips.