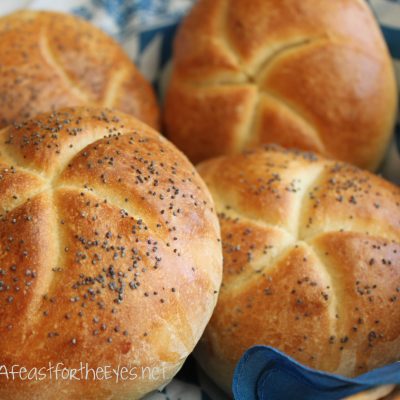
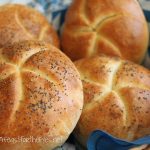
Kaiser Rolls are known for their signature spiral on top, and are found in Austria and Germany. Whenever we travel there, it’s the first bread I grab at breakfast. This is my quest to learn how to make them at home. They are fluffy and tender, and make great sandwich rolls.
Four months ago, Craig and I spent two glorious weeks in Bavaria, Austria and Italy. If you followed my Instagram, I shared pictures as we went on our adventure to my Mutti’s roots in Bad Reichenhall, Bavaria.
Breakfast in Europe is something that brings back childhood memories– freshly baked rolls, unsalted butter, cold cuts, cheeses, and even some salads. That might seem odd by American standards, I know. It’s the rolls that I appreciate the most. There’s something really special about how much more enjoyable the breads are in Europe. I think it’s a combination of the flour, farm fresh eggs and the butter. Of course, generations of baker techniques has a lot to do with it.
Baking my own Kaiser Rolls has been on my baking bucket list for ages. King Arthur Flour is one of my most trusted recipe (and ingredient) sources. Our annual Oktoberfest, at home, was just this last weekend. My husband always requests Bretzen (soft pretzels) and my Mutti’s Potato salad (with bacon). This year, I was going to include Kaiser Rolls on the menu. Kaiser Rolls have a history that begins in Austria. They have a crunchy exterior with a chewier interior. They are perfect with butter and jam (my favorite) and a cup of coffee.
Bread baking is one of my favorite things to do. Even though I use my handy dandy stand mixer to knead the dough, I love playing with bread dough by shaping it! My favorite yeast that I buy is SAF Instant Yeast. I keep mine in the freezer for a longer shelf life.
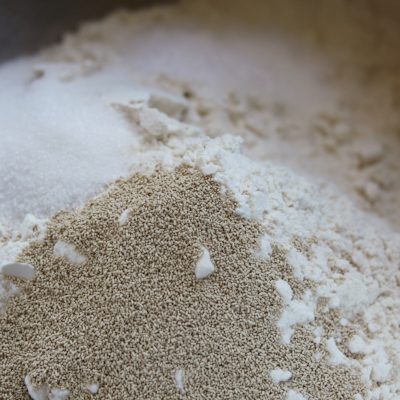
When baking, I only use King Arthur Unbleached Flour. Once the dry ingredients are added…
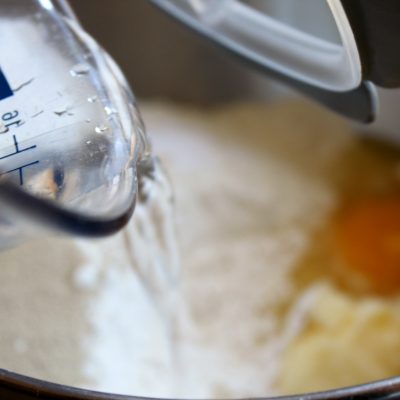
In my stand mixer, I add a farm fresh egg (thanks to my neighbor), unsalted butter and water. I let my machine do all the manual work until the dough comes together. We want the yeast to do it’s work, and warmth (along with sugar) helps to get the gas bubbles to start and make the dough rise. My little trick that works beautifully for me is to turn my oven on to WARM for less than one minute– then immediately turn it off.
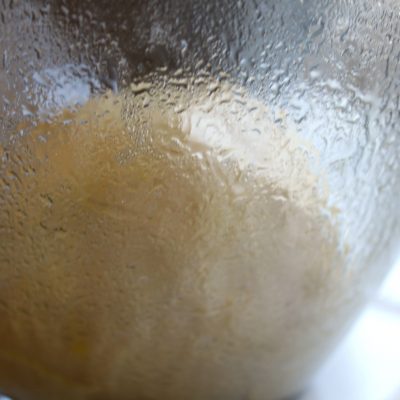
Spray the bowl with olive oil spray and set the dough inside, and cover with a shower cap (another great tip– clean and unused in the shower, obviously!)
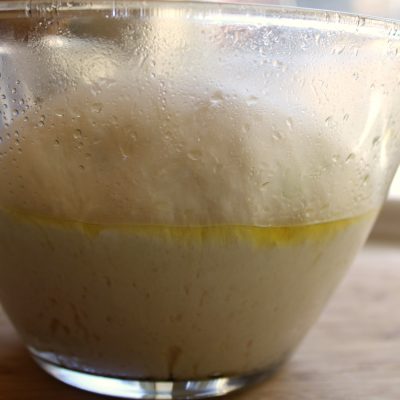
An hour later, the dough doubled!
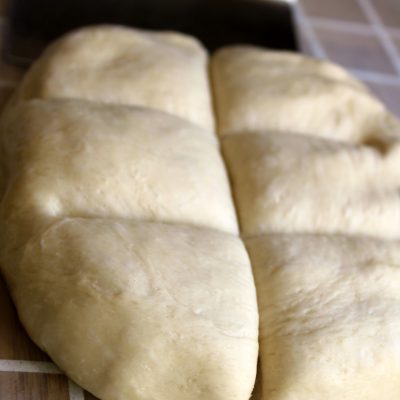
This is adult play dough! Gently deflate the dough, and using a bench scraper (an invaluable kitchen tool), cut the dough into six pieces.
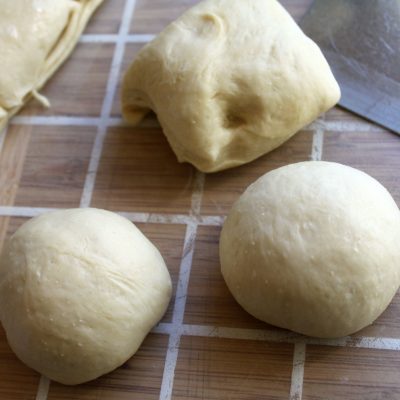
Roll, roll, roll the dough and shape into round balls. Now, here’s where the rubber meets the road. Kaiser Rolls are known for the beautiful spiral shape on top. One can roll these by hand like this, or a kitchen gadget addict like me can use this tool:
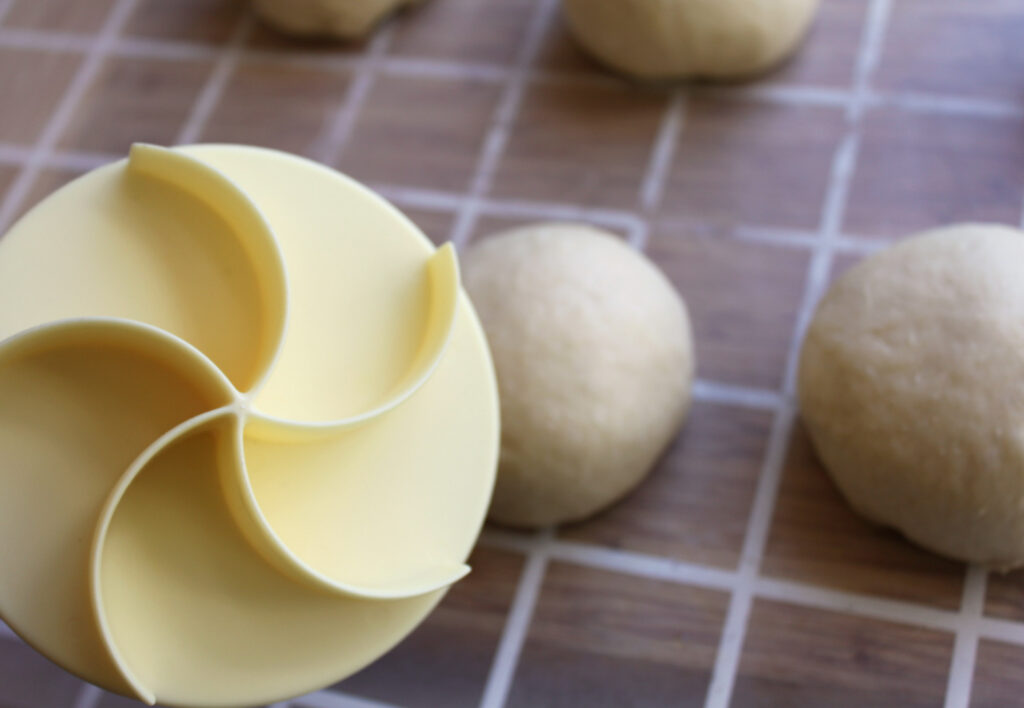
This is my first time using this stamp and I’m curious to see if it works.
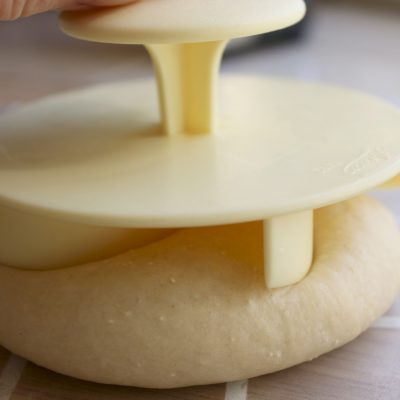
Press firmly, but not all the way through…holding my breath.
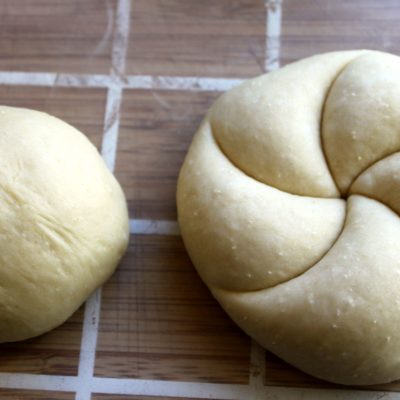
Voila! Love it!
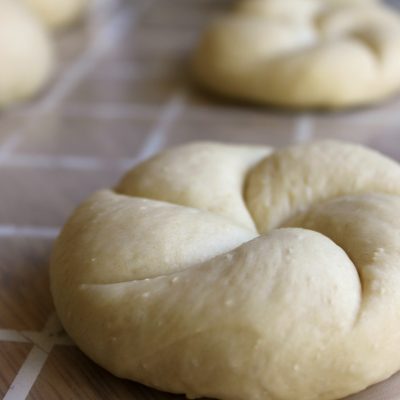
The next step is to gently flip the rolls over for a second rise (flipping them is so that the shape isn’t lost). Cover the dough with a clean cloth and place back into my the oven “incubator”. 45 minutes later, the rolls were ready to be baked. But first…
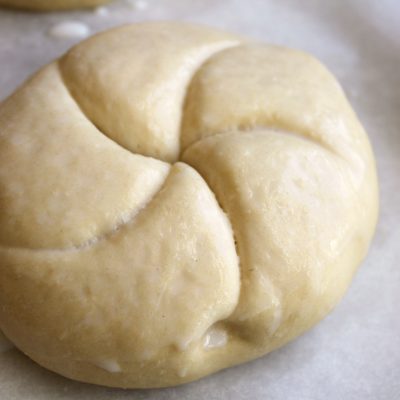
…they need to be dipped in milk. Dipped? Yes, generously brush them with milk.
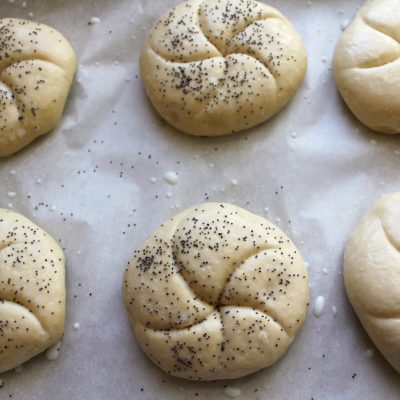
Sprinkle four of the six rolls with poppy seeds (very traditional). By the way, pre-cut parchment paper is something I always keep in my pantry. They are so easy to use on my baking sheets and they make for easy cleanup.

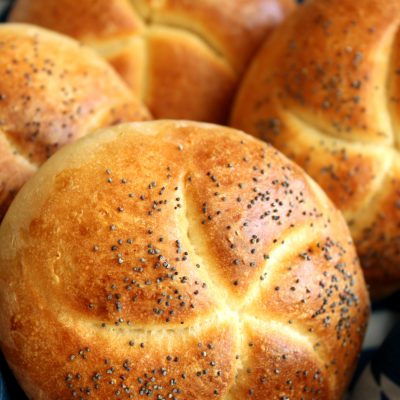
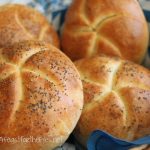
I was really pleased with the color and shape of the rolls. Freshly baked bread is an aroma that I absolutely adore.
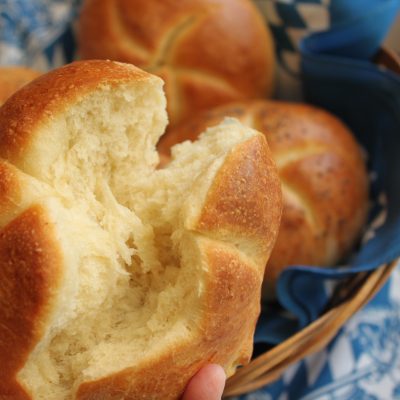
So, now, it’s time to taste the fruits of my labor (which really wasn’t a lot of work, honestly).
TASTING NOTES: The rolls look beautiful and are very tender inside. However– and this is not a complaint, but honest criticism– these didn’t quite have that crunchy exterior that I have experienced in Austria. These rolls are perfect for making deli sandwiches. Since there aren’t any preservatives (like so may commercial rolls have) be sure to freeze these after a day or two.
I did find a second version of this recipe that I will try and see if I can get that CRUNCH that I much prefer. Would I make this recipe again? You bet! Will I learn how to shape these by hand? Of course!
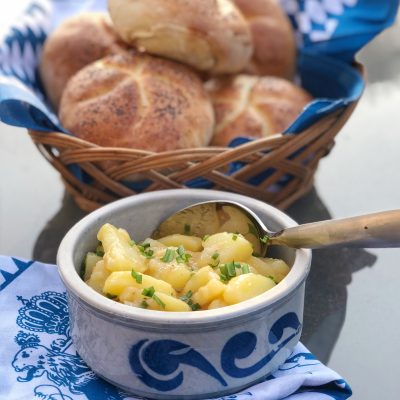
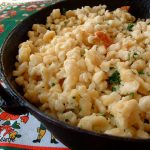
Breaking tradition from my Mutti’s German Potato Salad recipe (with bacon), I made a different version similar to what we enjoyed throughout Bavaria. This version is made with beef stock and cooked onion. It’s very simplified and we enjoyed it.
Kaiser Rolls
Ingredients
- 3 cups Unbleached All-Purpose Flour recommended: King Arthur Flour
- 1 1/2 teaspoons instant yeast
- 1 1/2 teaspoons sugar
- 1 1/4 teaspoons salt
- 1 large egg room temperature
- 2 tablespoons unsalted butter softened
- 3/4 cup water lukewarm
Topping (optional):
- 1 tablespoon milk
- 2 tablespoons poppy or sesame seeds
Instructions
- Mix, then knead together all of the dough ingredients — by hand, stand mixer, or in the bucket of a bread machine programmed for the dough cycle — to make a smooth, supple dough.
- Transfer the dough to a lightly greased bowl or dough-rising bucket, cover the bowl or bucket, and allow the dough to rise until noticeably puffy, about 1 hour.
- Gently deflate the dough, and transfer it to a lightly greased work surface. Divide the dough into six equal pieces. Shape the pieces into round balls, and place them on a lightly greased or parchment-lined baking sheet.
- Center your kaiser stamp over one ball of dough. Press down firmly, cutting nearly to the bottom but not all the way through. Repeat with the remaining rolls.
- Place the rolls cut-side down (this helps them retain their shape) onto a lightly greased or parchment-lined baking sheet. Cover the rolls, and allow them to rise for 45 minutes to 1 hour, or until they’ve almost doubled in volume. Towards the end of the rising time, preheat the oven to 425°F.
- Turn the rolls cut-side up. Brush or tip their tops in milk, and coat with poppy or sesame seeds, if desired. (I brushed the milk on.)
- Bake the rolls for 15 to 17 minutes, or until they’re golden brown and feel light to the touch. Remove them from the oven, and cool on a rack.
- Serve rolls warm, or at room temperature. Store leftover rolls, well wrapped, at room temperature for a couple of days; freeze for longer storage.
Notes
Nutrition




Your rolls look delicious Debbie and now I know how that design gets on the top
Thanks, Larry! That little gadget turned out to be a success.
Would it be ok to add another egg and would that make the rolls more fluffy and lighter inside
After you make your dough ball, dust it with rye flour and then stamp it. Then put them upside down on a sheet pan with wax paper and refrigerate them overnight or up to 24 hrs. When ready to bake just flip them right side up and proof them to size. The rye flour keeps the cuts open so they pop and refrigerating allows the dough to develop and it will give you that crispy crust! Also some sort of steam at the very beginning of the baking process will help the roll pop. Let me know how it turns out.
What a great idea! I’m going to try that and I’ll get back to you. Thanks!
I just made these but used the old fashion knot method to get the design….its on youtube. To get a crunch exterior on any bread put a shallow baking dish of boiling water into the oven while baking your bread.
You are so right. I plan to try “knotting” them, myself. I admit, I’m a kitchen gadget junkie and just wanted an excuse to use the stamp. Definitely, the pan of water should work great. Thank you for the feedback.
Making these today but I dont have the stamp for the top. Using them as buns for hamburgers!
can i use bread flour for this recipe??thank you
Well, I can’t answer that and swear to it, since I used AP Flour. Bread flour has more protein, so it’s worth a try.
For crunchy rolls use a pan of hot water on the bottom of your oven while baking the rolls. Should
My remarkable Austrian grandmother used to make these by hand. She was the youngest of 11 children and was the only one in her family not murdered by the Germans during the Holocaust! Sadly, the Germans stole the family farmhouse and land.
My grandmother also made her own strudel using a long table. She learned to roll out the dough so thin that you could read the newspaper through it.
What a sad story. This is definitely a black eye in our ancestor’s history. My own mom and her parents lived through WWII as well. They were lucky to have survived it. I’m thankful that they passed down their recipes to me so that I could keep their traditions going.
Thank you, I used bread flour and it came out good. I also proofed the dough overnight in the fridge, and shaped them in the morning. They didn’t seem to get any bigger after I shaped them so they came out small, although tall. Still tastes great though. I think I will try an egg white wash instead of milk next time
You are most welcome! Thank you for trying my recipe, and for the positive feedback.
Can you double this recipie? and how long should I bake for 6 oz rolls?
Wondered if I could add an extra egg to make the rolls fluffier and lighter inside. Not so dense
I suppose that could work. However, Kaiser rolls really aren’t mean to be fluffy rolls. They are used for sandwiches and should have a crunch to the exterior.
Thank you. So I’ll leave the recipe as is. I did make them and they were delish
These came out amazing. I am currently making another batch. I can see in the future topping with caraway seeds and salt crystals for Kummelweck rolls. for beef on weck.sandwiches.
Yay! I’m so glad that you enjoyed them. I’m going to try adding a pan of hot water, next time, to see if they turn out a little crunchier. I haven’t had Kummelweck rolls in ages! What a great reminder.
Ed, do you live around Buffalo N Y ? That’s where they make the Kimmelweck rolls. I live all around that area as a child growing up. I live in Colorado now, and miss them so much, Do you have a good recipe ? I will try these rolls also?
Hey Geri,my hubby is from williamsville and we are in San Diego currently. When I make “rolls” I have found that an “ everything “ bagel seasoning with a pinch more salt is great 😀 he miss beef on weck often .
I just made this recipe. My first time.making them. As I don’t have the special press to get the design I watched a utube video and learned how to the the knot fold. Love them. They are delicious. And really an easy to follow recipe. You’ve made me look like a pro baker 🙂
Yay! That makes me so happy! Congrats on learning how to knot fold them– you are one step ahead of me.
Very nice recipe. My rolls came out beautifully. I used a stamp and sprinkled with poppy seeds, too.
Yay! Thank you for taking the time to rate this recipe.
I’ve made these rolls for the 2nd time and my husband just lOVES them for his lunches!
That’s great! So glad you like them. Thank you for the positive feedback.
When turning the buns after the second rise and then dipping or brushing them with milk do they not deflate?
I am very gentle when I brush them with milk, and haven’t had a problem with them deflating!
These rolls were delicious. Mine, when divided evenly came out more like the size of a hamburger roll. I am not complaining however, they’re really good. When I try a recipe for the first time, I try to follow it exactly as written. The next time I make them tjough, I will add the addition of steam in my oven so I can get a more crusty exterior. Thanks for the recipe!
You read my mind! I’m going to try the steam method to get a crunchier exterior. Thanks for trying the recipe.