If you don’t like black licorice, these homemade licorice caramels will change your mind! I promise you, that they are chewy and yet become soft, as you begin to enjoy them. They have just the slightest hint of licorice, with notes of vanilla and butter. These are going to be a portion of my Christmas gift giving, but I know I’ll be making these throughout the year.
It is no secret, to anyone who knows me, that I adore caramel. Years ago, I discovered an English brand of licorice caramels that converted me from a non-loving black licorice eater to one who loved licorice caramels. One day, I discovered they were no longer on the shelves of the store where I found them. Over the years, I’ve searched in vain for them. Nothin’. They were nowhere to be found.
Making caramels isn’t super difficult, if you’ve never done it before. There are just some common sense things that will help make this a fun project– with great results. For one, a clip-on candy thermometer is something I can’t be without.
Before I begin cooking all the ingredients, until it comes to about 242 degrees, I have everything prepped ahead of time. Once the caramel has reached the desired temperature, you need to be ready to add the extract and salt– and you won’t have time to fuss around with that! I’ve measured water, sugar, corn syrup, sweetened condensed milk and butter and stirred it until it’s almost at the “firm ball” stage. Without a thermometer, this is total guesswork and your caramels might not set up properly, or become so hard you can’t chew them. I don’t want that, nor would you.
I couldn’t photograph the process of pouring the molten hot caramel into my prepared pan (lightly buttered), because that could have been dangerous! 242 degrees of hot sugar could cause some serious burns, so I used both hands and focused on what I was doing.
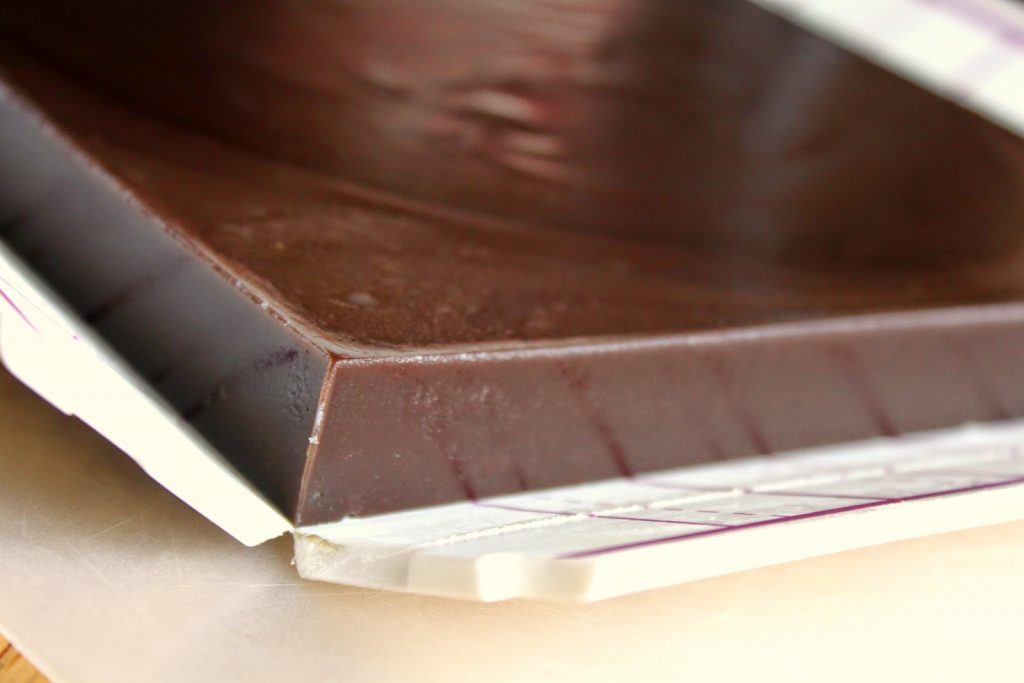
I have to tell you about this cool pan that I recently bought. It’s made by Chicago Metallic, and it’s called a No-Bake Collapsible Pan with Cutting Gridlines (8×8 inch). UPDATE: Sadly, it looks like this product is no longer sold on Amazon. I let the caramel “set” for a little over two hours. All I had to do was unhinge each corner, and there you are! Beautiful even caramel. I was so excited. This pan is perfect for making homemade marshmallows.
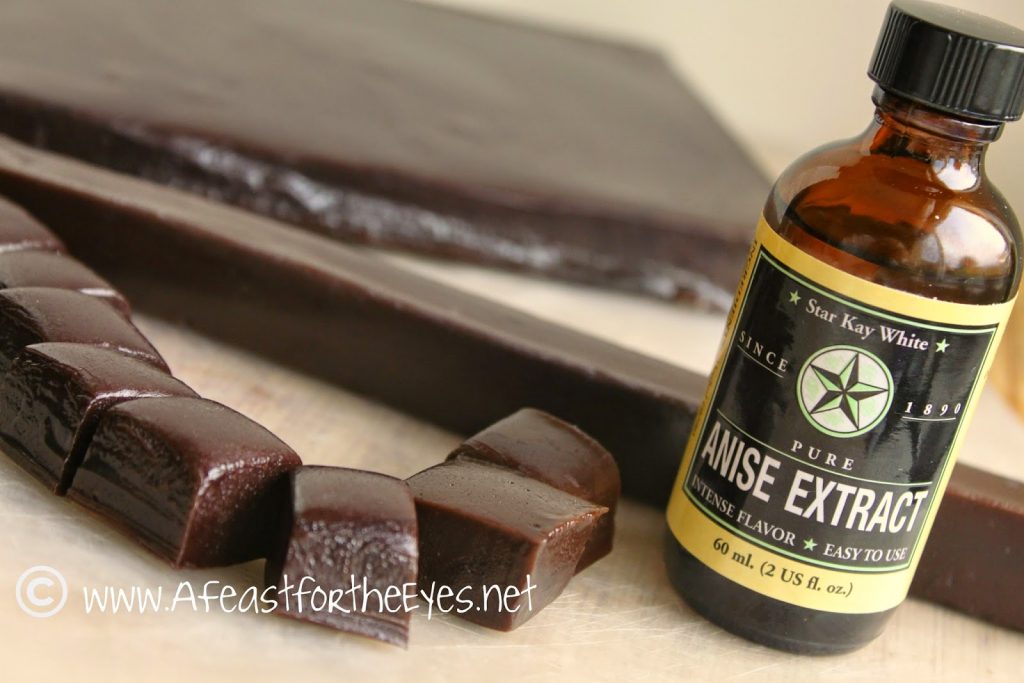
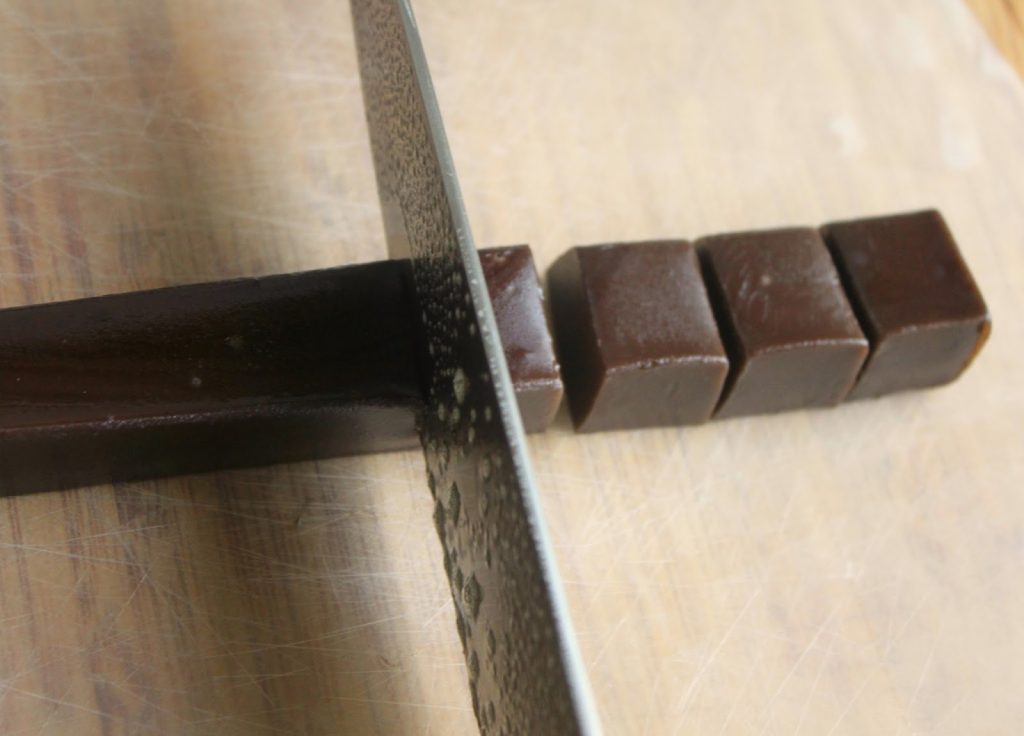
I cut strips of caramel, atop a silicone cutting mat. I applied a little non-stick spray onto a very sharp chef’s knife to cut small caramels. Of course, I immediately filched one. Yummy! Happy Dance!
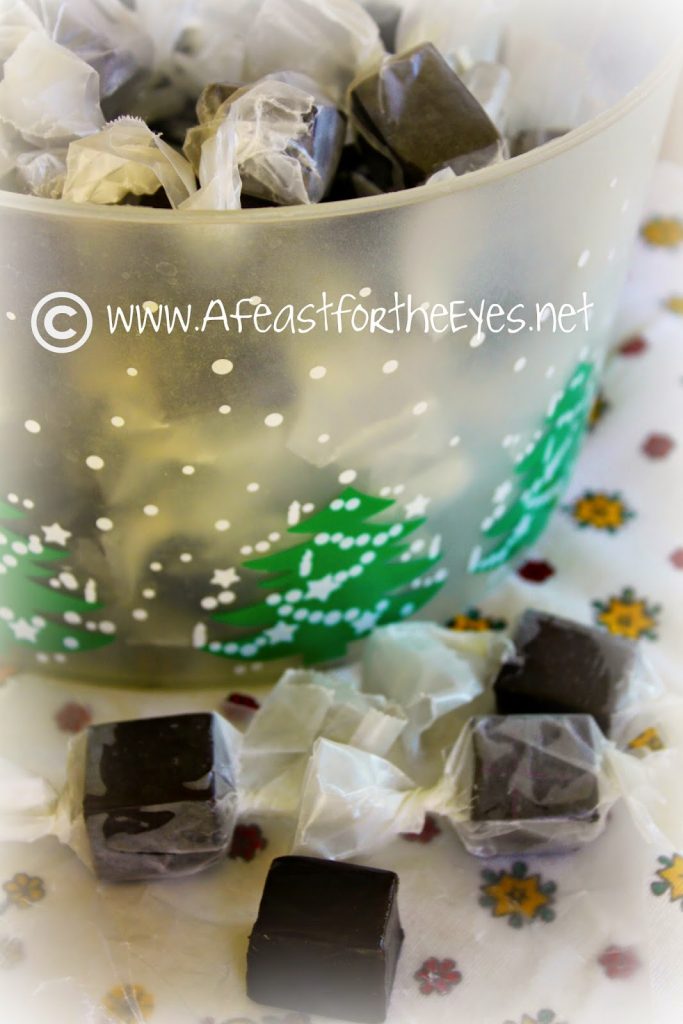
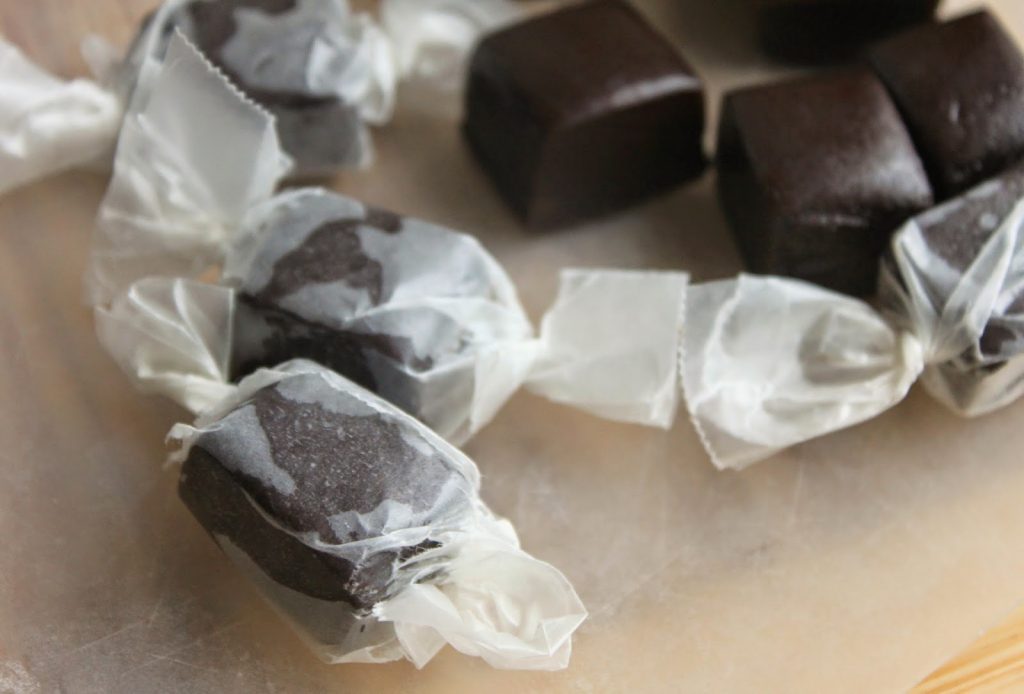
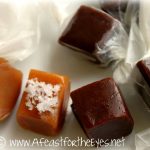
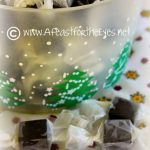
I think the most time consuming part was wrapping each caramel in pieces of waxed paper.
TASTING NOTES: These tasted just like the caramels I used to buy– I was so happy. Love these! I only wish I had used 1 teaspoon of the black food coloring, to make these turn deeper in color than a very dark brown. But, that’s purely esthetic. As for texture– these were nice and chewy, but quickly softened to a texture that wouldn’t rip out your fillings or stick to your teeth! The licorice flavor was spot on! Seriously, I didn’t find the anise to be overpowering– if you love licorice, kick up the extract maybe 1/4 teaspoon more. Personally, I wouldn’t change a thing. My licorice haters, gingerly bit into one. They were surprised that these were not over powering…and they liked it. My licorice lovers, went bonkers over these.
Oh! I made a Belgian Chocolate version of these caramels that were over-the-top awesome. These were equally decadent and addictive.
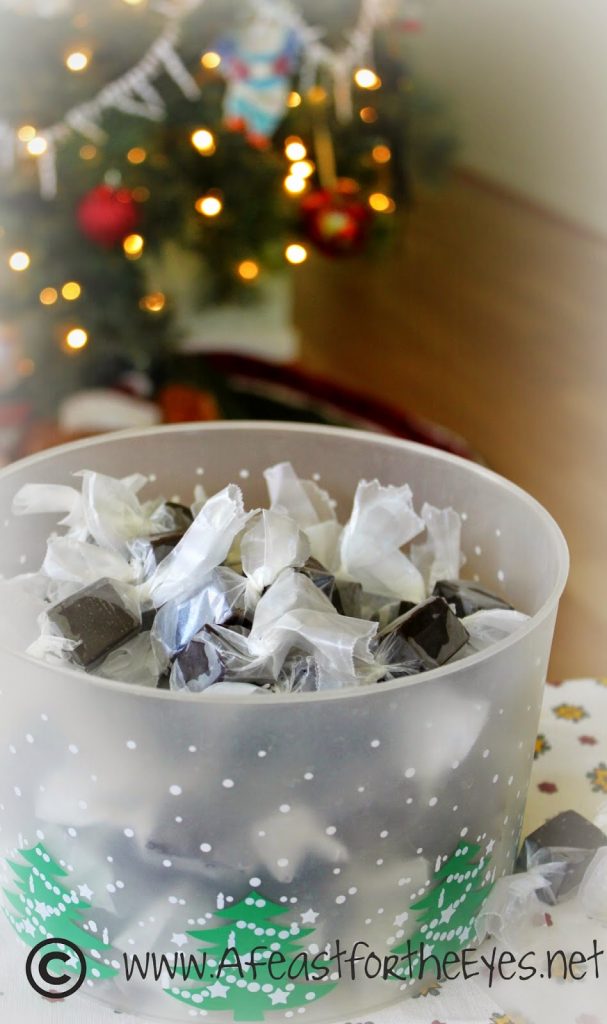
These will make fun Christmas gifts. I have more treats to come!
The Best Black Licorice Caramels
Equipment
Ingredients
- 1/2 cup water 4-ounces
- 2 cups sugar 1-pound
- 1 can sweetened condensed milk 14-ounce
- 1 cup light corn syrup 12-ounces
- 1 1/2 sticks butter 6 ounces
- 2 teaspoons anise extract I ordered mine on Amazon
- 1 teaspoon black food coloring paste (optional)
- 1/4 teaspoon vanilla extract
- 1/4 teaspoon salt
Instructions
- Last, but not least, be sure to have all of your ingredients measured out and ready to go. Silicone based spatulas make cleanup much easier than working with a wooden spoon…just my own experience.
- In a heavy-bottomed 4-quart saucepan, combine the water, sugar, condensed milk, corn syrup, and butter.
- Bring the mixture to a boil over medium heat, stirring constantly with a heat-resistant rubber spatula.
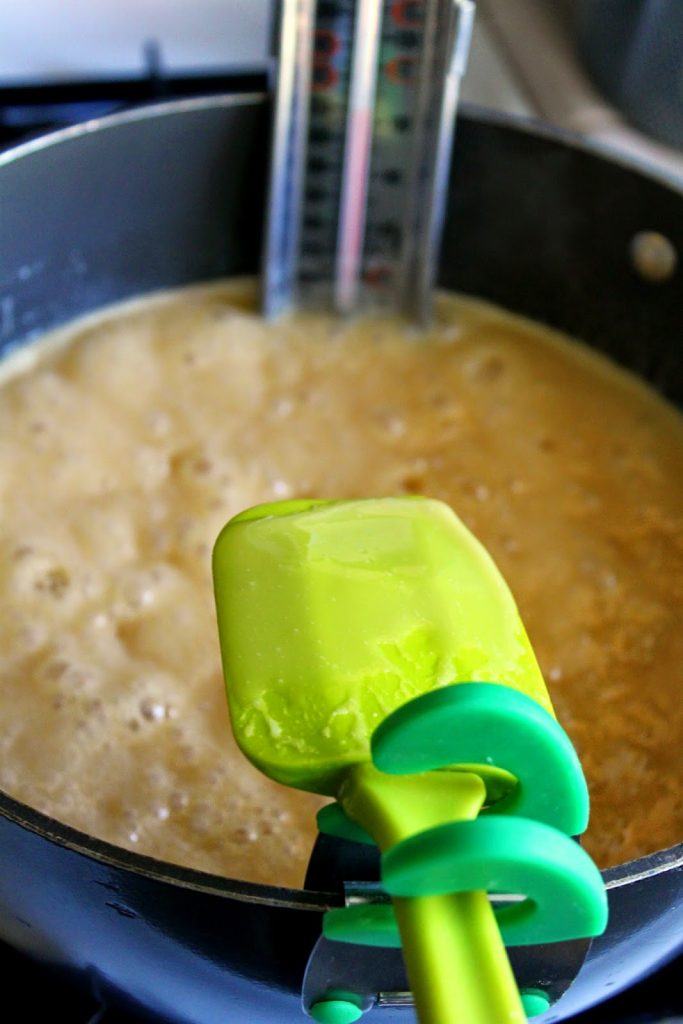
- Clip a candy thermometer to the side of the pan, ensuring that the tip of the thermometer isn’t touching the bottom of the pan and is inserted at least 1 to 2 inches into the liquid (or according to your thermometer’s directions).
- Continue stirring gently while the mixture boils and cooks, until the caramels reach 242-244°F., this took about 40 minutes on my gas burner. If the caramels seem to be scorching on the bottom of the pan, moderate the heat to a lower temperature.
- You can also test the caramels using a spoon and dropping a pea-sized amount of the hot caramel into cold water. If the cooled piece of caramel is firm but not hard, the caramel is properly cooked.
- Remove the pot from the heat and stir in the anise extract, food coloring, vanilla extract and salt.
- Pour the caramels into the prepared pan and allow to cool completely to room temperature, at least 2 hours.
- When cool, remove the sheet of caramels from the pan. If you invested in the collapsable pan, you simple unhinge each corner, and gently lift out the entire caramel. Easy peasy!
- Cut the caramels into pieces using a large knife or bench scraper. Wrap each caramel square in a bit of wax paper, twisting the ends to secure.
- These can store, in an airtight container (individually wrapped) for 1 to 2 weeks, but I doubt they will last that long!
Notes
Nutrition




Great post, Debby. I love licorice and don't think I have ever tried a licorice caramel. Two of my favorites in one…it doesn't get much better than that. I think I have to have that pan. Cutting equal sized pieces is always a challenge. I hope you and your family have a very Merry Christmas.
Holiday Schmoloday! So many wonderful ideas that I cannot keep up with you. Yesterday I got a box from KAF and another from Amazon, just because the older Orange Rolls looked like so much fun. (I do not ant to start a cat fight here, but unusual ingredients like Boyajian Orange Oil (not extract) are priced all over the map; smart cooks/bakers shop around) With a KAF order already pending, I bit the bullet and bought an 18×24 silicone dough mat and a couple of other genuine toys just for MEE! (Quick review: the dough rolling mat is Heaven on earth, about costs about twice what it should. (Costco sells a set of THREE heavier mats [two half-sheets and one quarter-sheet mat for half the price.] Until I get a real dough bench, I like the larger size.) You sure keep me busy! I still need fresh oranges and a little cream cheese. You sure keep me busy, but I just HAVE to make those orange rolls; once for practice and then for a Christmas morning treat with my best friends. Thank you Debby.
-Craig (Of Cedarglen)
Let's change 'ant' to 'want' and note that KAF delivers great stuff, perfectly packaged and on time. Amazon usually does as well, and both are seriously over-priced. A little extra shopping can save sien serious bucks. Boyajian citrus oils! Out standing. I bought the 1 Oz. tri-pack of Orange/Lemon/Lime, but note that larger bottles of each are readily available – for less. (I used two drops of Lime last evening and yes, it is vibrant, tasty stuff- without the often bitter taste associated with alcohol-based extracts. I'm impressed. Back to my dough…
-Craig (of Cedarglen)
I did it!! Made these today! Out of this world deliciousness! Thank you for posting this recipe 🙂
Thank you Bonnie! I know I'll be making this during the holidays as gifts. They were a huge hit!