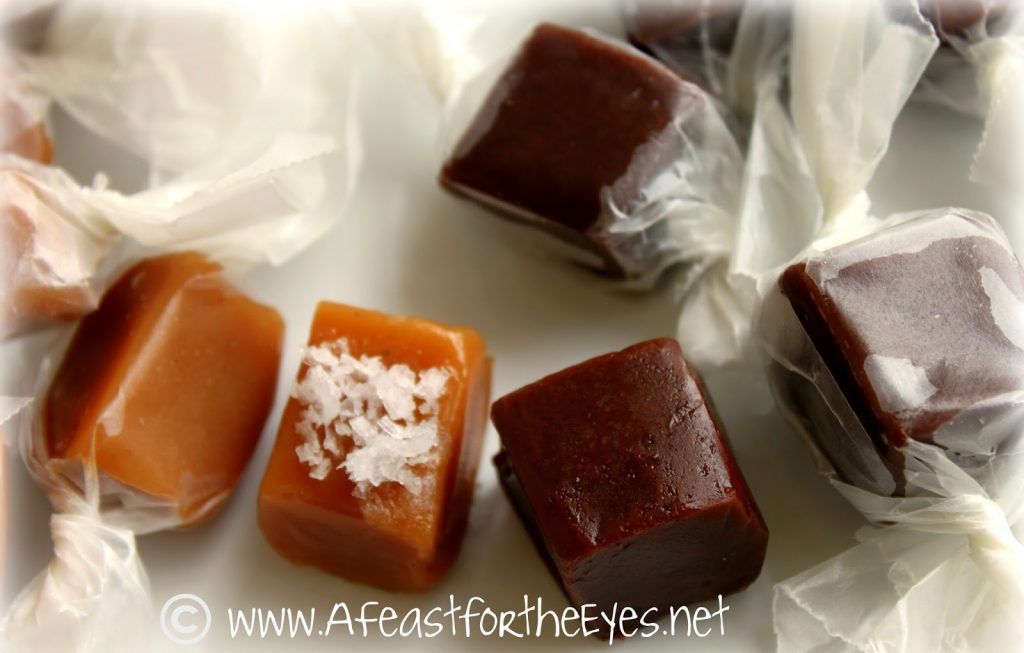
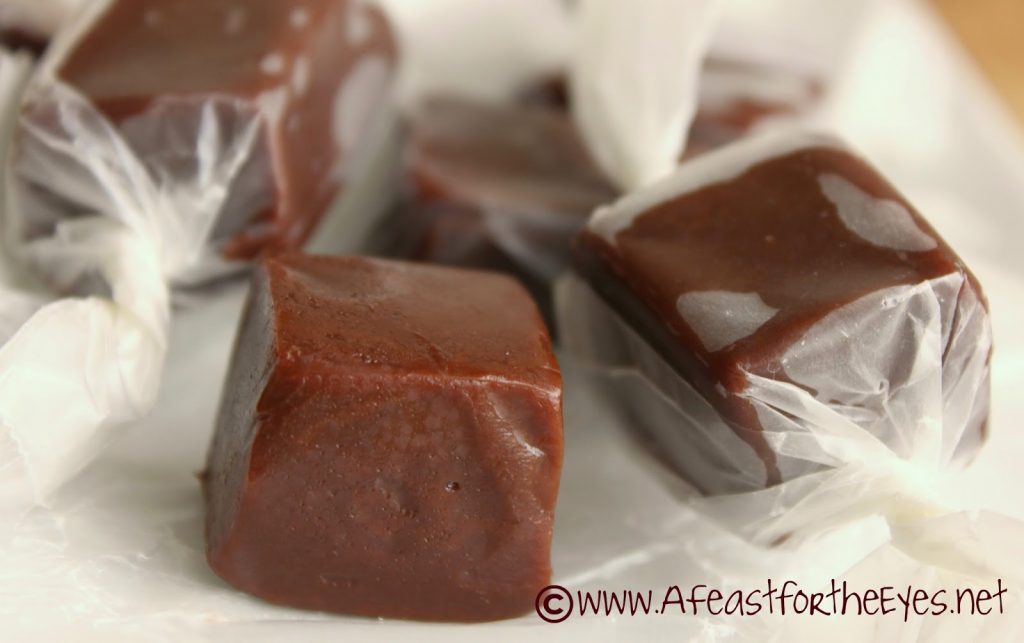
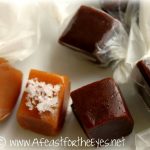
These Homemade Creamy Dark Chocolate or Salted Vanilla Bean Caramels are so easy to make! When I was a kid, my mom used to buy a bag of Kraft caramels that had both caramel and chocolate caramel flavors. I couldn’t pick a favorite, and now I can clone these at home! These are perfect as holiday gifts. I promise, you will love these!
I am really excited to share two recipe variations from the “Black Licorice Caramels” that I posted a few days ago. I’m excited for several reasons. The biggest reason is that these are delicious, and exceeded my wildest expectations.
Seriously!
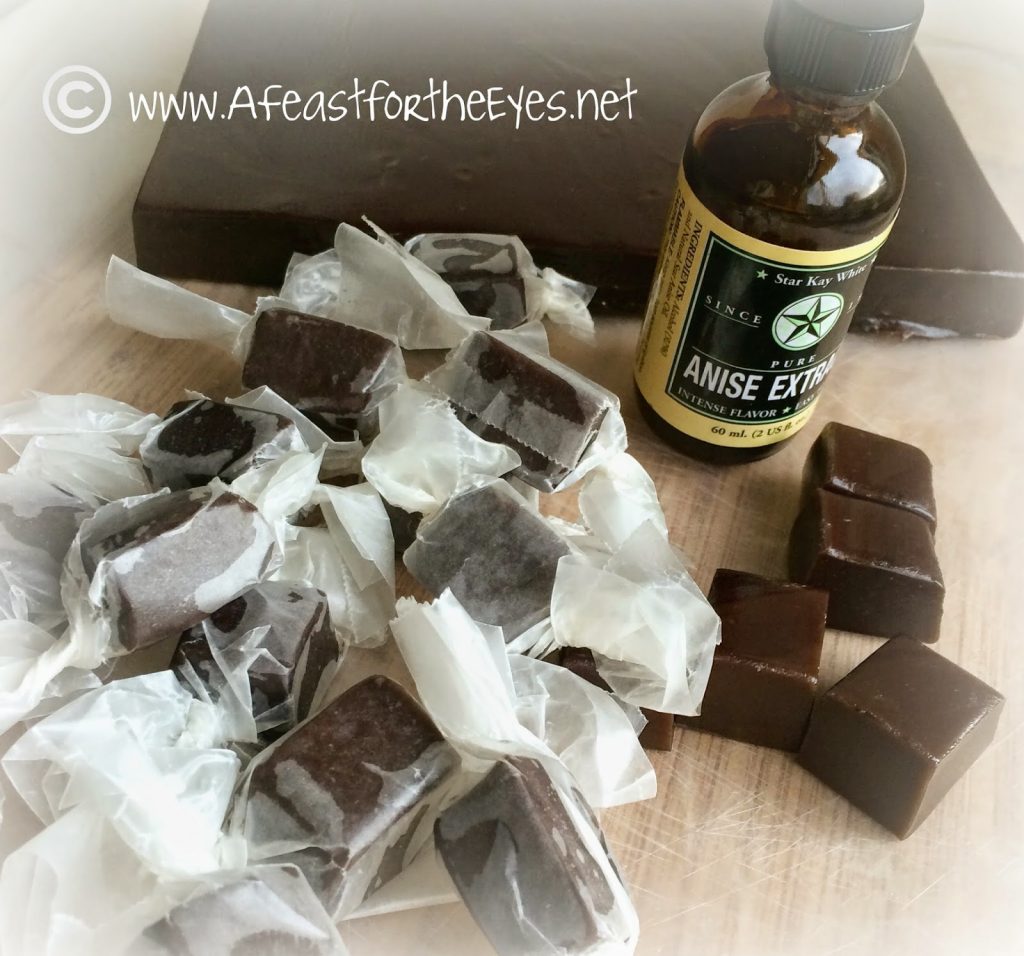
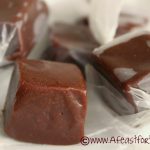
If you were to ask me if I prefer Milk Chocolate or Dark Chocolate, I would give an enthusiastic nod to Milk. Hands down. These dark chocolate caramels have converted me. I adapted the recipe for “Black Licorice Caramels” by omitting the Anise extract.
Instead, I used Trader Joe’s Brand of excellent Dark Chocolate $4.99 a pound), that cooked along with water, sugar, butter and sweetened condensed milk. The aroma of chocolate filled every nook and cranny of our kitchen/dining room area, in a very good way.
NOTE: You might be wondering if you can use chocolate chips. My answer is “I’m not sure“. I recommend using bar chocolates, and the best quality you can afford. It will be worth it.
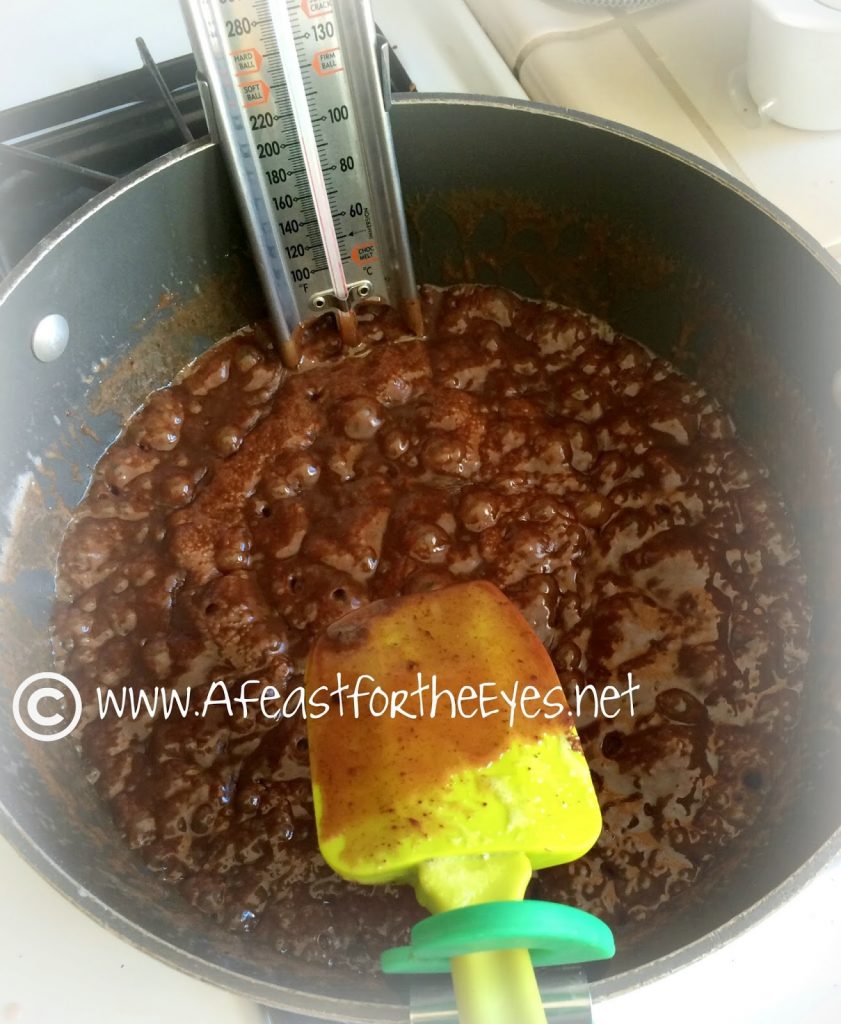
If you’ve never made caramels, I can assure you that this recipe is pretty fool-proof. However, in reading reviews for other recipes that I researched, it seemed that there were a number of people who had trouble with their candy setting up properly. I would venture to guess that they did not use a candy thermometer. Candy making involves some science, in that the temperature is very specific. Undercook the candy, and it will never set up properly. Overcook the candy, and it will become hard as lollipops. I’ve made this recipe three times, with perfect results every time. The target temperature is 242F, which takes about 40 minutes on my gas range.
My son loved the chocolate caramels so much, that a lot of them disappeared. I realized I didn’t have enough to go around for my Christmas gift list, so I would need to make more. (I also had to hide the rest.) Since I’d had such good luck with the licorice and chocolate flavors, I got an idea…
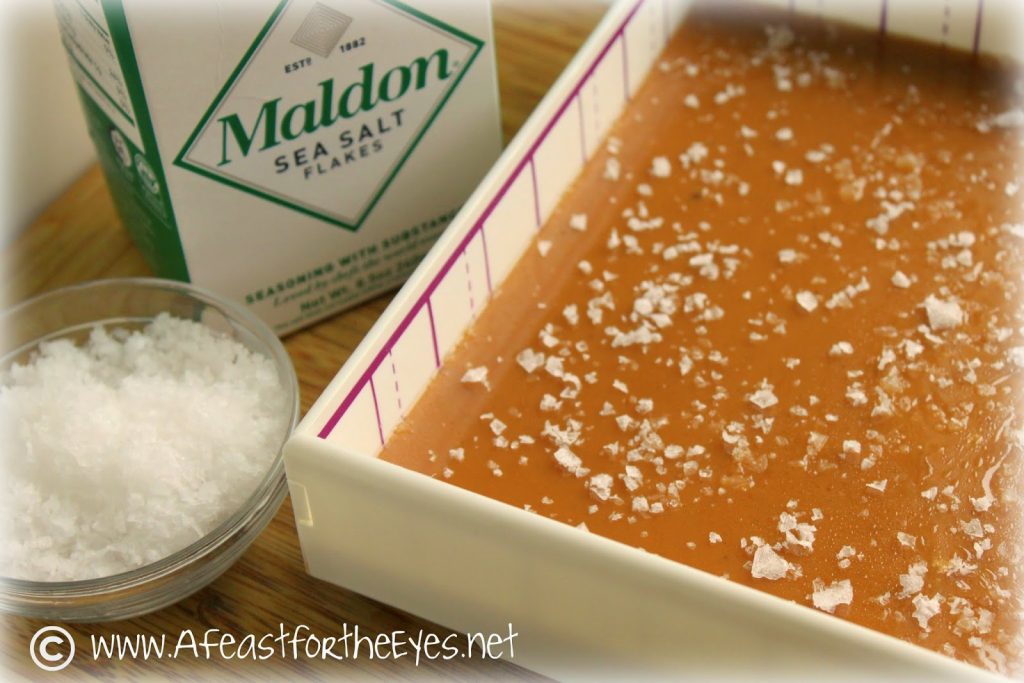
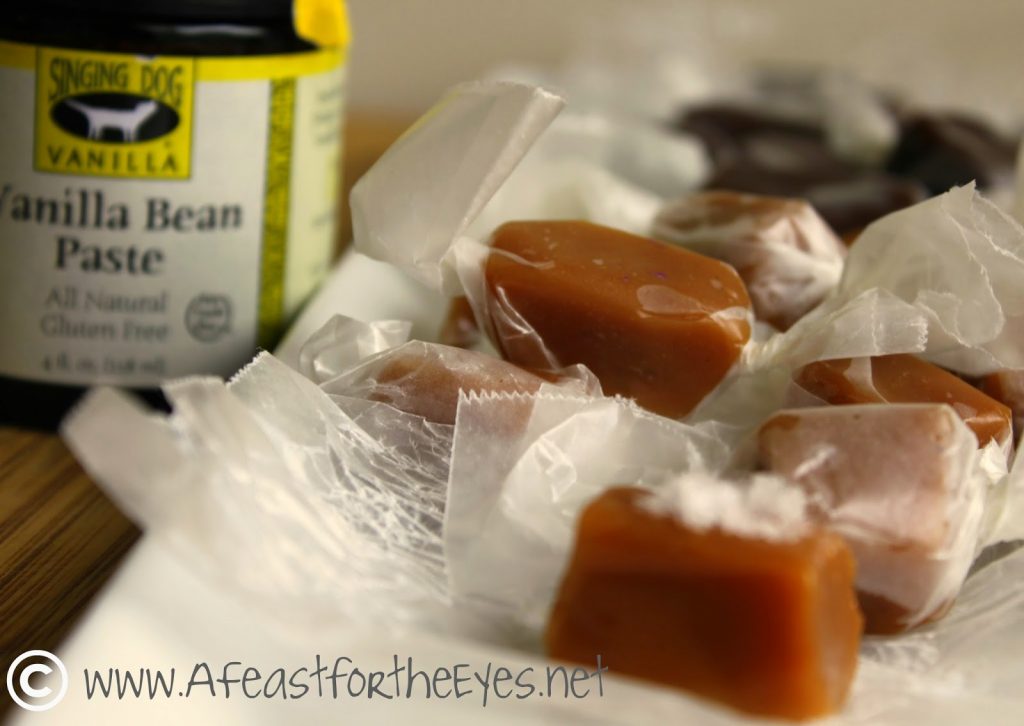
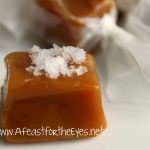
I had a box of Maldon Sea Salt and a jar of Vanilla Bean Paste. So, I adapted the caramel recipe once again– by adding vanilla bean paste and pure vanilla once the candy was cooked to 242F. I waited about 20 minutes to allow the caramel to settle down a bit, before adding the Maldon Sea Salt (lest it melt into the caramel).
Oh! The pan that you see in the above photo… I’m loving my newest kitchen gadget! This pan is made by Chicago Metallic. It’s made of heavy duty plastic, and has grid lines for cutting things like fudge or marshmallows. UPDATE: Sadly, it seems these pans are no longer sold.
Once the caramel set (allow 2-4 hours), I simply unhinge the pan and lift out the caramel! Otherwise, I strongly suggest that one makes a parchment paper “sling” to lift out the caramel. My new pan is so much easier, and I love that it stores flat. I also use a very sharp chef’s knife to easily cut the caramels. I get 100-120 pieces per batch! I love this pan so much, that I ordered the larger pan for making homemade marshmallows.
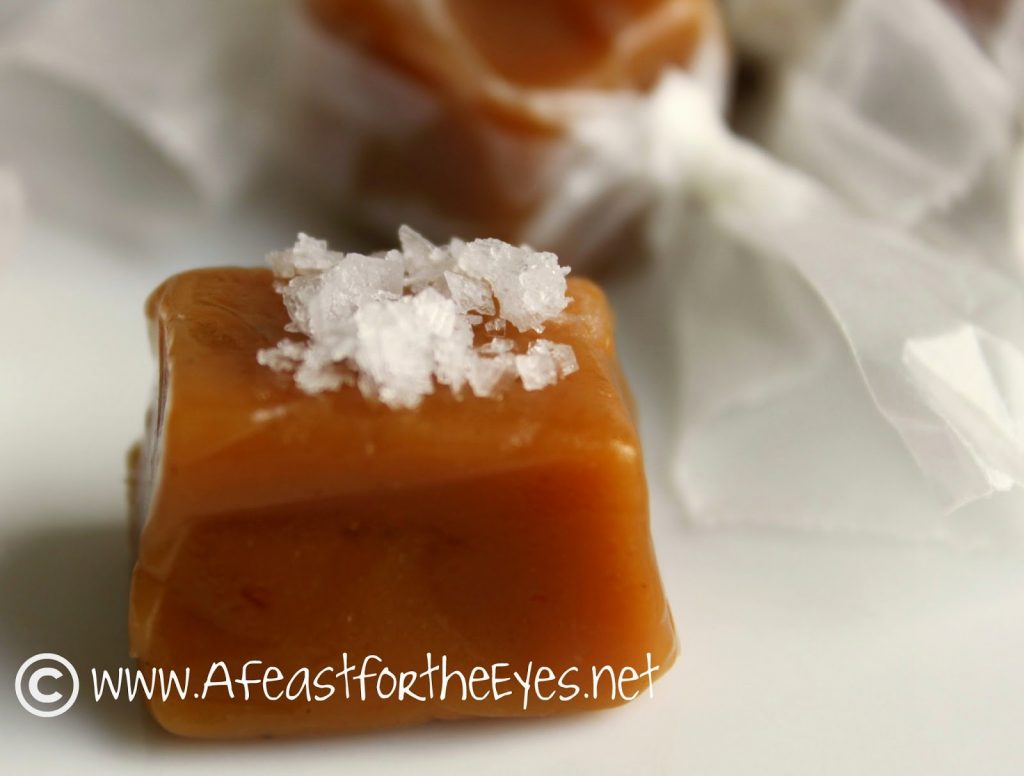
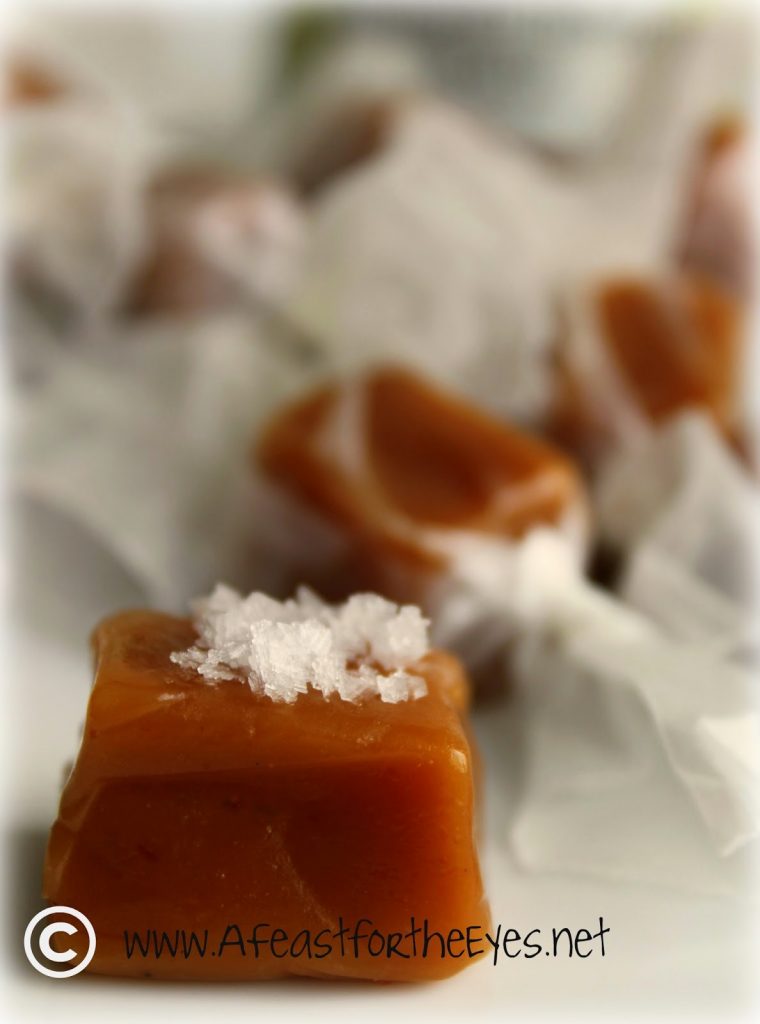
My husband got the most excited about the Salted Vanilla Caramels. I have to admit, that these turned out great! I’m going to be honest, and tell you that I added a mound of additional sea salt just to photograph this caramel. Isn’t it purty? Once the caramels are wrapped (which takes the most time), the sea salt slightly absorbs into the caramel. But, that’s not a bad thing. Why should the caramels be wrapped, you might wonder? Answer: Because they’re sticky!
By the way, if you don’t like the sweet and salty combo– leave the salt out! These will be delicious plain vanilla caramels. I won’t judge.
TASTING NOTES: The chocolate and vanilla caramels take me back to my childhood, when my mom would buy a bag of Kraft Caramels that had both of these flavors. I loved them both. These should keep for a couple of weeks. I can’t prove it, because I doubt they’ll stick around that long.
This is the first time I’ve made homemade caramel candies. I gotta tell you– this is a lot less work than cookie baking. As an added bonus, unlike cookies, don’t have to worry about these becoming stale. I have a mound of caramels, in three different flavors, to present it gift bags to my friends and family. Those who have already receive their caramel goody bag, have been delighted with them– and they have raved about how delicious they are.
I especially get a kick out them asking me if I really made them myself. Why, yes, I did! So can you! You’ll be a hero, if you make any, or all of these flavors. I will never buy caramels again! Why should I? These are amazing!
Salted Vanilla Bean Caramels
Equipment
Ingredients
- 1/2 cup 4-ounces water
- 2 cups 1-pound sugar
- 1 14-ounce can sweetened condensed milk
- 1 cup light corn syrup 12-ounces
- 1 1/2 sticks butter
- 1 tablespoon Vanilla Bean Paste I use Singing Dog Vanilla Brand
- 1/2 teaspoon vanilla extract
- 1/4 teaspoon salt
Instructions
- In a heavy-bottomed 4-quart saucepan, combine the water, sugar, condensed milk, corn syrup, and butter.
- Bring the mixture to a boil over medium heat, stirring constantly with a heat-resistant rubber spatula.
- Clip a candy thermometer to the side of the pan, ensuring that the tip of the thermometer isn’t touching the bottom of the pan and is inserted at least 1 to 2 inches into the liquid (or according to your thermometer’s directions).
- Continue stirring gently while the mixture boils and cooks, until the caramels reach 242-244°F. (This took about 40 minutes on my gas burner.) If the caramels seem to be scorching on the bottom of the pan, moderate the heat to a lower temperature.
- You can also test the caramels using a spoon and dropping a pea-sized amount of the hot caramel into cold water. If the cooled piece of caramel is firm but not hard, the caramel is properly cooked.
- Remove the pot from the heat and stir in the vanilla bean paste,vanilla extract, and salt.
- Pour the caramels into the prepared pan and allow to cool completely to room temperature, at least 2 hours.
- When cool, remove the sheet of caramels from the pan. If you invested in the collapsible pan, you simple unhinge each corner, and gently lift out the entire caramel. Easy peasy!
- Cut the caramels into pieces using a large knife or bench scraper. Wrap each caramel square in a bit of wax paper, twisting the ends to secure.
- These can store, in an airtight container (individually wrapped) for 1 to 2 weeks, but I doubt they will last that long!
Notes
Homemade Chocolate Caramels
Ingredients
- 1/2 cup 4-ounces water
- 2 cups 1-pound sugar
- 1 can condensed milk 14-ounce can
- 1 cup light corn syrup 12-ounces
- 1 1/2 sticks butter
- 1 cup Dark Chocolate chopped (I used Trader Joe's Belgian Dark Chocolate)
- 1/2 teaspoon vanilla extract
- 1/4 teaspoon salt
Instructions
- In a heavy-bottomed 4-quart saucepan, combine the water, sugar, condensed milk, corn syrup, chocolate and butter.
- Bring the mixture to a boil over medium heat, stirring constantly with a heat-resistant rubber spatula.
- Clip a candy thermometer to the side of the pan, ensuring that the tip of the thermometer isn’t touching the bottom of the pan and is inserted at least 1 to 2 inches into the liquid (or according to your thermometer’s directions).
- Continue stirring gently while the mixture boils and cooks, until the caramels reach 242-244°F. this took about 40 minutes on my gas burner. If the caramels seem to be scorching on the bottom of the pan, moderate the heat to a lower temperature.
- You can also test the caramels using a spoon and dropping a pea-sized amount of the hot caramel into cold water. If the cooled piece of caramel is firm but not hard, the caramel is properly cooked.
- Remove the pot from the heat and stir in the vanilla bean paste,vanilla extract, and salt.
- Pour the caramels into the prepared pan and allow to cool completely to room temperature, at least 2 hours.
- When cool, remove the sheet of caramels from the pan. If you invested in the collapsible pan, you simple unhinge each corner, and gently lift out the entire caramel. Easy peasy!
- Cut the caramels into pieces using a large knife or bench scraper. Wrap each caramel square in a bit of wax paper, twisting the ends to secure.
- These can store, in an airtight container (individually wrapped) for 1 to 2 weeks, but I doubt they will last that long!
Notes






Those sound fabulous! I'd love to get some of those as a Christmas gift, mmm 🙂
These sound wonderful!!
I KNOW i would love them all Debby. Merry Christmas to you and your family. Savour every moment.
I would want some of each…they both sound great.
How could I forget to wish you the merriest of Christmases and the happiest New Year. Karen
Not gonna lie, making caramels definitely scares me…but you had me at salted vanilla bean caramels!
I'm saving this recipe for next year. They'd make great gifts and I love to give homemade things for Christmas. Great post, Debby!