Yes, it’s quite possible to make delicious Yeasted Dinner Rolls in an hour! Of course, a Stand Mixer, with a dough hook, makes this recipe a lot easier. You can still use a little elbow grease– just allow for a little extra time and some sweat equity. These rolls are the perfect solution for a quick way to have fresh baked bread with a hot bowl of soup– or any kind of comfort food.
I’ve been cleaning out the refrigerator and pantry, and I had some cremini mushrooms that had to be either used– or tossed. I settled on making one of my favorite recipes for Golden Cream of Mushroom Soup. (The soup gets it’s golden color from a little tomato paste and the darker color of the cremini mushrooms.) A salad is always a great side dish, with soup. But, fresh baked bread is something that makes it even better.
One of my favorite “fast” homemade rolls are my Rosemary and Sea Salt Skillet Rolls. I wanted to make some “plain” simple dinner rolls and this recipe was the perfect answer.
I didn’t photograph the process of making these rolls, because I wasn’t sure how they’d turn out. (In retrospect, I should have grabbed my camera. Sorry about that.) They were really easy to make, using a Kitchen Aid Stand Mixer, with a dough hook. A few of the “secrets” is to heat up the mixing bowl, get the liquid ingredients to about 110F. I also like to turn on my oven to “warm” for just a few minutes– then turn it off. This makes the perfect incubator to speed up the proofing of the dough. UPDATE: I have, since, purchased a Brod and Taylor Folding Dough Proofer.
The dough rose in about 20 minutes! The dough had a texture similar to my German Rohr Nudeln (sweet rolls with jelly). You can make clover leaf rolls, but I prefer to cut my dough into square pieces and then shape them into roundish rolls– well, just click here if you want to see how I shape them.
It took no more than 10 minutes for me to shape the rolls. Cover them for about 15 minutes. While the oven preheated, I set the rolls on top of my stove. The warmth of the oven helped to proof the dough.
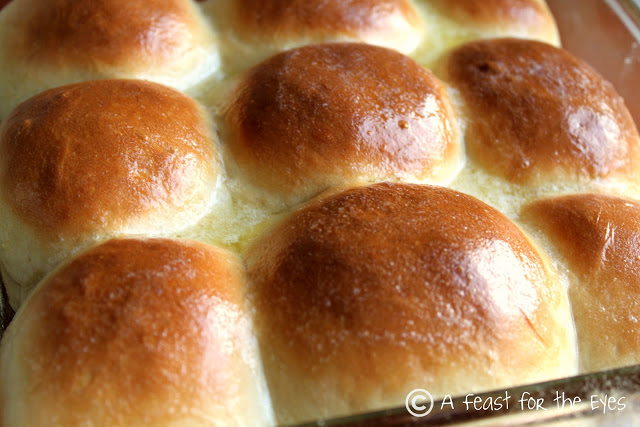
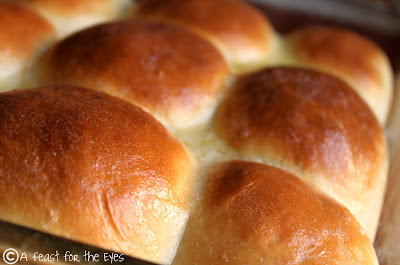
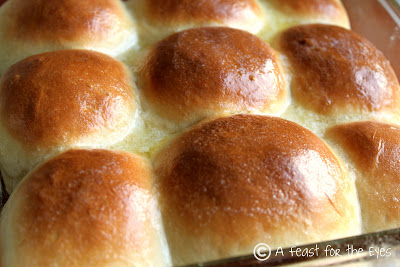
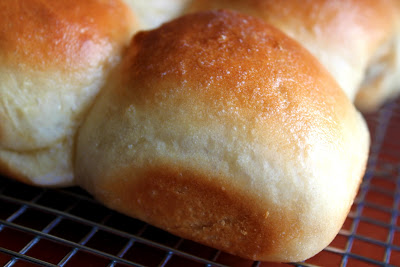
They baked to a lovely golden brown in about 15 minutes. I brushed a little melted butter on them, then carefully set them on a cooling rack.
Fool Proof One Hour Dinner Rolls
Equipment
- Stand Mixer with Dough Hook optional, but makes the process easier and faster
Ingredients
- 1/4 cup low-fat milk whole milk is fine
- 1/8 cup sugar
- 1 teaspoon salt
- 1-1/2 tablespoons butter
- 1-1/2 packages or 3-1/2tsps. of dry active yeast
- 3/4 cups warm water 105F – 115F
- 2-1/2 to 3 cups all-purpose flour
- 2 tablespoons butter melted (optional for brushing onto baked rolls)
Instructions
- Dissolve the yeast in warm water and the sugar until it foams (5-10 minutes).Optional: Nowadays, I tend to favor SAF Instant Yeast. You don't have to "proof" the yeast in the water and sugar– simply add it to the dry ingredients.
- In the meantime, melt the butter in the microwave, then the milk. Combine and allow to cool to about 110F. (You could use a saucepan, but the microwave is much easier for me– I use 25 second increments.)
- Dump the milk and yeast mixture into the mixing bowl. Add about 2-1/2 cups flour, and salt, and mix with the dough hook. (Or, beat by hand). Mix for about a minute. With the mixer still going, add the remaining flour, a bit at a time and mix for another couple of minutes, or until the dough starts to clean the sides of the bowl. (I used 3 cups of flour, total). Knead on low speed for about 2 more minutes, or until dough is smooth and elastic – the dough will still be slightly sticky to the touch.
- Place dough in a lightly oiled bowl, turning it to grease the top. Cover the dough with a clean, dry dish towel, (or plastic wrap) and let it rise in a warm place, free from draft for about 20 minutes. NOTE: Before I bought a Brod and Taylor proofing box, I would heat my oven for 2 minutes on WARM, then turn it off. This would help to speed up the process of proofing the dough– especially if it was on a cold day.
- Turn the dough onto a lightly floured surface, and gently shape into a square. Divide into 9 or 12 pieces.I shape each roll by pulling them into a more circular shape then grab corners to the center and twist. Place the ball on a lightly floured surface, twist side down and gently grab and roll into a round ball. You can also make 27 or 24 small balls and make "clover leaf rolls". You then place3 mini dough balls into a greased muffin cup. Cover the rolls with the dish towel, and let the dough rise for about 15 minutes.
- Meanwhile, preheat the oven for 425ºF. Bake for about 12 minutes or until the rolls are golden brown. Remove from pans immediately, and brush with 2 Tablespoons melted butter, immediately. Cool on a wire rack, and you can eat these within just a few minutes.
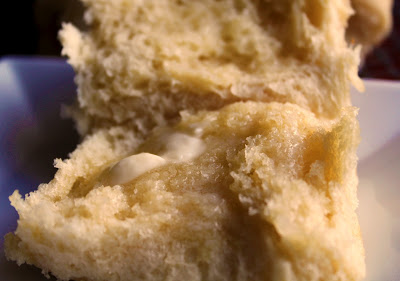
- The texture of these rolls are fluffy and this is now my “go to” recipe for bread rolls.


 I
I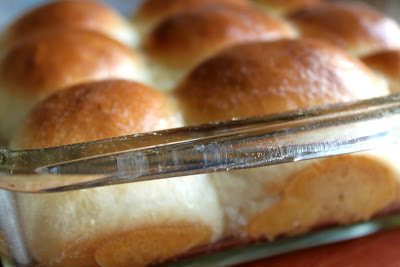





Fantastic recipe. Thanks for sharing!
Cheers,
Lia.
Oh my goodness these look SOO delicious I could eat the lot of them!
Mary x
Another wonderful recipe….your blog is jam-packed with them. Thanks for all the time & effort you put into sharing these with the world. You are greatly appreciated.
How would these go if I baked them and froze them? Do you think they would defrost as light & fluffy? I just have a large family event and would not be able to make or bake them on the day.
Thanks so much,
Angela from Australia
I'm going to try these, so great to have fresh buns in one hour! I used to make buns 14 dozen at a time and freeze them. They freeze very well but I love a warm fresh from the oven bun with butter and homemade jam. Thanks for another great recipe!
Dear Anonymous, I've never tried freezing bread dough. I've read that if you par-bake them, then freeze them, and then finish them off in the oven, when you are ready….that it works. But, I've never tried that. Please let me know if you do and how it works out for you.
These rolls are FLUFF CENTRAL. I'm so enamored.
I've bookmarked these to try…we love fresh bread and rolls,and it's hard to keep it around so my husband can have his fix. Thanks for posting!
What lovely rolls. My mother was a baker and we had freshly baked rolls at dinner when I was growing up. Makes me wish I had inherited her baking gene.
Sam
I agree… the perfect thing to go with a bowl of homemade soup. Nice that you can just make a few (I wouldn't want a couple dozen sitting around, either!) and they sure do look good.
The rolls are beautiful! I'm always looking for good "quick" rolls, I'll give this a try-thanks:@)
Those are some pretty rolls I must say. Love to try them.
Pat
Looking at that fresh roll makes my mouth water. I love these rolls!
Awesome that you made a whole wheat version too. Bet they were delish!
I was wondering when do you add the salt?
Oh, dear. Sorry. I edited the recipe card that explains to add the salt to the flour. Thanks for pointing that out!
This is the exact information that I was looking for. Thank you for sharing your expertise!
How much do I need to weigh it?
Now that I’m deeper into sourdough baking, I use a kitchen scale. With this recipe, I just “eyeballed” the size of my rolls. So, the answer is, weight it if you wish, but I didn’t.