(Roasted Pumpkin Seeds)
How do you make pumpkin puree from a whole pumpkin? It’s not too difficult, and I’ll show you how to roast and puree that fall gourd in your own oven. As a bonus, you can roast the seeds into delicious Pepitas for delicious snacking!
Of all the colorful Fall squash that I see at my local farm stand, pumpkin is still my top favorite.
I love savory pumpkin soups, pumpkin pie, pumpkin bars, pumpkin cakes. I’m always looking for new ways to enjoy pumpkin. I never tire of it. I keep canned pumpkin puree in my pantry, year-round. My husband really likes the pumpkin pasta that I make, as do I.
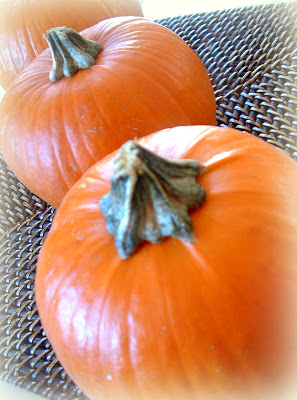
This year, I regretted not growing our own pumpkins– especially when I saw that sugar pumpkins are a little on the pricey side. Still, I bought three of them because I wanted to teach myself how to make my own pumpkin puree. From what I’ve read, sugar pumpkins are preferred over traditional Jack O’Lantern pumpkins. Sugar pumpkins are smaller in size, and is said to have more flavor. I was torn between steaming the pumpkin versus roasting it. In the end, I decided to try roasting. Here’s how I did it:
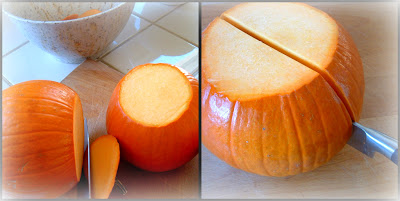
I started with lopping off the top of each pumpkin, which was easier said that done! You need a really strong and sturdy knife.
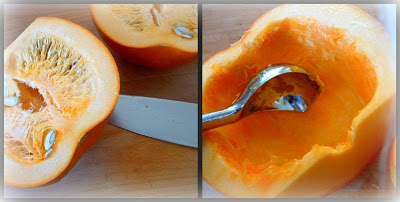
Cut them in half and scoop out the guts and seeds. I found that an ice cream scoop worked really well– it takes a bit of elbow grease!
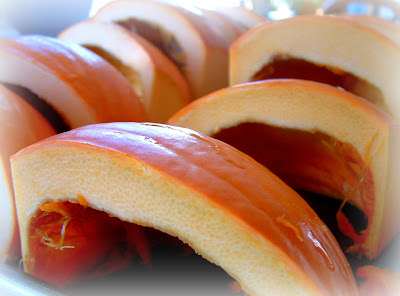
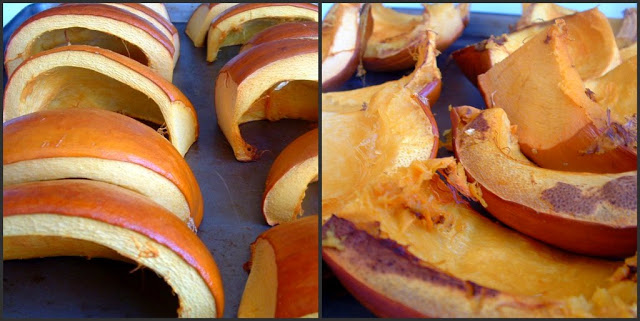
On a baking sheet, line them up. I set them skin side up. Here’s where I was tempted to use olive oil, salt & pepper. I resisted, because I wanted these to be plain. My plans are to use the puree for both savory and sweet dishes. I’ve read that people sometimes put water in the pan and cover this with foil. However, I was going to follow The Pioneer Woman’s tutorial on how to make this.
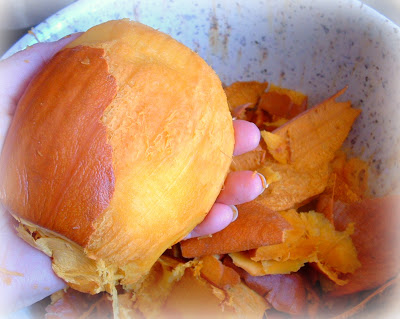
I roasted these at 350F for about 30 minutes, until they were fork tender. Times will vary, depending on your oven and the size of the pumpkins. I let them cool just long enough so that I could hold a piece…
…and the skins pulled off relatively easy, while still warm. Sometimes I used a paring knife to help.
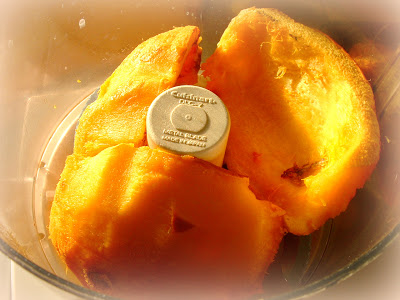
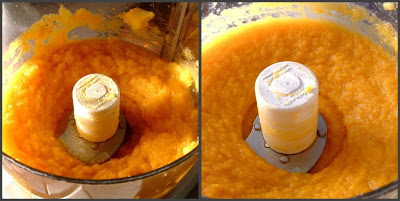
You definitely need a food processor for this part. I cannot imagine trying to mash puree by hand! I think a blender would be cumbersome. But, that’s me. The cooked pumpkin was pretty dry, I thought. Maybe steaming helps, and I’ll try that next time around to compare. No worries, though. I read that you can add a little water as you go…
The trick is to PULSE the pumpkin. Trust me. I added a little bit of water, to help the processor puree the cooked pumpkin. There! Just right. I took a taste of the puree– and I made a face. It was bitter! Yikes!
So, I opened a can of commercially prepared pumpkin puree and tasted that. Bitter! I guess I’ve never tasted pure pumpkin, unless it’s been seasoned or sweetened. What a difference! It’s time to prepare my puree to be kept in the freezer, since I read that pumpkin freezes really well.
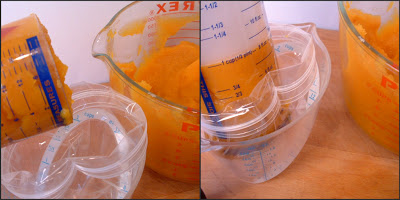
I love this clever measuring cup. Please tell me that you have one. It’s how I measure solids like peanut butter, shortening etc. and I’ve had it for years. The true purpose of pureeing my own pumpkin is that I wanted to freeze one cup increments. Sometimes I amaze myself! I figured out that rather than folding the sides of a ziploc bag over and spooning the puree, I found that I could insert the filled measuring cup and inject it right into the ziploc bag– which I had opened into a measuring cup so it would hold it’s self up. No fuss! No mess! Clever, huh?
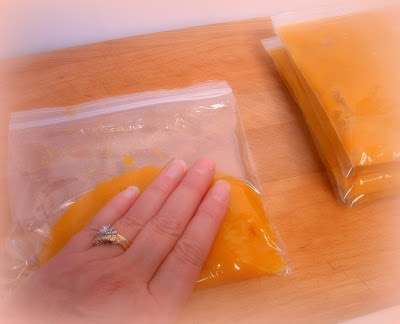
Close the bag, leaving a small opening to flatten out and squeeze out the air. Easy!
There ya go! I got five cups of puree from three sugar pumpkins. These store in the freezer, without taking up a lot of space.
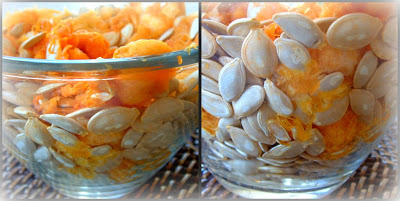
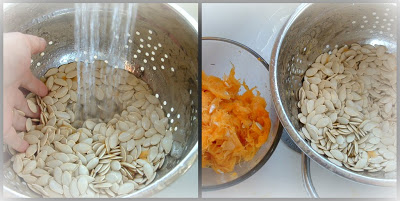
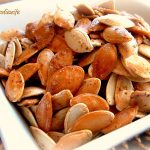
I didn’t forget about the pumpkin seeds! I found that dumping the guts and seeds into a colander making separating the pulp from the seeds really simple. See? You won’t get 100% of the pulp out, but that’s okay.
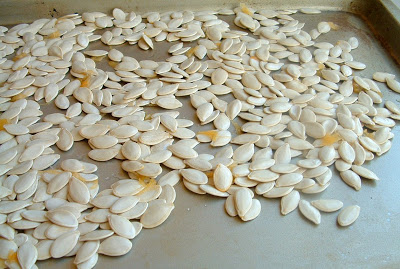
Spread the seeds out on a baking sheet. But don’t — I repeat– DON’T roast them yet! You want to let these dry for several hours (I dried them overnight). Otherwise, the seeds will steam and they won’t roast to be nice and crispy. Don’t leave these on a paper towel, either! If you do, you’ll give up trying to peel them off, because the seeds will glue on. I am speaking from experience, because I did this once… a long time ago.
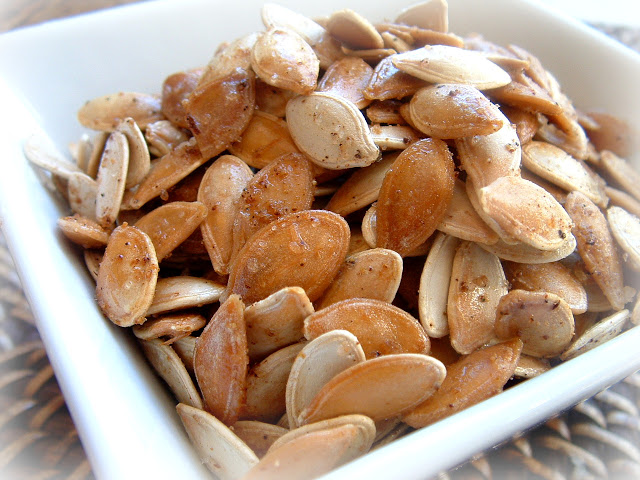
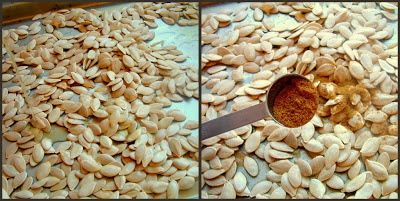
The seeds will still feel slimy. That’s okay. You just want the water to have evaporated. Add some olive oil and table salt (kosher is too big, in this instance) and blend this with your hands. You can quit, here, but I decided to add a scant teaspoon of cumin…
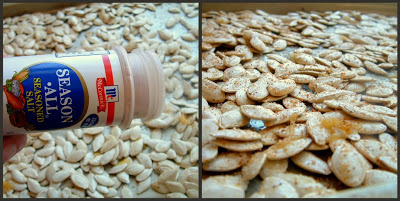
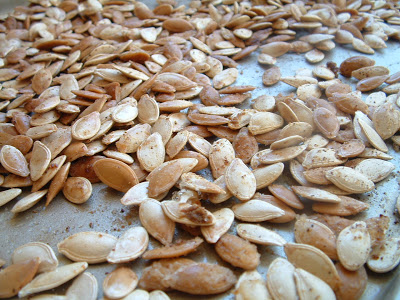
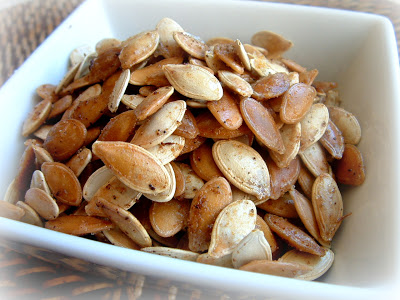
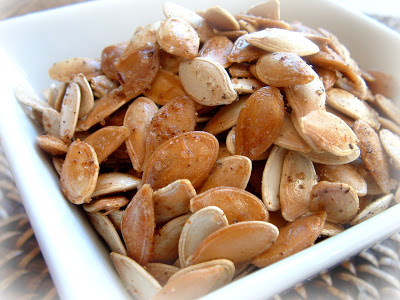
…I also sprinkled the seeds with seasoned salt. I baked them at 250F for almost an hour. You just have to check on them at about 45 minutes and add more time– depending on how golden and toasty you like them.
How to Make Homemade Pumpkin Puree
Equipment
Ingredients
- 2 whole small pumpkins sugar pumpkins are my fave
Instructions
- Select a couple of small size pumpkins. Cut the pumpkin in half. With a spoon or a scoop, scrape out the seeds and pulp from the center. You don't have to be too thorough with this.
- Place all the seeds into a bowl (you can roast them later and make pepitas). Repeat until all the pumpkin pieces are largely free of seeds and pulp.
- Place pumpkin pieces on a baking sheet (face up or face down; I’ve done both) and roast in a 350° oven for 45 minutes, or until pumpkin is fork-tender. They should be nice and light golden brown when done.
- Peel off the skin from the pumpkin pieces until you have a big pile of the stuff.If you have a food processor, throw in a few chunks at a time. A blender will work, too, if you add a little water. Or you can simply mash it up with a potato masher, or move it through a potato ricer, or process it through a food mill.
- Pulse the pumpkin until smooth. If it looks too dry, add in a few tablespoons of water during the pulsing to give it the needed moisture. (Note, if the puree is overly watery, you should strain it on cheesecloth or over a fine mesh strainer to get rid of some of the liquid.)
- Dump the pureed goodness into a bowl, and continue pureeing until all the pumpkin is done.
- You can either use this immediately in whatever pumpkin recipe you’d like, store it in the freezer for later use.
- To store in the freezer, spoon about 1 cupful of pumpkin into each plastic storage bag. Seal the bag with just a tiny bit of an opening remaining, then use your hands to flatten out the pumpkin inside the bag and push out the air. Store them in the freezer until you need them.
Notes
Pepitas (Roasted Pumpkin Seeds)
Ingredients
- Pumpkin seeds scraped from your pumpkin
- table salt kosher is too large
- olive oil
- Seasoned salt
- cumin, chili powder, seasoned salt Optional:
Instructions
- Toss the seeds into a colander and rinse them under cold water, pulling away the chunks of pulp as you go.
- Spread the rinsed seeds out on a baking sheet.
- It's important to allow the seeds to dry several hours or overnight. Beware: they’re quite sticky/slimy, so don’t place them on paper towels! Just leave them on the baking sheet and they’ll be fine.
- When they’re nice and dry, go ahead and preheat the oven to 250°F.
- Use your fingers to toss the seeds around to coat.
- Salt the seeds generously. I use regular table salt for this one. (Kosher salt’s flakes are too big.) You can really go nuts with the seasoning: cayenne pepper, seasoned salt, even curry powder. But I like to keep it simple.
- Pop them in the oven for an hour or so, until the seeds are light golden brown.
- And that’s it! Let them cool for a few minutes…then let the snacking begin!
- Pepitas need to be stored in an airtight container if they last beyond the first day.
Notes







This is total deja vu! I spent the day yesterday roasting and pureeing pumpkins! I still need to package them up for the freezer though.
Yeah pumpkin is not the greatest flavor unseasoned. I wanted to grow my own pumpkins too and I saved several seeds (untoasted 🙂
but I'm not sure how to do it? What type of soil, how deep, what much to water, in moist soil, shade or full sun. I am so not a gargener can you tell?! If you have any tips for me I'd be forever grateful!
I almost posted my pumpkin recipe last night but I decided to put up Sam's birthday cake instead. I will post my puree in a couple days!
Excellent tutorials.
I have yet to try roasting pumpkin seeds, you bet I will now. Sounds perfect with beer!!
Debby, great post! Looks like you will be fixing some great dishes in the months ahead with your delicious pumpkin puree ~ lucky you.
The roasted pumpkin seeds are such a great snack and the seasoning you used must make them sensational. Thanks for all the tips…
OOOH, that kitty has spooky eyes! He looks like a mischievous boy!
I love toasted pumpkin seeds. I like the idea of adding cumin.
I love all things pumpkin, including the seeds. Thanks for the great ideas!
Your post couldn't be more seasonal or timely. Great photos as always.
Wow that is quite a process, not sure I have the patience, although the results are worth it I am sure! Goooo girl!
Debby, you and Monica are just TOO MUCH!!! Pureeing your own pumpkin…you deserve awards and your own TV show, girl! Just love it! Anyhow, Debby, do you have a button yet so that I can (and many others, I'm sure) can post it on my blog? Emily makes them for her clients. Just wondering! Have a great day! Roz
Thanks for sharing! I totally needed those pumpkin seed roasting tips last year. I guess I should try again now that I know. 🙂
~ingrid
Pumpkin seeds are da Bomb!
I don't know too many people who are ambitious enough to prepare their own pumpkin. Kudos to you.
I believe the reason why the canned pumpkin doesn't taste like the real thing is because canned pumpkin isn't actually pumpkin. It's another type of squash. My brother told me that years ago and I wasn't sure if he was pulling my leg or not, but last year a few people around the blogsphere were talking about it.
I'm with you, Debby. I have never cared for butternut squash.
Hope you feel better soon!
oh that darned cold! I'm still coughing off and on, more than a month later. hope you get better quicker than I have.
I didn't know until about a year ago that pumpkin puree isn't made from just any ole pumpkin! and ya…I looove me some pumpkin seeds!!
Hooray! I wanted to grow them this year as well, but missed the planting date. If you have access to a pressure cooker, it is a BREEZE to cook.
I think the darker color of the canned pumpkin is that it used a variety of pumpkins.
Great post!