Takeout pizza is a thing of the past, in our home. Homemade pizza dough isn’t difficult to make, I promise. It’s far less expensive that delivery (or pick up). This thin-style pizza crust is perfection in every way– it’s thin, it’s crispy, it’s delicious! Even better, you make it in a food processor! The homemade pizza sauce is just as easy to make. Plan on making the pizza dough at least one day ahead, for best results in flavor. The next day, you can have homemade pizza in about 20 minutes– much faster than delivery!
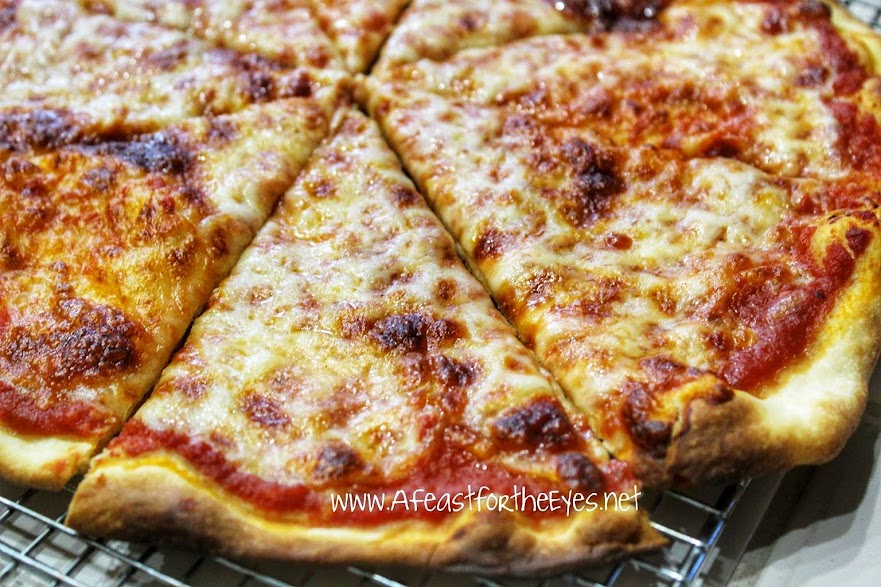
Homemade pizza is something that I enjoy making, and my husband loves pizza! I’ve made, and posted, many pizzas– Chicago Style Deep Pizza, Pizza Wheels and even more “gourmet” pizzas such as Fig-Prosciutto.

I have been a devoted fan of Cook’s Illustrated, Cook’s Country and America’s Test Kitchen for many years. I even subscribe to their All-Access website where I can find all magazine issues, any recipes of theirs– and watch their videos. I’ve learned so much this way! Not once, has a recipe of theirs failed to deliver– and I always learn something new. I’ve always wanted to make a thin-crust pizza, and Cooks Illustrated finally delivered with an easy recipe. I’ll jump to the end of the story: This is easy and fantastic! You will want to make this.
In order for this recipe to have the best results, I recommend the following:
- Baking Stone : Granted, they aren’t cheap. Well, some are, but the one I invested in about 10 years ago was worth every penny. I keep mine stored, at all times, in my oven. I use it for bread baking, but I also find that it’s a game changer to bake pizzas. Before I invested in a baking stone, I struggled with soggy pizza crusts. The stone completely eliminates this problem. So, if you don’t have a baking stone can you still make this? Yes! I’ve made pizzas in a cast-iron skillet. Or, I’ve inverted a rimmed baking sheet and used that– which works, but it doesn’t induct quite as much heat– so you get a less crispy underside.
- Food processor: My Cuisinart food processor is 40 years old, and it’s still going strong! I’ve had to replace the bowl, but it was much cheaper than buying a new one. Do you have to use a food processor? No. I have a Danish Dough hook that can do the job, with a little bit of elbow grease.
- Yeast: My two favorite yeasts are SAF Instant Yeast and Fleischmann’s Rapid Rise Yeast. I keep the SAF yeast in my freezer and the Fleischmann’s in my refrigerator. This way, it lasts for a long time!
- Unbleached All-Purpose Flour with a protein content of no higher than 10.5 percent. NOTE: I used King Arthur Flour Unbleached All-Purpose Flour, with great results
- Pizza Peel: The one I use isn’t exactly cheap, but since I make pizza fairly often, it has paid off. Before I bought a pizza peel, I made sure to make mine on a large sheet of parchment paper, set on top of an inverted rimmed baking sheet. I’d line it up with my preheated sheet pan and slip it on. It’s not perfect, but it works.
Now that you’ve gathered your ingredients, let’s make pizza! In the food processor is the measured flour, instant yeast, honey, table salt and filtered or spring water, between 100-105 degrees.
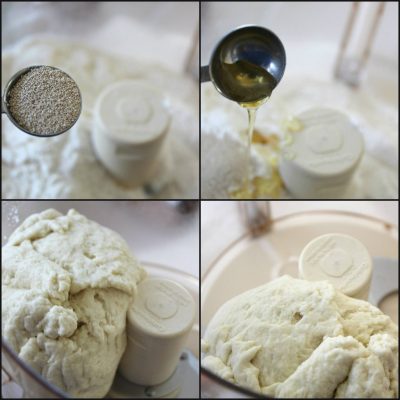
With the machine running, add olive oil until the dough forms a ball– about 30 seconds. Done!
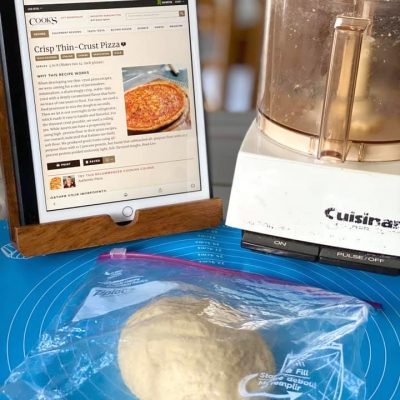
I dumped the dough on to my silicone baking mat (love this) and gave it a few kneads to make sure it had a pliable consistency. It did! I placed it in a ziploc bag and put it in the refrigerator. Since I wasn’t going to make the pizza until the next day, I decided to go ahead and make the easy pizza sauce.
There are just three ingredients: a 14.5 can of crushed tomatoes, garlic, and olive oil.

Cook the garlic for about 30 seconds, add the crushed tomatoes and bring to a simmer, until thick–about 15 minutes. Cool the sauce and put it into an air-tight container into the fridge.
The next day, when it’s time to make pizza, set the baking stone on the middle rack of the oven and set it to 500F to preheat. In the meantime, roll out the pizza dough. Why do you have to make the dough a day ahead of time? It helps the dough to develop good flavor!
Remove the pizza dough and cut in half. NOTE: I diverted the way that Cook’s Illustrated said to roll the dough (place a piece of plastic wrap on top and roll on top). I found that the best way was to wet my counter (Since this post, my kitchen now has a quartz top and the tile is gone!), “stick” my silicone baking mat on top and add a sheet of pre-cut parchment paper. My French rolling pin and I are besties. I’ve been using mine for years! Lightly flour the rolling pin and begin the rolling process. The dough was a dream to work with.
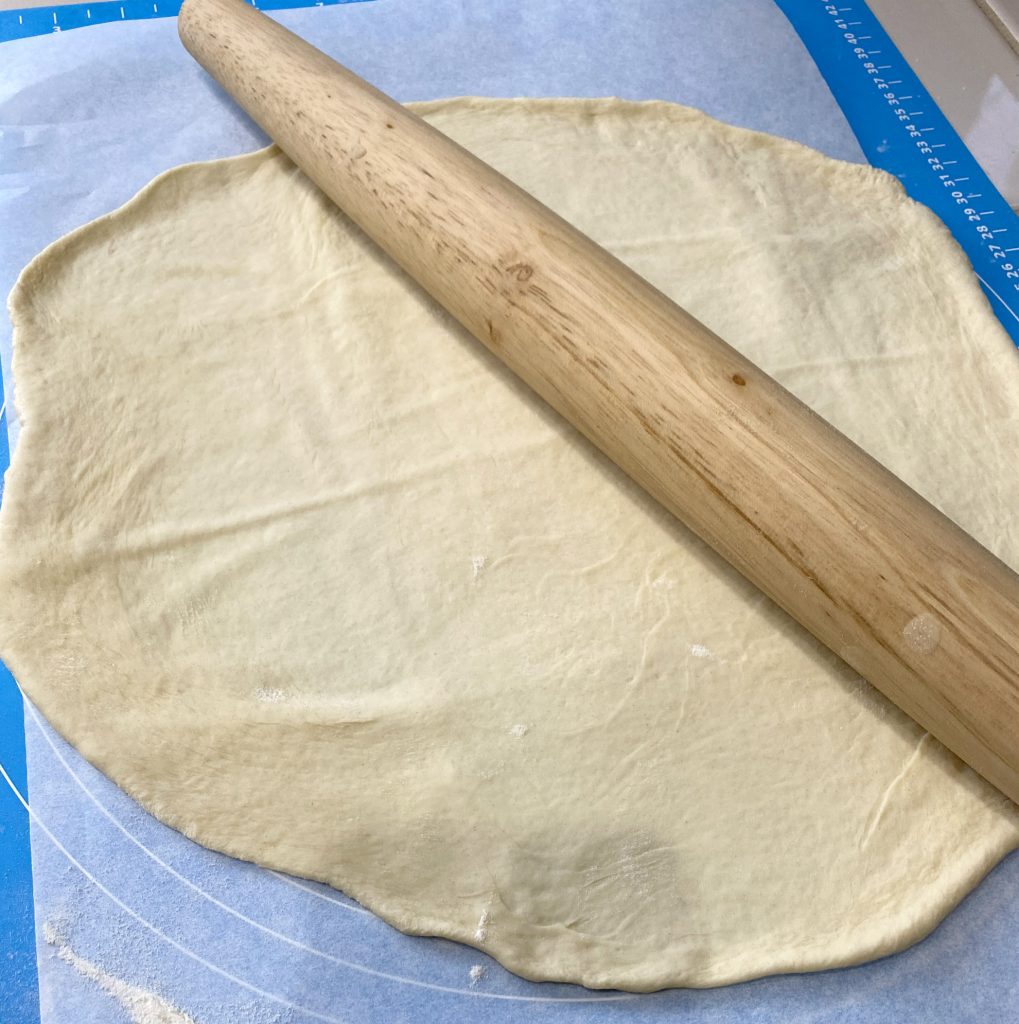
Aim for for a 14-inch round, that is about 1/32″ thin. I think I did it!
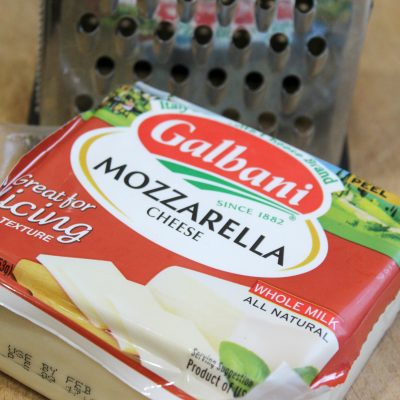
Shred some whole milk mozzarella (the pre-shredded wasn’t recommended).
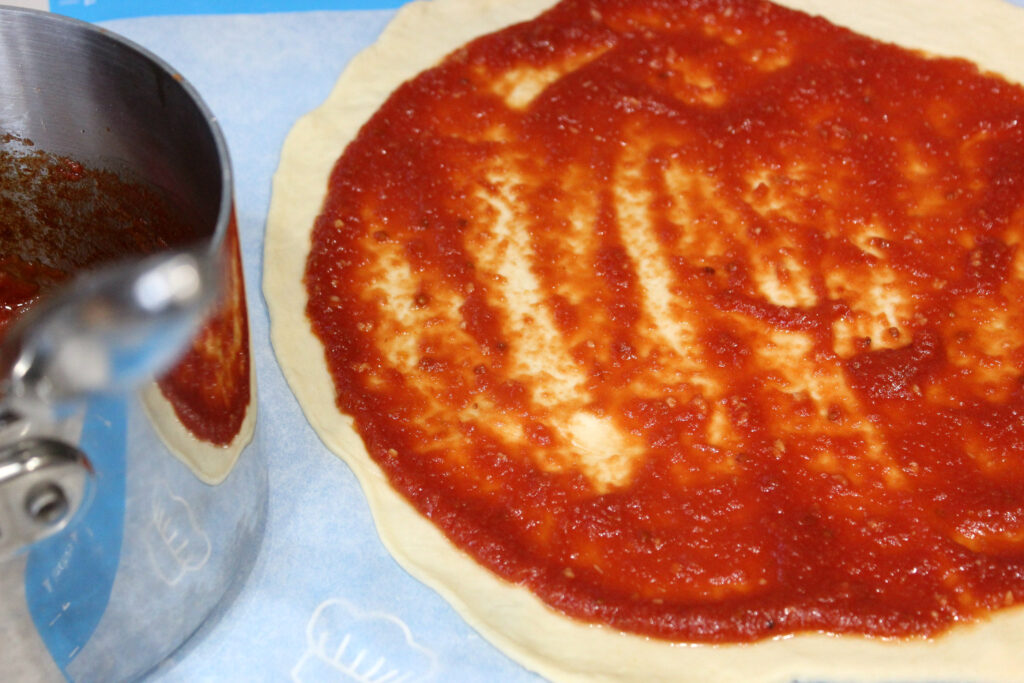
Add half the pizza sauce….
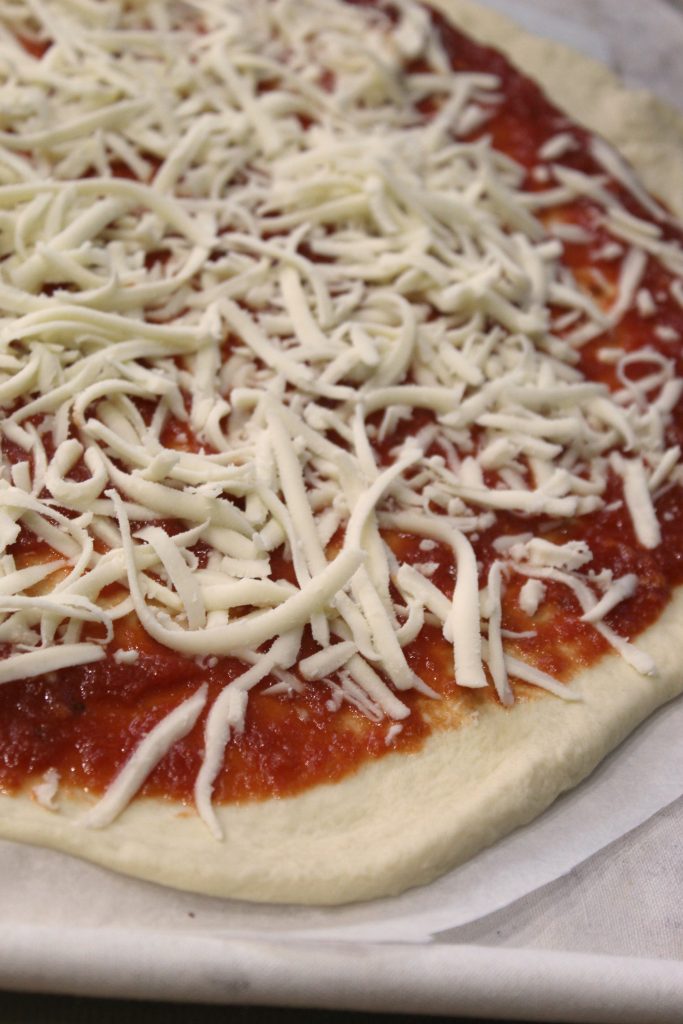
Add the cheese…and now to bake the pizza!
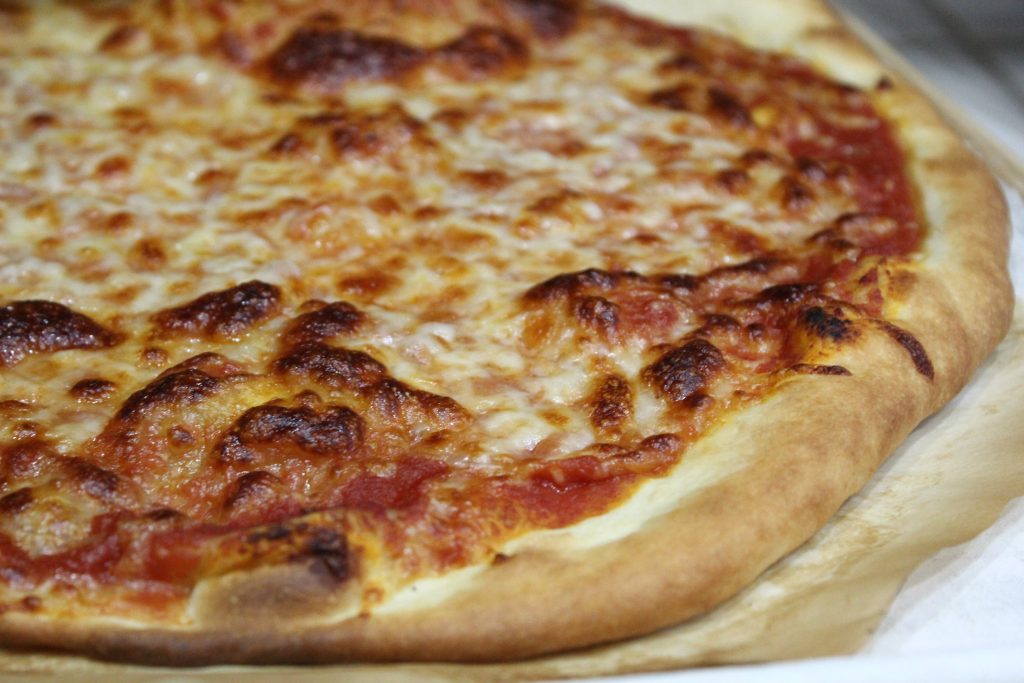
Watch your pizza closely, because all ovens aren’t the same! I set the timer for 10 minutes, but checked mine at 8 minutes. It was done!
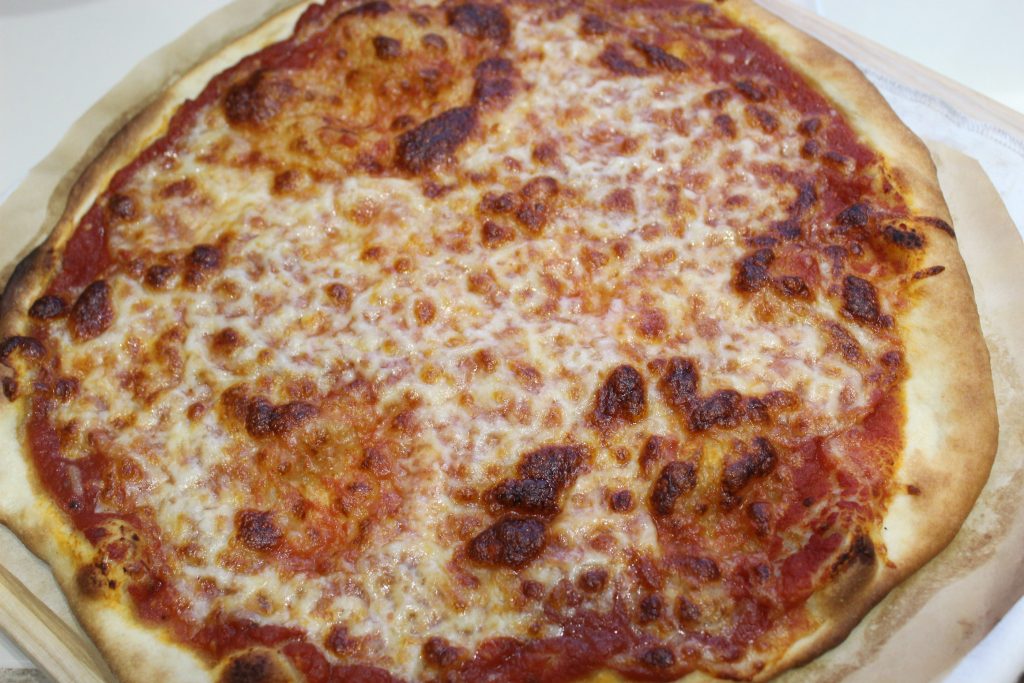
The aroma is heavenly! I cut the pizza and placed it on a cooling rack for a couple of minutes. Time to eat!
TASTING NOTES: Wow! I made my first thin-crust pizza, but it definitely won’t be the last. The sauce was flavorful (though I think I’ll add some Italian seasoning next time). VARIATIONS: I will experiment making other pizza toppings as well. I have fresh mozzarella so I’d like to make my favorite: Pizza Margherita. The sky is the limit with pizza!

See the “char” on the underside? That’s what a baking stone will do for you! I returned the second half of the dough to the fridge (neatly wrapped in plastic wrap, and a ziploc bag). Five days later, I made the second pizza. It took about 5 minutes to add the leftover sauce and cheese. Within 20 minutes we were eating pizza and a salad– and the pizza was just as great!
Homemade Crispy Thin-Crust Pizza
Equipment
- Baking Stone
Ingredients
For the Pizza Dough (Makes Two Crusts)
- 10 ounces unbleached all-purpose flour about 2 cups, , protein content no higher than 10.5 percent (I used King Arthur Flour Unbleached All-Purpose Flour
- ½ teaspoon instant yeast
- ½ teaspoon honey
- ½ teaspoon table salt
- 6.2 ounces water about 3/4 cup plus 1 1/2 teaspoons, preferably filtered or spring, 100 to 105 degrees
- ¼ cup olive oil
For the topping:
- 8 ounces whole milk mozzarella about 2 cups, shredded
Quick Tomato Pizza Sauce
- 1 14.5-ounce can crushed tomatoes
- 1 large clove garlic minced, or pressed through garlic press
- 1 tablespoon olive oil
Instructions
One Day Ahead
- Combine flour, yeast, honey, and salt in the workbowl of food processor fitted with steel blade. With machine running, add all but 2 tablespoons water through feed tube. With machine still running, add olive oil through feed tube and process until dough forms a ball, about 30 seconds. Turn dough out onto work surface. The dough should feel soft and pliable, and not dry.
- Place dough in gallon-sized, heavy-duty zipper-lock plastic bag and seal. Refrigerate overnight or up to 48 hours. (NOTE: I saved the second dough for five days, and it was still as good as the first one that we used.)
Quick Tomato Pizza Sauce:
- NOTE: I prepared the sauce a day ahead. Can be stored in an air-tight container up to a week.
- Process tomatoes in work bowl of food processor fitted with steel blade until smooth, about five 1-second pulses.
- Heat garlic and oil in medium saucepan over medium heat until garlic is sizzling, about 40 seconds. Stir in tomatoes; bring to simmer and cook, uncovered, until sauce thickens enough to coat wooden spoon, about 15 minutes. Season to taste with salt and pepper.
Bake Pizza:
- Remove dough from plastic bag and divide in half with pastry scraper. Set each half in center of lightly floured large sheet parchment paper. Cover each with two 18-inch lengths plastic wrap overlapping in center (alternatively, use one 18-inch length of extrawide plastic wrap); let doughs rest 10 minutes.
- Adjust oven rack to lowest position, set baking stone on rack, and heat oven to 500 degrees. Heat baking stone 1 hour before proceeding.
- Setting one dough aside, roll one dough into 14-inch round with even thinness of 1/32-inch, using tackiness of dough against parchment to help roll. NOTE: I set down a baking mat that sticks to the counter when wet; then set a piece of parchment paper on top and lightly sprinkle with flour. Set the dough on top, and roll from the center out, turning the dough every so often to get an even thinness.
- Evenly spread half of the pizza sauce and cheese. NOTE: Feel free to add additional toppings of your choice.
- Slip dough with parchment onto pizza peel, inverted rimmed baking sheet, or rimless cookie sheet, then, slide onto hot baking stone. Bake until deep golden brown, about 8-10 minutes. Remove from oven with pizza peel or pull parchment with pizza onto baking sheet. Transfer pizza to cutting board, slide parchment out from under pizza; cut pizza into wedges and slide onto wire rack. Let cool 2 minutes until crisp; serve.
If baking both pizzas:
- While first pizza is baking, prepare second pizza; allow baking stone to reheat 15 minutes after baking first pizza, then repeat step 6 to bake second pizza.
Notes
All-purpose unbleached flour with a protein percentage no higher than 10.5 makes the lightest, crispiest pizzas. We recommend weighing the flour and water, but because many factors affect the flour’s capacity to absorb water, heed visual and tactile clues to achieve a dough with the proper consistency. For rolling out the dough, we prefer commercial- sized parchment paper sheets, though parchment sold in rolls 14 inches wide also works. Keep in mind that it is more important for the rolled dough to be of even thinness than to be a perfect circle. Bake quickly at high heat (500 degrees) and dress simply. We recommend buying a chunk of whole milk mozzarella and shredding it by hand; do not use fresh or prepackaged shredded mozzarella, and resist the temptation to sprinkle on more cheese than is recommended. Between baking pizzas, allow the baking stone to reheat for 15 minutes.
Nutrition





Good looking pizza Debbie and I like that it doesn’t have a large amount of crust around the edge.
In the ingredient list for the quick tomato pizza sauce, there is an item “1 cup tomato sauce”. But this item is not mentioned in the instructions. Did I miss it?
Thank you for pointing that out. I edited the recipe card. The one cup of tomato sauce was referring to the pizza sauce. About one cup of sauce goes on the pizza. Edited! So sorry fort he confusion.
My dough is waiting in the refrigerator. I plan to make a calzone for guests on Friday.
I’d love to hear how it turns
Out for you!
The calzone (two crusted stuffed pizza) was a test recipe for CI and it came out great.I imagine it will appear in an issue in a few months. The dough was easy to make but not a “dream” to handle.
I made the dough again for Super Bowl pizza. It was still pulling back and not holding a 14 inch circle but I forged ahead and they were good although a bit misshaped. I think I would like a bit more cheese next time.
Andrea
Made this today for lunch. Very nice, thank you. I did not make the sauce, I stuck with the sauce my picky kids will eat. I made one cheese and one pepp and sausage. Definitely recommend the recipe. Thank you.
I’m so pleased that you liked it. It’s one of my faves.