Dampfnudeln are sweet yeast dumplings that have strong roots in Bavaria, as well as parts of Germany and Europe. The dumplings are steamed in milk, butter and sugar until puffed with a golden brown crust. My childhood memories are being served Dampfnudeln with a vanilla sauce. These can also be served savory, depending on what region of Europe a person is from.
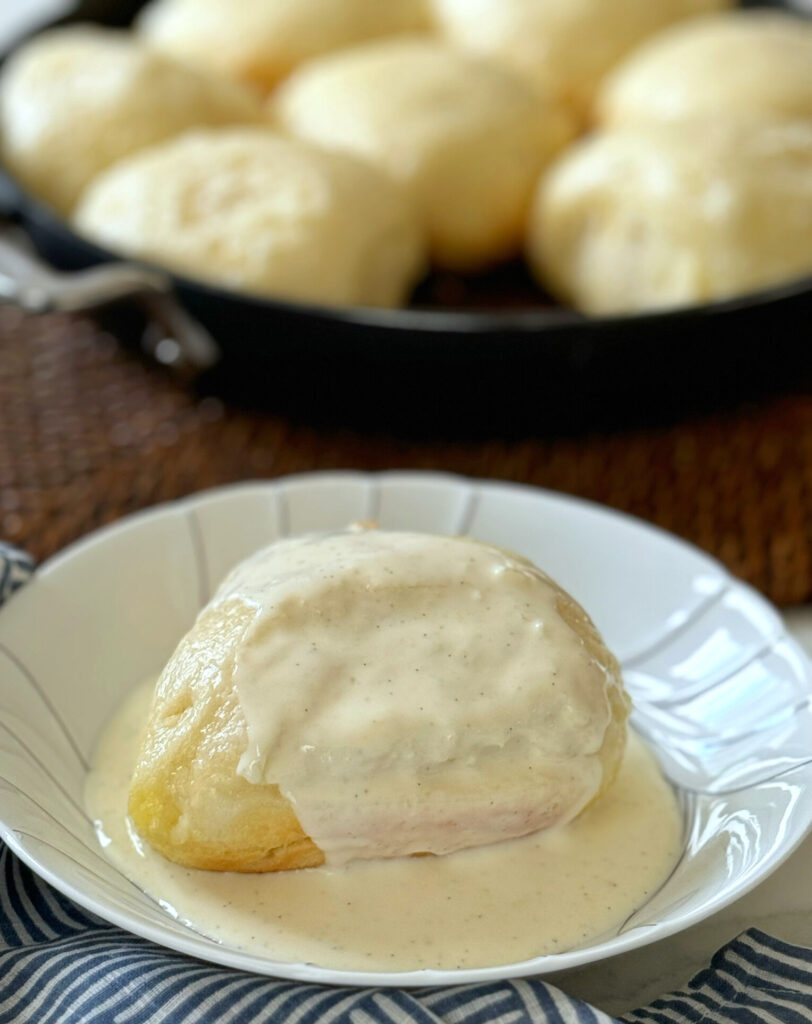
My military father was stationed in Bavaria when my brothers and I were children. What luck! My mother was born and raised in Bavaria, so my Oma, Aunts, Uncles and cousins lived in her birth city of Bad Reichenhall. As kids, we loved spending time at a particular Aunt’s home. She was an amazing cook. Her specialty was Bavarian “Dampfnudeln”.
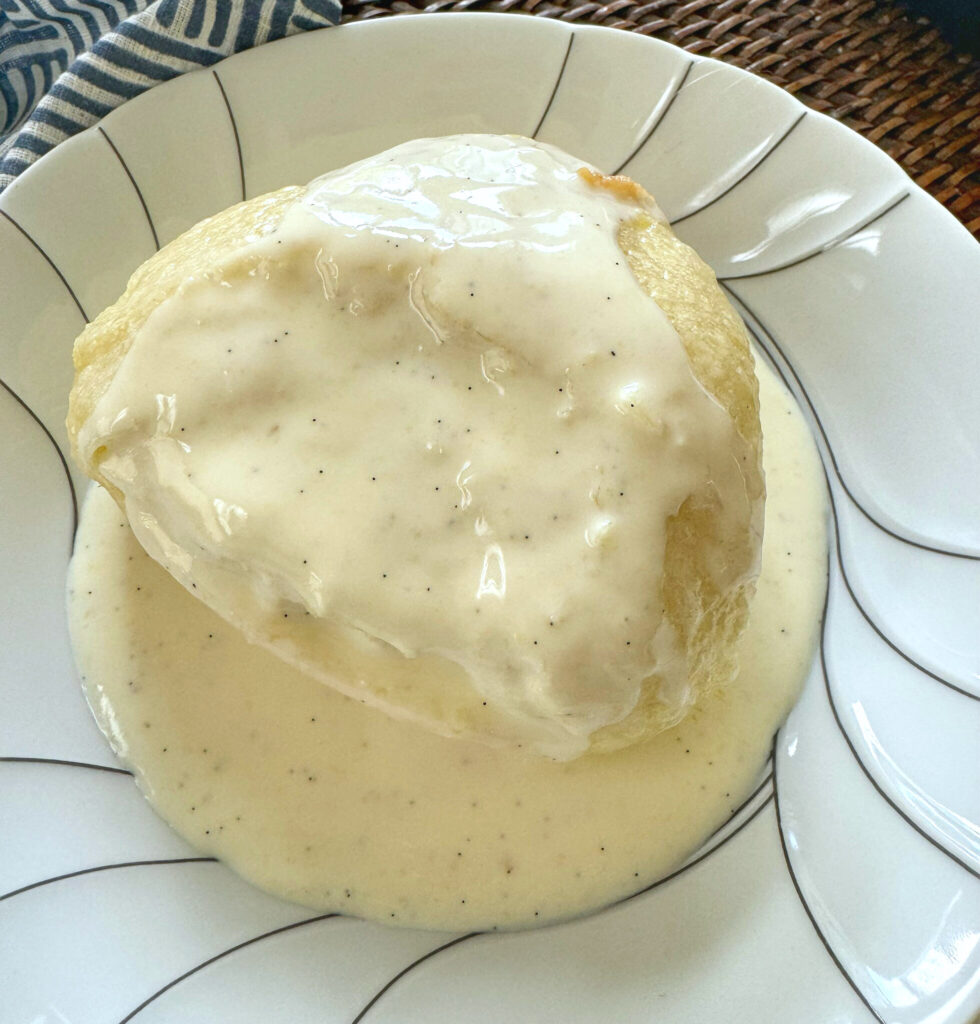
I cherished those childhood memories, when “Tante Kati” would make this delectable dish just for us. I was fascinated, watching her put the dampfnudeln/dumplings into a pan, filled with heavy cream, butter and sugar, and then place a lid on. Once they were steamed, she’d lift the lid and I’d marvel at how large the dampfnudeln had become. She would serve the dampfnudeln with her homemade vanilla sauce as our mid-day meal (mittagessen). These were such a special treat.
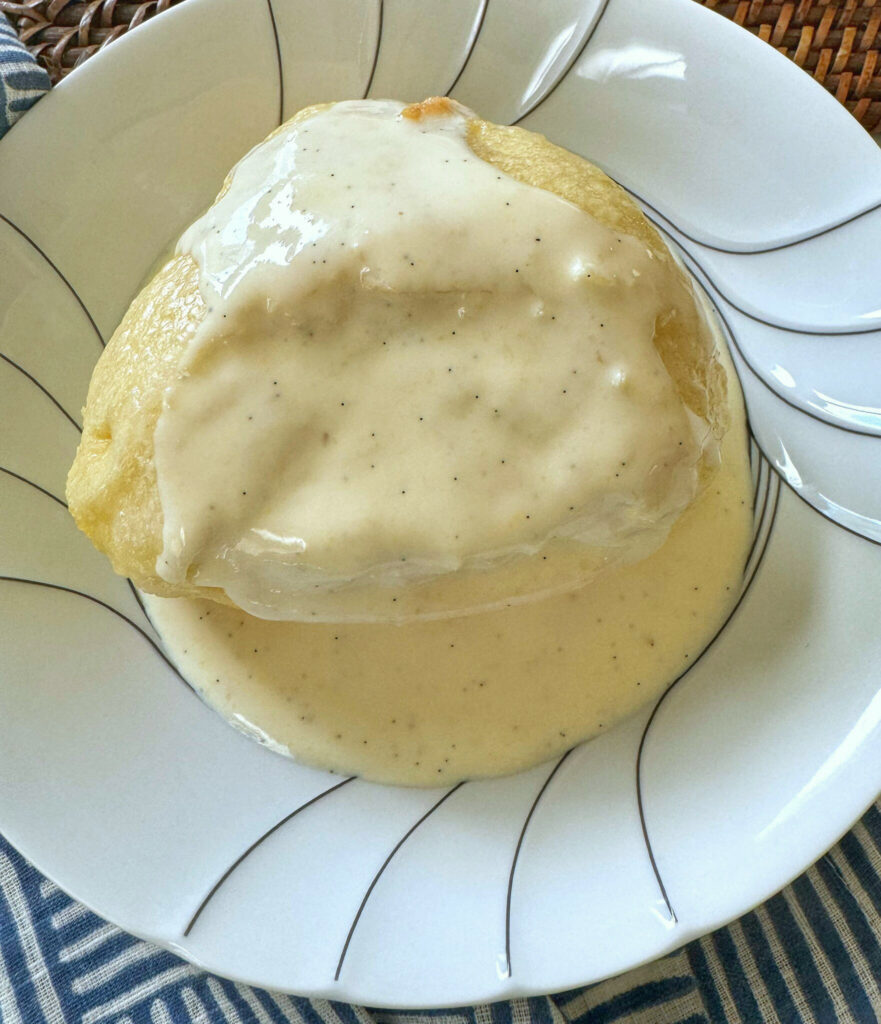
Sadly, Tante Kati is no longer with us. I never learned how to make her Dampfnudeln. Finally, I did some research and decided to see if I could recreate my childhood memory.
Please allow me to preface that anytime I post a German recipe, I am subjecting myself to criticism. Depending on the region in Germany/Bavaria, there are always variations.
With this recipe, there are so many different ways to serve Dampfnudeln! My uncle ate his with sauerkraut. Some dampfnudeln are stuffed with plums, or topped with poppy seeds. The recipe I am sharing is the way our family made and enjoyed them. With that said, let’s make them!
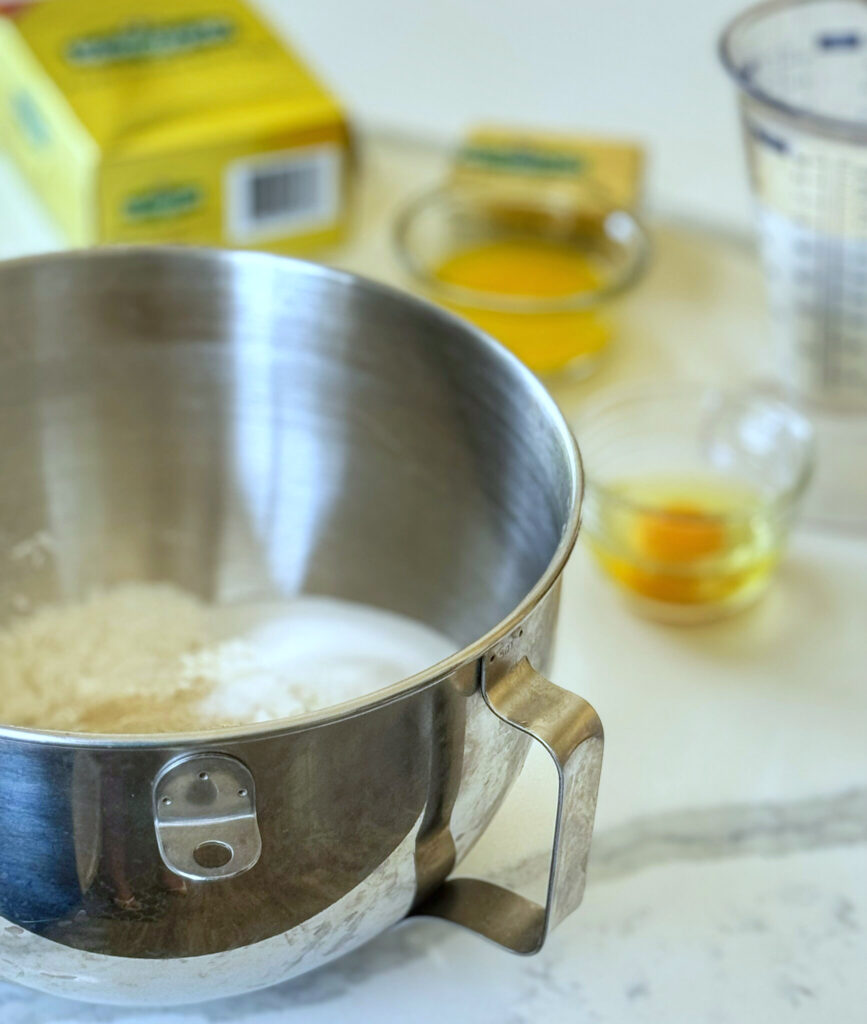
First– the dough. Flour, instant yeast (or active dry yeast), sugar and salt. For the wet ingredients, butter (I used European butter), milk and an egg. Simple, right? A stand mixer and dough hook makes lighter work than elbow grease. The dough was very soft and pliable.
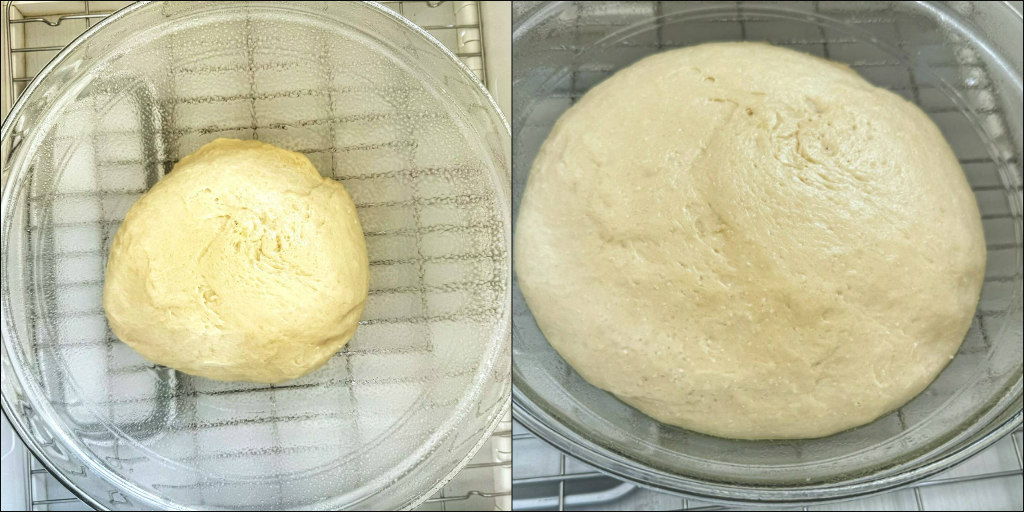
In a bowl, sprayed with oil, the dough is covered with either plastic wrap or a plate. Allow the dough to rise, in a warm place, until doubled. 90 minutes later, it’s definitely doubled! One of my best baking investments is a Brod & Taylor Proofing Box. I appreciate that this box keeps dough at a steady and perfect temperature, no matter what time of year.
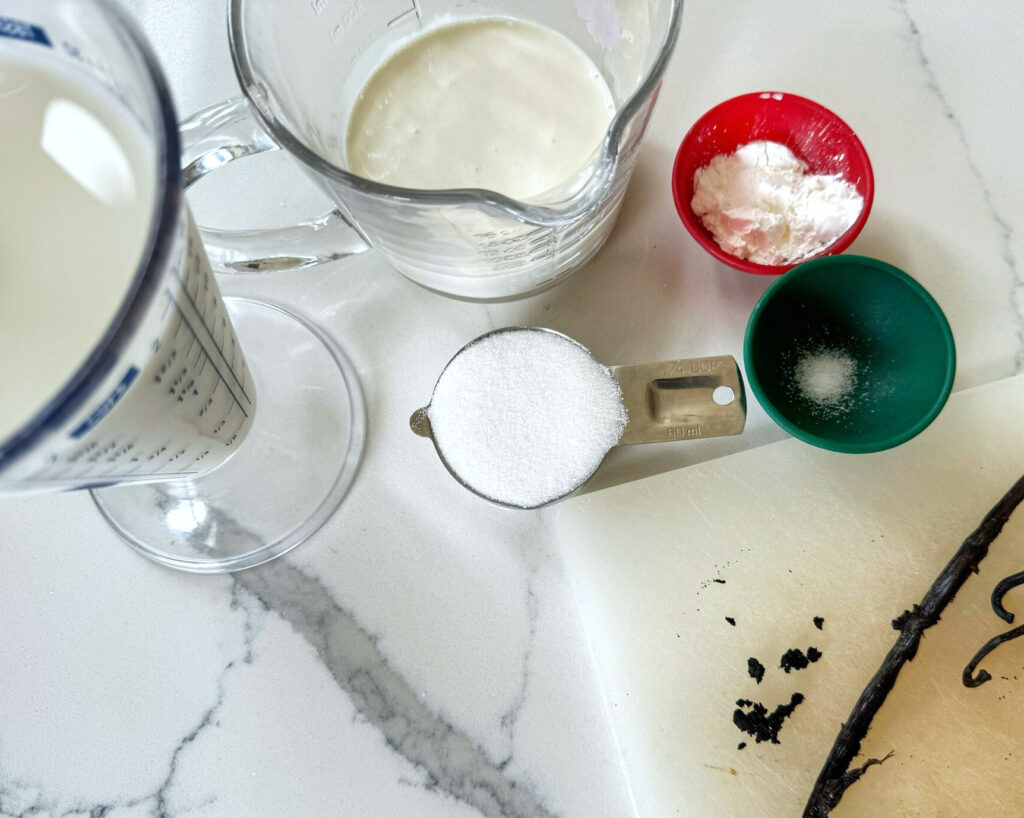
While the dough is proofing, it’s a perfect time to make vanilla sauce. This sauce isn’t super sweet, nor as thick as a Crème Anglaise. Vanilla Extract can be substituted for a vanilla bean, though it won’t have as much flavor. The ingredients are whole milk, heavy cream, sugar, cornstarch, salt and vanilla bean.
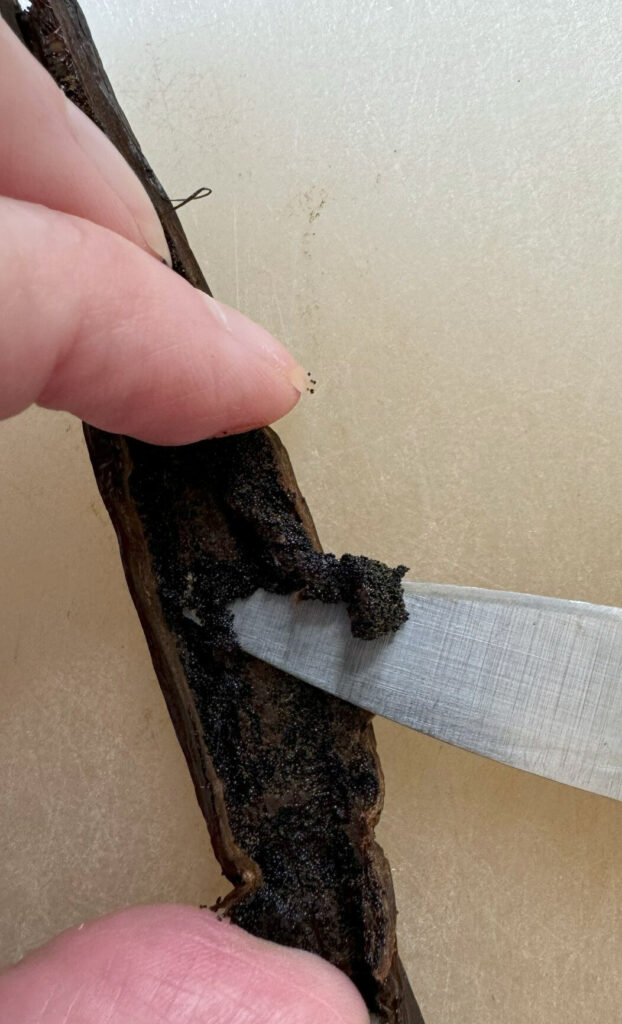
There’s no mystery in how to use a vanilla bean. Using a paring knife, slice the bean open. Carefully scrape out the “caviar”. This is gold! Once the vanilla bean is scraped clean, place the empty bean into a jar of sugar. Voila! You have vanilla sugar, and there is no waste.
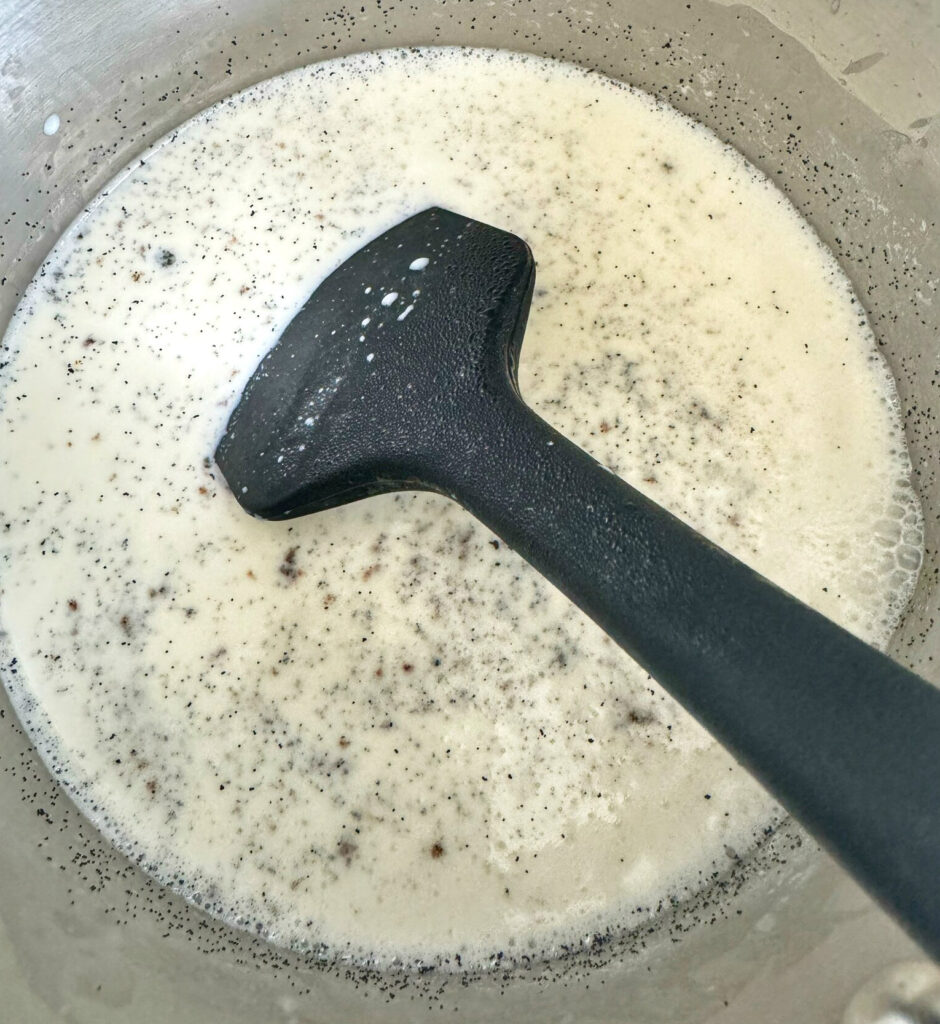
Heat the milk, cream and vanilla bean until just boiling.
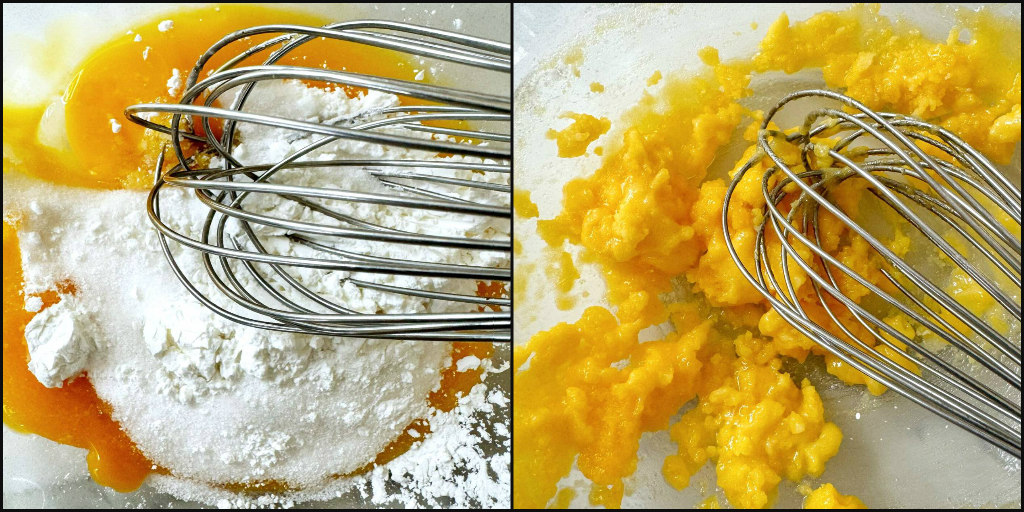
In a separate bowl, whisk together the egg yolk, sugar and cornstarch together. It might seem a bit lumpy, but don’t worry!
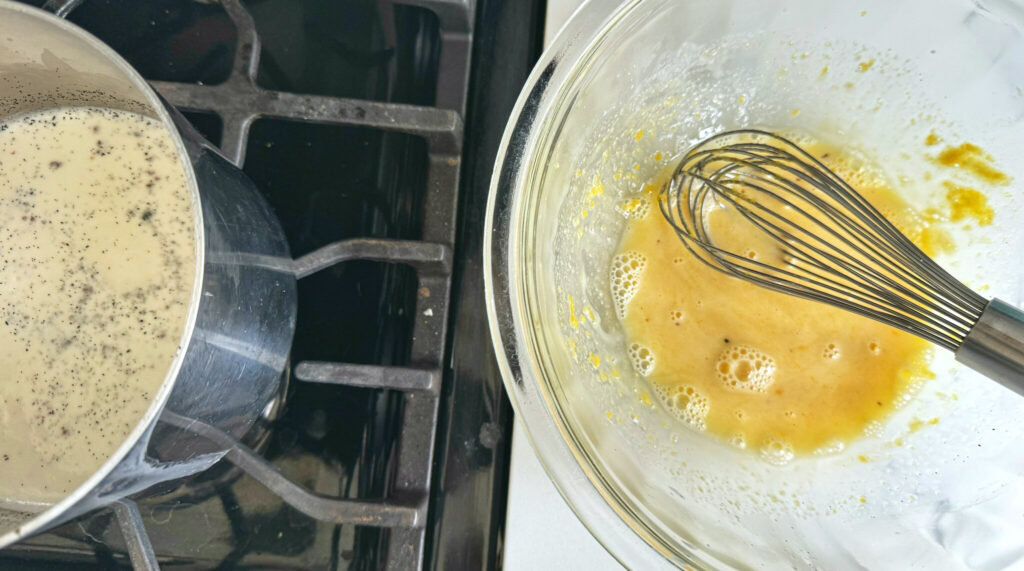
Carefully ladle, some of the hot milk mixture into the egg yolk mixture– whisking at the same time. The eggs are now tempered, and won’t turn into scrambled eggs. Pour the egg mixture into the milk mixture and thoroughly stir.

Bring the vanilla sauce to a simmer, and cook until slightly thickened. This step is very important– pour the mixture into a fine mesh sieve. You will find that there’s quite a bit of egg “bits” that you don’t want ruining the silky texture of the sauce.
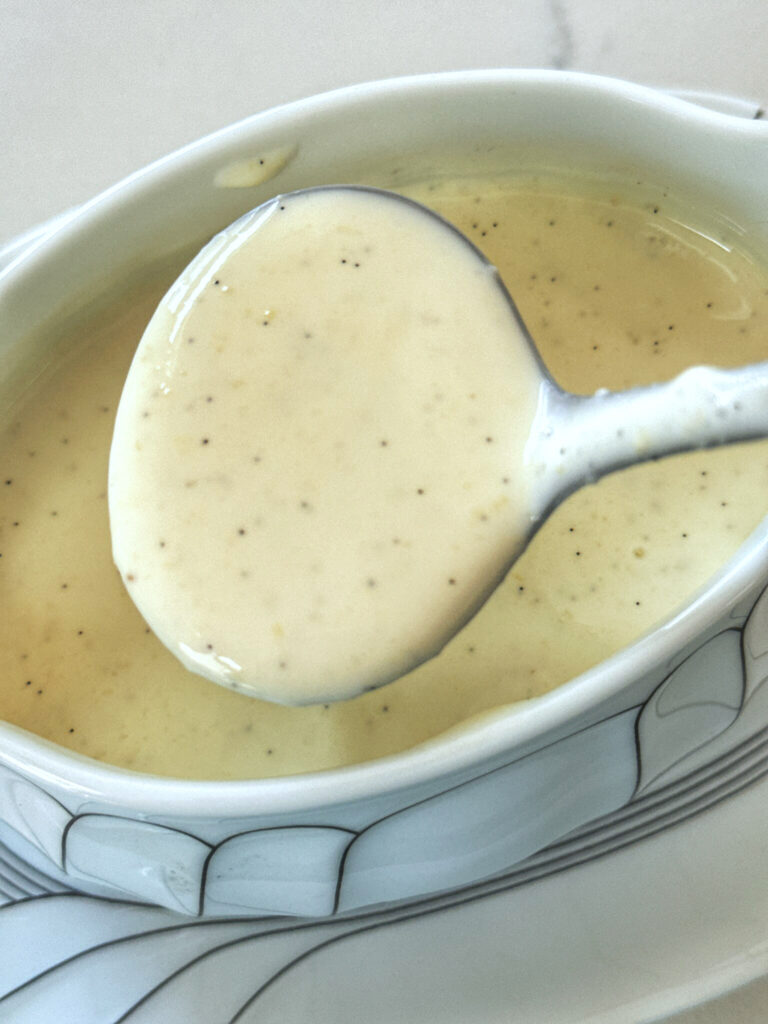
Allow the sauce to cool. NOTE: You can make this sauce a day in advance, if you wish. Just store in the refrigerator in a sealed container.
Back to shaping the dough:

Lightly flour your work area. In my case, lightly oiling my quartz counter top works great for me. Cut 8 pieces of dough. A kitchen scale is really helpful when working with dough. Each piece weighed about 11 ounces (more on that later). My self-taught technique is to shape each piece into a “round” by folding together the corners of the dough into a “purse”. Then, cupping my hand on each piece of dough, roll it into a round dumpling shape.
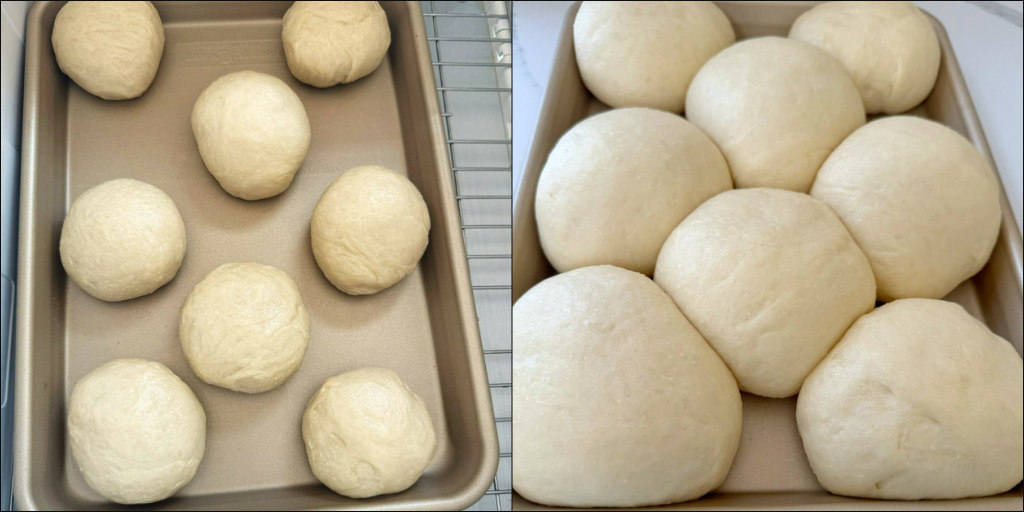
Covering the dough with a clean cloth, allow the rolls to double in size– 30-60 minutes. Whoa! They definitely doubled!
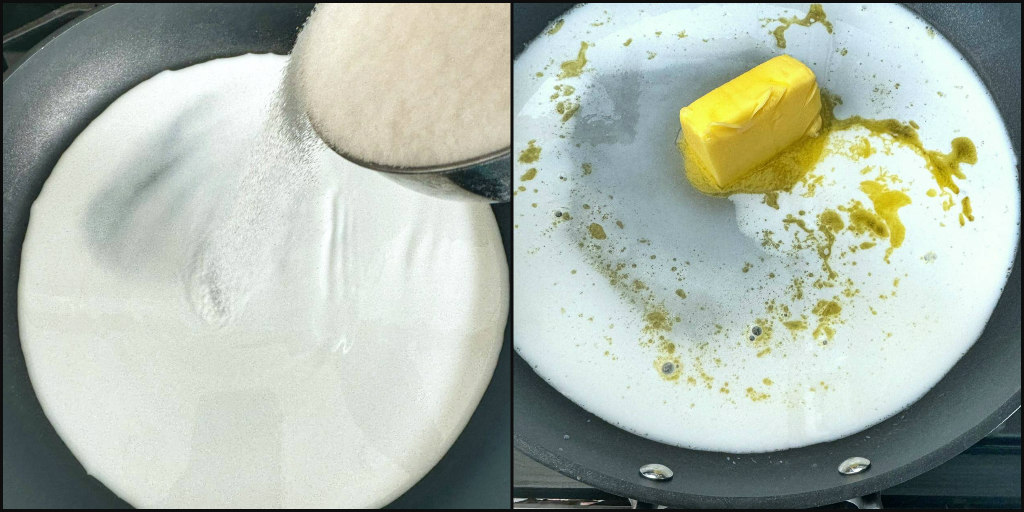
Well, here goes. The final step is to steam the dumplings in a 12-inch non-stick pan, that has a tight-fitting glass lid, whisk together whole milk and sugar, and melted butter.

Here’s my dilemma: There should be space between each dumpling, because they will expand. Yikes! My recipe source said their dumplings weighed 5 ounces. Not mine! 11 ounces, baby! So, all eight dumplings were quite cozy, nestled in the milk mixture. What to do? Go for it, anyway! The glass lid was placed on, and the steaming began. Using a glass lid clearly has an advantage. You can watch the progress of the dumplings, without lifting the lid.
Don’t lift the lid ahead of time! The danger is that the release of steam can cause the dumplings to collapse. Game over.
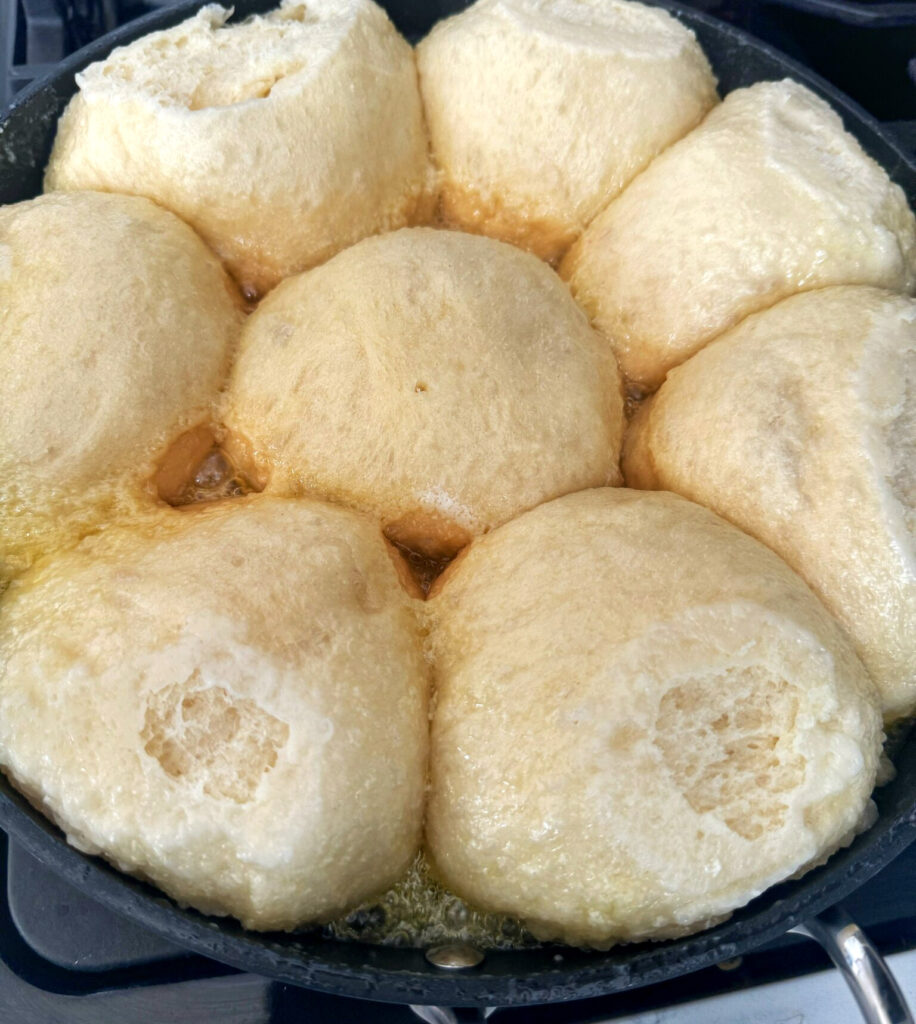
Since this was my first time making Dampfnudeln, I wasn’t sure if the dumpling are supposed to brown. Duh! Nope. They’re being steamed. Off came the lid– and some of the dumplings stuck to it! Oh well, I made a mental note to add non-stick spray to the lid next time. Unless, I decide to buy a deeper non-stick pan like this one.
With the lid off, the dampfnudeln didn’t collapse. Whew! It’s crucial to watch the dumplings closely, that the milk evaporates but the caramelization of the sugar doesn’t burn the bottoms. Here’s a sneak peak.
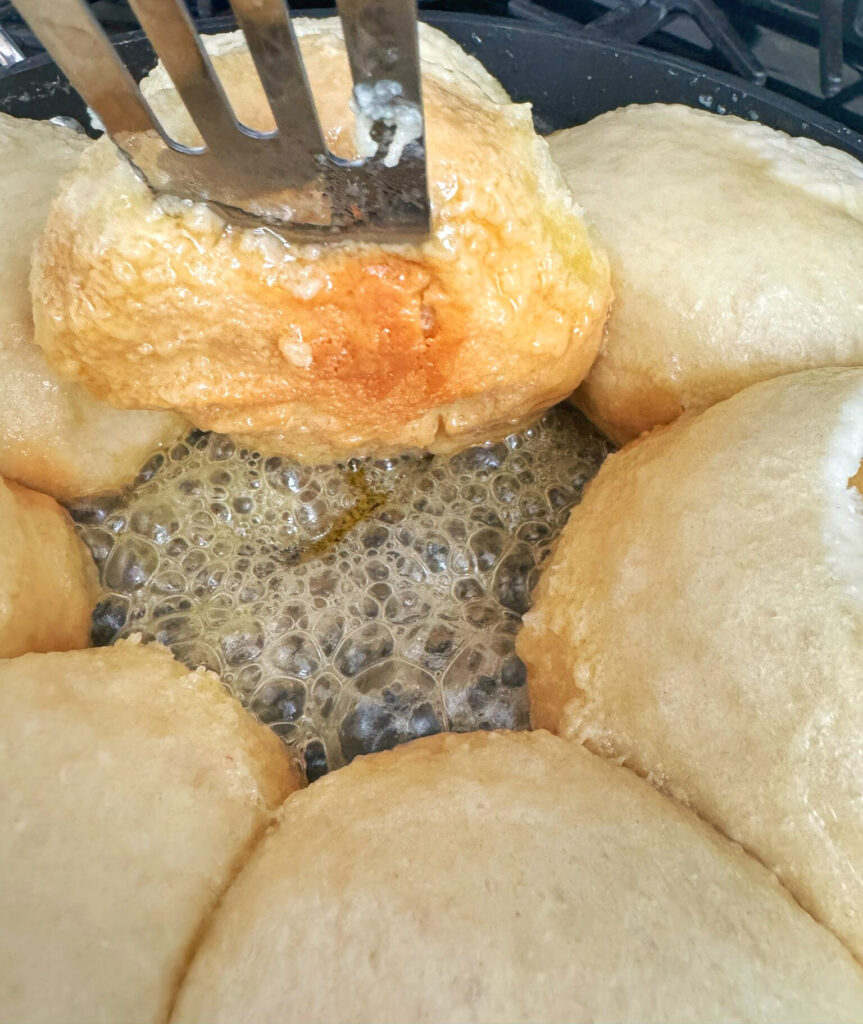
So far, so good. Just a few minutes more, and it’s almost time to eat.
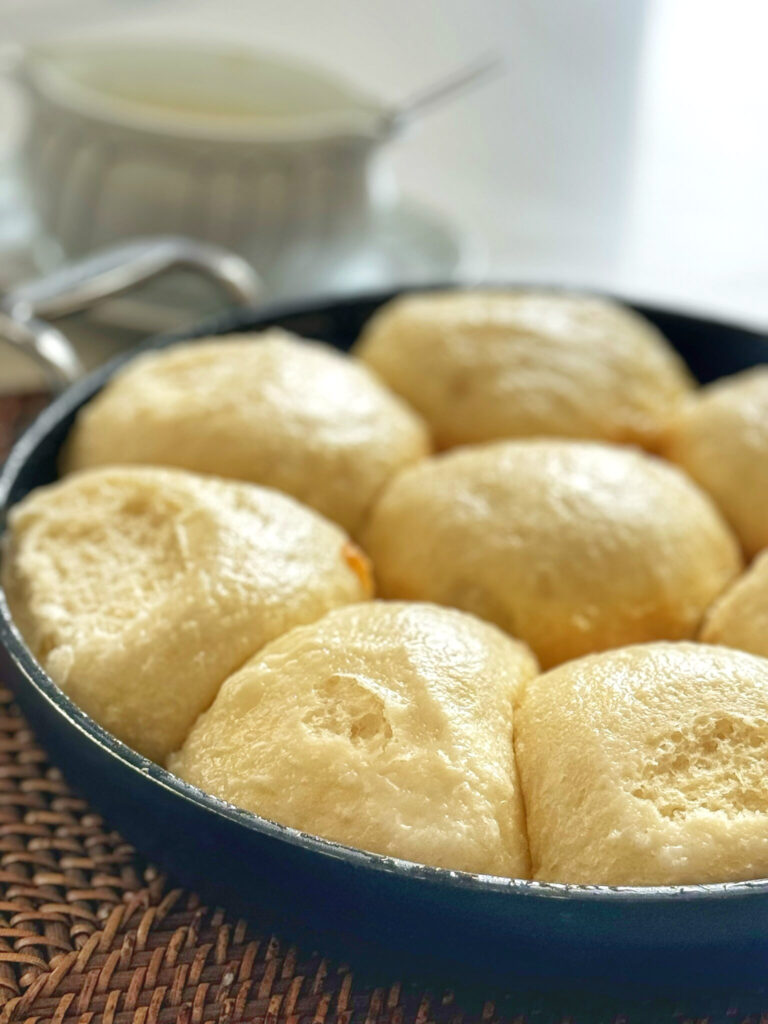
Here we are! Dampfnudeln. The tops are a bit torn, but it doesn’t matter. The vanilla sauce will hide any imperfections. These should be served immediately, and a non-stick pan helps to remove the dampfnudeln and that delicious caramelized bottom.
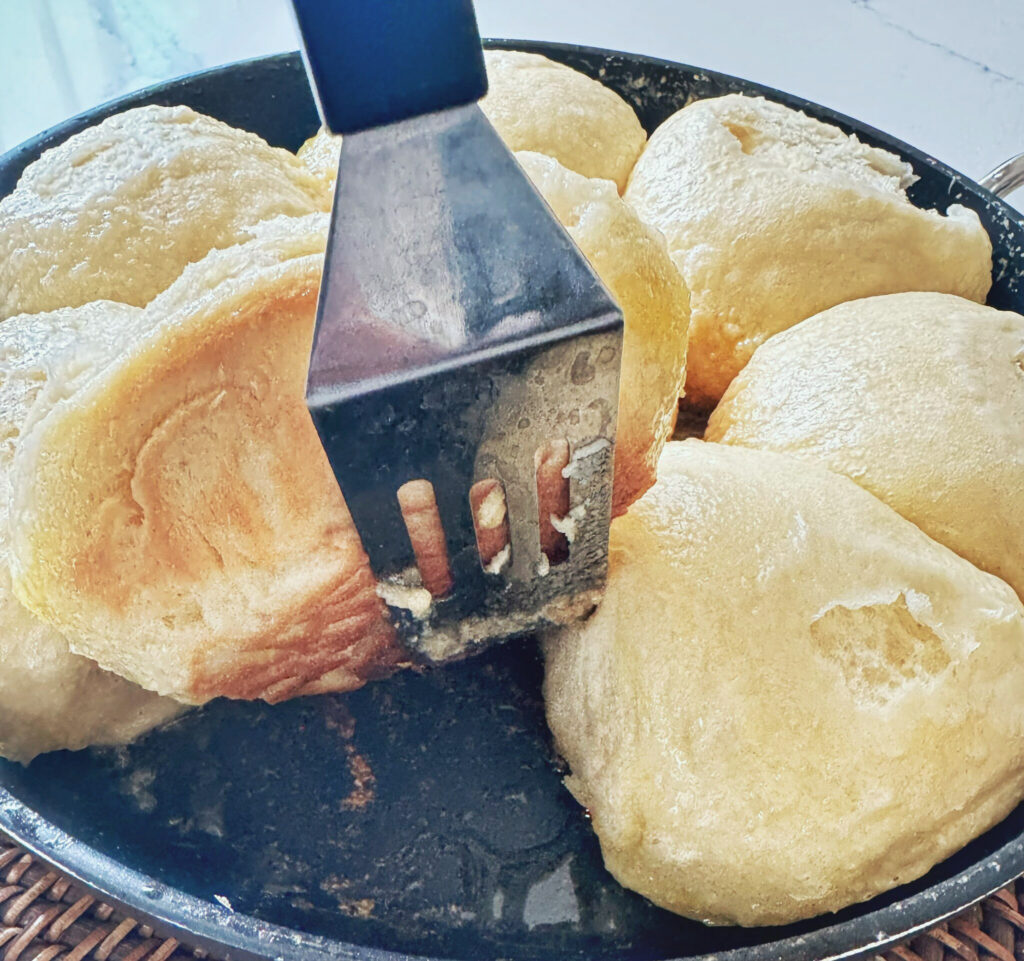
I admit, I was so relieve that I didn’t burn them and that the dough was thoroughly cooked.
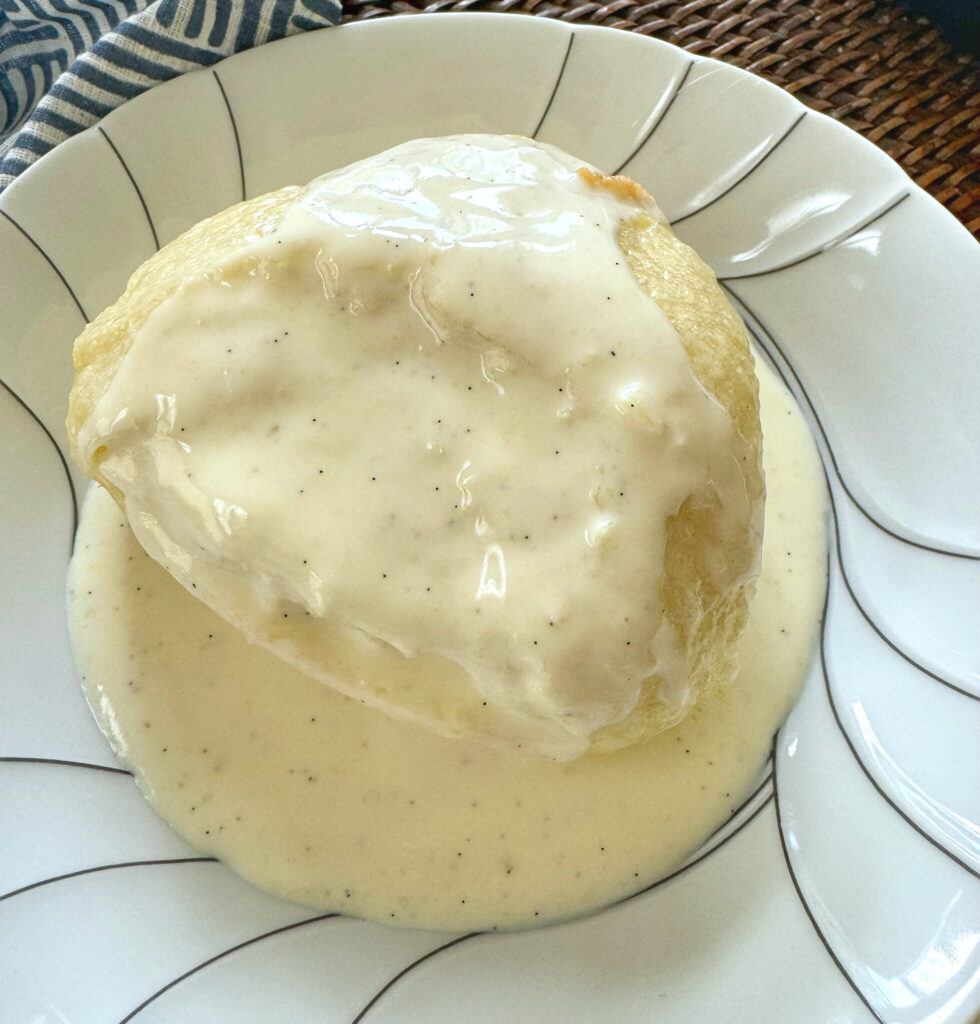
Time to eat. My brother was anxious to try these, as was I. First, a pool of vanilla sauce. Then, a little more on top. Powdered sugar could be added, but that’s not how we had them as children. Let’s stick to the way our Aunt served them.
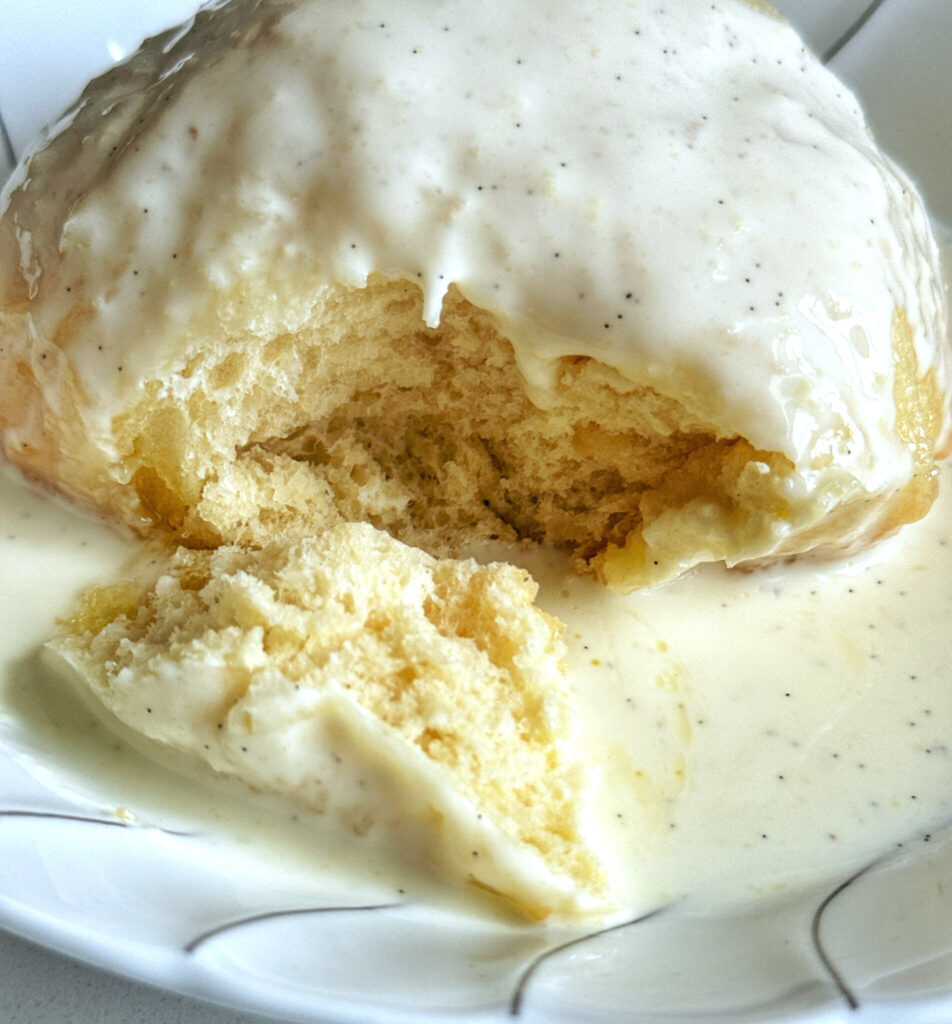
TASTING NOTES: Oh my. Heaven! My brother and I agree that these tasted just like our childhood memories. The dampfnudeln are slightly sweet, fluffy and tender. The vanilla sauce is light and not too sweet. There was silence at the table, as the rest of my family enjoyed this dish. Is this a dinner? A dessert? I’d say it’s a hybrid of both. Ideally, this makes a perfect lunch/brunch meal. Unless one chooses to eat these the savory way. As for us, we’ll stick to this version. Oh, yes. This recipe will be perfect for Christmas morning. In case you’re wondering– do these reheat? Yes! 20-30 seconds in our microwave with the vanilla sauce, they were still tender and so delicious!
Are you familiar with Dampfnudeln? If so, how were they served to you? Please share in a comment.
Dampfnudeln (Steamed Sweet Dumplings)
Equipment
- 1 12" Deep Non-Stick Pan with Lid with high sides and a glass lid
- 1 Mesh Strainer for the vanilla sauce
- Dough Proofing Box Makes proofing dough so much easier. I love mine!
- Food Scale Best way to measure and shape dough
Ingredients
For the Dampfnudeln:
- 4 cups all-purpose flour
- 2 teaspoons instant yeast or active dry yeast
- 1/4 cup sugar
- 1/2 teaspoon salt
- 1 cup milk at room temperature
- 4 tablespoons unsalted butter melted and slightly cooled; European butter is recommended
- 1 large egg room temperature
For the steaming liquid:
- 1/2 cup milk
- 1/2 cup sugar
- 4 tablespoons unsalted butter
For the Vanilla Sauce:
- 1 3/4 cup whole milk
- 1/2 cup heavy cream
- 1 vanilla bean scraped OR 1 tablespoon quality pure vanilla extract
- 1/4 cup granulated sugar
- 2 large egg yolks
- 1/8 teaspoon salt
- 3 teaspoons cornstarch
Instructions
Make the Dampfnudeln dough:
- In the bowl of a stand mixer, add the flour, sugar, yeast*, salt, egg, melted butter and milk. *If using active dry yeast, it doesn't need to be dissolved first.)
- Using a dough hook, mix the dough until it comes together, only add more milk if needed. Knead for about 4 minutes. The dough may seem very soft and pliable, and that's okay. Once the dough doubled, and I shaped it, it was like working with Play Dough!
- Lightly grease a bowl with some oil or spray, and shape the dough into a ball. Place the dough in a draft-free warm place. NOTE: I use a proofing drawer. A preheated oven to WARM for one minute, then turned off also creates a warm environment for proofing dough. Cover the bowl with a clean plate, or plastic and allow the dough to rise for between 60-90 minutes, until it has doubled in size.
- In the meantime, make the Vanilla Sauce
Vanilla Sauce (this can be made up to 3 days ahead):
- In a bowl, whisk together the egg yolks, sugar, cornstarch and salt.
- In a medium saucepan bring the milk, heavy cream, and vanilla to a boil, stirring constantly to prevent it from scorching. Temper the egg and cornstarch mixture, by whisking in 1/2 cup of the hot milk . Pour the egg mixture into the saucepan, constantly whisking it into the hot milk to prevent clumping. Heat the mixture over medium heat until thickened. Do not bring the sauce to a boil!
- Strain the vanilla sauce through a fine mesh sieve. This should make about 2 ½ cups of vanilla sauce
- The sauce can be served immediately, or cover and store it in the refrigerator. The sauce can keep for up to 3 days. Can be served cold or reheated to serve warm.
- Makes about 2 1/2 cups of Vanilla Sauce
Shape the Dampfnudeln:
- Once the dough has doubled, punch the dough down. Place it on a lightly oiled (my preference) or floured work space and cut into roughly 8 pieces. My pieces weighted about 11 oz each. My kitchen scale is a tool that I always use when baking.
- Shape the dough into individual balls, squeezing the seams together at the bottom and then lay the balls on the lightly floured work surface, seam side down, and spread apart to give them room to expand.
- To shape the dough, press the dough into a rough round shape. Gently pull together four corners and gently twist, like a purse. Place the dough, seam side down, and gently roll with cupped hands until they are round. (I actually find this to be very therapeutic, as the dough is a dream to work with.)
- Place the dough balls on a parchment lined tray, and cover with a clean kitchen towel. Let them rise in a warm place for another 30-60 minutes or until puffy.
- Place the milk, butter and sugar in a large 12-inch non-stick pan with high sides. Non-stick is essential, as the milk will evaporate and the sugar will develop into a beautiful caramelized crust.
- Heat the milk at a low simmer, stirring until the butter and sugar is melted.
- Place the Dampfnudeln in the pan. Leave enough room for each dumpling to expand. IMPORTANT NOTE: I had a 12-inch non-stick pan, with high sides and a tight-fitting glass lid. I was worried that my 11-oz dumplings were very crowded in the pan. I decided to just go ahead and steam them as is. The dumplings rose very high, and some stuck to my glass lid. I made a mental note to add non-stick spray to the glass lid in the future. Despite these challenges, the dumplings turned out perfectly fine.Return the milk to a very low simmer. are cooked not by boiling The Dampfnudeln are steamed, not boiled, so this is very important.Ideally, you want to use a glass lid so you can watch their progress. Place the lid on the pan. Let the dumplings cook for about 30 minutes.
- Under no circumstances, do NOT open the lid while the dumplings are cooking. The release of the steam can cause the dumplings to fail, by collapsing. That's why a glass lid is really helpful, so you can see how they are doing..
- After about 30 minutes the dumplings will have risen beautifully and will be cooked through. Do not expect the dumplings to be brown, as in baking rolls. They will remain a white-ish color. Their interiors will be soft and fluffy.
- The final step is to remove the lid, turn up the heat just a little bit, and cook the dumplings for just a few minutes more. Check that the milk has evaporated, but the butter and sugar might be bubbling. At this point, it's okay to gently lift a dumpling with a small spatula to see if it's browned. If they're browned, remove from the heat. Just be careful that you don't burn them!
- Serve the Dampfnudeln drizzled with some browned butter (optional) and homemade German vanilla sauce.
Notes
Nutrition





My question is you said if you use act yeast it doesnt need to be dissolved first. Dont you mean instant? Clarify please.
Neither instant yeast nor active yeast needs to be dissolved for this recipe.