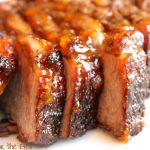
This Onion Braised Beef Brisket yields melt-in-your-mouth tender beef, smothered in an onion gravy that is loaded with delicious flavor. The brisket is slow braised the day before serving, that allows the flavors to build overnight. The next day, the brisket is gently warmed in the oven, while the onion gravy is heated separately. Making this one day ahead made for less work in the kitchen, on the day of our holiday dinner. Our guests loved this recipe as much as we did!
My husband loves brisket and I enjoy preparing it for him (and me). This particular recipe for Onion-Braised Brisket turned out with tender beef and a sauce/gravy that was out-of-this-world spectacular!
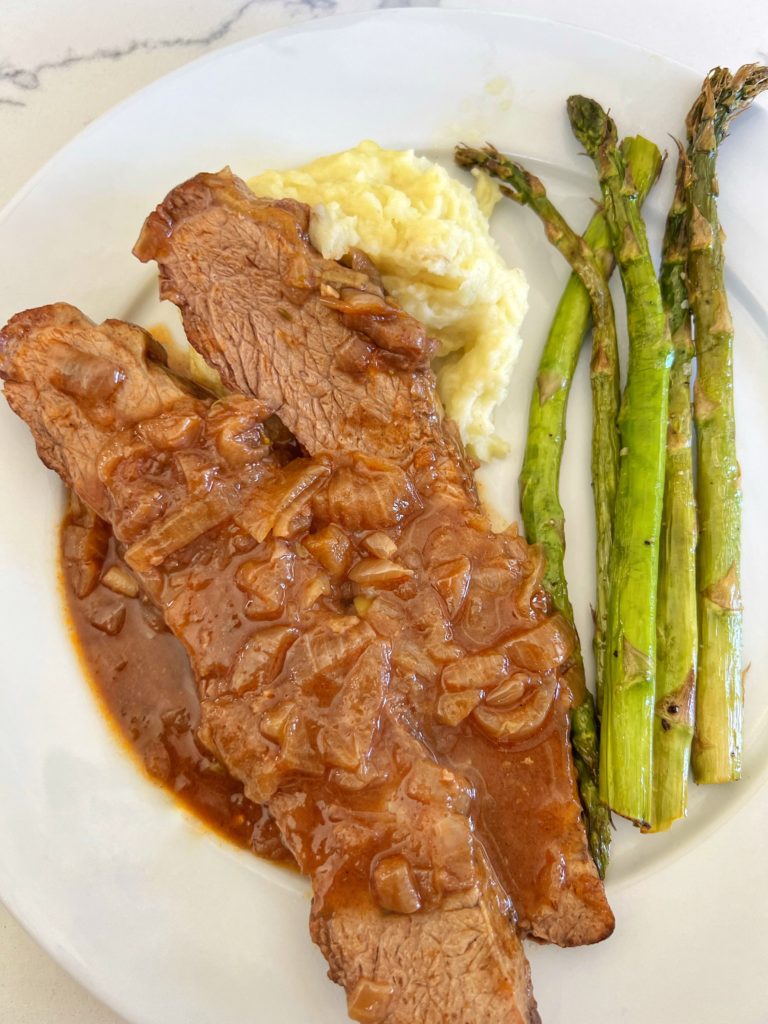
What I most appreciated about this recipe is that I could slow braise this brisket the day before our holiday dinner gathering. The next day, all I had to do was slice and warm up the brisket, in the oven, and heat the onions and sauce. Voila!
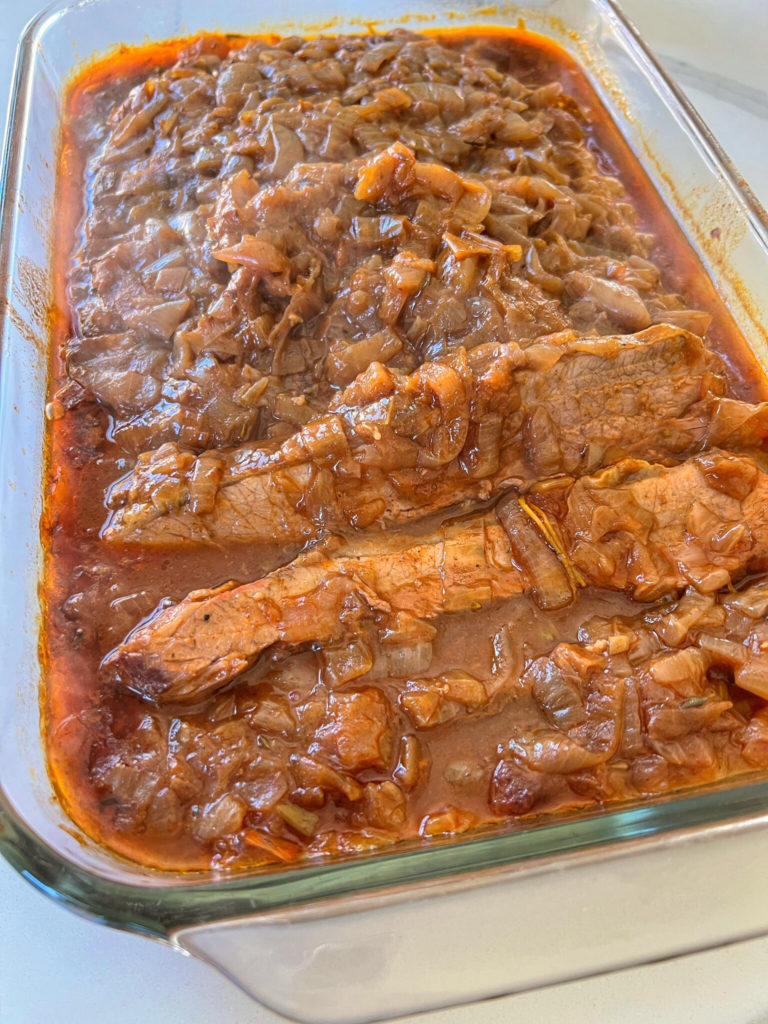
The key to tender brisket is that it has to be cooked low and slow for several hours. Brisket contains a lot of connective tissue (collagen), which can make it tough. If the meat is cooked quickly you’ll get tough, dry meat. Cook a brisket slowly, with some liquid, and the collagen turns into gelatin. I was so pleased with how tender this cut of beef turned out. It takes about an hour (or so) for the prep work. Once that’s done, let the oven do the rest of the work!
I have a small market that sells quality meats, and the butchers are friendly and helpful. I ordered a five pound brisket, trimmed of excess fat. With today’s prices, I gasped a little, as it cost over $60.00! However, it was for a holiday dinner, so it was worth the splurge.
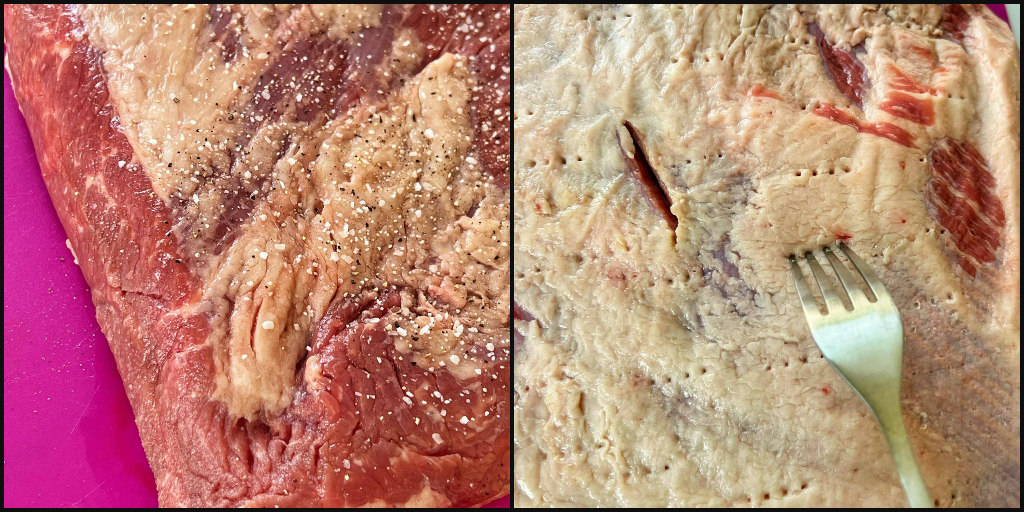
Season with salt and pepper, and poke both sides with a fork. The next step is to sear the brisket. A 12″ cast-iron skillet or large Dutch oven is what you’ll need.
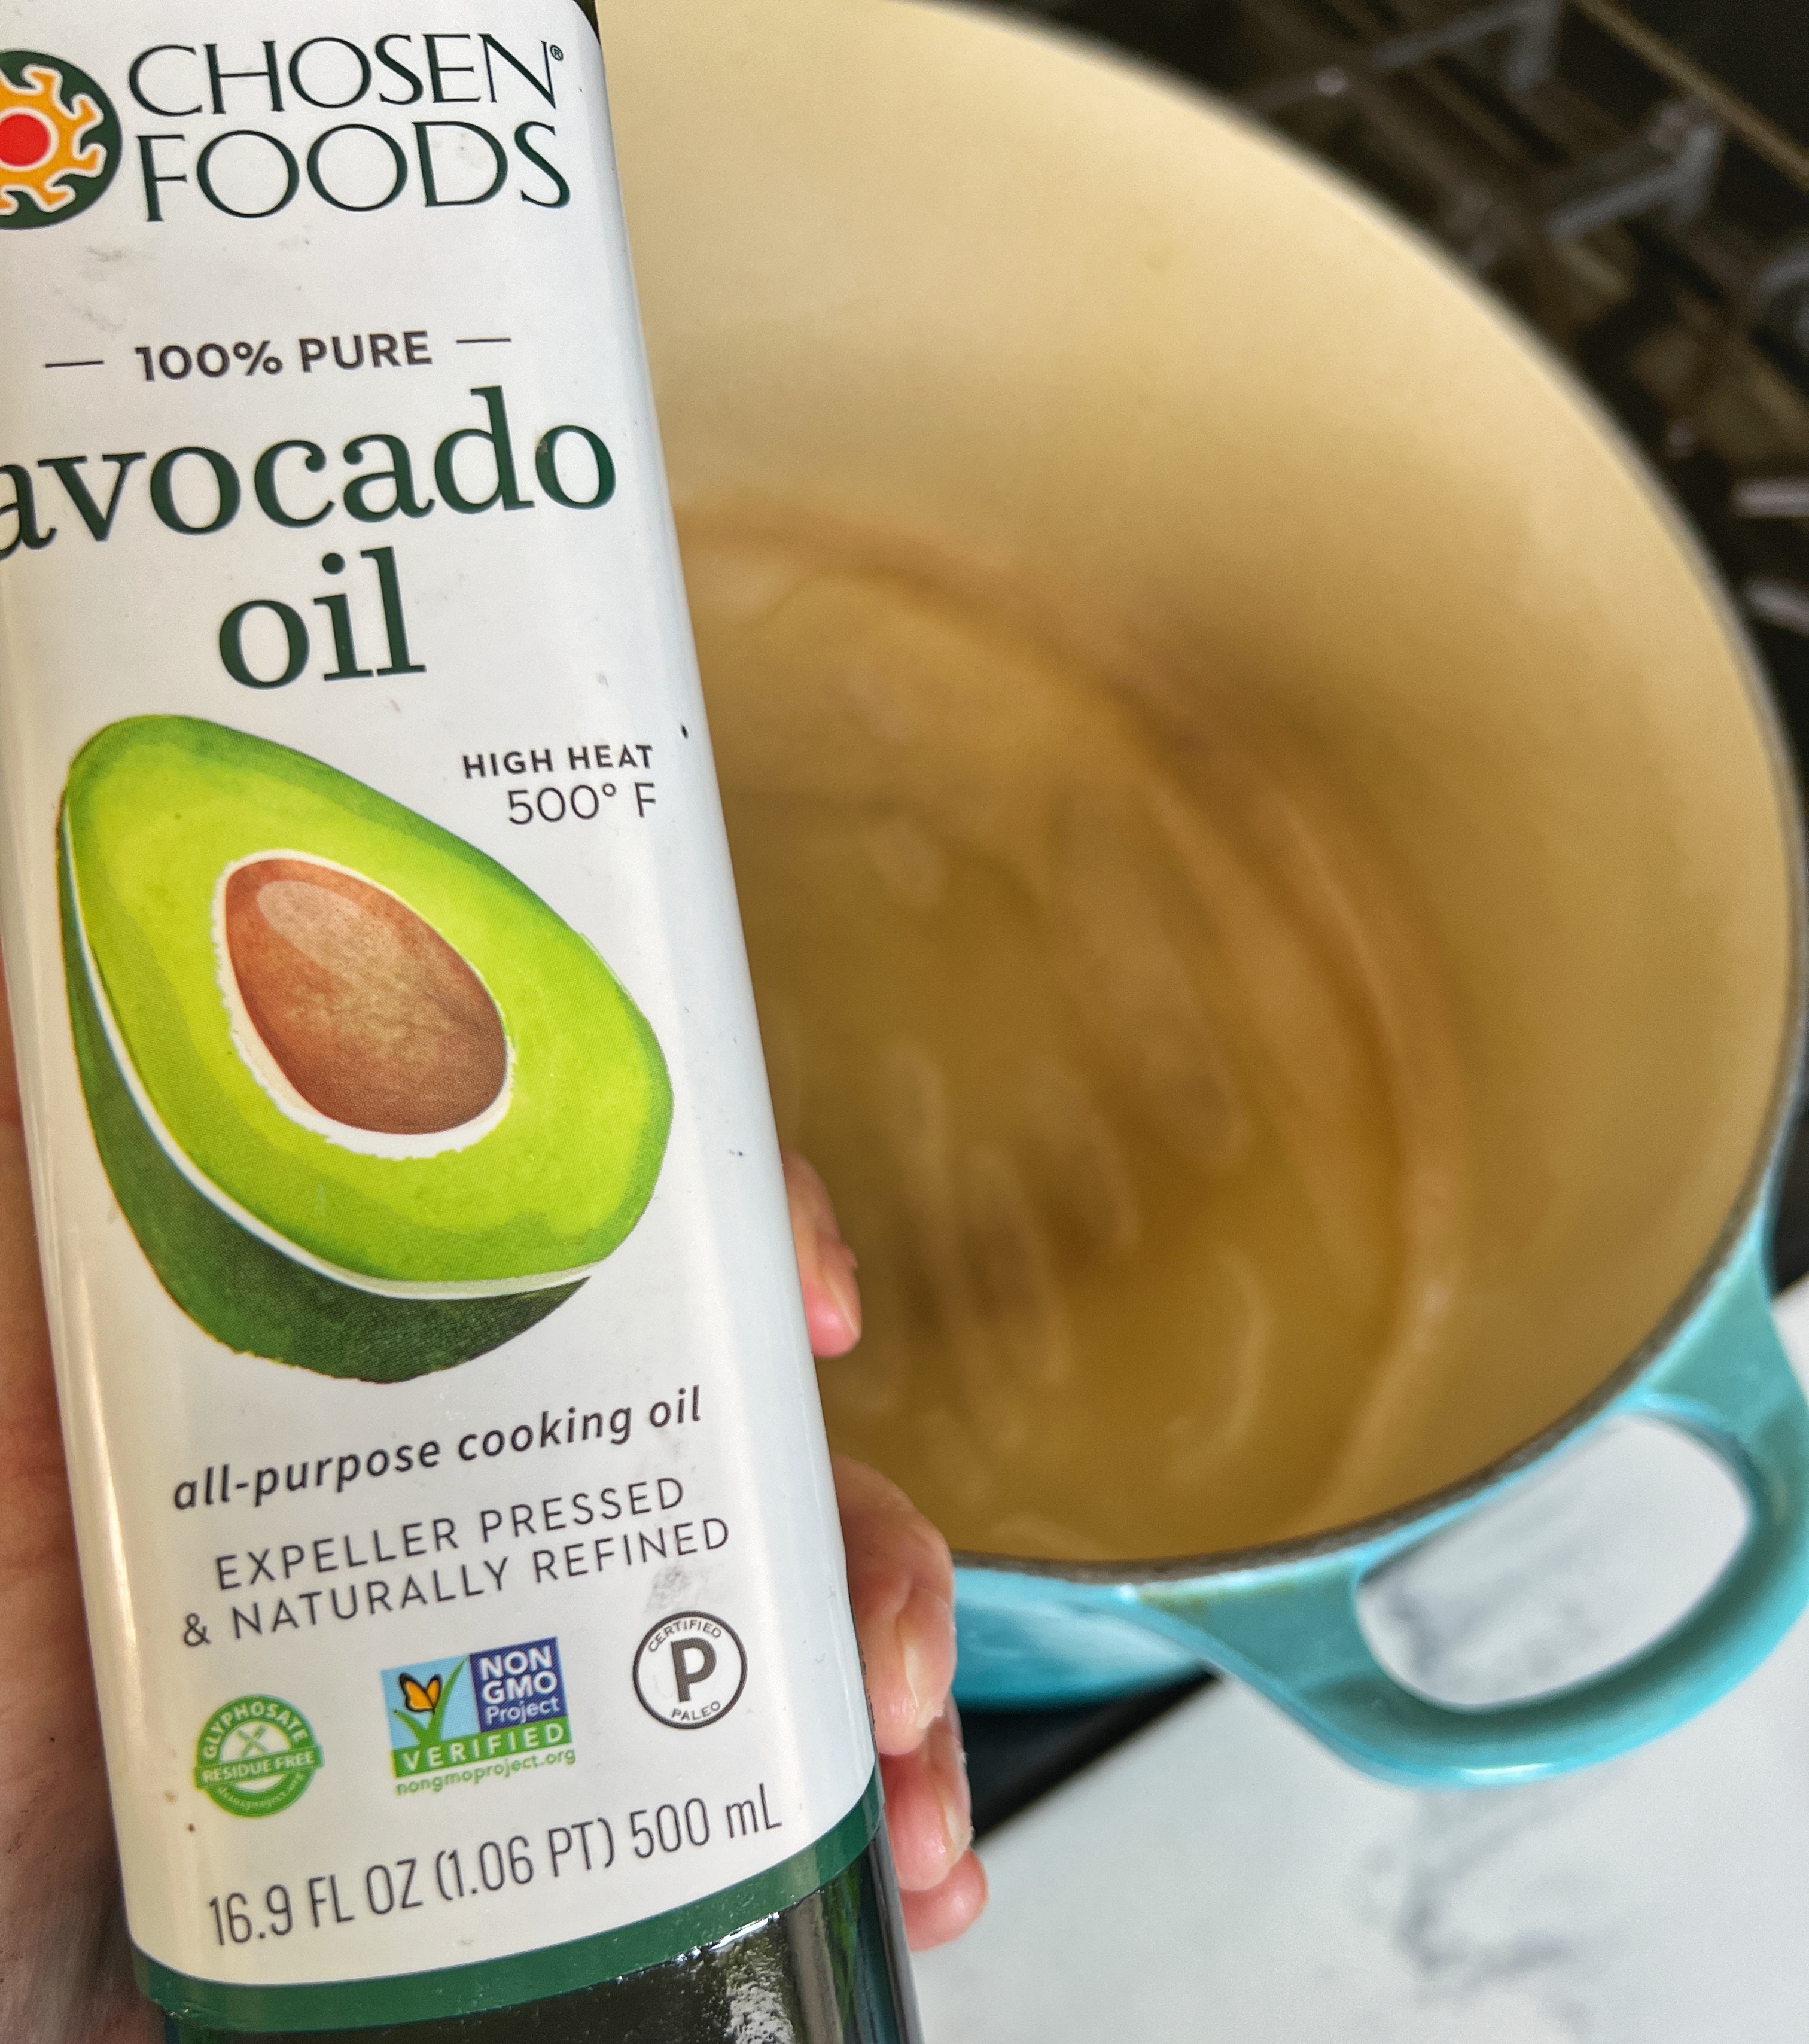
Avocado oil has become my personal choice for searing meats, because it has a high smoke point. The pot is super hot, and the brisket has been patted dry and seasoned. The fan is turned on, and the kitchen window is open. Here we go!
I realized that I couldn’t really weigh the brisket with another Dutch oven on top, since I chose the oval shape. A cast-iron bacon press had to do, and it did! There’s a beautiful sear. Carefully flip the brisket over.
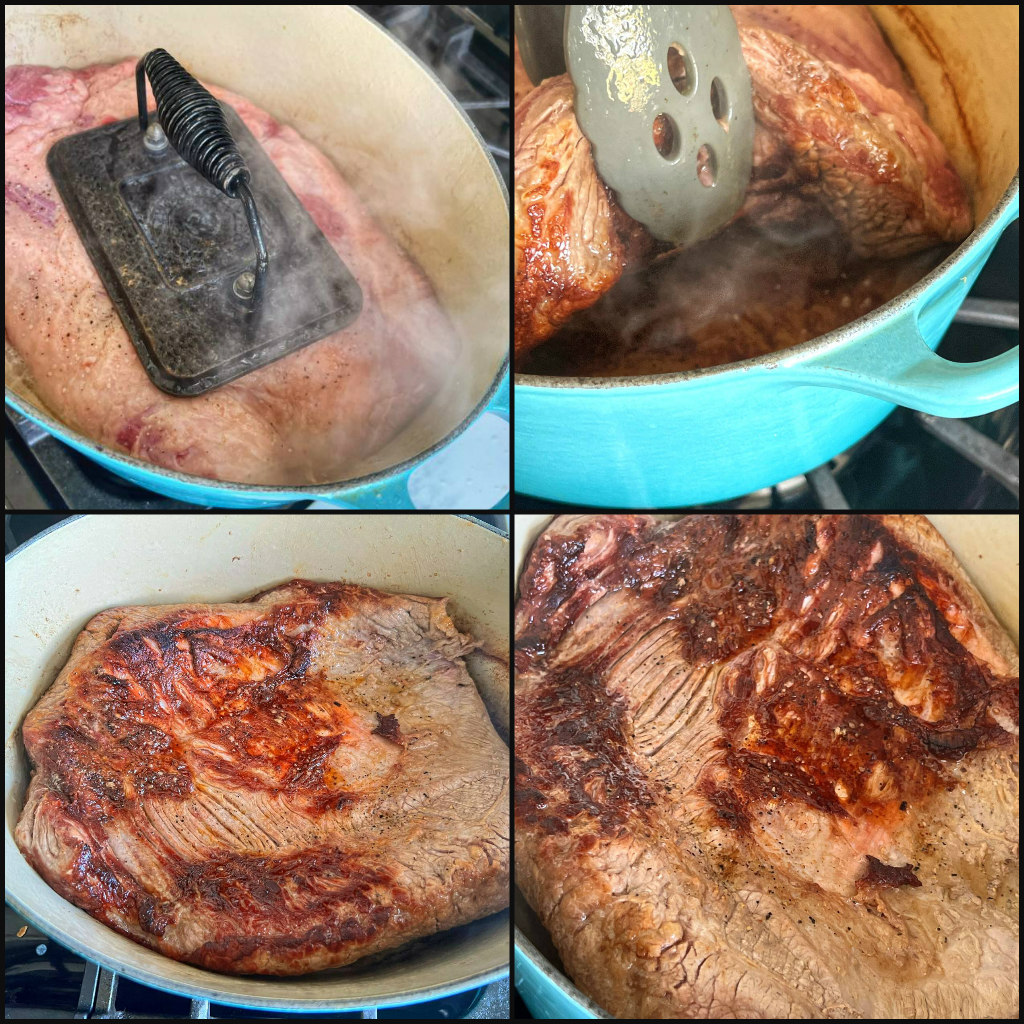
I’d say that both sides have a nice sear. Why sear? Flavor! The dark “fond” in that pan, will give great flavor to the onions that are going to fill up the pot.
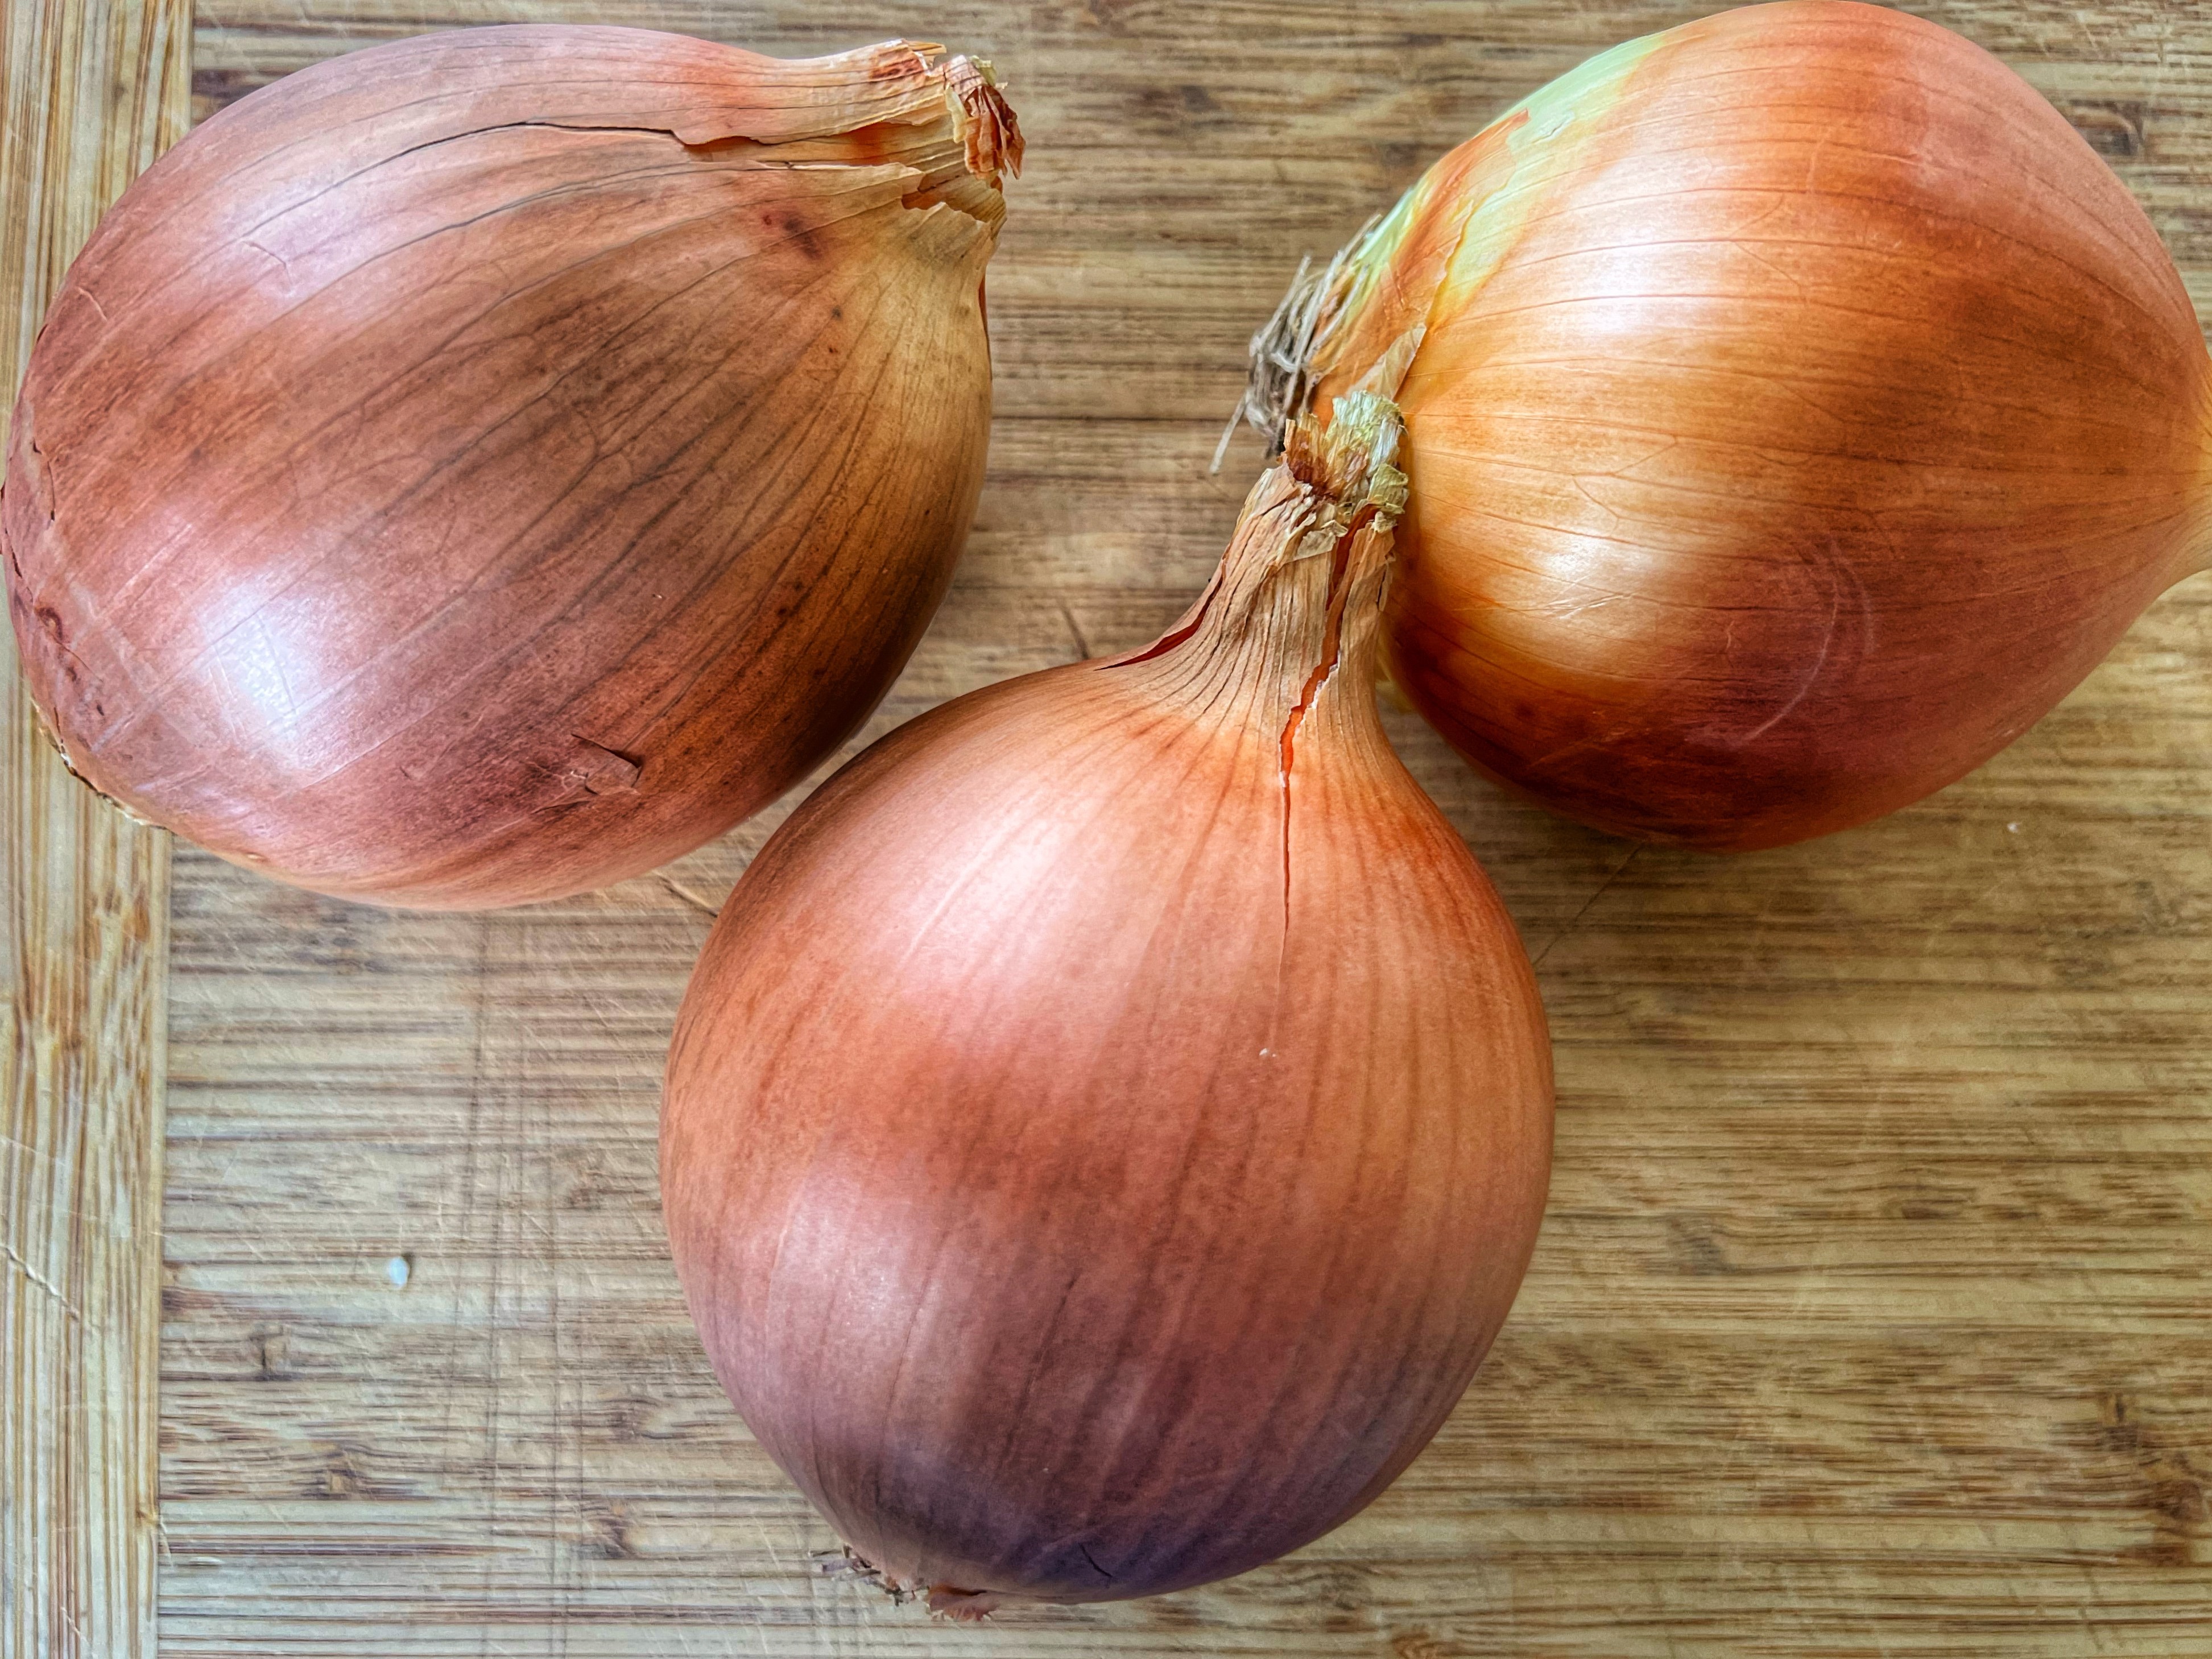
Three LARGE onions did the trick. Slice them about 1/2″ thick.
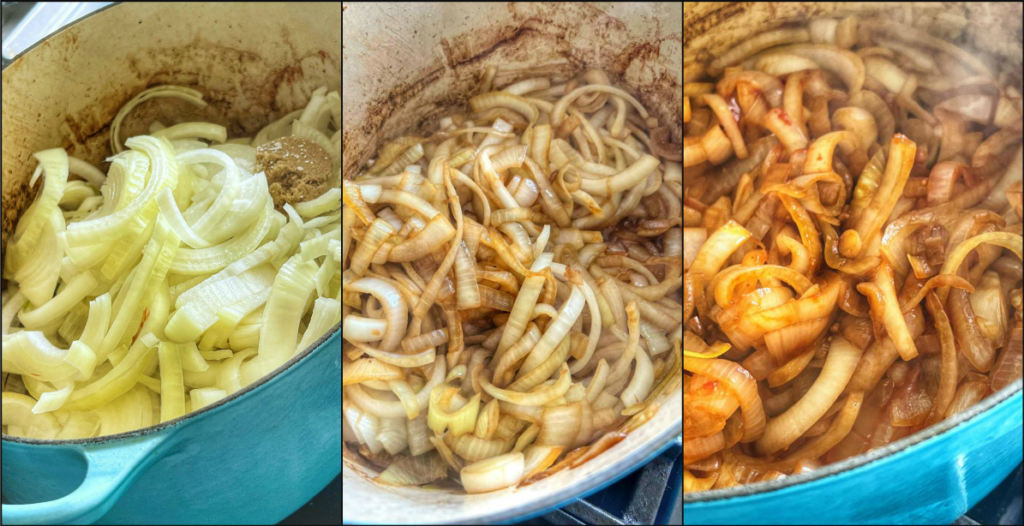
Leaving a little bit of fat in the Dutch oven, add the onion, brown sugar and salt. Add garlic and tomato paste, until the onions darken. Cook until medium golden–about 10-12 minutes. For that glorious sauce, add paprika and cayenne, then chicken broth and red wine. Add flour to thicken the sauce.
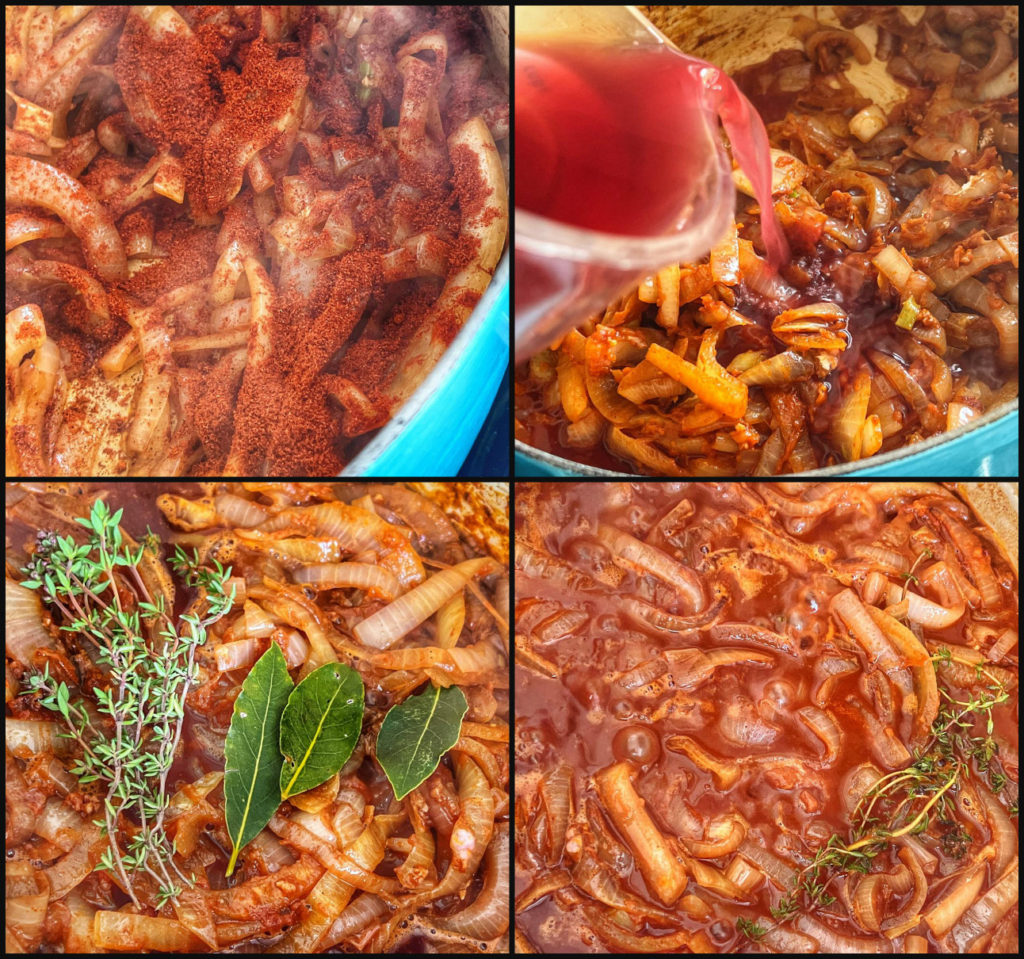
Add fresh thyme and bay leaves, scraping the bottom of the pan. Cook until the sauce thickens (about 5 minutes).
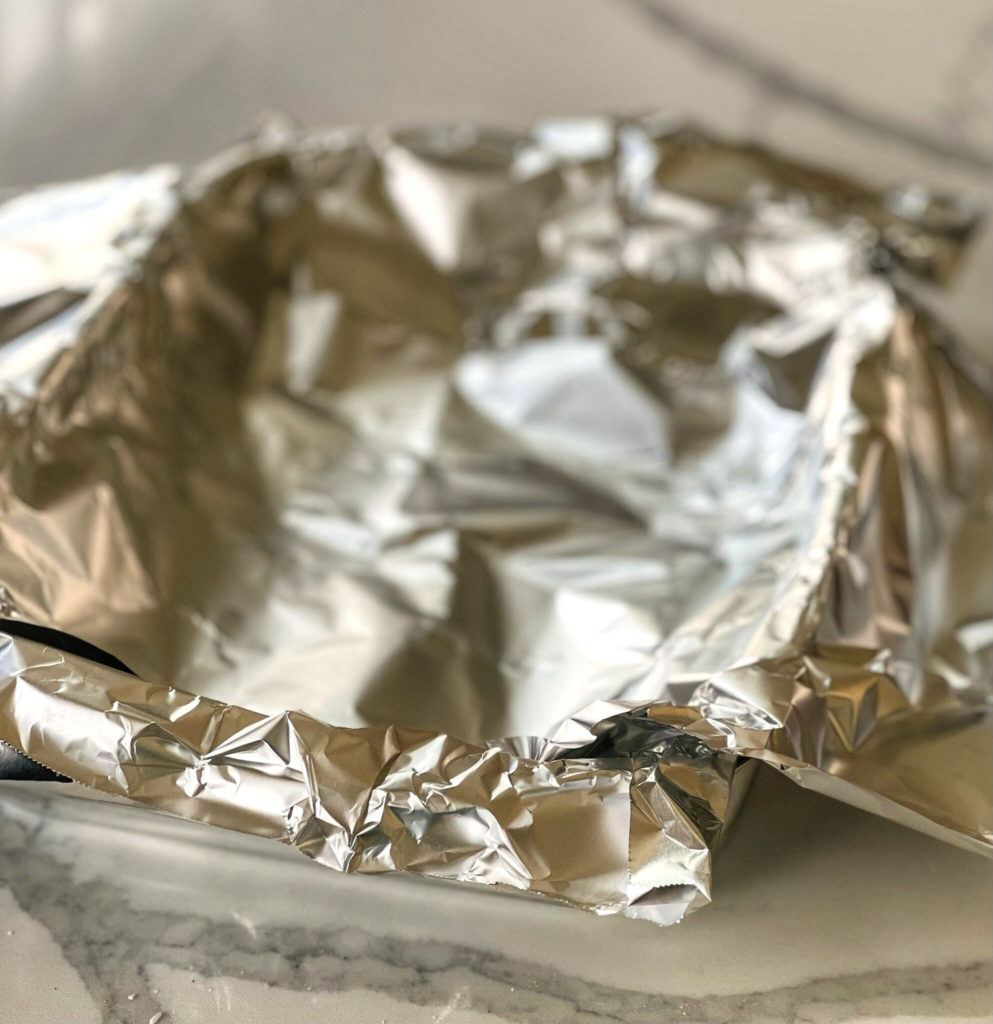
A 9×13 baking dish is lined with heavy aluminum foil with long overlaps.
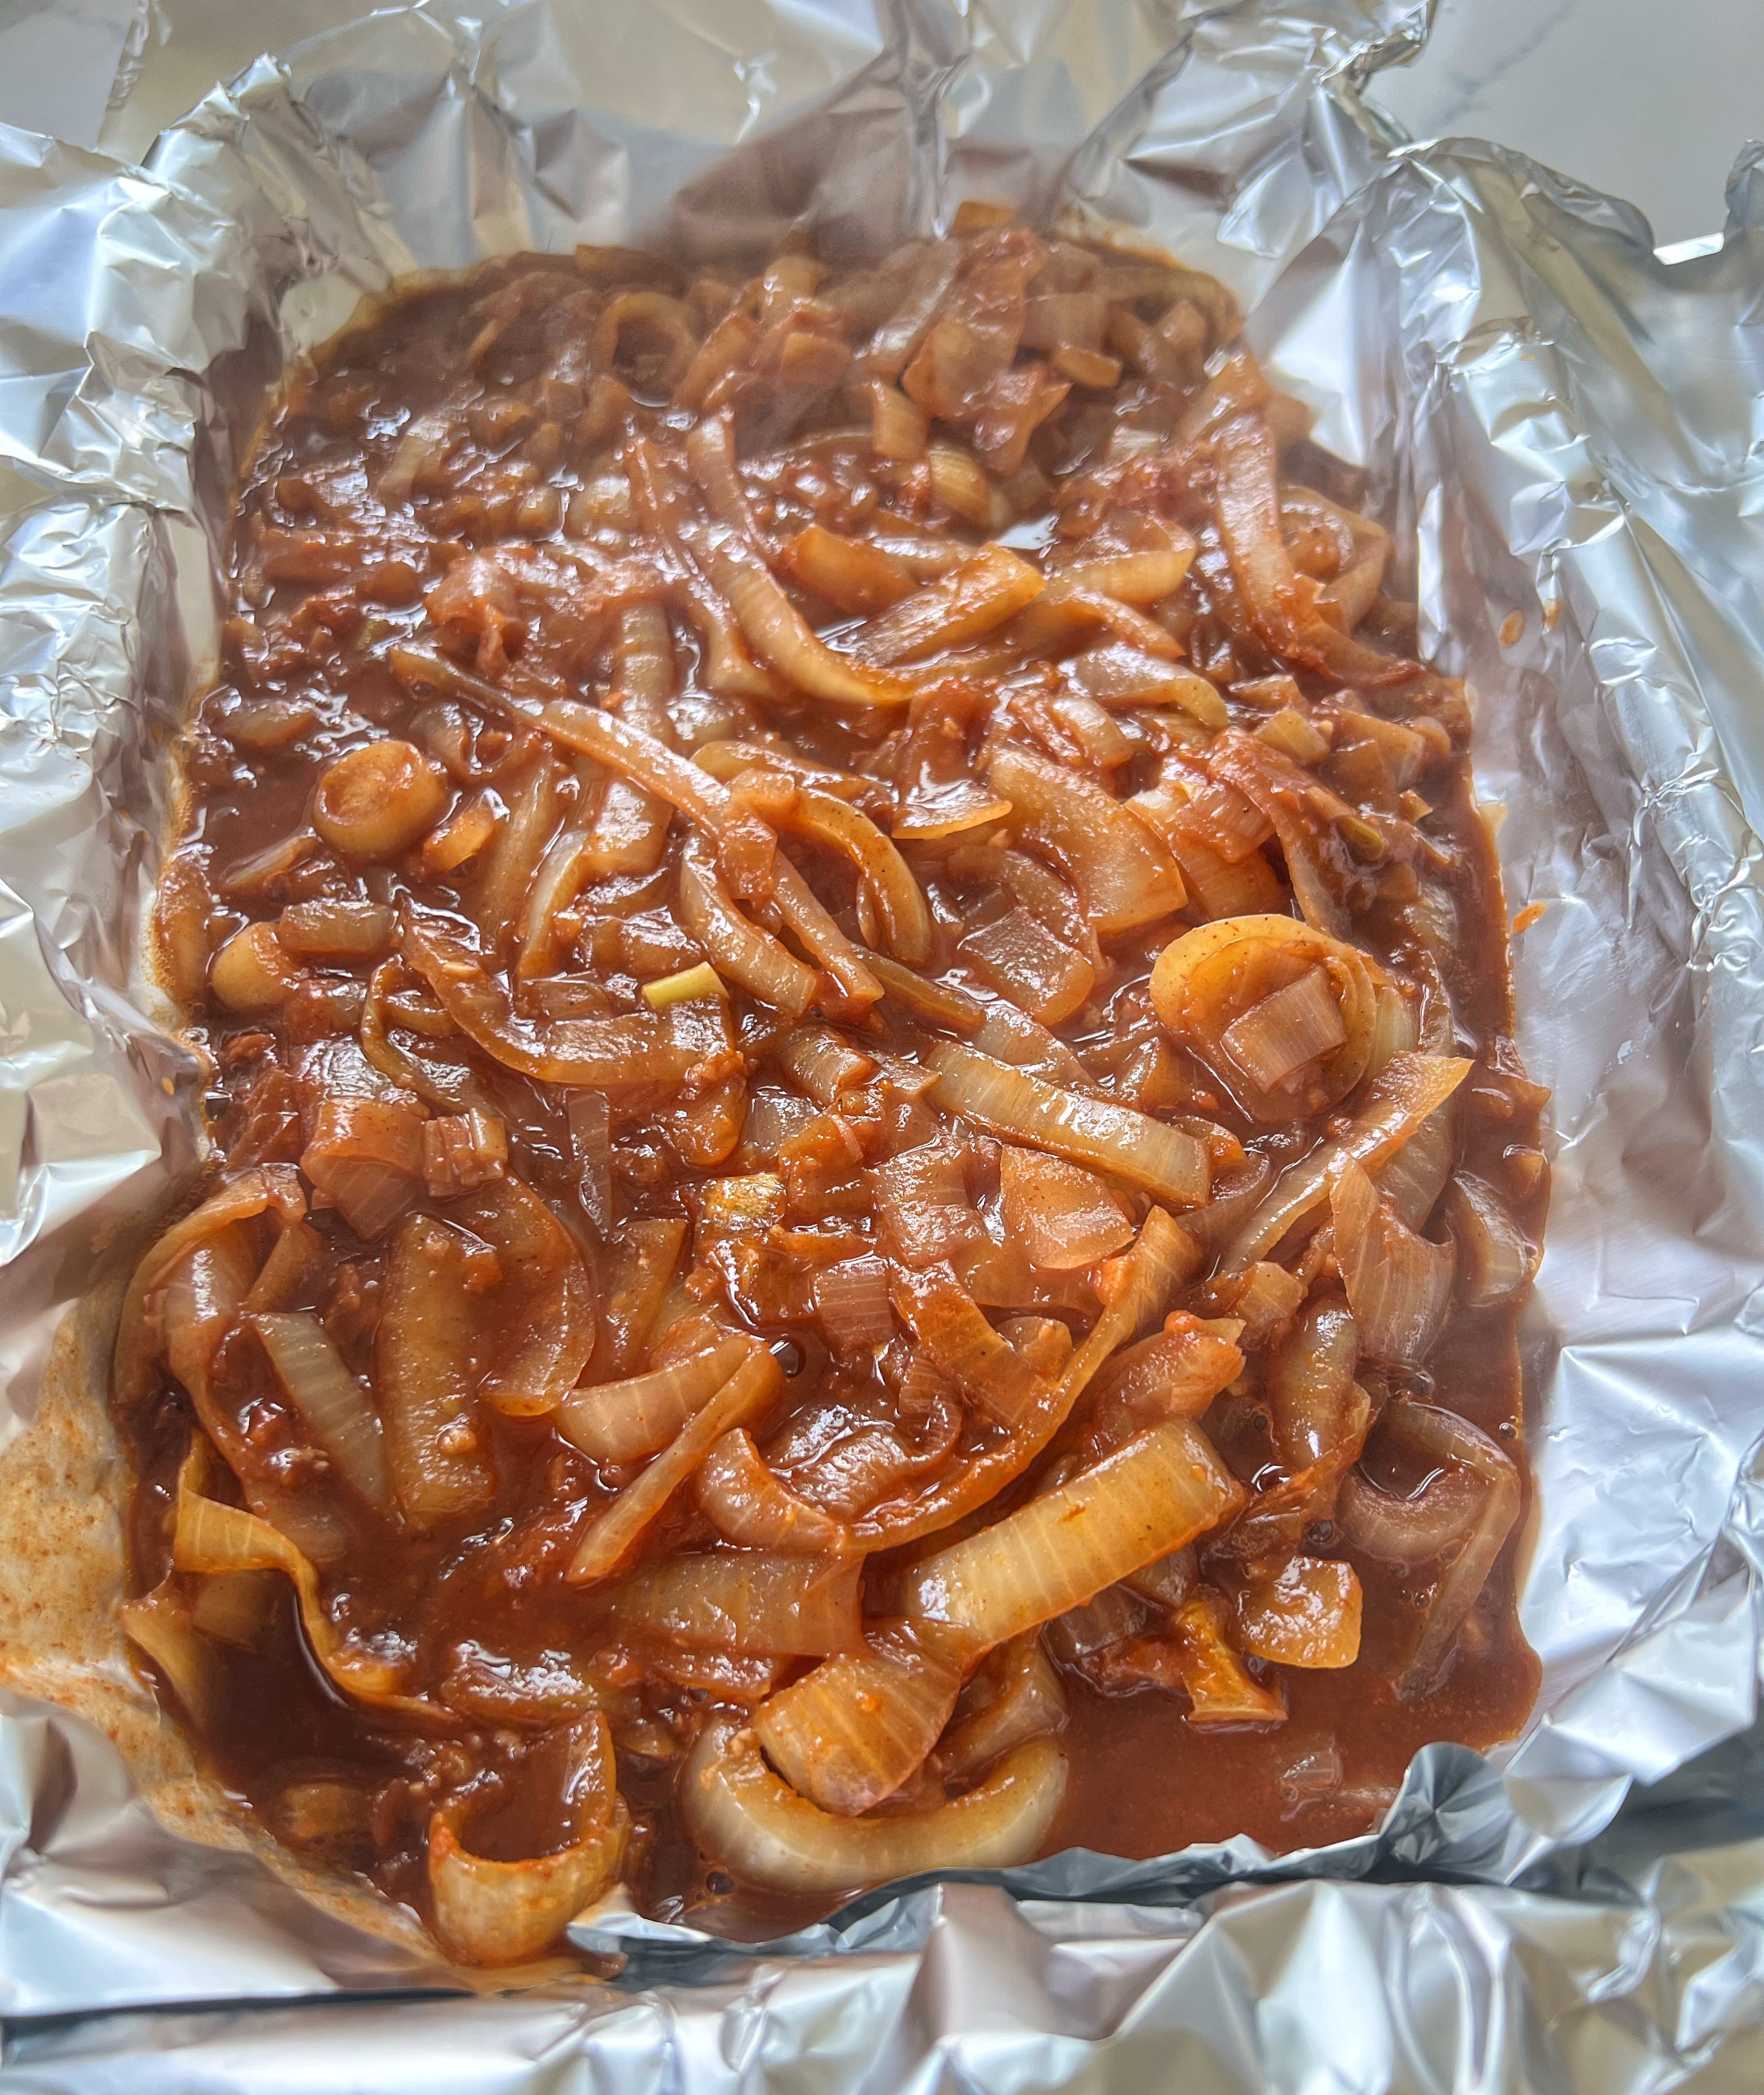
Carefully pour the onion mixture on the bottom of the foil lined pan, and nestle the brisket on top. Fold over the edges of the foil to enclose the brisket– but don’t crimp it closed! Why? So you can check for doneness!
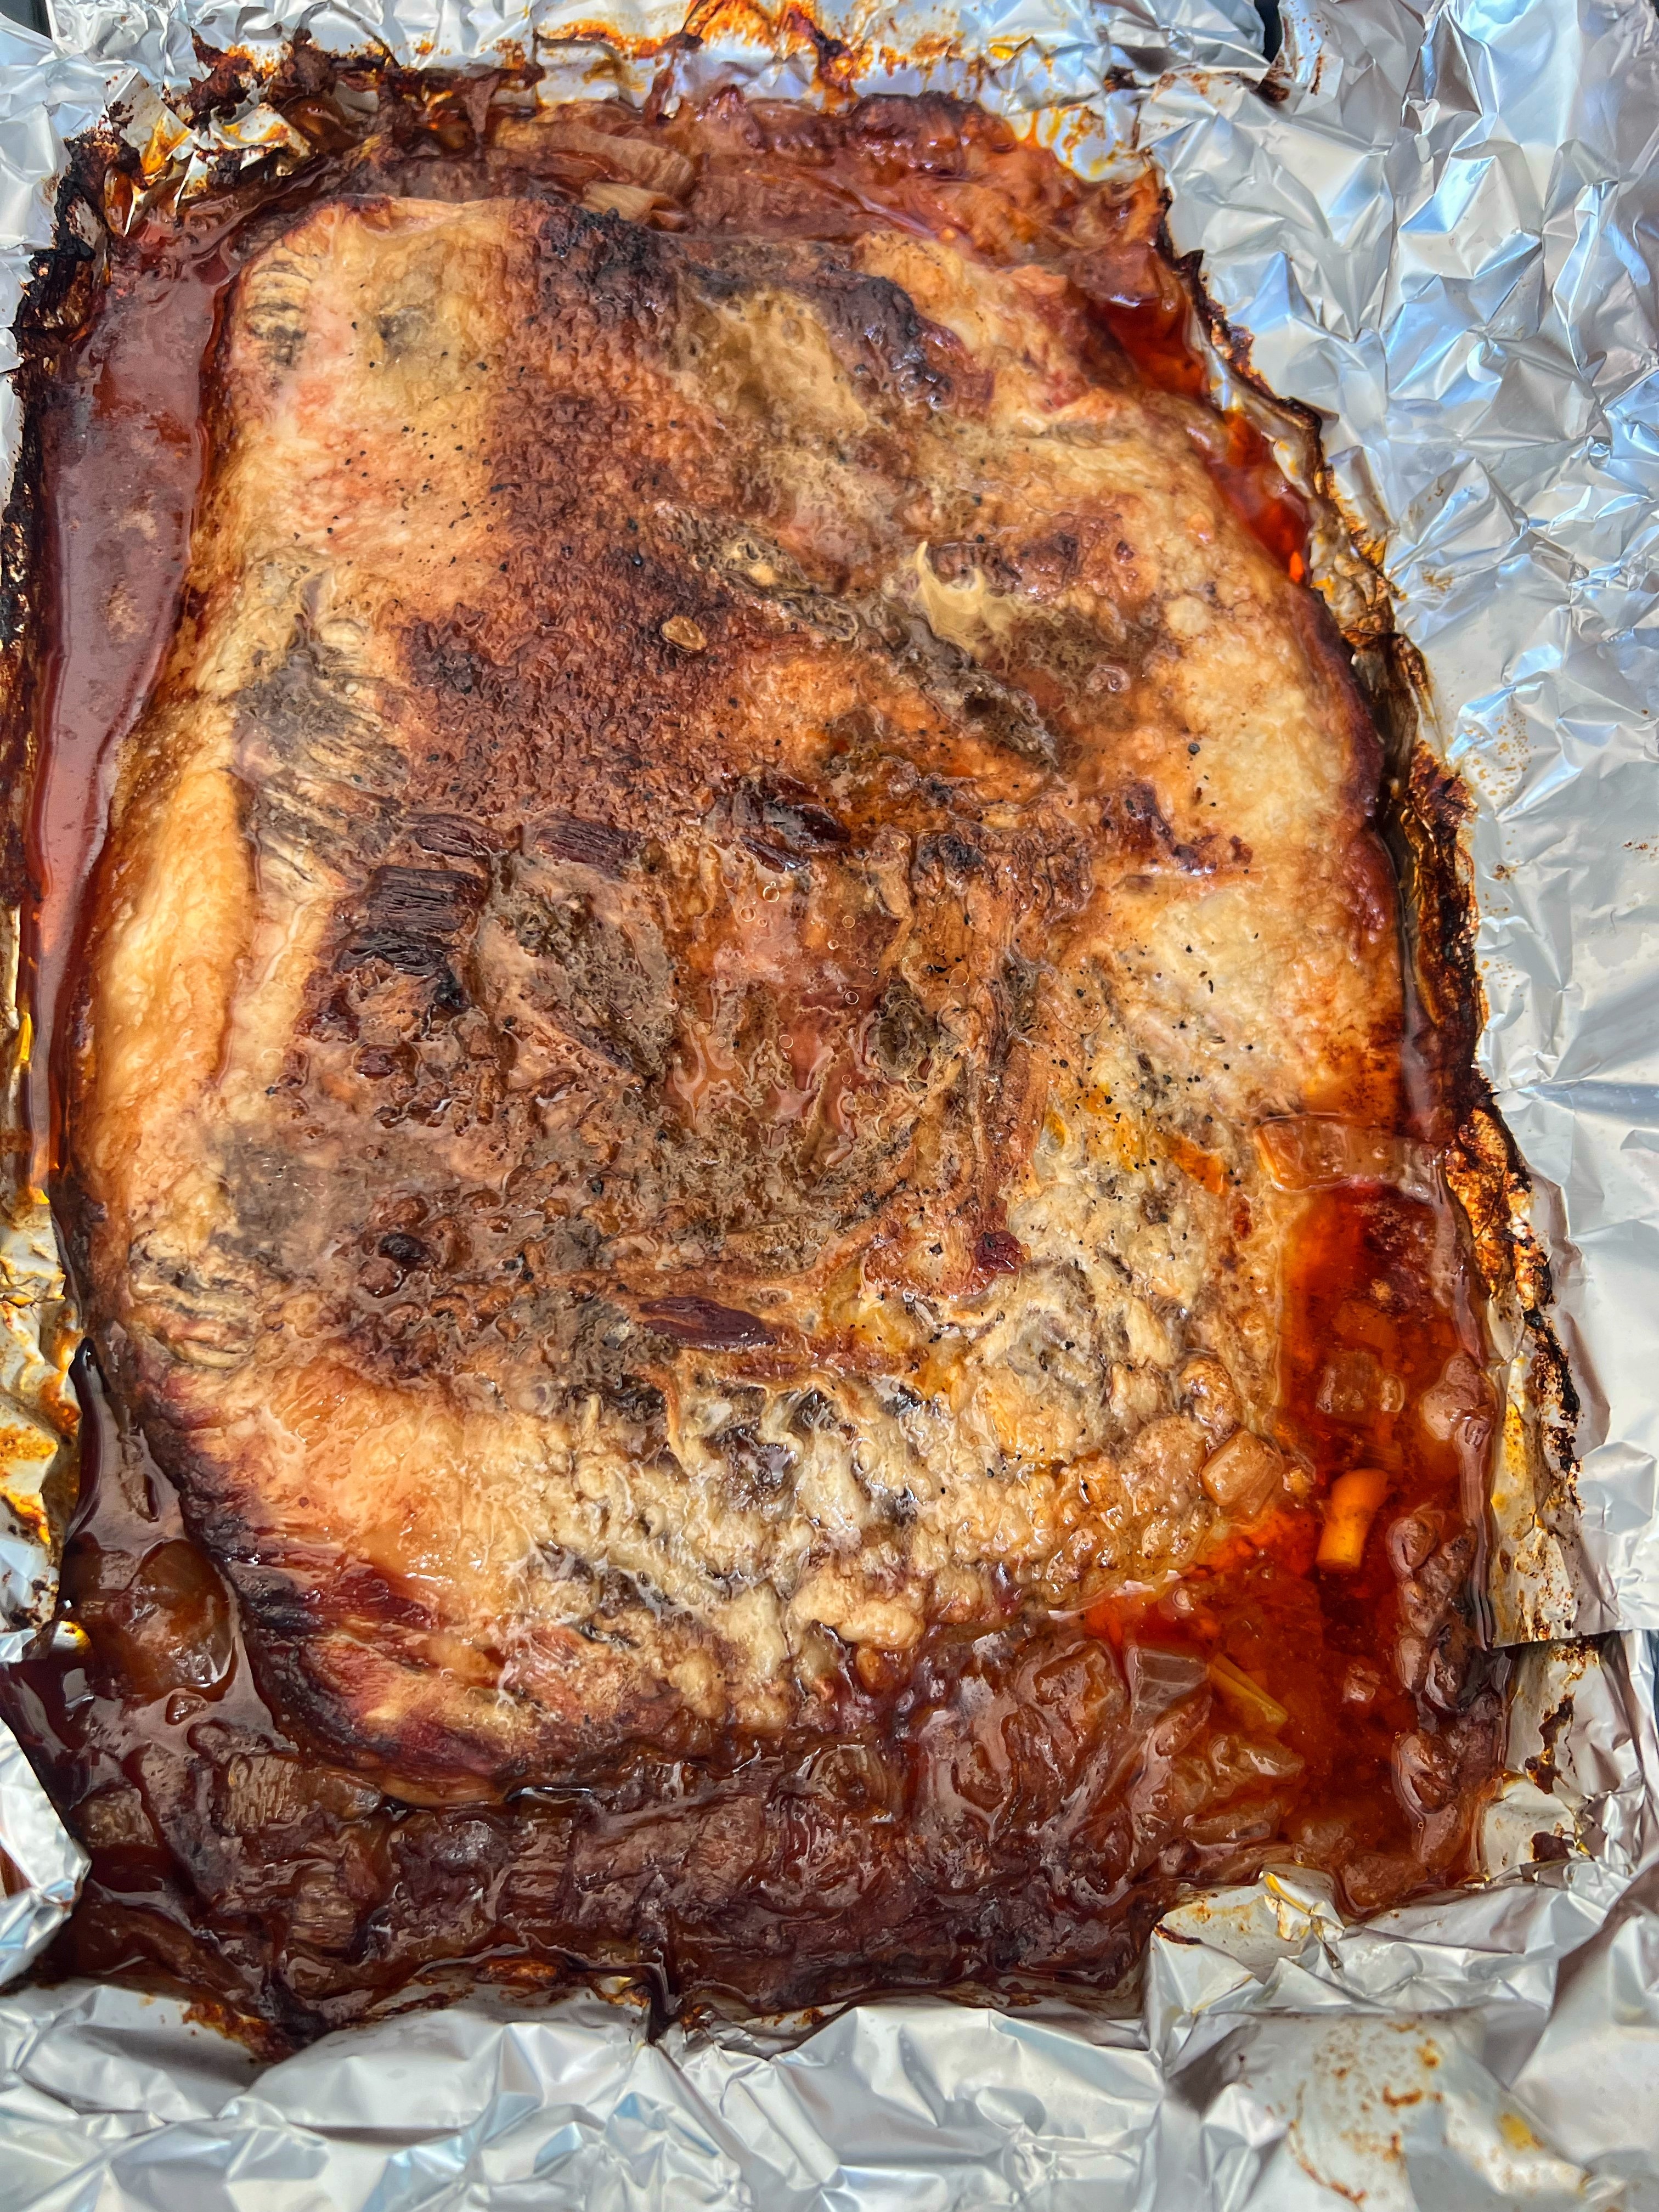
Pop this into the oven for 3-1/2 to 4 hours. NOTE: I wish I had placed the dish over a baking sheet, as the liquid oozed out and made a mess of my oven! Duly noted for next time. Allow the brisket to come to room temperature for at least 1/2 hour.
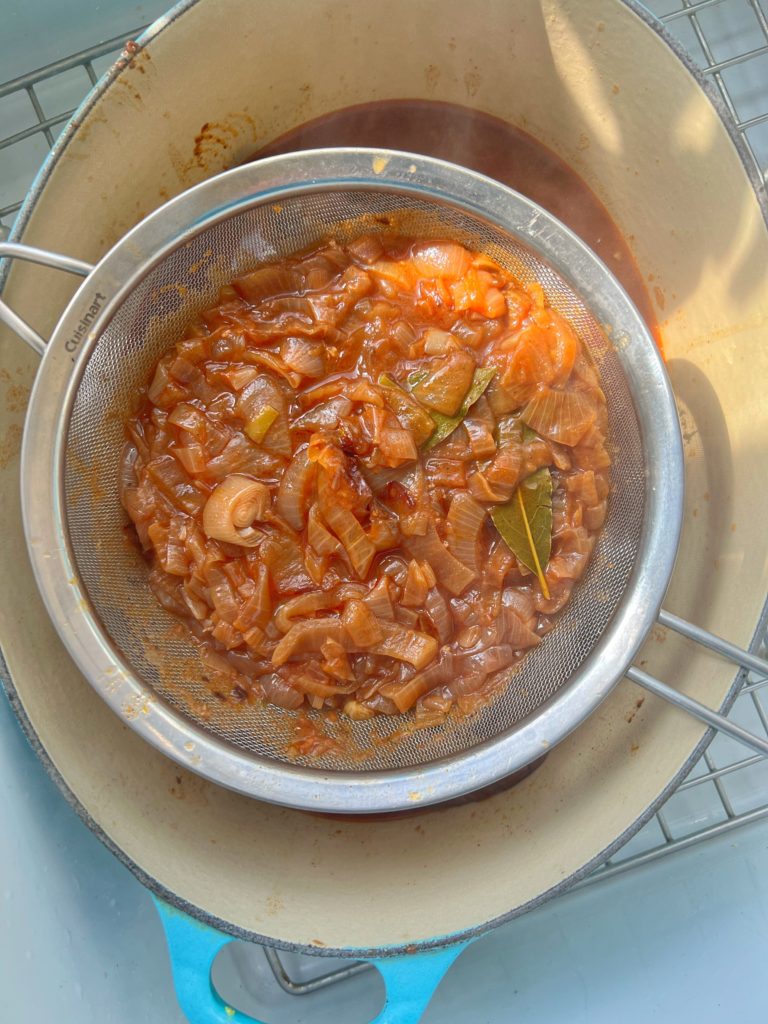
Pour the sauce through a fine mesh strainer, and toss out the thyme and bay leaves. Cover the brisket with the sauce in a dish and the onions in covered bowl in the refrigerator, overnight. Your work is done.
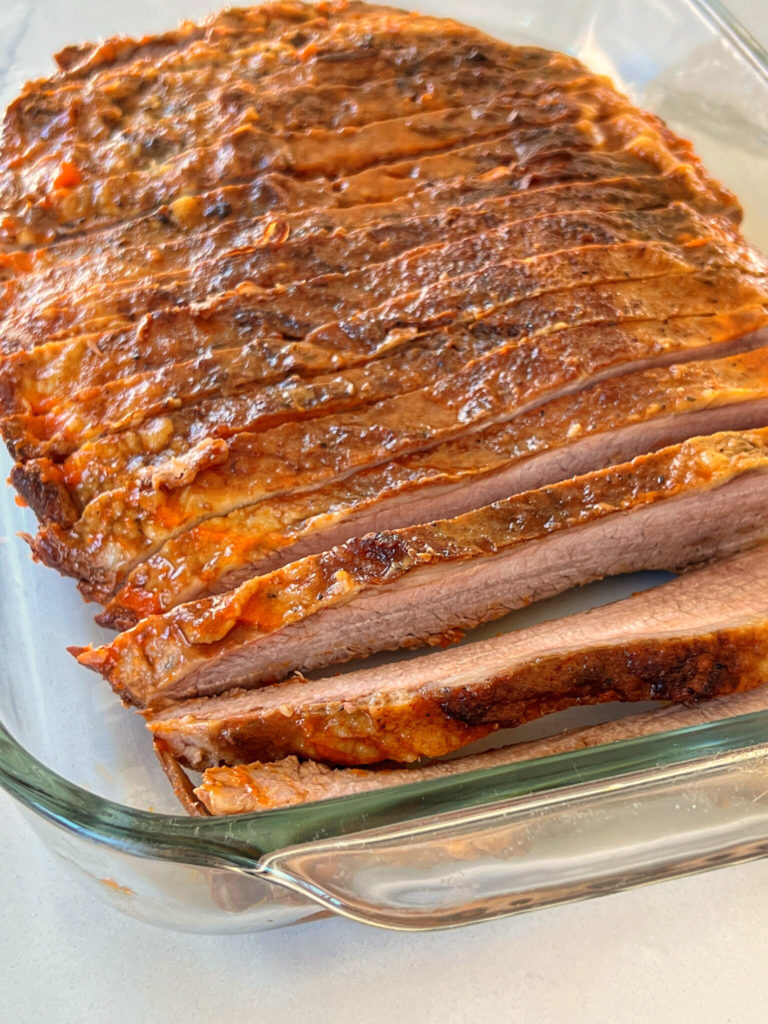
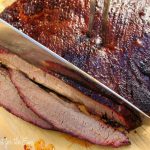
It’s showtime! Preheat the oven to 350F. Place the brisket on a cutting board, transfer the sauce (removing any congealed fat) into a sauce pan. Heat the sauce over medium heat, skimming off any fat that surfaces. Slice the brisket against the grain about 1/4″ thick. NOTE: I had difficulty using the sawing method. Aha! A sharp knife, pressing down, did the trick. Afterwards, I wondered “why didn’t I use my electric knife?!”. The onions are then added to the warmed sauce, with a little cider vinegar.
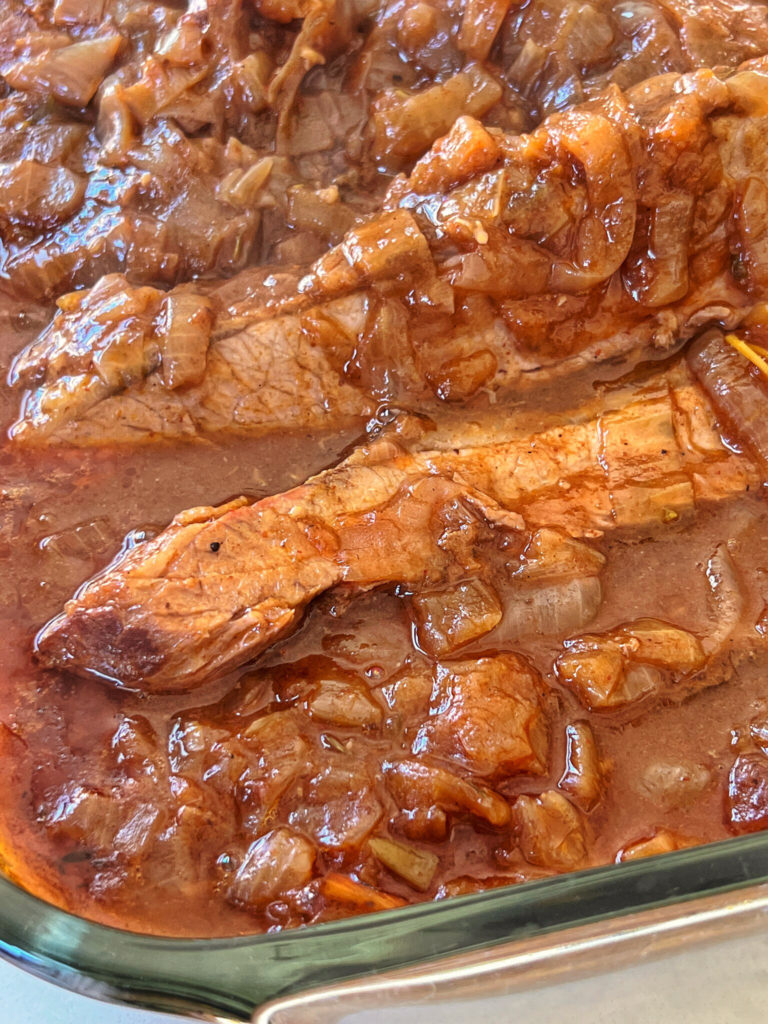
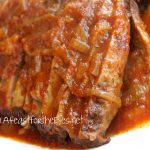
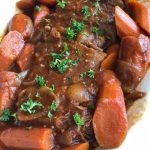
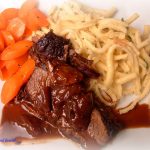
The brisket has warmed up beautifully, and it’s tender. Big sigh of relief! Pour onion sauce over the brisket and serve. As a side dish, I made my Make Ahead Mashed Potatoes the day before as well.
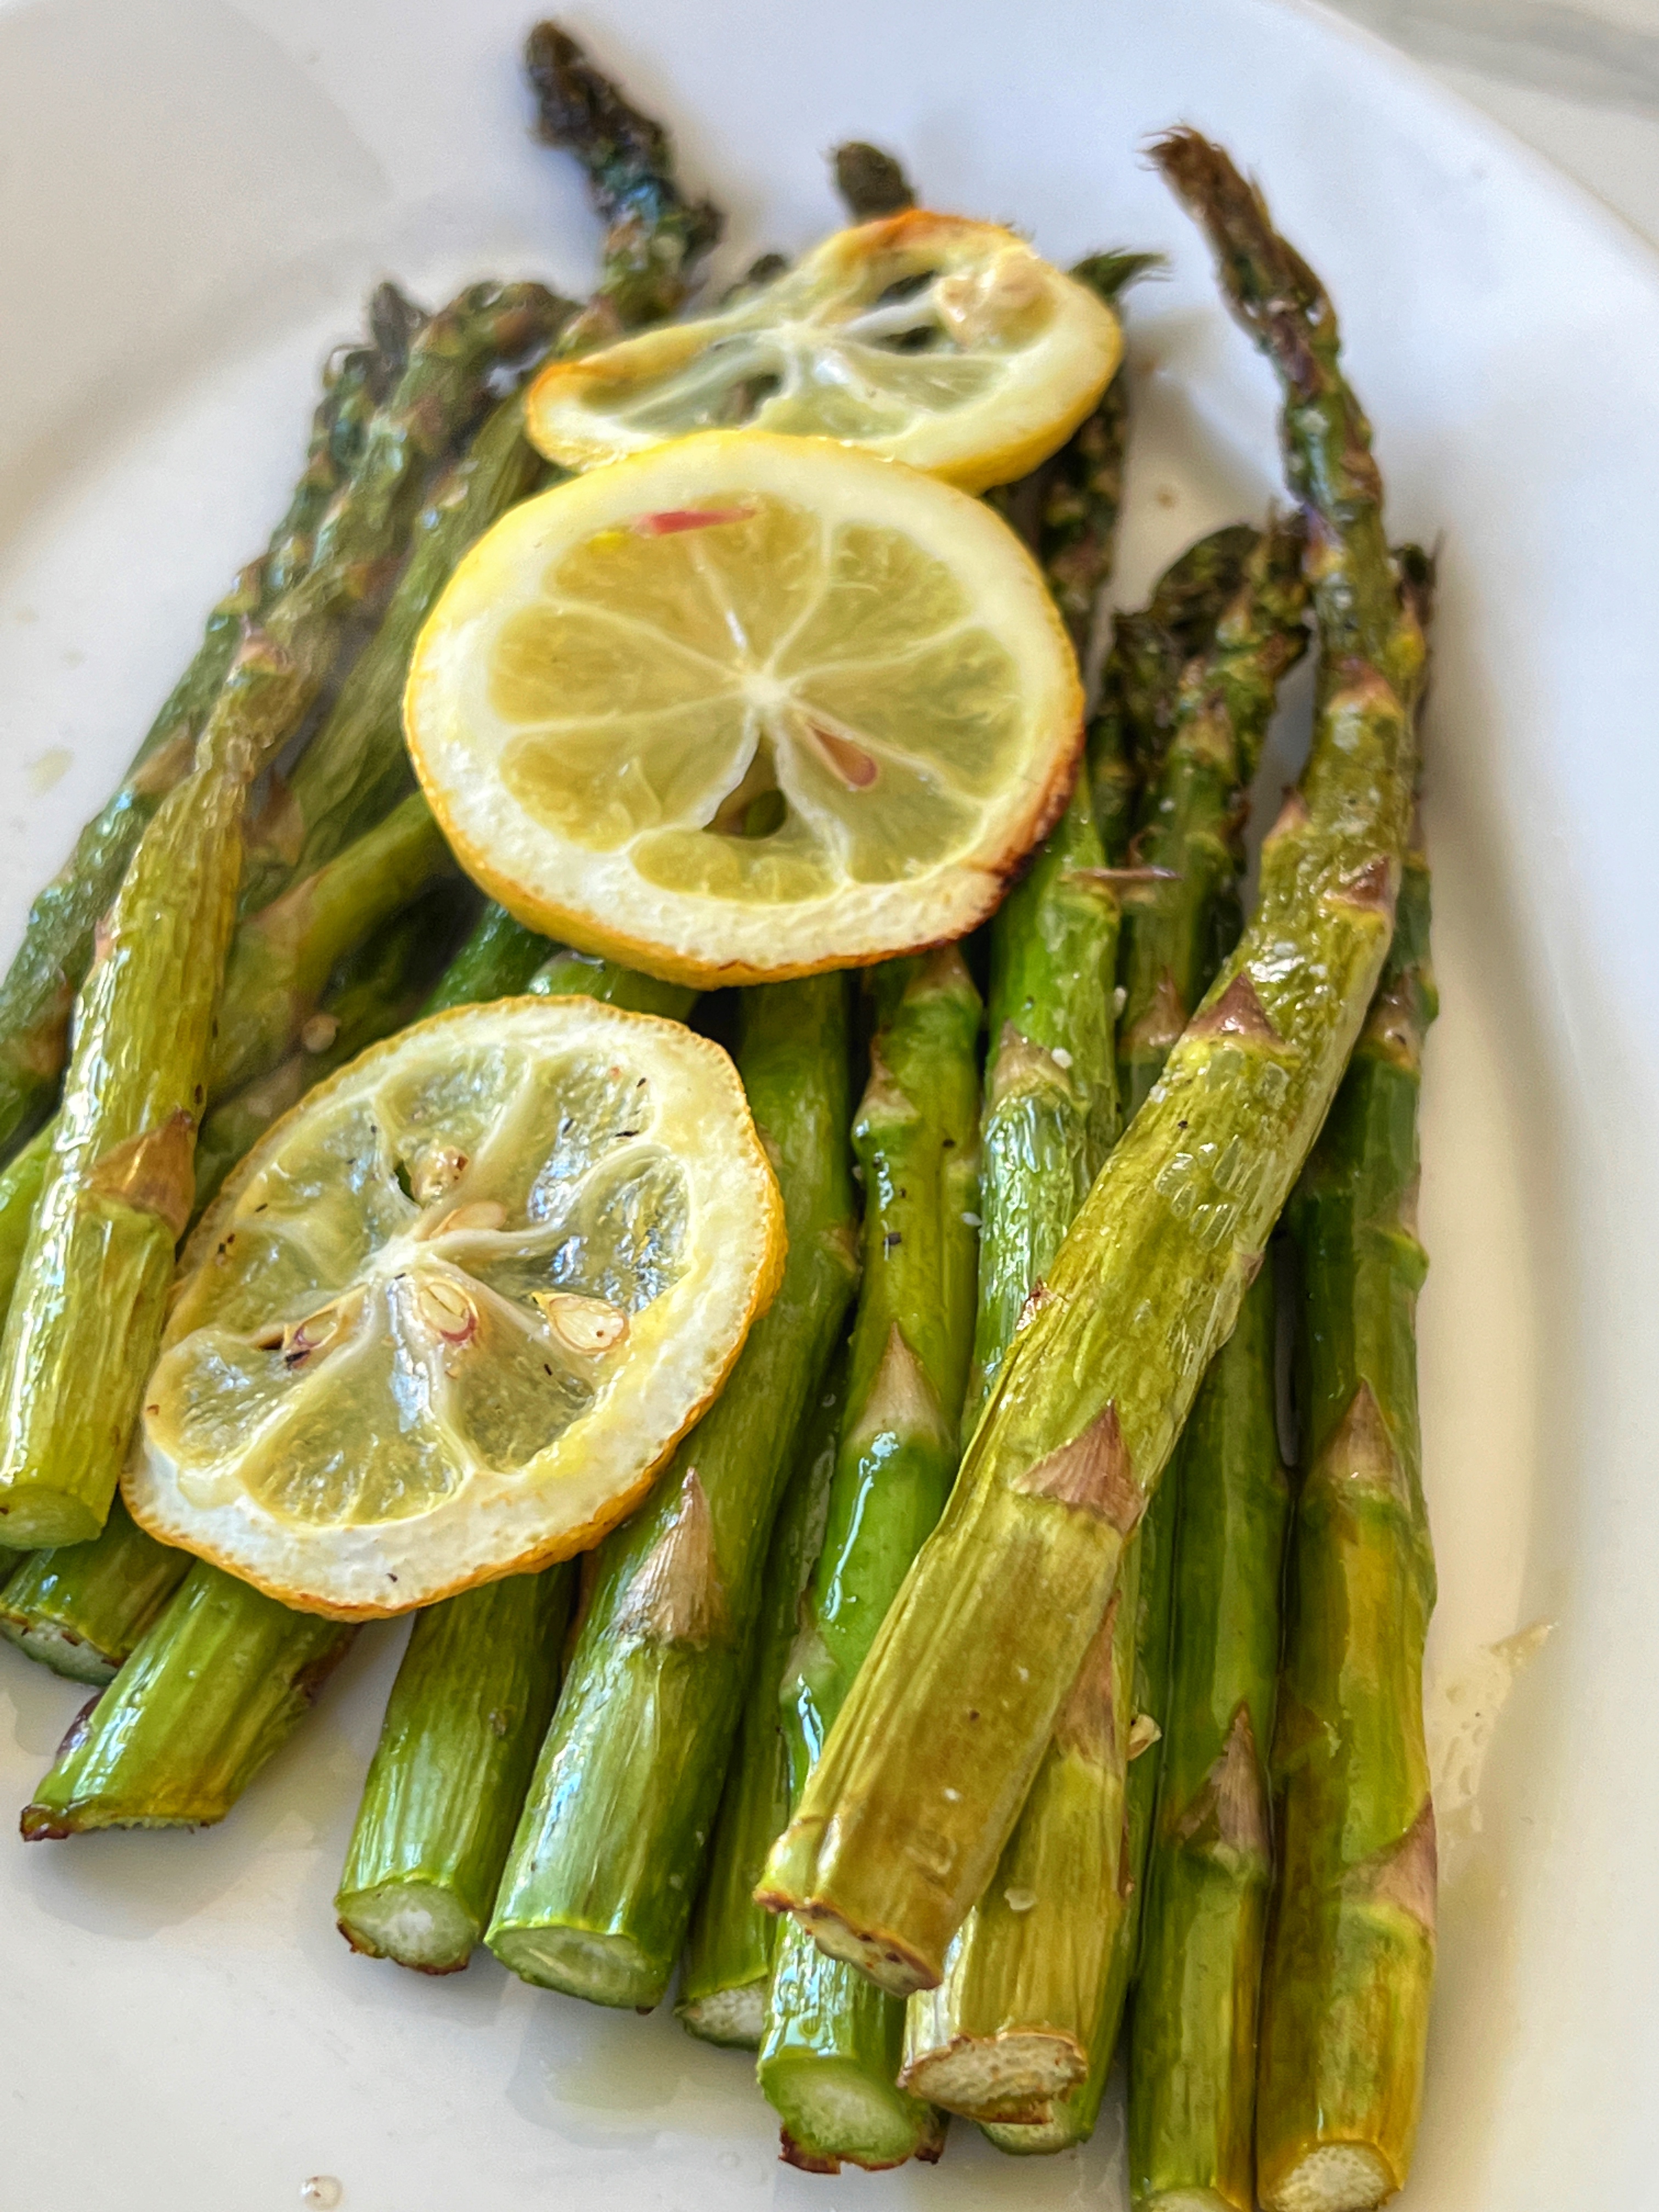
Air-Fryer asparagus is so easy to make. Olive oil, salt and pepper for 10-12 minutes makes this super easy.
TASTING NOTES: Yes, the prep work for this recipe took a couple of hours from start to finish– including dishes. At least, this was all done the day before our guests arrived. The end result is that I was able to relax and socialize while our dinner heated in the oven. How was this recipe? Wow! As promised, the brisket was super tender. The sauce was so flavorful! Reheated leftovers were just as good, the follow day. Yes, this recipe will receive encores. It’s one of my faves.
I would not recommend cooking brisket in a slow cooker, by the way. A slow cooker doesn’t reach the right consistent temperature to break down the collagen– resulting in tough meat. The oven is your best tool.
The Best Onion-Braised Beef Brisket
This Onion Braised Beef Brisket yields melt-in-your-mouth tender beef, smothered in an onion gravy that is loaded with delicious flavor. The brisket is slow braised the day before serving, that allows the flavors to build overnight. The next day, the fat is easily removed and the brisket is gently warmed in the oven, while the onion gravy is heated separately. Making this one day ahead made for less work in the kitchen, so I could enjoy our holiday dinner. Our guests loved this recipe as much as we did!Servings: 10Calories: 338kcalEquipment
Ingredients
- 4-5 pounds beef brisket flat cut preferred
- Salt and ground black pepper
- vegetable oil I prefer Avocado oil
- 3 large onions about 2 1/2 pounds, halved and sliced 1/2 inch thick
- 1 tablespoon brown sugar
- 3 medium garlic cloves minced or pressed through garlic press (about 1 tablespoon)
- 1 tablespoon tomato paste
- 1 tablespoon paprika
- ⅛ teaspoon cayenne pepper double if you prefer a spicier sauce
- 2 tablespoons all-purpose flour
- 1 cup low-sodium chicken broth
- 1 cup dry red wine
- 3 bay leaves
- 3 sprigs fresh thyme
Garnish before serving:
- 2 teaspoons cider vinegar to season sauce before serving
Instructions
Sear the brisket:
Cook onions and prepare braising liquid:
Oven steps:
Final steps for the day before:
The next day:
To Make and Serve the Brisket on the Same Day:
Notes
Recipe source: Cook’s Illustrated January/February 2005 Notes from America’s Test Kitchen: This recipe requires a few hours of unattended cooking. It also requires advance preparation. After cooking, the brisket must stand overnight in the braising liquid that later becomes the sauce; this helps to keep the brisket moist and flavorful. Defatting the sauce is essential. If the fat has congealed into a layer on top of the sauce, it can be easily removed while cold. Sometimes, however, fragments of solid fat are dispersed throughout the sauce; in this case, the sauce should be skimmed of fat after reheating. If you prefer a spicy sauce, increase the amount of cayenne to 1/4 teaspoon. You will need 18-inch-wide heavy-duty foil for this recipe. If you own an electric knife, it will make easy work of slicing the cold brisket. Good accompaniments to braised brisket include mashed potatoes and egg noodles. For a Passover menu, substitute matzo meal or potato starch for the flour.Nutrition
Calories: 338kcal | Carbohydrates: 9g | Protein: 39g | Fat: 14g | Saturated Fat: 5g | Polyunsaturated Fat: 1g | Monounsaturated Fat: 6g | Cholesterol: 112mg | Sodium: 166mg | Potassium: 727mg | Fiber: 1g | Sugar: 3g | Vitamin A: 397IU | Vitamin C: 4mg | Calcium: 27mg | Iron: 4mgTried this recipe?Mention @afeastfortheeyes or tag #afeastfortheeyesblog!



Leave a Reply