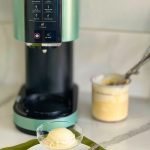
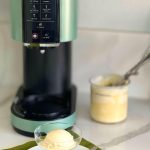
In the Ninja CREAMi Machine
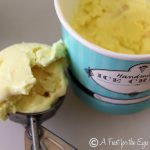
Hazelnut Gelato is my favorite favor. Sadly, I can only find it when I’m in Europe. I recently purchased a Ninja CREAMi Machine, and have been obsessed with making ice cream, gelato and sorbets. My attempt yielded a creamy and delicious flavor, just like when I remember from previous trips.
Here, I share how to use the Ninja Creami Machine, and a few ideas of the countless flavors you can make. NOTE: This post is not sponsored by Ninja, as I paid for the machine myself.
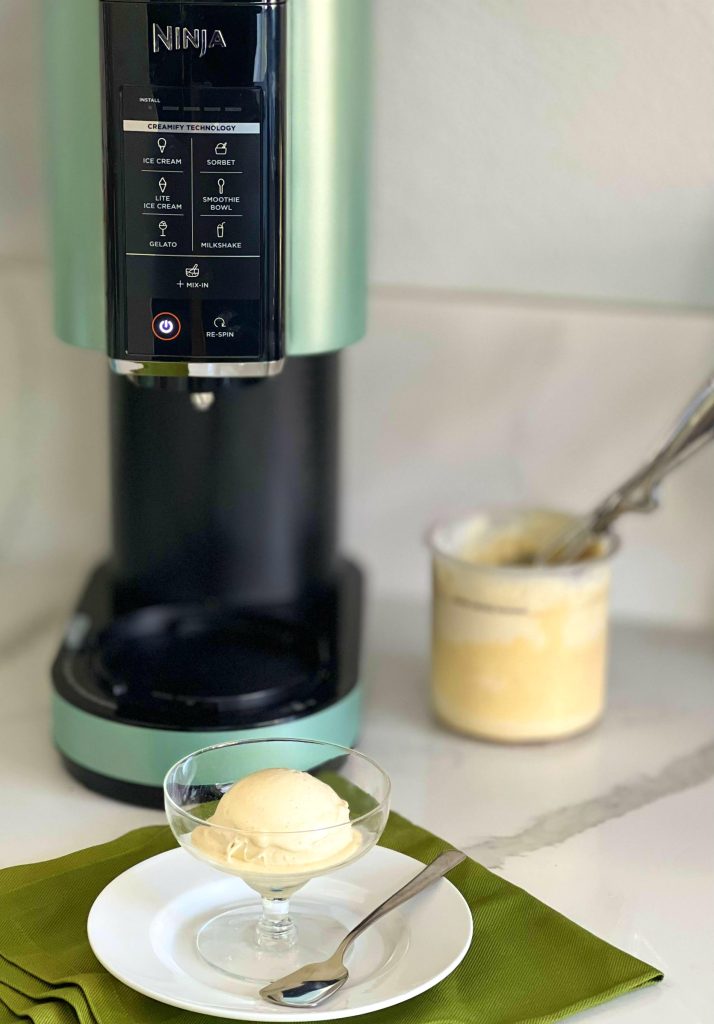
Do you love ice cream, as much as we do? I’ve owned an ice cream maker for several years and have made quite a few Custard Ice Creams. I appreciate the rich and creamy texture of this style of ice cream, while Philadelphia style ice cream is much simpler to make. Now, Gelato, is my favorite. It’s even the ultimate in creamy texture. Whenever we are fortunate to visit European countries, I always seek out Hazelnut Gelato. So far, I’ve never found that flavor America, but now I can make it at home!
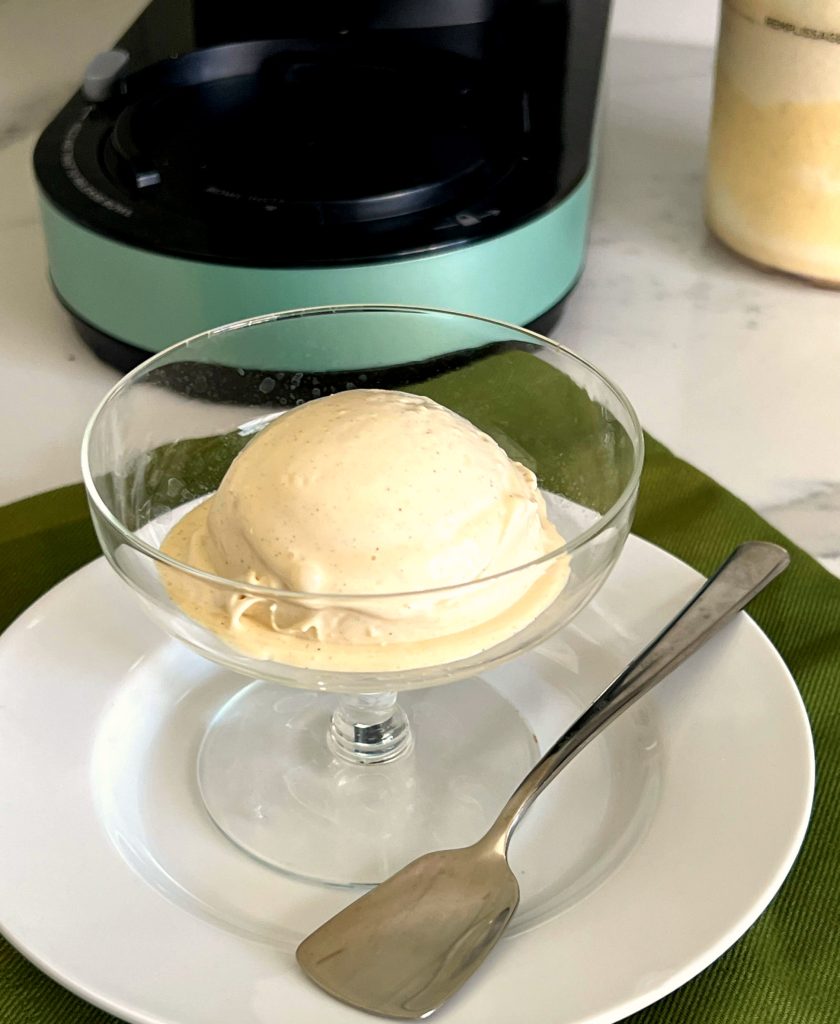
A few weeks ago, I treated myself to a new “Kitchen Gadget”. Yep. I bought a Ninja CREAMi Ice Cream Maker. Why in the world, would I do this, if I already own an Ice Cream Maker? I watched videos, and read reviews, and decided that I liked the idea of making pints of ice cream vs. quarts. I’m also a fan of soft serve ice cream and sorbets.
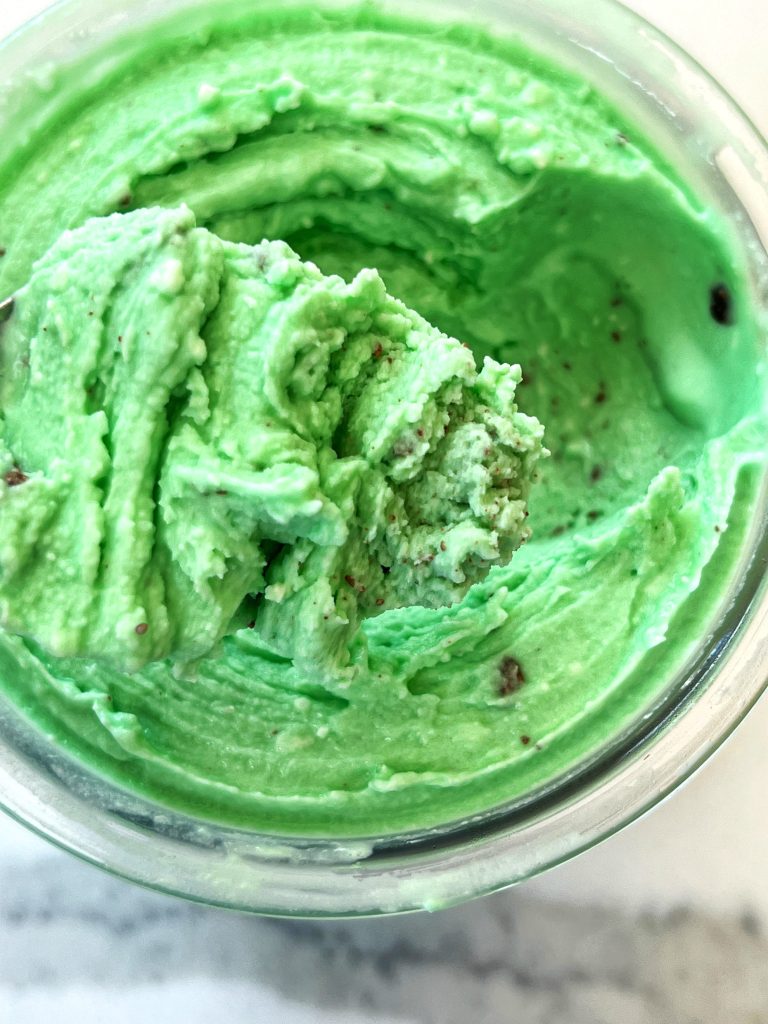
The first ice cream I made was Mint Chocolate Chip. The Ice Cream Base is simple: Cream cheese, whole milk, half & half (I found heavy cream left an unpleasant mouth feel), sugar and whatever extract and/or food coloring you choose. I got a little too heavy handed with the green food coloring and the extract (I now know 1/4 tsp. of extract is perfect). It takes 5 minutes to mix up the ice cream base– but you have to wait 24 hours before you actually “spin” the ice cream. The setup of the machine, and how to use it is super easy. Ninja has an easy video that explains it all here. Since then, I’ve made a few flavors, including…
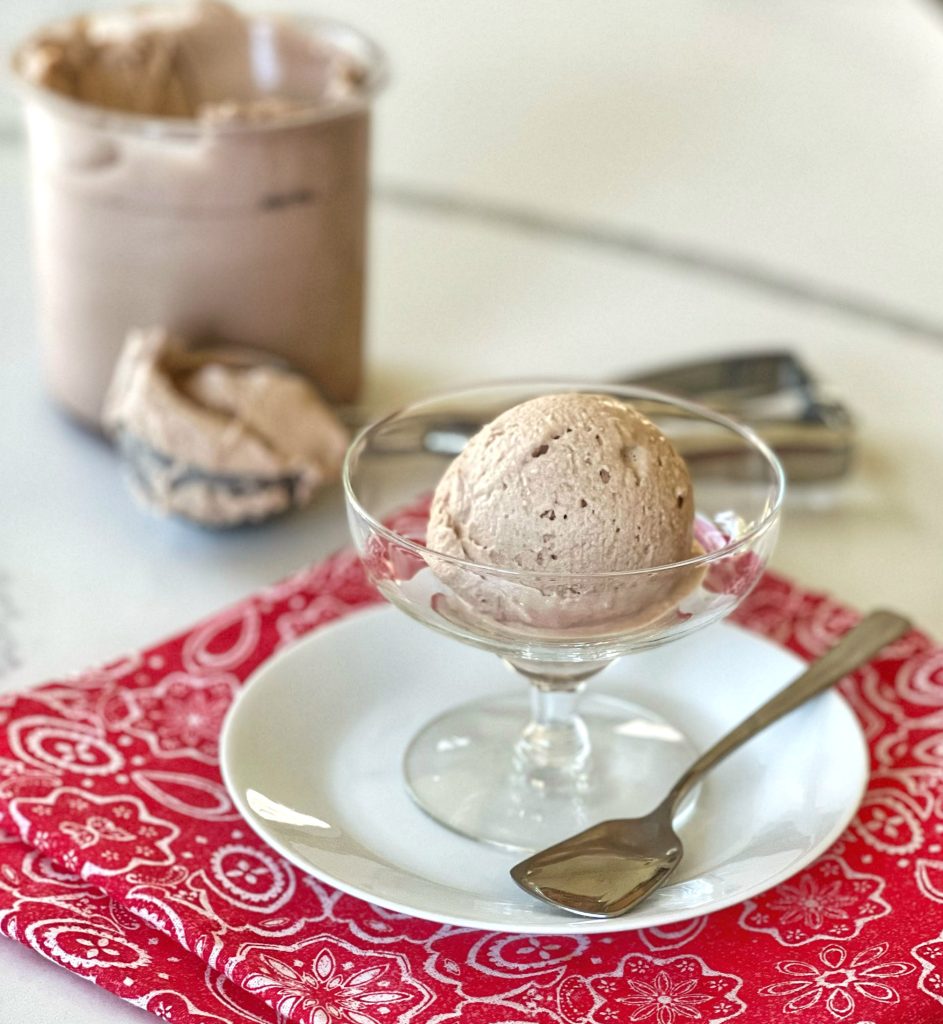
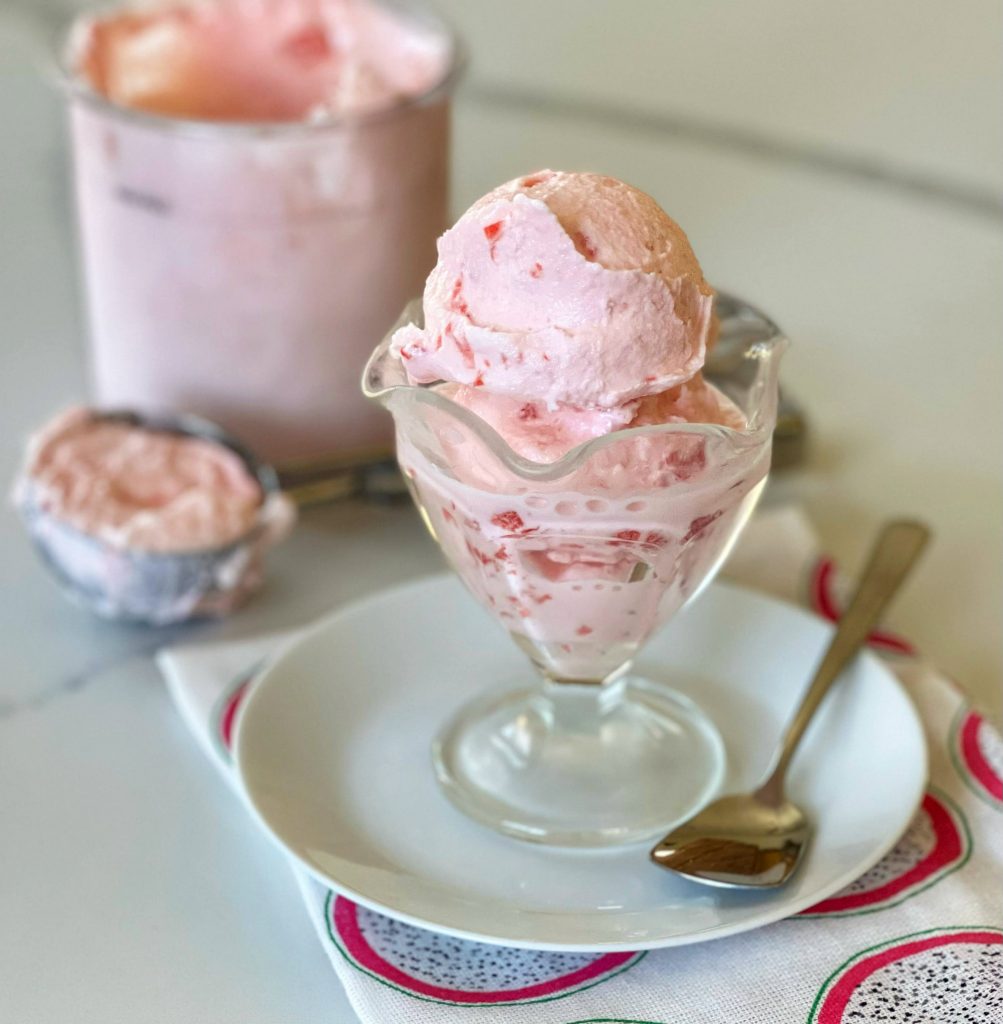
I decided to go the extra mile, and make a Gelato Ice Cream that has an egg custard to give it a richer texture.
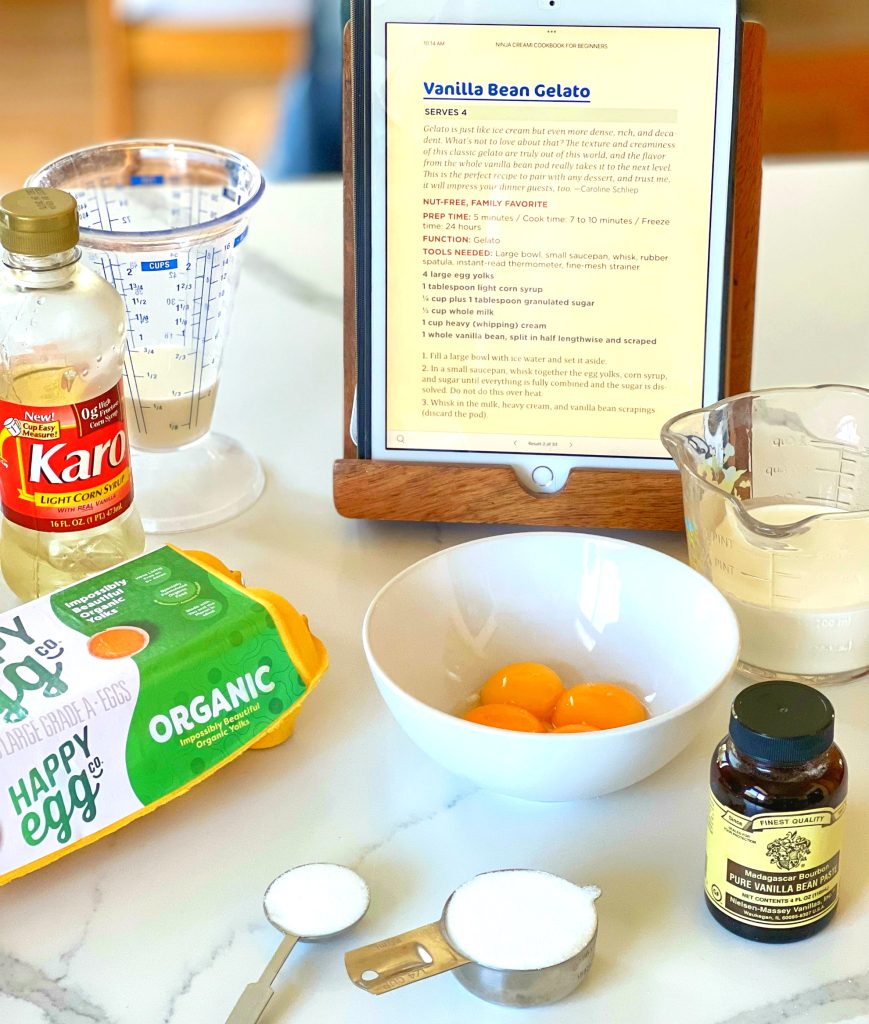
I used the Ninja CREAMi Vanilla Bean Gelato recipe. Instead of using a vanilla bean, I used Vanilla Bean Paste.
The idea is to make an egg custard, that is cooked until thick enough to coat the back of a spoon or spatula.
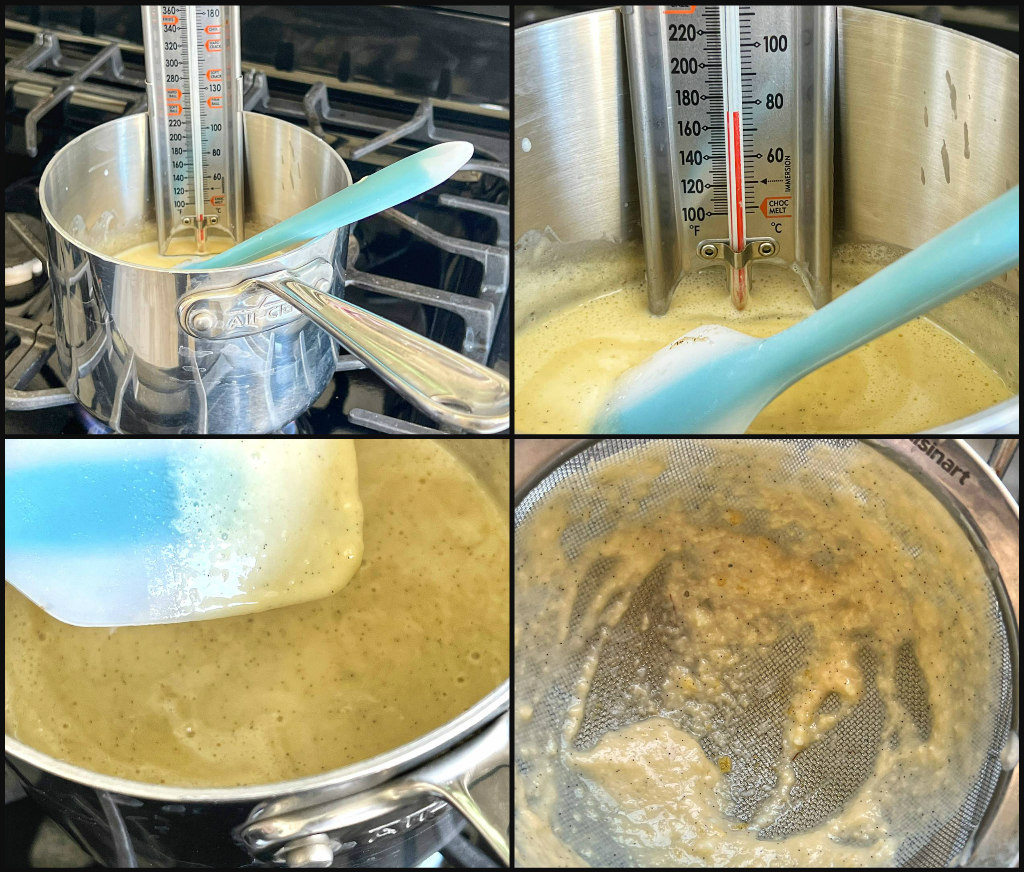
Once the custard has reached the desired temperature and thickness, I strain it to make sure there aren’t any lumps of cooked egg, then place it in an ice bath.
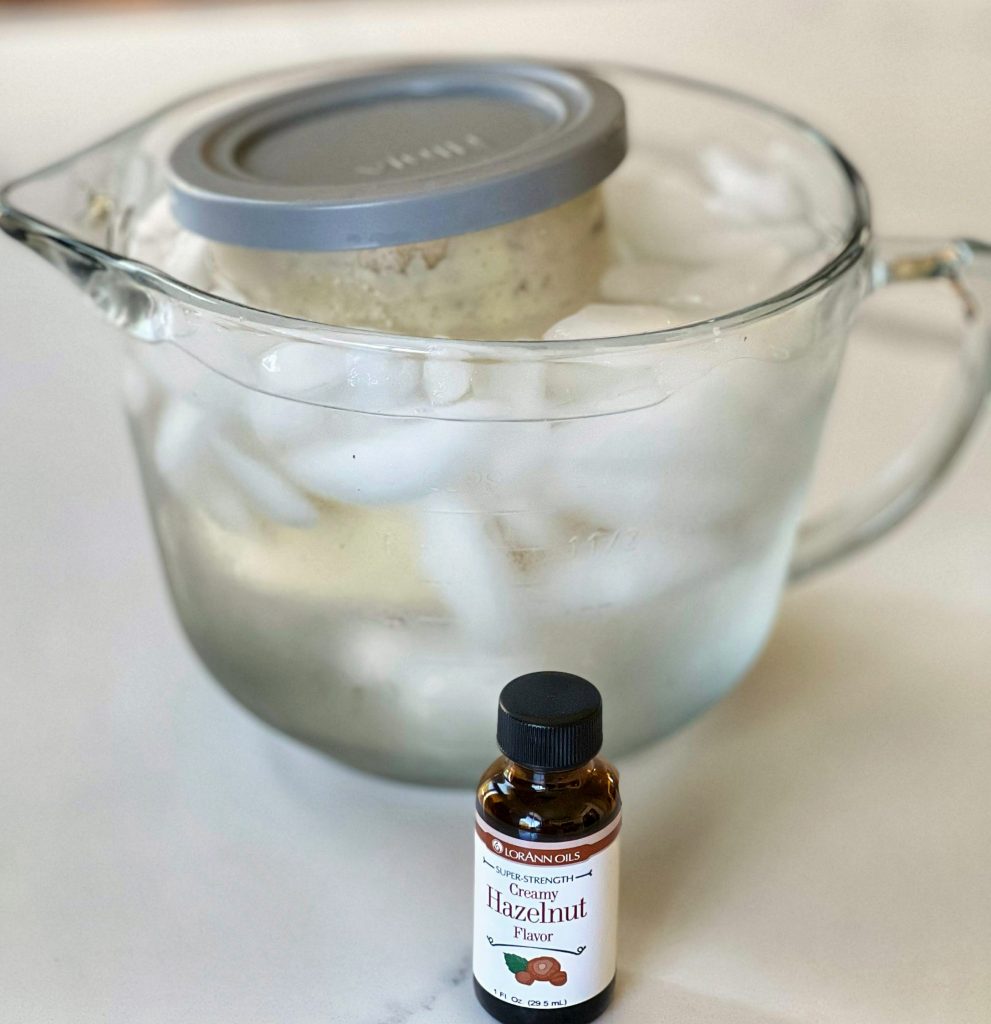
Here’s where you can as creative as you like. Once the gelato based cooled down, I chose to add 1/4 tsp of LorAnn Hazelnut flavor. I gave it a taste, and was happy with the flavor. (The reason, I add extracts AFTER I cook the custard, is to prevent the flavor from “cooking out”.) This has to freeze for 24 hours.
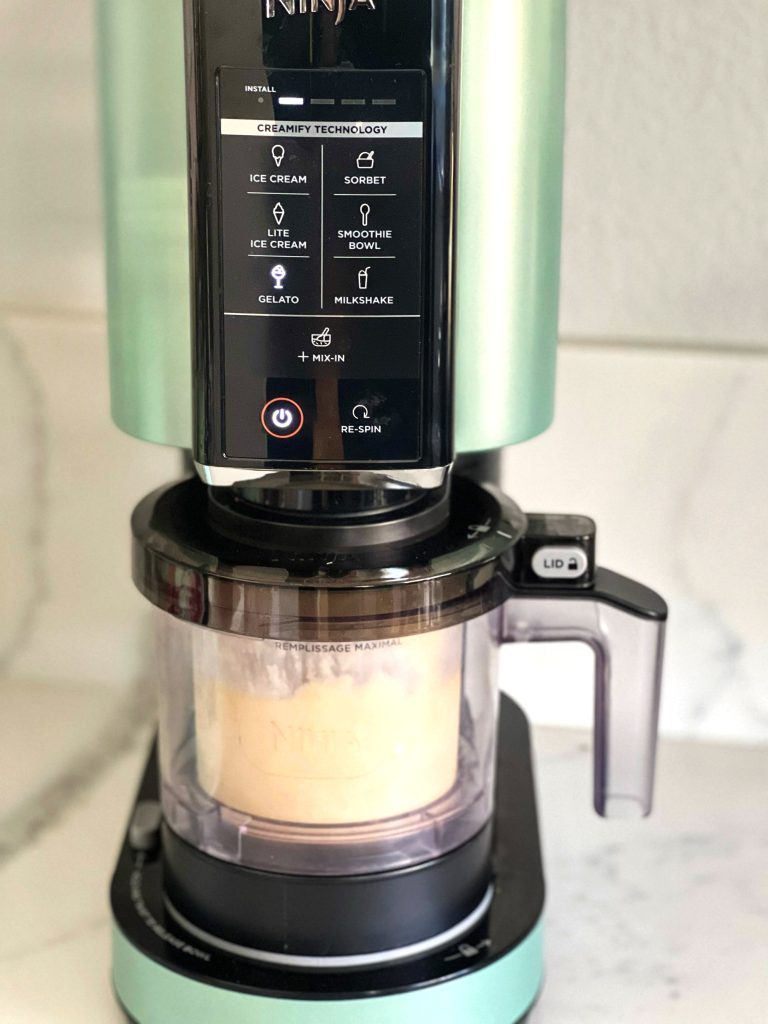
Here we go. Assembling the the pint into the outer bowl is really easy. There are guidelines that show you exactly where to place lid and how to twist the outer bowl to the right and up, locking it in place. Instead of ICE CREAM, I chose the GELATO button (the different buttons determines the speed that the blade “spins” the frozen base). Yes, the machine is loud! It lasts about 90 seconds.
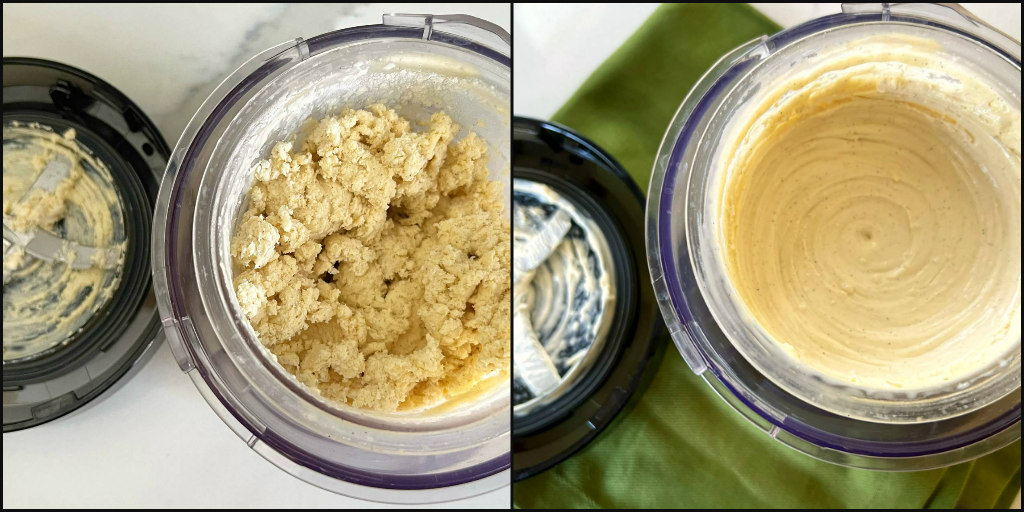
The first time that I “spun” the ice cream, I was confused by the crumbly look of things. Don’t panic! It simply means that my freezer runs really cold. I added a splash more of whole milk, and hit the RE-SPIN button. Perfect!

Here’s another illustration of what happen when I made Chocolate Malt Ice Cream. See? No worries!
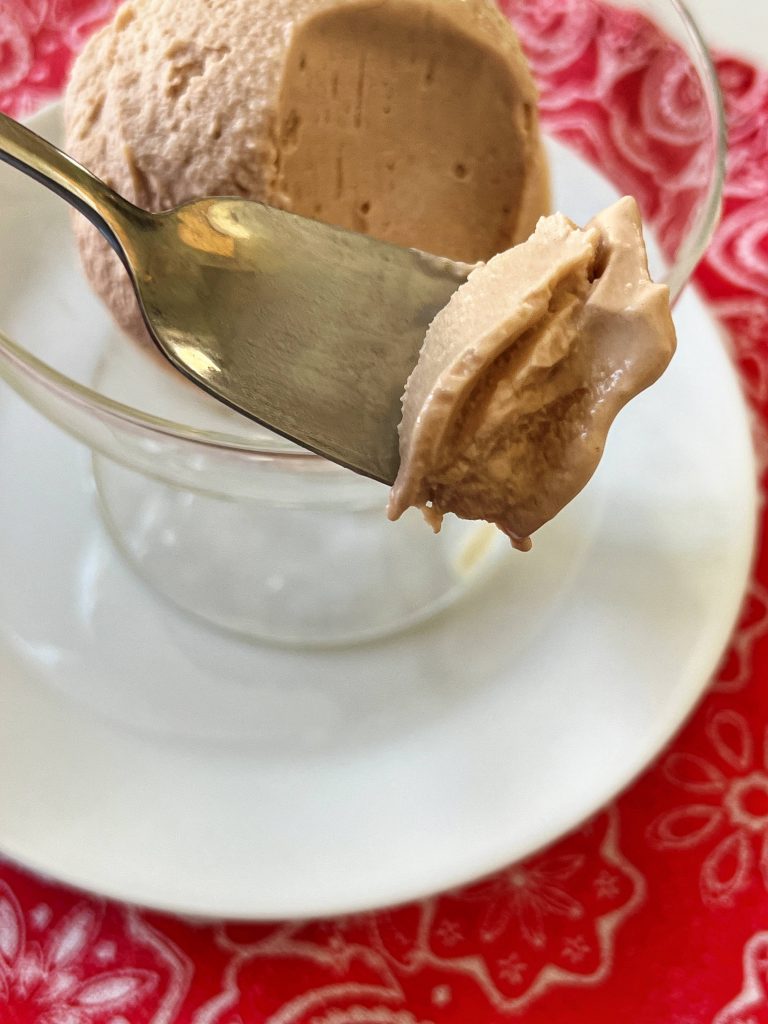
TASTING NOTES: The Ninja CREAMi has impressed me! With making ice cream, the texture is almost like a soft serve when you first “spin” it. I have, since, switched from using heavy cream to half and half. I found that heavy cream left a bit of a “oily” texture on my spoon and in my mouth. Try it and see what you like best.
As for the gelato, it’s definitely denser and richer than ice cream– in a good way. Is it as good as in Europe? Not quite, but pretty close.
Below, I will share more tips and tricks I’ve learned about the Ninja CREAMi:
Where to buy a Ninja CREAMi:
That changes almost daily. I bought mine on QVC for $199 and received 5 pints. I wanted the mint color, and that was the only shopping source where I could find it. As of today, I’ve seen them for $139.00 at Costco, with three pint containers. You can also buy it on Amazon.
What’s the difference between a Ninja CREAMi and an Ice Cream Machine?
With my ice cream machine, I have to freeze the bowl for at least 24 hours, or keep it in my freezer at all times. The ice cream takes 20 minutes or more to freeze, and it yields a quart. I still plan to use my machine, but I find the Ninja CREAMi is convenient and it looks pretty on my kitchen counter.
Why do I have to wait 24 hours before I have ice cream?
Just as with an ice cream machine, the base (or the ice cream bowl for a machine) needs to be frozen. The CREAMi takes 90 seconds to make a pint of perfect, creamy ice cream, gelato or sorbet.
Why do I add cream cheese to the ice cream base?
The 1 Tablespoon of cream cheese acts as a “stabilizer” and I am happy with that ingredient. Some people use sugar-free pudding mix, guar gum, xantham gum as a stabilizer. Feel free to experiment with what suits you.
What are the best flavorings?
Personally, I prefer LorAnn Oils (there are so many flavors to choose from) or McCormick extracts. A little goes a long way, so start with 1/4 teaspoon. Taste it! Some people use sugar-free syrups, but I haven’t tried that. I also use unsweetened cocoa, espresso powder or even maraschino juice. I’ve added mini chocolate chips, or chopped nuts. It’s fun playing with flavors and mix-ins. Food coloring is optional, as well. I prefer to use Americolor gel.
Can I make healthy ice cream?
Yes! I haven’t tried that yet but that’s on my list. Some of the Facebook groups I’ve joined, share success stories. They’ve used almond milk, oat milk, coconut milk as substitutes. Some have claimed low-fat milk works well. Some members claim that they freeze protein drinks with great success. Others have claimed that they freeze canned pineapple and get a beautiful sorbet– similar to Dole Whip. Instead of sugar, members use Splenda or Monk Fruit (I haven’t tried either).
What about frozen yogurt?
Indeed! I plan to make some yogurt flavors and I will share those when I do.
How do I store leftover ice cream?
Since we try not to polish off one pint of ice cream, each, we simply return the ice cream to the freezer. When we’re read to eat more, we can either let the ice cream sit on the counter for 15 minutes. Or, we can microwave in 10 second increments. I don’t recommend re-spinning the ice cream. I tried that, once, and it didn’t work out so well.
Where can I find recipes?
Included with the machine is a booklet with a variety of recipes, to get your started. There are many food bloggers, such as myself, who are posting all kinds of recipes. Likewise, there are a multitude of Ninja CREAMi Facebook groups, where members share photos, recipes and ask and answer questions. Check out YouTube, as well, where there are oodles of videos.
Ninja CREAMi Vanilla Bean Gelato
Equipment
Ingredients
- 4 large egg yolks
- 1 Tbsp light corn syrup
- ¼ cup granulated sugar, PLUS 1 Tablespoon
- 1 cup half and half heavy cream can be used, but it gives a heavier mouth feel
- ⅓ cup whole milk
- 1 whole vanilla bean split in half lengthwise and scraped. NOTE: I used 1 Tablespoon vanilla bean paste
Instructions
- Fill a large bowl with ice water and set it aside.
For the custard:
- In a small saucepan, whisk together the egg yolks, corn syrup, and sugar until everything is fully combined and the sugar is dissolved. Do not do this over heat.
- Whisk in the milk, heavy cream and vanilla bean scrapings (or paste). If using vanilla bean, discard the pod. (I rinse and dry the pod, and stick it in a jar of sugar to make vanilla sugar.
- Place the pan over medium heat. Cook, stirring constantly with a rubber spatula, until the temperature reaches 165° to 175° on an instant read thermometer. NOTE: I prefer to use a candy thermometer so I can watch it closely.
- Remove the pan from the heat and pour the base through a fine-mesh strainer into a a CREAMi Pint. Carefully place the container in the prepared ice water bath, making sure the water doesn't spill into the base.
- Once the base has cooled, place the storage lid on the pint and freeze for 24 hours.
"Spinning" the Gelato:
- Remove the pint from the freezer and take off the lid.Place the pint in the outer bowl of your Ninja CREAMi, install the Creamerizer Paddle in the outer bowl lid, and lock the lid assembly onto the outer bowl.Place the bowl assembly on the motor base, and twist the handle to the right to raise the platform and lock it in place.Select the GELATO function.
- Once the machine has finished processing, remove the gelato from the pint. Serve immediately with desired toppings. NOTE: If the ice cream appears "crumbly", don't panic! The base was probably too cold. Reassemble the pint, attach back onto the CREAMi, and choose the RESPIN button. Sometimes, I add a splash of whole milk, and RESPIN.
Variety of flavors:
- Once the gelato base had cooled, I added 1/4 tsp of LorAnn Hazelnut Extract, before freezing. The sky is the limit on what flavors you want to create!
Mix-Ins:
- Once your gelato is finished, and creamy, you can add up to 1/3 cup of mix-ins. I use a spoon to create a "hole" in the center, then drop in chopped chocolates, fruit, jam, whatever sounds good to you. Reassemble the pint, reattach to the CREAMi and press MIXIN.
Notes
Ninja CREAMi Vanilla Ice Cream
Equipment
- 1 Ninja CREAMi Machine
- 1 pint container
Ingredients
- 1 Tbsp PHILADELPHIA Cream Cheese 1/2 ounce (see note)
- 1/3 cup granulated sugar
- 1 tsp vanilla extract
- ¾ cup heavy cream I prefer half and half as a substitute
- 1 cup whole milk
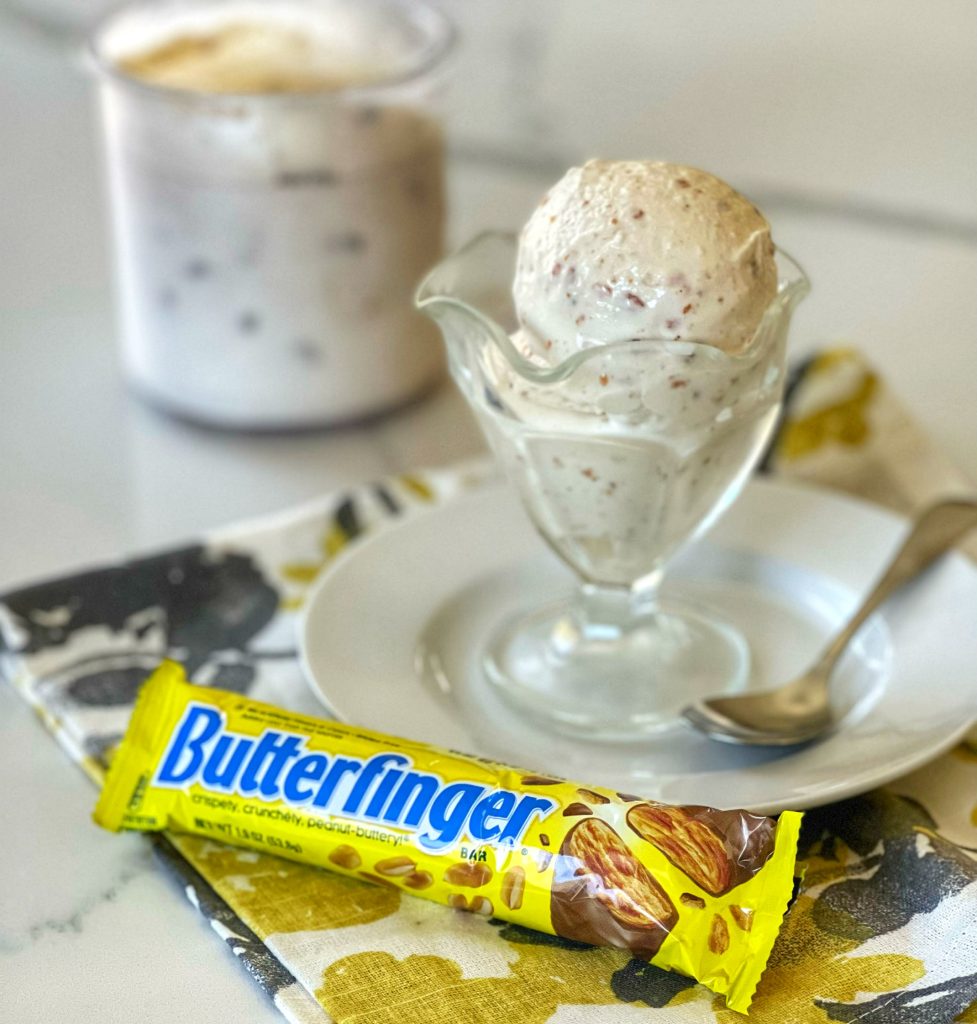
- ¼ cup mini chocolate chips as a mix-in (optional) NOTE: I added 1/4 cup of chopped Butterfinger candy
Instructions
Ice Cream Base:
- In a large, microwave-safe bowl, microwave the cream cheese for 10 seconds (or allow to come to room temperature).
- Add the sugar and vanilla extract and with a whisk or rubber spatula, combine until the mixture looks like frosting, about 60 seconds.
- Slowly mix in the heavy cream (or half and half) and milk until fully combined and sugar is dissolved.
- Pour base into an empty CREAMi Pint. Place storage lid on pint and freeze for 24 hours.
To "spin" the ice cream:
- Remove pint from freezer and remove lid from pint. Assemble the outer bowl per the quick start guide.
- Select ICE CREAM
- If the ice cream appears "crumbly", don't panic! Simply reassemble the pint into the outer bowl and press RESPIN. Sometimes, I add a "splash" of milk for extra creaminess. Rarely, but it's happened, I have to RESPIN a total of two times.
Mix-Ins
- Once the ice cream is creamy, use a spoon to create a 1 ½ wide hole that reaches the bottom of the pint.Add your chocolate chips, or whatever mix-in you have chosen.
- Insert the pint and out bowl back onto the machine and press MIX-IN.
- Remove the ice cream from pint and serve immediately.
Storing the ice cream:
- Since we don't eat a pint all at once, we return the lid and store in the freezer where it will harden. To eat, we either microwave in 10 second intervals, or allow to soften on the counter for 15-20 minutes. I don't recommend re-spinning the ice cream, as we didn't get the best results.
Notes





How much sf pudding or Xantham gum?
None. I don’t use it.
Made this recipe today. It is excellent. So smooth and full of flavor. Would highly recommend.
Thank you! Gelato is definitely a bit more work, but the end result makes it worthwhile. I appreciate your positive feedback.
ok, as soon as i see
PHILADELPHIA Cream Chees in the ingredients i pass
not ice cream or gelato
in general only with fruit this machine works well