Naan is an Indian flatbread made with yeast, flour and yogurt. Traditionally it is baked in a tandoori oven. I’m willing to bet that most households don’t own one. With this recipe, all you need is a cast iron skillet to mimic the characteristic “char” that comes from a tandoori oven. This “quick version” recipe has the naan ready to eat in two hours, and most of that time is “resting” the dough.
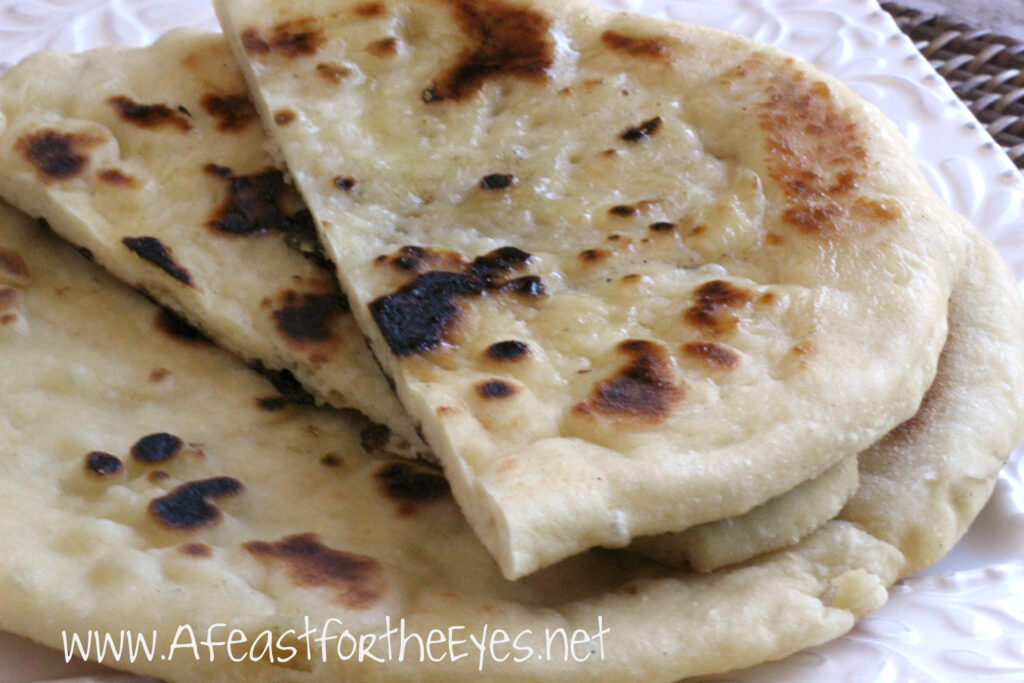
Bread baking is a skill that I’ve been working on for years. I used to be afraid of working with yeast because I feared failure. For anyone who shares the same fear, this Indian flatbread is an easy way to have fun making bread. This naan recipe reminds me of making Pita (pocket) Bread.
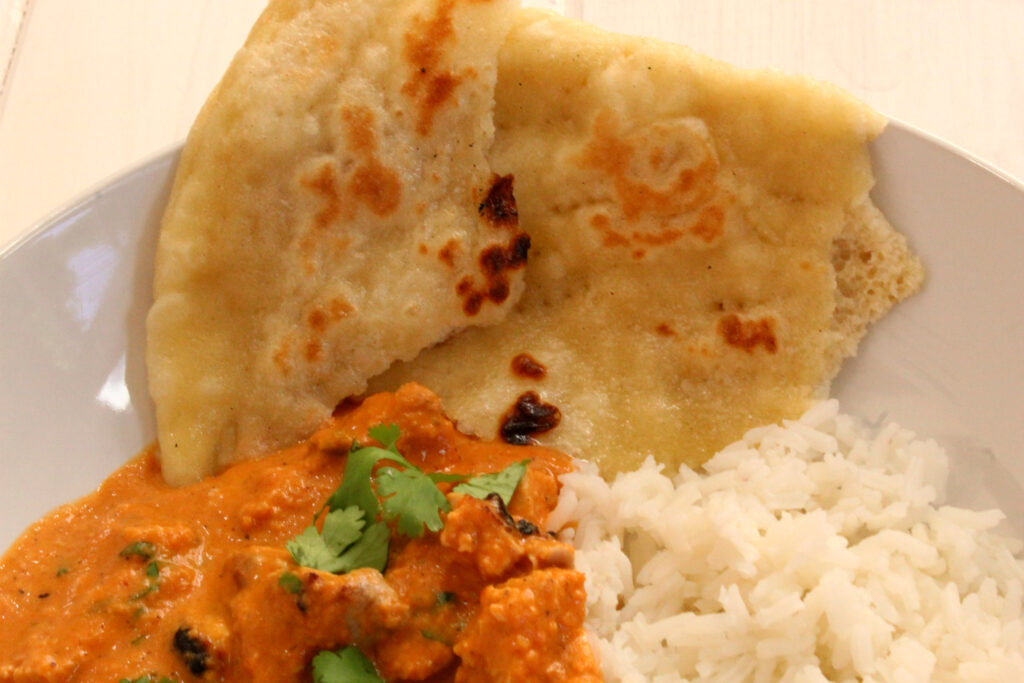
One might say that naan is a thick tortilla– with deeper favor. It’s a perfect with a dish that has a tasty sauce– like this Indian Butter Chicken recipe that I posted. The beauty of making naan, is that you don’t have to shape it into a loaf and bake it (perfect on hot summer days). Once you let the dough rise and roll it flat, you “cook” it in a hot cast-iron skillet. Voilà! Perfect naan (bread).
What is naan? Traditional naan is a flatbread that has been a staple food in Southeast and Central Asia for centuries. It is particularly popular in India, Pakistan, Afghanistan, Iran, Uzbekistan, and all the surrounding regions.
Naan is traditionally made in a tandoor oven. I doubt that most of us own one. To create the traditional “char”, a hot cast-iron skillet will do the trick. The ingredients are, most likely, in your pantry. One more thing– this recipe is a “quicker” recipe only because the dough doesn’t have to “ferment” for at least 16 hours. I was making Indian Butter chicken, and I decided that naan would be a perfect accompaniment. I poured through my cookbooks, and that’s when I found a recipe that speeds up the process. Why not? So, let’s make naan– the “speedier” way!
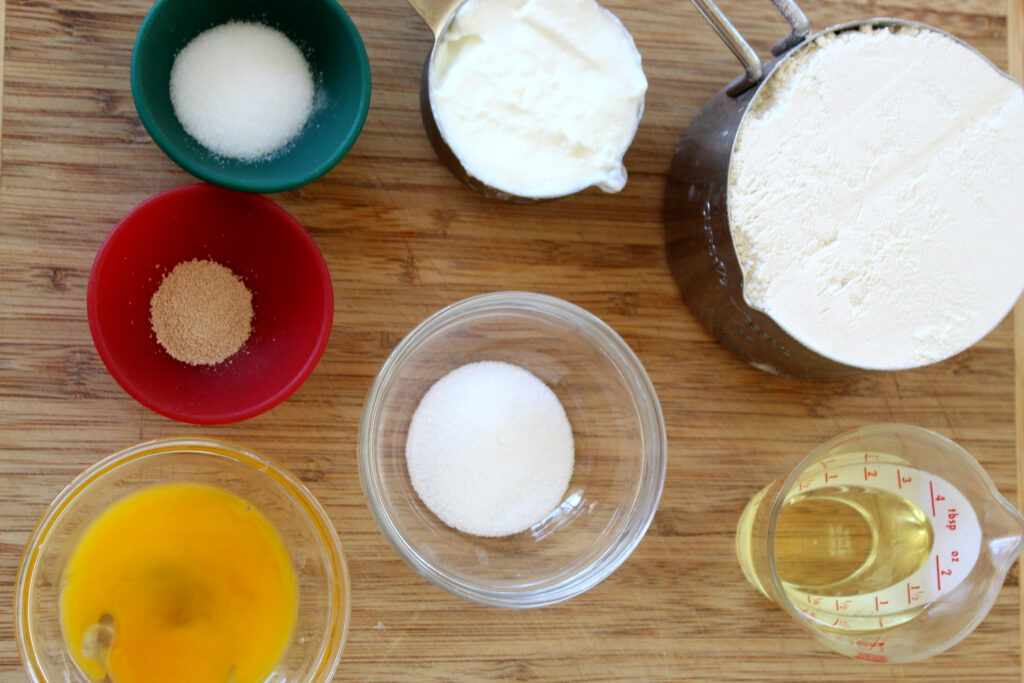
I’ve measured out all-purpose flour (I prefer King Arthur unbleached flour), instant yeast, salt, egg yolk, sugar, oil and full-fat Greek yogurt.
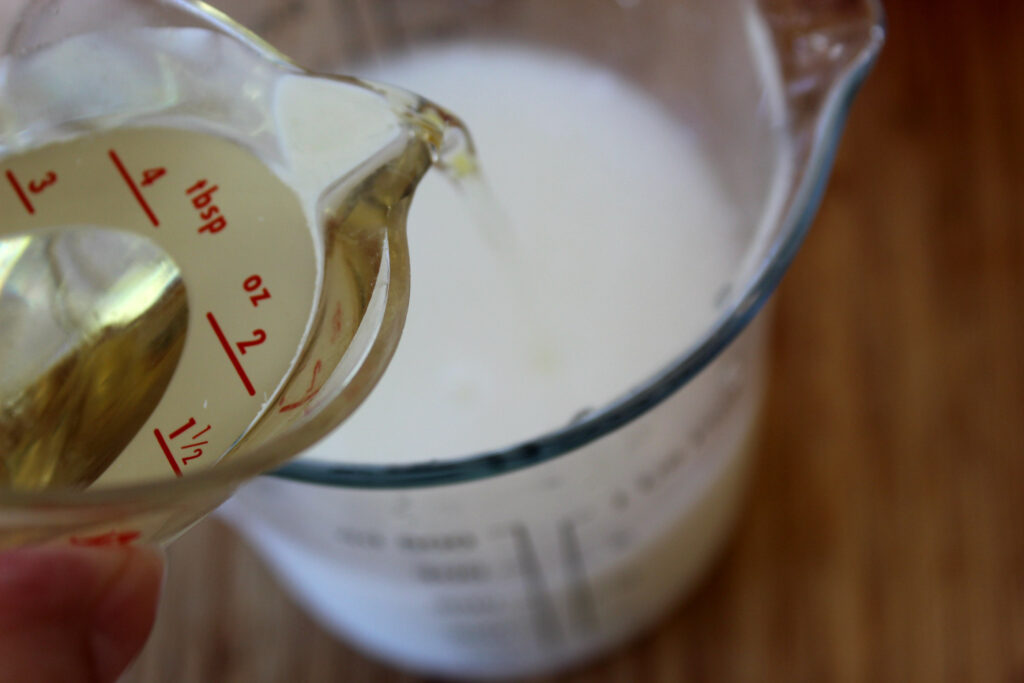
For the liquid, the egg yolk, water and oil is mixed together.

The dough is mixed together in a food processor until no dry ingredients remain. Let is rest for ten minutes, then add salt. CHALLENGE: The dough seemed really wet– as in, how in the heck was I going to knead dough that was more like thick cake batter? So, I added about 1/3 cup more flour and gave it a quick whiz.
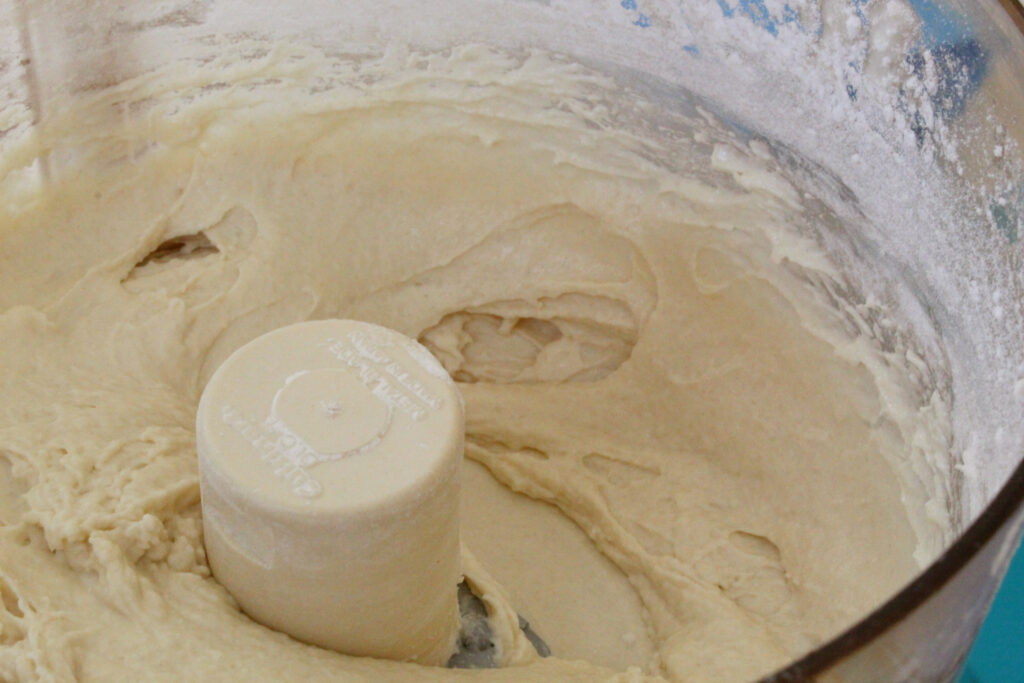
The dough is still soft, but I think I can work with this. If you own a “bowl scraper” that’s the best way to remove the dough. Otherwise, flour the heck out of your hand and dump this onto a floured work surface.
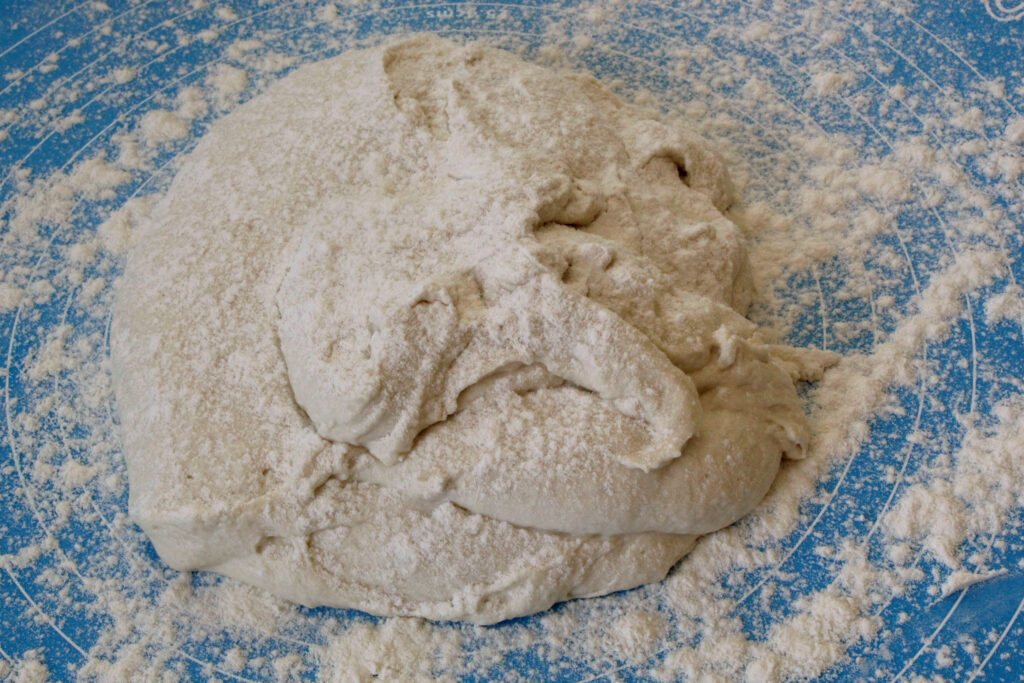
Sigh. This is some soft looking dough! As you can see, I’ve been heavy handed with the dough. I kneaded the dough, adding a few tablespoons of flour (for me, about 1/3 cup additional flour), until I could lift up the dough and place it into a greased bowl.
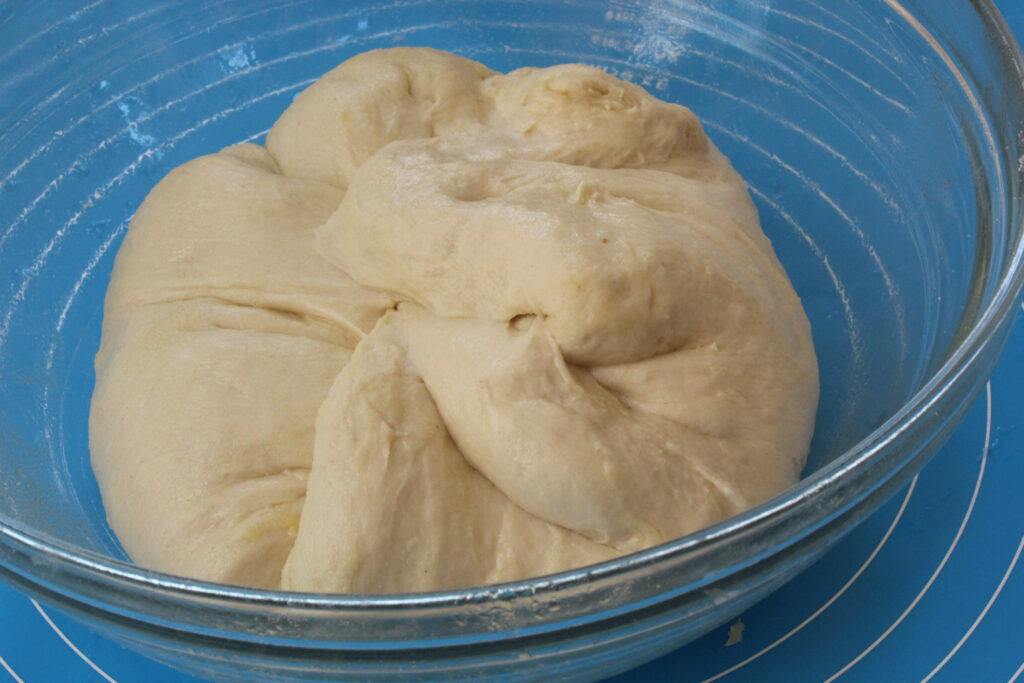
I covered the dough, and placed it into my oven (turned off). Why my oven? I know that’s a draft-free place! I let this rest for 30 minutes, and then every 30 minutes, I’d fold it over. Grab a corner, tuck it over, turn the bowl and repeat. I did this 3 times, every 30 minutes. This isn’t labor intensive, at all. (But, this is not a good time to leave the house for groceries!)
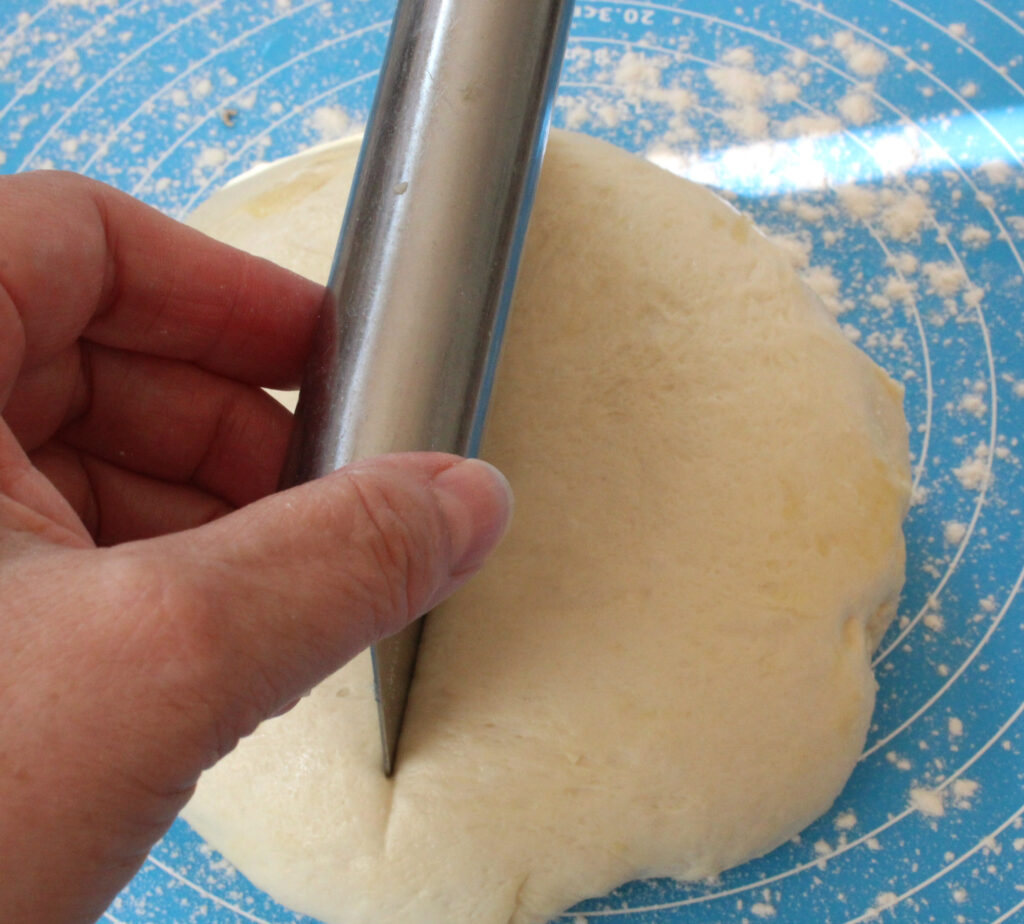
What would I do without my bench scraper? Once again, on a floured surface, I gently dumped the dough and cut it into four pieces.

My way of shaping the dough is to bring each corner “in”, flip it over and roll it around until it’s round. Easy! That blue mat that you see? It’s perfect for rolling any kind of dough. This is one of my newest kitchen “tools” and I absolutely love it! I wet my counter a bit, and the silicone mat sticks nice and firm. The size guides are really helpful, as well. It’s dishwasher and oven safe. Get one, you’ll love it!
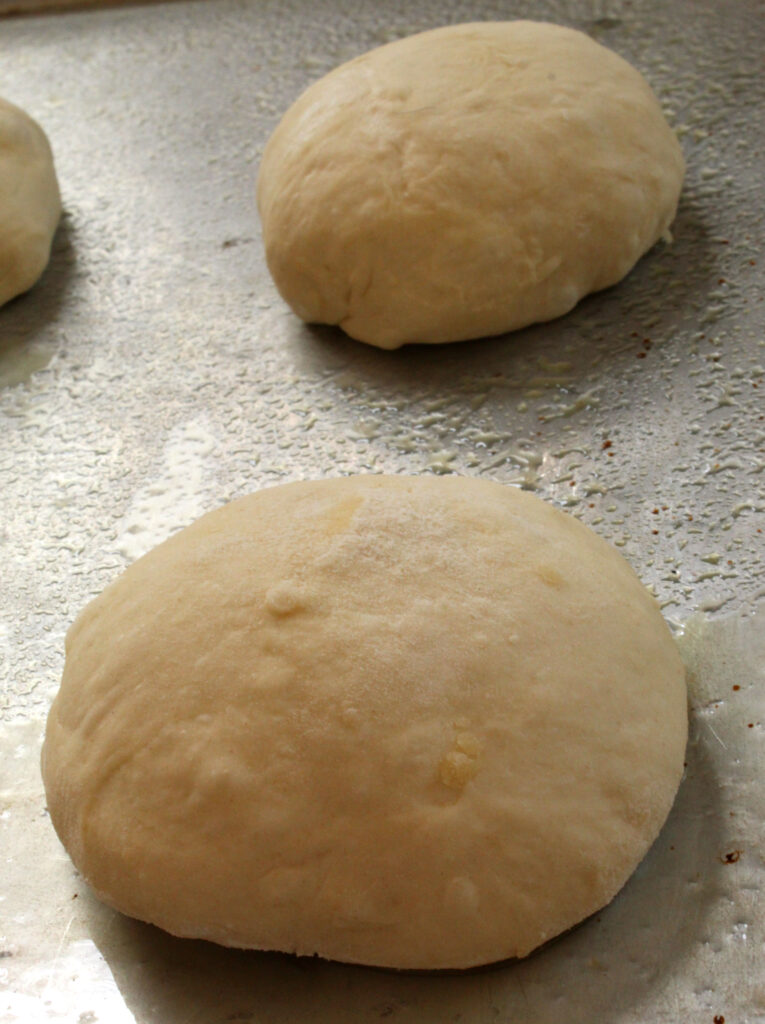
Here are four tight balls of dough, on an oiled baking sheet. Cover them with plastic wrap and let them have a rest for 15-20 minutes.
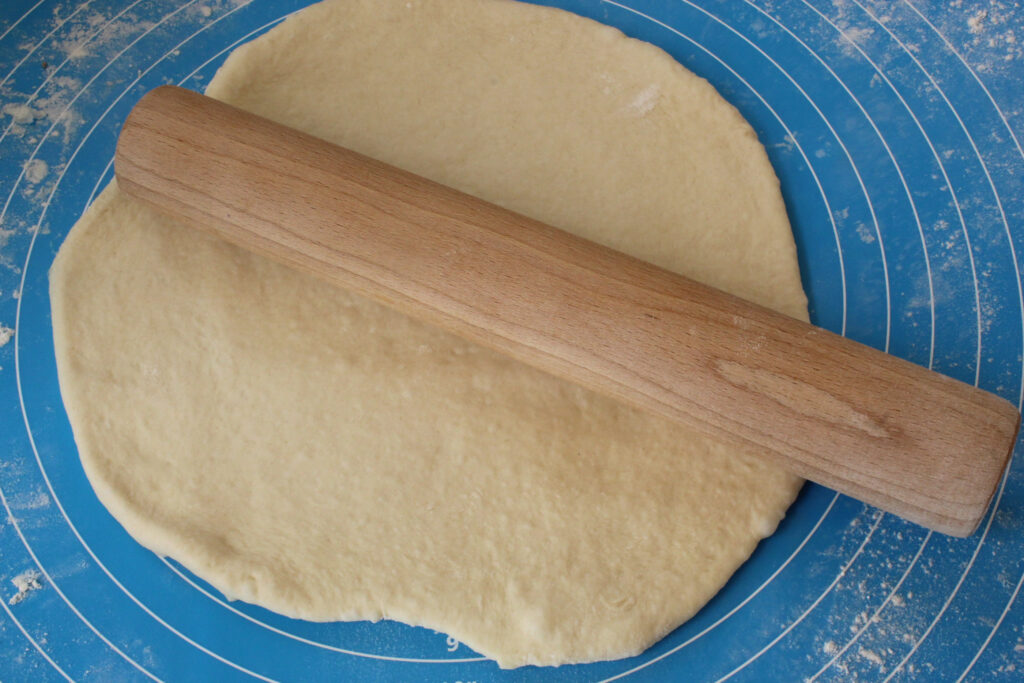
We’re just about ready to “cook” the dough once the dough is rolled into a flat shape. Because I bake a lot of pies, I automatically rolled mine into 9″ rounds (plus I wanted this to fit into my skillet). I’ve seen other versions rolled into oblong shapes.
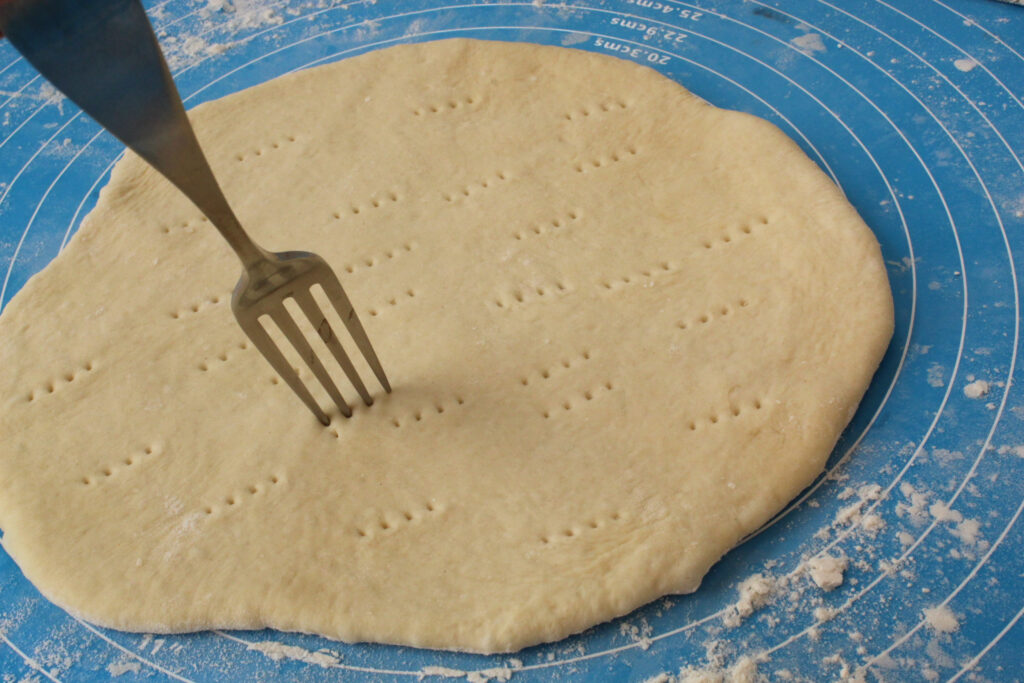
I’ve poked some holes into the dough and now it’s time to cook/bake this!
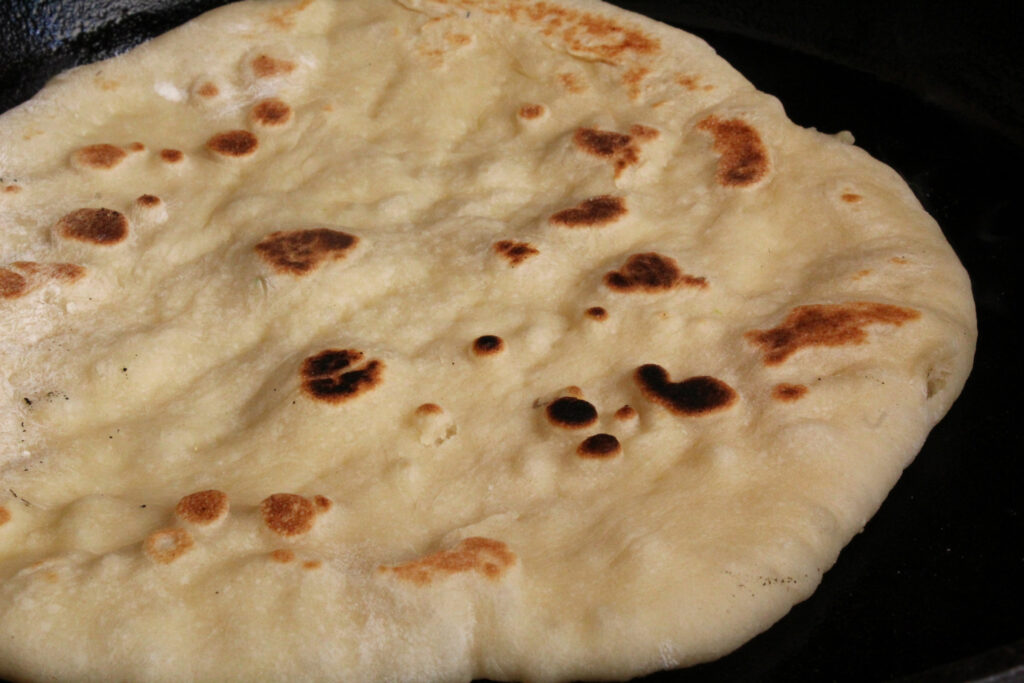
My skillet is hot, and has a film of oil. I misted the dough and plopped it into the skillet, damp side down. Once I misted the top of the dough, I placed the lid on top. This goes fast! Once the dough hit the skillet, I misted it with water and put the lid on. 2-4 minutes later, I flipped it over. Yaaaaaas!
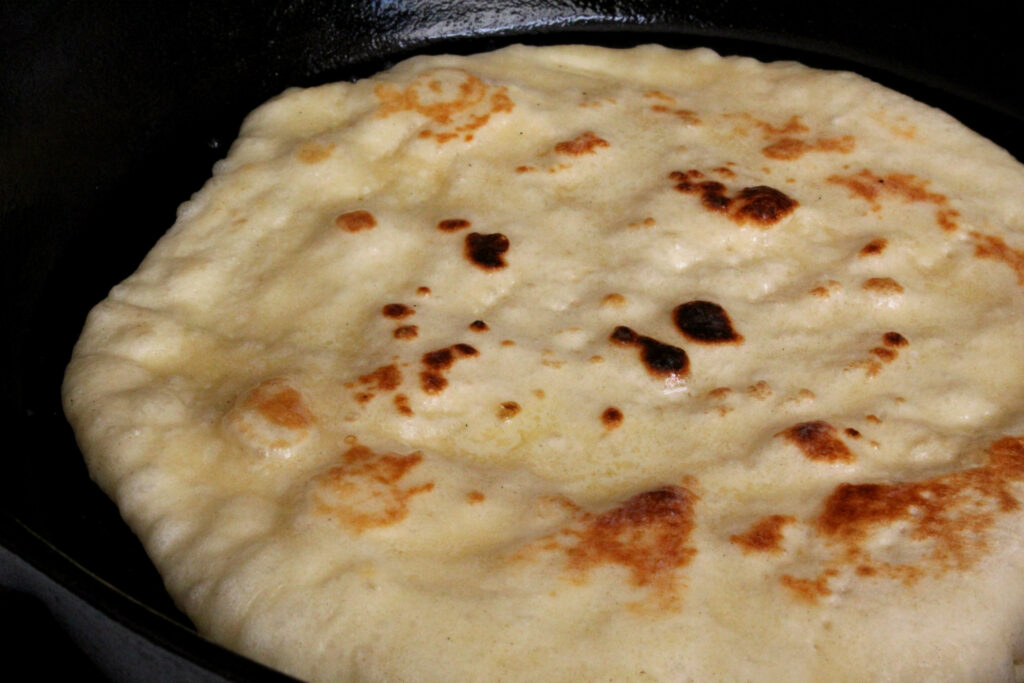
This is what I love about making bread. It’s that feeling of success when you see the recipe working! My oven was preheated to 200F. I placed my first naan on an oven proof plate, and brushed it with melted butter. (I did consider making garlic butter, but decided it would compete too much with the Butter Chicken Sauce I was making. ) I did this three more times, stacking them in the warm oven.
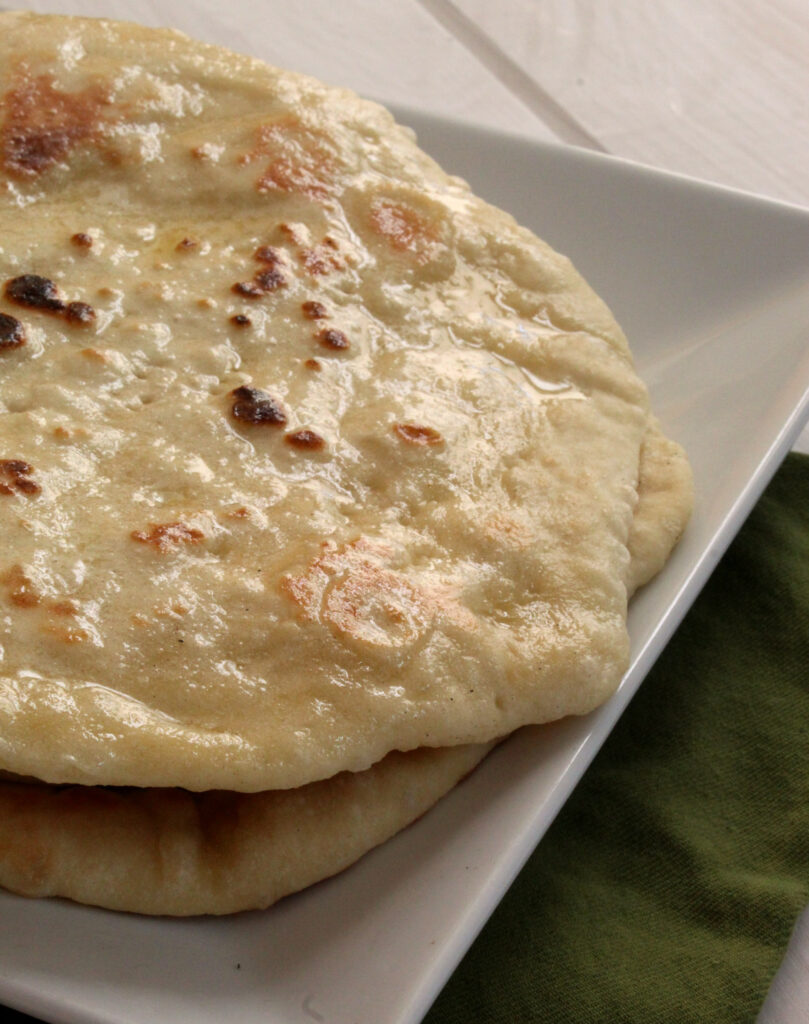
From start to finish, this took two hours to prepare the dough. The bread cooking/baking took only minutes. Is this really “quick”? The answer is, yes, because I didn’t have to prepare the dough a day ahead. There is some time invested in turning the dough every 30 minutes, but it’s not labor intensive. The actual shaping of the dough brings me back to my inner child who loved play dough. I find it fun!
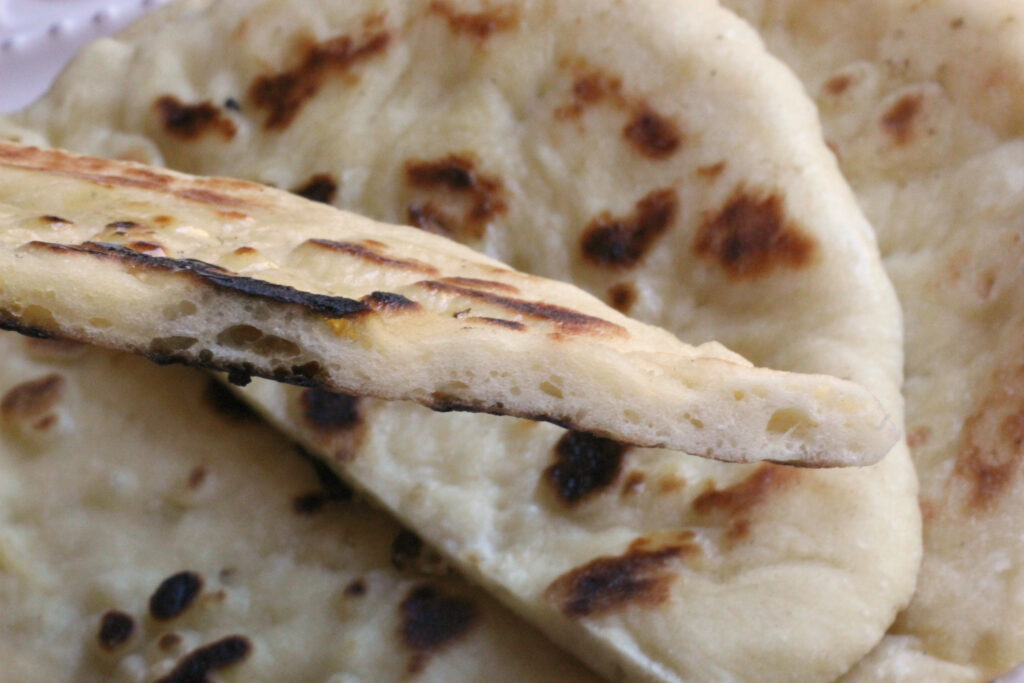
TASTING NOTES: My husband, who has been to the Middle East, and eaten at many Indian restaurants declared this bread to taste authentic. I’ll take that as a compliment. I loved the texture of the bread. It was soft, and yet had the perfect “chew” to it. I know I’ll make this again, and I have ideas of making naan pizza. I think that would be fun to do.
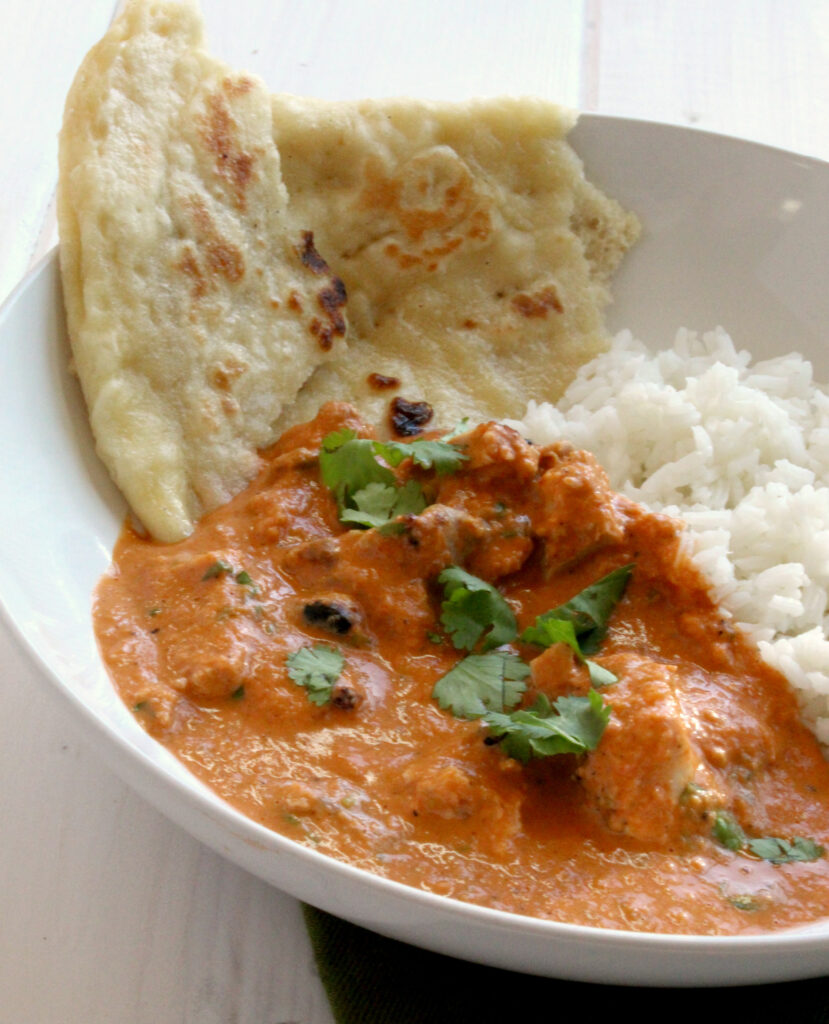
I’m happy with this recipe, because it was perfect for cleaning my bowl of Butter Chicken sauce. The next day, I reheated a leftover naan in the oven, wrapped in foil. It was still delicious! NOTE: In the future, I will plan ahead, next time, and make the dough a day in advance. I’m guessing that this helps to develop more flavor to the dough? Besides that, I’ll have less of a mess to clean up (lots of flour, for sure) and I can focus on the main dish.
Indian Flatbread (Naan)
Equipment
- Spray bottle with water
- 12-inch cast-iron skillet (recommended for best results) and a lid
Ingredients
- ½ cup ice water
- ⅓ cup plain whole-milk yogurt
- 3 tablespoons vegetable oil plus 1 teaspoon
- 1 large egg yolk
- 2 cups all-purpose flour (10 ounce); possibly up to 2/3 cup more to prevent sticking (see my instruction notes)
- 1 ¼ teaspoons sugar
- ½ teaspoon instant or rapid-rise yeast
- 1 ¼ teaspoons salt
- 1 ½ tablespoons unsalted butter melted
Instructions
- Process flour, sugar, and yeast in food processor until combined, about 2 seconds. With processor running, slowly add water mixture; process until dough is just combined and no dry flour remains, about 10 seconds. Let dough stand for 10 minutes.
- IMPORTANT NOTE: I found that the dough did not "stick" together in my food processor, until added an additional 1/3 cup flour.
- Transfer dough to lightly floured work surface and knead until smooth, about 1 minute. Shape dough into tight ball and place in large, lightly oiled bowl. Let dough rise at room temperature for 30 minutes.
- Fold partially risen dough over itself 8 times by gently lifting and folding edge of dough toward middle, turning bowl 90 degrees after each fold. Cover with plastic wrap and let rise for 30 minutes. Repeat folding, turning, and rising one more time, for total of three 30-minute rises.
- Adjust oven rack to middle position and heat oven to 200 degrees. Place heatproof plate on rack.
- Transfer dough to lightly floured work surface and divide into 4 equal pieces. Shape each piece into smooth, tight ball. Place dough balls on lightly oiled baking sheet, at least 2 inches apart; cover loosely with plastic coated with vegetable oil spray. Let stand for 15 to 20 minutes.
- IMPORTANT NOTE: The dough will definitely be sticky. I floured my hands, my work area and my rolling pin. Still, it was so sticky that I slowly added an additional 1/3 cup of flour in order for the dough to be able to rise and be rolled out.
- Transfer 1 ball to lightly floured work surface and sprinkle with flour. Using hands and rolling pin, press and roll piece of dough into 9-inch round of even thickness, sprinkling dough and work surface with flour as needed to prevent sticking. Using fork, poke entire surface of round 20 to 25 times.
- Heat remaining 1 teaspoon oil in 12-inch cast-iron skillet over medium heat until shimmering. Wipe oil out of skillet completely with paper towels.
- Mist top of dough lightly with water.
- Place dough in pan, moistened side down; mist top surface of dough with water; and cover. Cook until bottom is browned in spots across surface, 2 to 4 minutes.
- Flip naan, cover, and continue to cook on second side until lightly browned, 2 to 3 minutes. (If naan puffs up, gently poke with fork to deflate.) Flip naan, brush top with about 1 teaspoon melted butter, transfer to plate in oven, and cover plate tightly with aluminum foil. Repeat rolling and cooking remaining 3 dough balls. Once last naan is baked, serve immediately.
Notes
Nutrition







Hi, I would love to know if you have a ROTI recipe as you have for the naan.
Thank you.
No, but it sounds interesting!