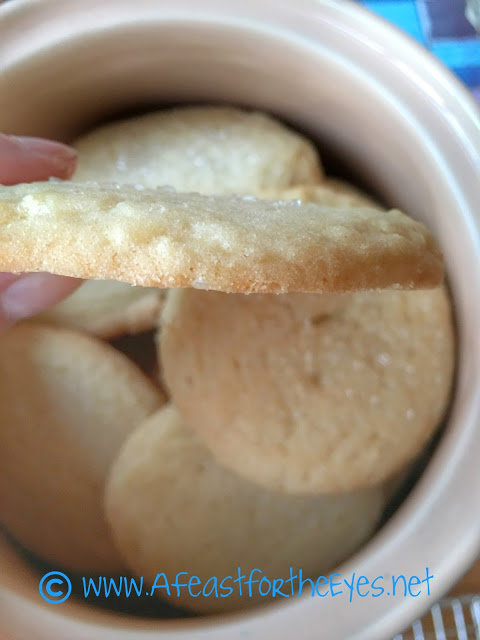
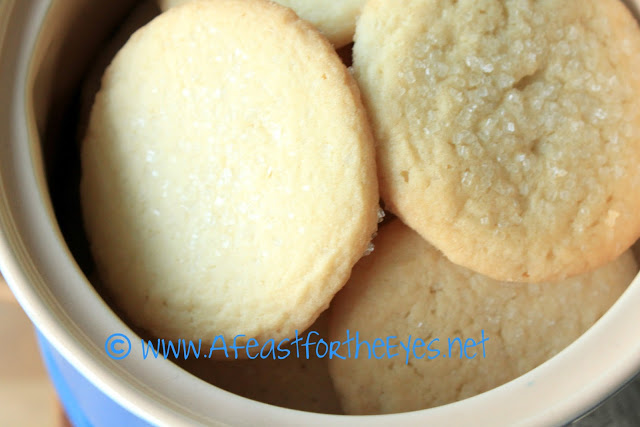
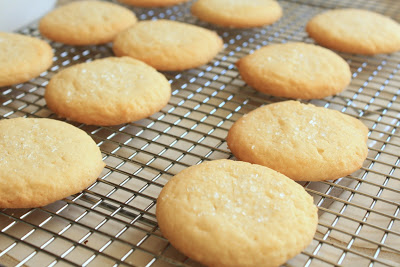
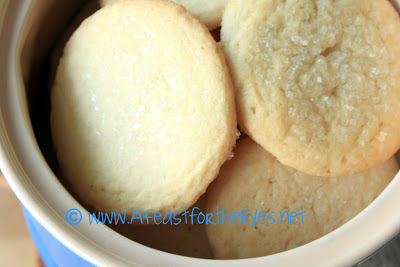
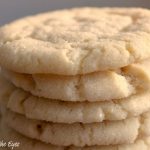
For me, the ultimate sugar cookie has crispy edges and some “chew” in the middle. While I enjoy a cut-out sugar cookie during the holidays this version is a scoop, press and bake version. As far as flavor, this cookie ranks all the way at the top as a winning recipe. Seriously! You can even swap out vanilla extract for almond extract– and lemon extract could work, too. Whenever I bake these, the cookie jar gets emptied out fast! These truly are the best!
I’ve always loved a crispy butter cookie, with a chewy center. A few months ago, one of my students brought a plate of sugar cookies to share with my office. For me, it was love at fist bite and I had to fight the urge to not share the cookies. However, in good conscience, I passed them around and everybody raved about them. I asked her if she’d get the recipe from her dad– and after constant a few reminders, she brought me a recipe card. Score!
The recipe card was hand written with the name “Aunt Esther’s Sugar Cookies”. I asked who she was, and my student said she had no idea, and her dad couldn’t remember how he got the recipe. Well, Aunt Esther, whoever you are– thank you so much! The recipe only had ingredients and no detailed instructions. The few instructions said to squeeze the dough into one ball and pinch some dough and shape them into balls and roll in sugar. However, I was able to find a way to make the batter so that the dough turns out soft enough to scoop…
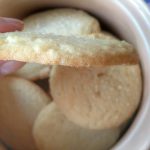
I have baked many sugar cookies in my lifetime and they are all good. But this cookie recipe ranks #1 favorite with my family now. Every time I bake a batch (and I’ve made these a few times) my intention was to photograph them, like most food bloggers do– with a pretty mat or napkin, the classic milk jar with a colorful straw…but these cookies disappear way too fast! I give up. I just need to share the recipe with these quick photos, because you’ll thank me.
Whenever I post photos of cookies I’ve just baked, I am asked how I get my cookies to look just like a professional bakery. Here are some “tricks of the trade” I’ve picked up over the years that have improved the results of my cookies:
My Tips on How To Bake Beautiful Cookies:
- Baking sheets – I got rid of my ratty and worn out cookie sheets and invested in four of these.
- Baking/Cooling Rack – I invested in four quality cooling racks a few years ago, and they are still serving me well. Cooling cookies on a rack helps to keep crispy cookies just the way they are supposed to be and is an essential kitchen tool. There’s another reason I prefer this type of baking sheet. I like the rimmed edge to make Texas Sheetcake.
- As an added bonus, one baking sheet pan plus one cooling rack on top is great for making things like my famous Meatloaf or Chicken Fried Steak! See? It’s a multi-purpose set of kitchen tools!
- Parchment Paper – My baking sheets look nearly new because I buy pre-cut parchment paper. The pre-cut is so much easier to work with that buying one long roll of parchment paper. I prefer parchment paper for cookie baking. I really do! There is an added bonus to parchment paper. I use it, instead of foil, when roasting veggies or potatoes. Nothing sticks to parchment paper!
- Cookie Scoops – Back in the day, I did the two teaspoon way of measuring out cookie dough. Ever since I bought this set of cookie scoops, cookie baking become a whole lot easier! This is truly the baker’s secret to uniform cookie baking perfection. By the way, these are great for forming meatballs as well. Trust me!
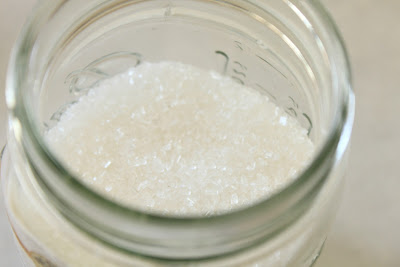
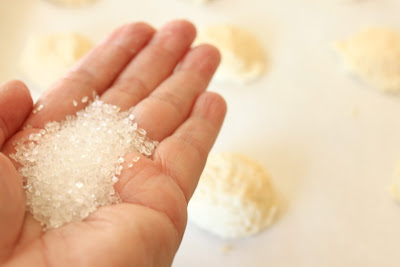
- Sparkling Sugar – I order this from one of my favorite recipe and ingredient sources “King Arthur Flour“. I always keep at least one jar in my pantry, because it adds beautiful sparkle to cookies, scones and pie crusts. It’s so much prettier than regular table sugar.
- Baking Times – The first time I bake a new cookie recipe, I set the timer for 2 minutes less than the recommended time. I always set a second timer for half of the baking time, so I can rotate my pans 90 degrees. This step might seem unnecessary, but ever since I got into the habit of doing this, my cookies bake more evenly. It’s so worth it!
- Underbake, rather than overbake! The first time I bake a new cookie recipe, I check them sooner than later. I look at the edge of the cookie, and sometimes I lift the edges. If they are firm, then I know the cookie is done. My favorite cook is crispy on the edges and a little chewy in the middle–it’s all personal preference.
As far as ingredients, the only brand of flour that I use is King Arthur Flour. Their flour is unbleached, and preferred by professional chefs and bakers. I can find mine at my local grocery store, but every so often KAF emails me shipping deals and I stock up with them at a great price.
The Ultimate Sugar Cookie
Equipment
- 2" Cooking Scoop Makes measuring super easy
Ingredients
- 1 cup sugar
- 1 cup powdered sugar
- 1 cup butter softened
- 2 eggs
- 1 cup vegetable oil
- 1 teaspoon vanilla Variation: use 1/2 teaspoon vanilla and 1 teaspoon pure almond extract
DRY INGREDIENTS:
- 1/2 teaspoon baking soda
- 1 teaspoon cream of tartar
- 4 cups flour
- 1/2 teaspoon salt
Decoration:
- Sparkling sugar for garnish and crunch (optional)
Instructions
- Preheat the oven to 350°F.
- Whisk the dry ingredients together, and set aside.
- With an electric mixer, cream the butter and sugar together 3 to 4 minutes.
- Add the powdered sugar and mix for about 1 minute.
- Add the eggs, one at a time
- Add the vegetable oil and vanilla and/or almond extract.
- Add the dry ingredients, a bit at a time, just until combined. Don’t over-mix.
- For best results, line a baking sheet with parchment paper (or a Silpat).
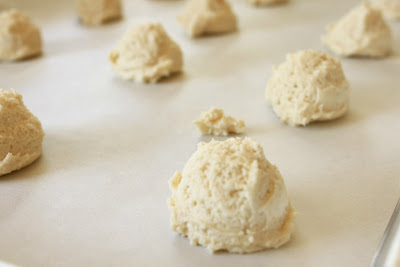
- NOTE: The dough will be soft, so a cookie scoop makes the task a lot easier. Otherwise, chill the dough for at least 15 minutes, if you don't have a cookie scoop.
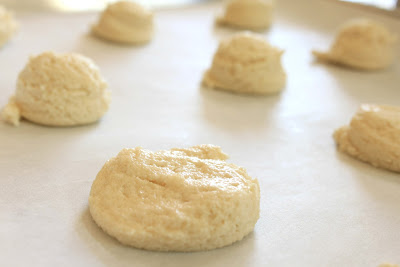
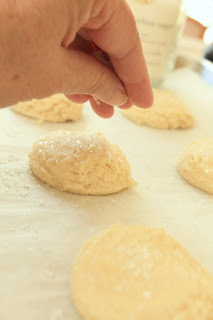
- I like to use a 2-inch cookie scoop to measure 12 cookies per sheet, spaced about 2″ apart. With the flat of your palm (I lightly moistened my hands with water so the dough doesn’t stick), gently press the cookie down just enough to flatten it out to be even.
- Sprinkle sugar on top.
- Bake for 14 to 15 minutes, rotating the baking sheet halfway through.
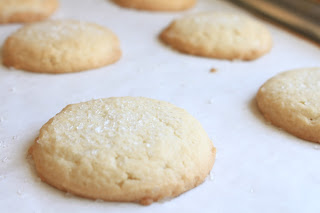
- The cookies should be slightly brown around the edges.
- Allow them to cool for 5 minutes, then remove to a cooling rack.
- Once the cookies are completely cool, they will be crunchy, with a tender texture on the inside.
Notes
Nutrition



I'm sold. I need to bake these cookies. Thanks for all the tips.
I never buy vegetable oil.Is there a good substitute?
I have been trying not to make sweets…but you beat me up yesterday and the only way to be satisfied is to eat cookies! Checking my shopping list….
Thanks so much for the "tips" but are you sure the rack is the correct one? It measures larger than the pan or am I just confused by so many numbers? lol Just checking before ordering. I'm not a big cookie baker or a baker in anyway, but I have a hankering for these cookies. I am particularly looking forward to making your swiss chard crostata. Now that has some big hankering.
Good tips, each and every one of them. I used powdered sugar in my cookies as well…I think that makes them really good.
thats look so delicious
wow that look so delicious