Yes, you can make homemade bagels in your own kitchen. These turn out chewy in the middle, and a crispy on the outside. I enjoy them, most, toasted with a little cream cheese. Yummy! Baked bagels freeze really well, too.
I love bagels. I especially love freshly baked bagels. I don’t buy them at my supermarket, because I don’t know how old they are– and I don’t think they taste all that great. To me, they have a spongy texture and taste stale.
There are only two bagel bakeries in the area where they live. Both bakeries do a great job producing the kind of bagels I like– crispy on the outside, and chewy in the middle. So good!
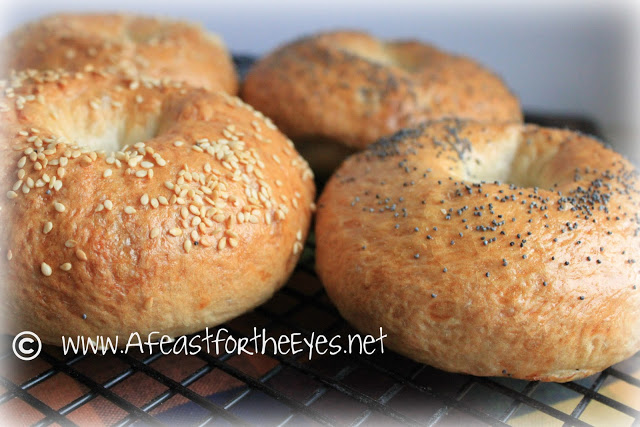
Learning how to make my own bagels has been on my recipe bucket list for a very long time. I’ve bookmarked several versions of bagel recipes on King Arthur Flour. I even bought the non diastatic malt powder (per King Arthur Flour: A sweet derivative of roasted barley. Add it to the dough, then again to the boiling water to give bagels their distinctive shiny crust.). Had I known how fast and easy it is to make this recipe, I would have accomplished that a long time ago!
Sometimes, necessity is the mother of invention. In my case, I had made a Citrus-Cured Salmon from a beautiful piece of Irish salmon that I couldn’t resist (at $20.00 a pound. Ahem.) NOTE: recipe for this will be my next post.
I made a delicious canapé with the salmon, and loved them. Still, I wanted one of my favorite ways to enjoy a bagel– with cream cheese and gravlax (or smoked salmon). The only problem was, I didn’t have any bagels in the house, and it was New Year’s Day. It was time to commit to baking my own bagels.
At first, I was put off by making bagels, because the recipes that I found required a dough starter that I needed to make the day before. Nooooooooo! I wanted them NOW. It was 9:00am and I wanted these for lunch. I was determined to find a quicker way.
Fortunately, I found another trusted recipe that had success without making the starter. Hurray! That’s all it took. I plugged in my stand mixer, gathered my King Arthur Flour bread flour and other ingredients, and got to work. (Actually, my stand mixer did all the hard work for me.)
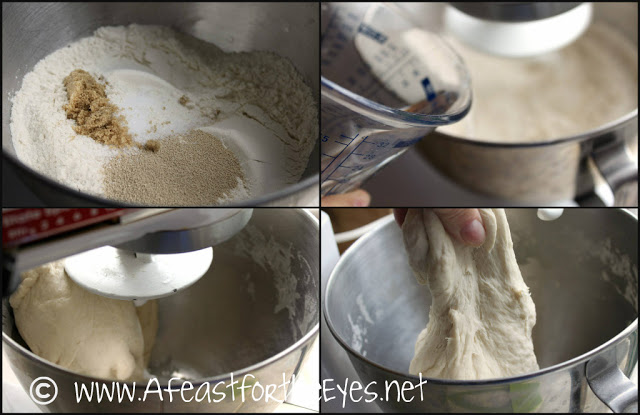
The ingredients list is short– bread flour (has more gluten than all-purpose flour), brown sugar, instant yeast (I use SAF instant yeast), salt and warm water.
TIP: For the longest time, I used to panic when my dough wouldn’t come together. It would look shaggy and dry. I finally learned that I needed to be patient and allow the gluten to form. The end result, an elastic, pliable dough that is easy to work with.
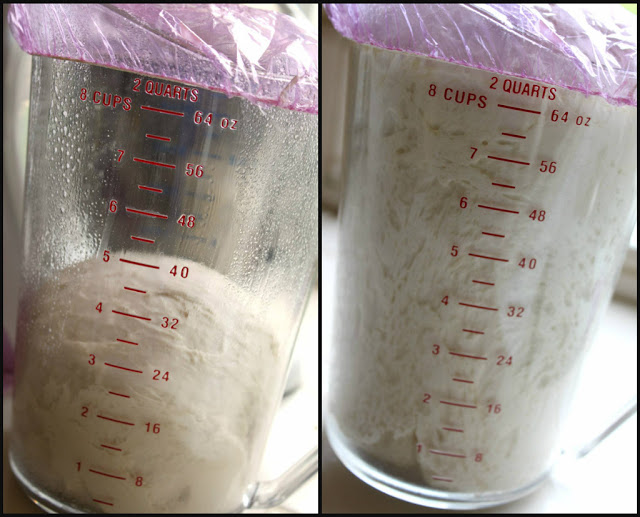
I use my oven as my “proofing drawer” by turning it to WARM for one minute. Then I turn it off. I do this while the dough is mixing. UPDATE: My newest kitchen “tool” is my Collapsible Bread Proofing Box. I love it!
I oiled my new acrylic measuring cup, smoothed the dough into a ball and covered the container. I placed it into my pre-warmed oven. I was surprised that in less than an hour (50 minutes, to be exact) my dough had risen beautifully!
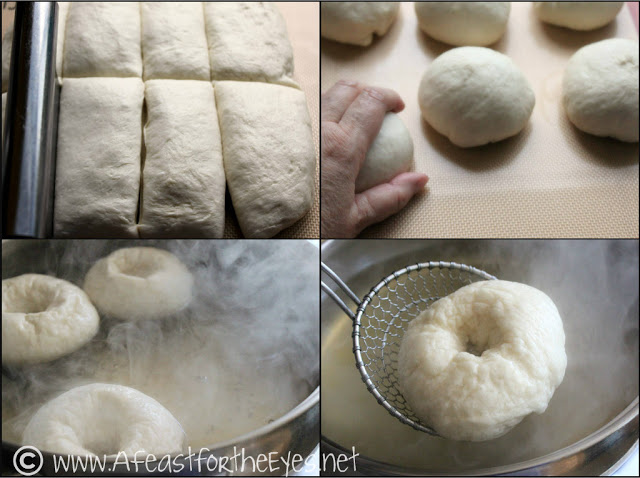
I cut the dough into eight pieces, then rolled them into a smooth, round ball. I set them on parchment paper (or a silicone mat, or a lightly greased baking sheet). Cover the dough, loosely, and allow to rest for 30 minutes.
NOTE: Um, I forgot to cover the dough, and they developed a bit of a crust. This caused the bagels to wrinkle (purely cosmetic) when I poked a hole to shape the bagels.
Shaping the bagels worked best for me, by simply poking a hole in the middle, then twirling the dough until the hole enlarged to where I wanted it.
I decided not to use the non diastatic malt powder, because I couldn’t remember where I stored it I wanted to use brown sugar instead. Just this time. I have to admit that the water bath part of bagel making is kind of fun! You’ll want to boil them for 2 minutes, flip them over for another minute. Place the bagels back on the baking sheet.
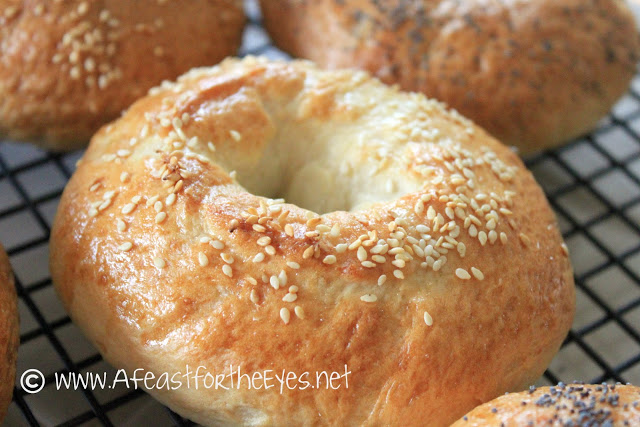
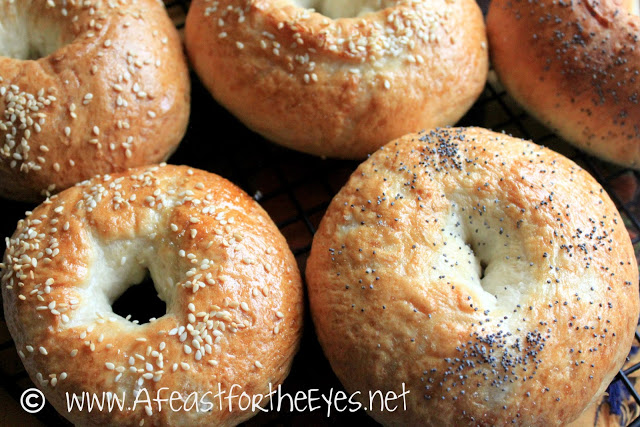
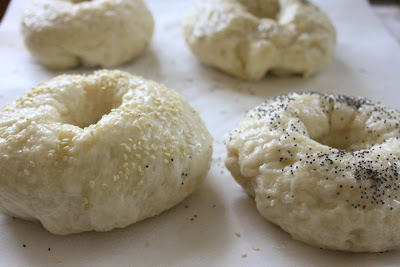
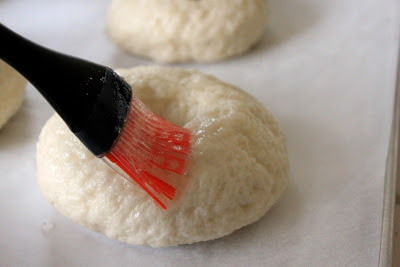
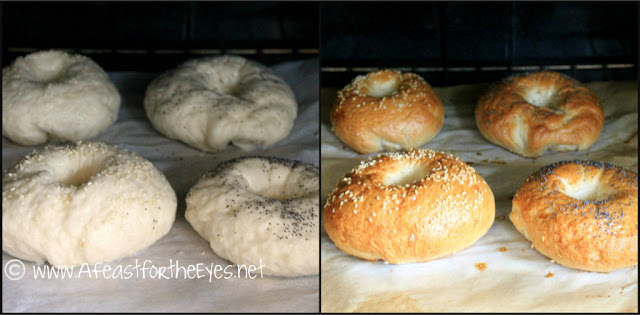
You can add any of your favorite toppings, by gently brushing the bagels with an egg white wash. I chose a variety of poppy seed and sesame seeds. My faves!
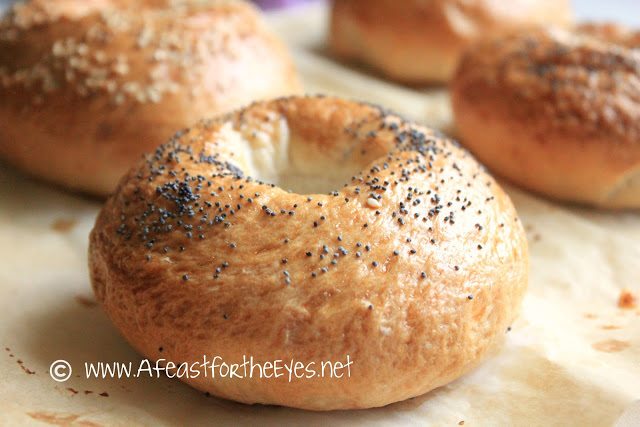
The bagels baked to a beautiful golden brown in less than 20 minutes. My bagels were placed on a baking stone. I keep my baking stone in my oven, at all times. I no longer have soggy pizza crusts, and my bread rolls turn out crispy on the bottom. I absolutely love it. I also use my pizza peel to side the bagels onto the baking stone (that I always preheat). These two products have improved my bread baking results, and I highly recommend investing in them. You won’t regret it.
I started making the bagels at 11:00am. At 12:30pm, this is what I had on my kitchen counter. A warm, homemade bagel– by me! They felt firm and crisp on the outside…
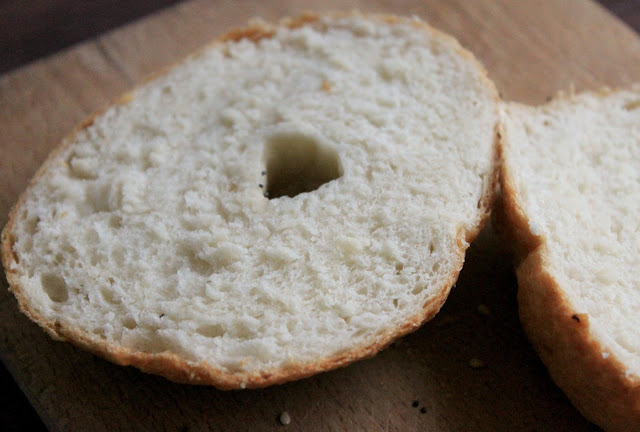
The moment I’ve been waiting for. I sliced one open. Nice crumb. But, will it be as good as our local bakery?
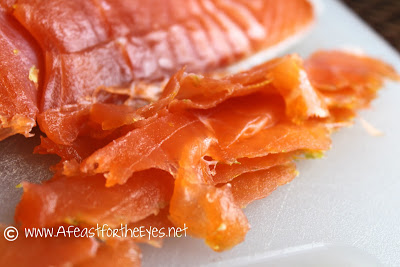
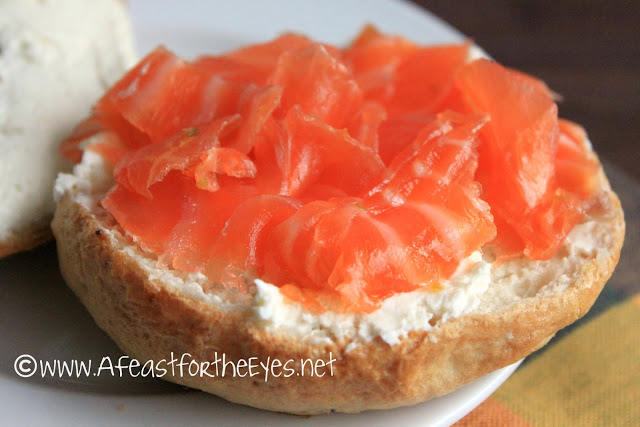
I slathered on some whipped cream cheese, and layered it with this beautiful homemade gravlax. (You can find how to make this by click here.) I debated adding sliced red onion, capers and fresh tomatoes. But, it’s winter, and I don’t particular enjoy anemic out-of-season hot house raised tomatoes. So, plain and simple it is.
TASTING NOTES: How can a warm and fresh bagel, with cream cheese and salmon not taste good? I had to slow down, to savor the flavor. There is nothing more gratifying than biting into home baked bread, that you made all by yourself. I was ecstatic that I now know how to make bagels. The interior texture was soft, but not spongy. That’s good. I didn’t quite achieve that dense, chewy texture that my local bakeries do– but I would guess it’s because I didn’t make the sponge 24 hours in advance. (I plan to try that version, and will report back.) Still, I was very happy with this recipe. It’s super simple, you don’t need to buy any fancy ingredients– and it works! By the way, these bagels are very good when lightly toasted.
If I was to change anything in the directions, it would be to make the bagels smaller. I could easily cut the dough into 12 pieces and cut back on my carbs. This recipe is definitely a keeper, and I hope that you try making your own bagels. It’s fun, and so rewarding.
Easy Homemade Bagels
Equipment
- I invested in a baking stone, and that is how I get crispy pizza crusts, and crispy baked rolls. I also use parchment paper, and cannot be without it. I buy mine pre-cut from King Arthur Flour.com.
- A "spider"(shallow wire mesh basket with a long handle) makes flipping over the bagels, draining them and placing them on the baking sheet really easy to do.
- Important: I used my Kitchen Aid Stand mixer, because it’s less elbow grease than kneading this dough by hand. I also invested in a pizza peel, that makes the transfer of my breads/pizza much easier to do.
- large pot for the water bath
- Baking Sheet lined with parchment paper
Ingredients
DOUGH:
- 1 tablespoon instant yeast recommended, SAF instant yeast
- 4 cups bread flour 17-ounces; (recommended King Arthur Flour unbleached bread flour)
- 2 teaspoons salt
- 1 tablespoon brown sugar
- 1 1/2 cups warm water 12 ounces
WATER BATH:
- 2 quarts water
- 2 tablespoons brown sugar
- 1 tablespoon granulated sugar
Instructions
Manual/Mixer Method:
- To make this dough in a mixer, combine all of the dough ingredients and on medium-low speed for about 10 minutes. (To make this dough by hand combine all of the dough ingredients and knead vigorously, by hand for 10 to 15 minutes.)
- Place the dough in a lightly greased bowl and cover with lightly greased plastic wrap. Set it aside to rise for 1 to 1 1/2 hours until it is noticeably puffy.
- Note: You can use your oven as a "proofing drawer".Turn the oven on WARM for one minute, then turn off the oven. My dough had risen, beautifully, in less than an hour!
- Transfer the puffed/risen dough to a work surface and divide the dough into eight equal pieces. Working with one piece at a time, roll it into a smooth, round ball. Place the balls on a lined or lightly greased baking tray and cover lightly. Let them rest for 30 minutes. They’ll puff up very slightly.
- Note: I forgot to cover the dough, and it developed a bit of a crust, giving the bagels a slightly wrinkled look. My bagels still turned out great, but next time I won't forget to cover them while resting.
- Once they have rested, one-by-one, use your thumb to poke a hole through the center of each ball then twirl the dough and use your other fingers to stretch the hole until it is about 1 to 2 inches in diameter. The entire bagel will be around 4 inches across. Place the shaped bagels on a lined baking tray (the same one that you’ll bake them on).
- Prepare the water bath by heating the water and sugars to a very gentle boil in a large, wide-diameter pan. You can use a large pot or a deep straight-edged skillet.You'll want to boil them for 2 minutes, flip them over for another minute. Place the bagels back on the baking sheet.
- Preheat your oven to 425°F.
- Top the bagels with your desired ingredients. If you are going to use a dry topping, such as sesame seeds or poppy seeds, whisk together 1 egg white with 1 tablespoon water and brush each bagel with the mixture before topping heavily with sesame seeds, poppy seeds, etc.
- If using Asiago or another cheese, there is no need to brush the bagels with an egg white glaze, simply place the shredded cheese on the bagels.
- Bake the bagels for 20 to 25 minutes, or until they’re as deep brown as you like. Remove the bagels from the oven, and cool completely on a wire rack.
Notes









Oh my, these bagels would certainly make my husband happy…especially with the salmon.
Wow amazing! Would love one of those with Philadelphia cheese!
Thank you for sharing! 🙂
Visit my blog whenever you have time,
http://its-dominica.blogspot.co.uk/ Kisses !!
Heck yes and what a wonderful idea. Yes! (Although the formula and method card is not easy to access, once one gets there, it works.)
We've tried bagels before, perhaps with too many compromises. Nuts. A nice weekend is coming, we've got everything and we too enjoy a fresh one. If we happen to end up with a dimple or an imperfect surface, we 'll never mention it.
If it matters, the bagels that we pass are those that arrive frozen, are thawed a little, proofed and baked. Most have never seen a boiling water bath, yet most darn sure need the complete method. Thank you for the wonderful idea. This is not Rocket Science, but a great bread with one additional step. +Craig (the other one.)
You inspired me to try making bagels, Debby. A good bagel is hard to come by in my area and I'm usually disappointed when I buy them. Bagels, cream cheese and good lox are one of my favorite meals. I would really be proud of myself if I made the bagels and prepared the salmon myself. Now you've made me hungry.
Hi – I can't find the recipe – please help – my mouth is watering! Thanks.
I can see the recipe card! If you read the last paragraph, I provide my email address to I can send it to you. Please email me, and I'm happy to send it. Unfortunately Key Ingredient has changed the viewing to require a free membership. So sorry.
Hi there. I would love to try this recipe! It seems there’s a step missing- how long to put the bagels in the water bath. And do they go in the oven directly after the water bath? Thank you for your help; I can’t wait to make them!
Regards,
Barbara Raymond
Oh my goodness! I’m so sorry, and thank you for pointing that out. I’ve edited both the post and recipe card to reflect that you need boil them for 2 minutes on one side, and flip over for one more minutes. Happy Baking!