Perfect Air Fryer Bacon
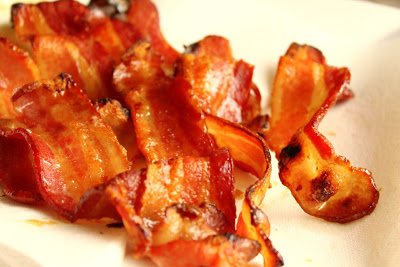
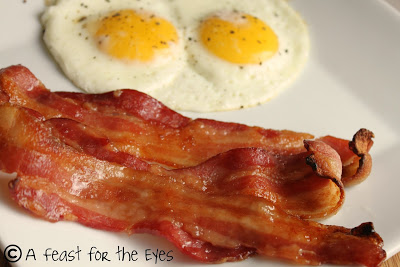
Perfect Oven-Fried Bacon is truly a revelation! Instead of frying bacon, in a pan, the oven cooks the bacon more evenly. To add a sweet and savory element to the bacon, an even sprinkling of brown sugar makes the most incredible candied bacon! I’ll show you how clean up can be a snap. Now that I own an Air Fryer, I can cook smaller batches of bacon in no time at all.
The aroma of cooked bacon attracts the men in my house in no time! Over the years, I’ve pretty much stopped cooking it in a skillet. Instead, the oven (or my new air fryer) does a great job. I’ve also developed a handy dandy technique to store bacon in the freezer, where I can easily snag a slice or two for a recipe. Here’s what I do:
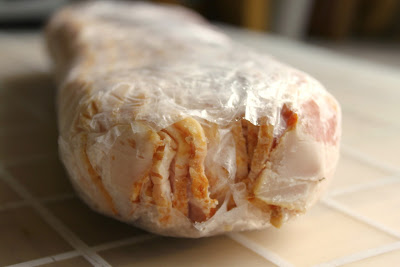
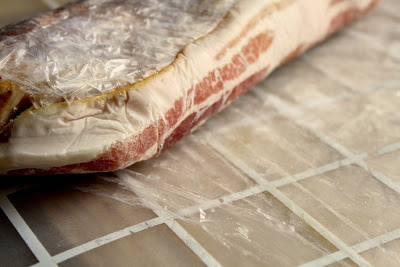
Tip #1: My boys prefer thick-cut Applewood Smoked Bacon. Whenever I stock up, at Costco, I buy their bacon. When I arrive home, I roll out a long piece of plastic wrap. I set a slice of bacon on top, and roll it over once, then add another slice and roll it over…well, you get the picture. What I end up with is a layer of individual slices, with plastic wrap. I put that rolled up bacon slices in to a Zip Loc bag and place it in the freezer.
There’s a method to my madness, with taking the time to do this. For one, once I open a package of bacon, I’m risking that it will go “bad” if I don’t use it all at once.
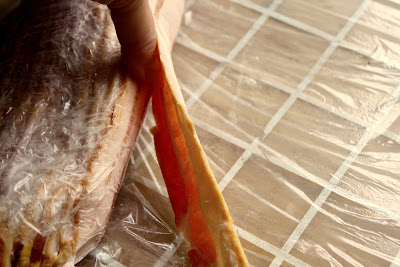
In addition, when I need one slice, (or multiple slices of bacon) I simply unwrap my frozen package and pull off a slice.
Sometimes, I slip a dull knife in between slices, and that usually gets the party started. There! One slice of bacon. When I make breakfast potatoes, or any kind of recipe that needs “lardons” (basically thin slices of bacon), I find that frozen bacon is much easier to slice.
TIP #2: My preferred method for preparing bacon slices isn’t in the microwave, or by frying it. (Though, I will use my cast-iron skillet to make crispy bacon for crumbling into a recipe.) I’ve been baking/roasting bacon slices, for several years. I like this method best, because the bacon doesn’t become soggy, as it cooks in the fat that it has rendered. I use a baking sheet, coated with foil, and a wire cooling rack placed on top.
As an added flavor bonus, I make Candied Bacon (Brown sugar bacon) which has become a favorite breakfast treat, with my men. I simply dip bacon slices into brown sugar, and coat them on both sides, before placing them on the wire cooling rack. The only drawback, is that the rack can take a bit of elbow grease to clean.
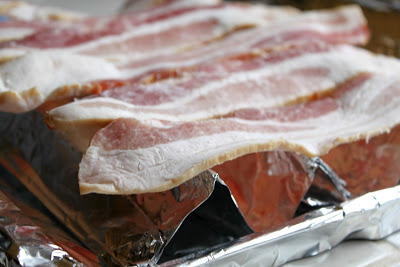
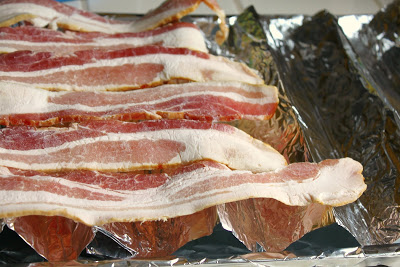
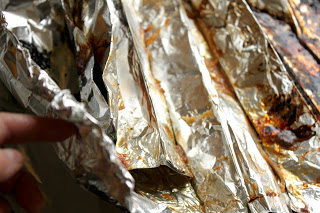
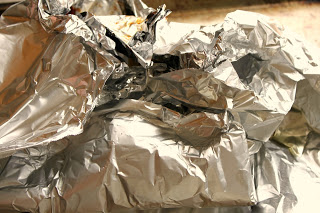
My clever friends at “America’s Test Kitchen” shared a tip that I had to test for myself. Instead of using a wire cooling rack, I used heavy duty aluminum foil, folded it to fit the width of my foil-covered baking rack. I folded the heavy duty aluminum foil into approximately 1-1/2″ folds, to resemble a fan.
Because my Big Boys love bacon, I figured I needed to make at least 12 slices. I was able to fit the frozen bacon over the folds, even though the slices overlapped a bit.
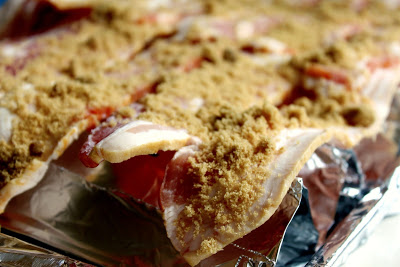
Generously sprinkle brown sugar all over the frozen bacon, and then insert the rack into a 400F oven.
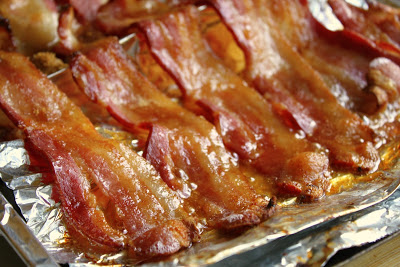
Baking time varies, of course. America’s Test Kitchen recommends about 10-12 minutes total. Because I used thick-cut, frozen bacon, the total cooking time was closer to 24 minutes. My boys like their bacon to be more of the soft and chewy side. I like for my bacon to be more on the crispy side.
Once I removed their share of bacon, and placed it on a paper towel-lined plate I returned the bacon to the oven, and broiled the slices for a few minutes, keeping a close eye on them. (The brown sugar can burn very quickly and set off the smoke alarm– which gave my son a rude awakening that mom was making breakfast.)
Here’s the video, from America’s Test Kitchen, though I’ve adapted the method by using heavy foil (which they don’t mention) and adding brown sugar. (A printable recipe card is at the end of this post.)
Perfect Oven-Fried Bacon
Equipment
- 1 large, rimmed baking sheet, such as a jelly-roll pan, that is shallow enough to promote browning, yet tall enough (at least 3/4-inch in height) to contain the rendered bacon fat.
- heavy duty aluminum foil for easier clean up, or to make a foil accordion baking rack
Ingredients
- 12 slices thin or thick cut bacon thick-cut apple wood bacon is my personal choice
Instructions
- Adjust oven rack to middle position and heat oven to 400 degrees. Arrange bacon slices in a large jelly-roll pan or other shallow baking pan. NOTE: I like to line the pan with aluminum foil for easier clean up.
- ALTERNATIVE: Using a long piece of heavy aluminum, fold the strip into an according. This will mimic a backing rack. Set the foil on top of a baking sheet. Once the bacon is cooked, allow the fat to cool, wad up the aluminum foil and toss.
- NOTE: If making candied bacon, sprinkle an thin, even layer of brown sugar over each strip of bacon.
- Roast until fat begins to render, 5 to 6 minutes; rotate pan front-to-back. Continue roasting until is crisp and brown, 5 to 6 minutes longer for thin-sliced bacon, 8 to 10 minutes for thick-cut. Transfer with tongs to paper towel-lined plate, drain, and serve. IMPORTANT: If making candied bacon, do not lay each strip on a paper towel. The bacon will stick to the paper!
Notes









Will you prepare my breakfast tomorrow morning? I'll do buttermilk pancakes just for you!
Bug hug! Patty
I like all of your tips Debby. I tend to buy only small portions of bacon because I love it so. When it is gone it is gone and not waiting for me in the freezer. I can't resist it.
Great tips Debbie, especially the one with no clean up from cooking the bacon. Bacon is always a winner in our house. I'm sure my husband would really go for the brown sugar version.
Sam
Love this. Great tips and so easy!
Love bacon and this one looks delicious! Sweet and salty is my favorite combination. Great post!
Great tips! I am always racing to finish up the package of bacon…your freezing tip would help..At a special breakfast, we had some bacon that had been baked. It was delicious. Baking makes it so much easier to prepare for a crowd.
Great bacon tips, Debby. I prefer the oven method too. It's the only way to go when I have a group for breakfast. I haven't tried the brown sugar yet but am very sure I will love it. There is nothing like the smell of bacon cooking.
I love this! I'm definitely the person that cooks an entire package of bacon in one sitting only because I fear wasting it. So this tip is great!
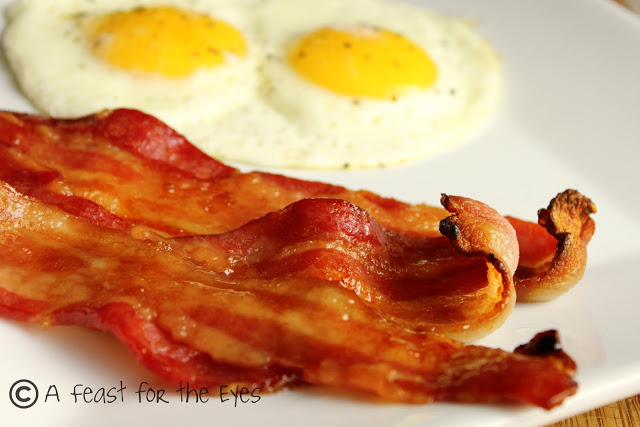
This is the BEST tip because so often after buying bacon, my conscience says "naughty girl" and then the meat languishes in the fridge. BTW, your sunny side up eggs and I would get along very well 🙂
I love roasting my bacon in the oven as well. I don't have enough wire racks to make enough bacon though so I REALLY LOVE your tip about using heavy duty aluminum wrap. Will try! Plus, it will be so much easier to clean 🙂
Love your tips on wrapping the bacon for freezer! I don't eat alot of it and it was going bad quickly. I notice it's also harder to find the maple flavored bacon so your brown sugar idea was super! I've been baking my bacon for awhile now and I place it in cold oven on foil, set to 350F and when oven reaches temp, set timer for 20 mins. Perfect every time! Keep those great tips coming Debbie! jan
Great advice. I buy Costco bacon too, and usually freeze one package. I like how you rolled the bacon in plastic wrap, I will do the same next time.
Velva
Great tips and no greasy, messy frying pan.
Great tips, especially about the single slice wrapping. As for baking bacon, that's been my go-to for years. I'm surprised that more folks don't use it. I do mine on a half-sheet or quarter-sheet baking pan lined with foil; the dripping can be retained if desired and clean up in a breeze. I had to shop a bit, but I finally found cooling/drip racks to fit both pans and that fit my dishwasher. (With a very few exceptions, if it won't fit the dishwasher, I don't want it!)
Great post Debbie!