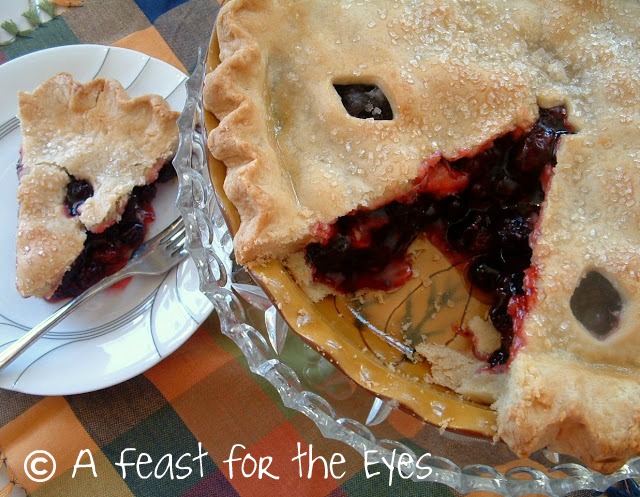
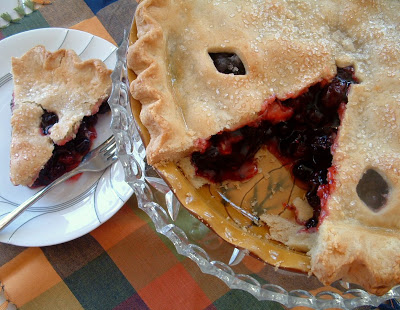
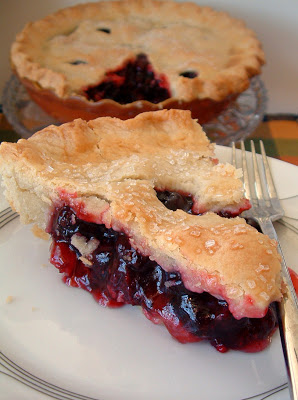
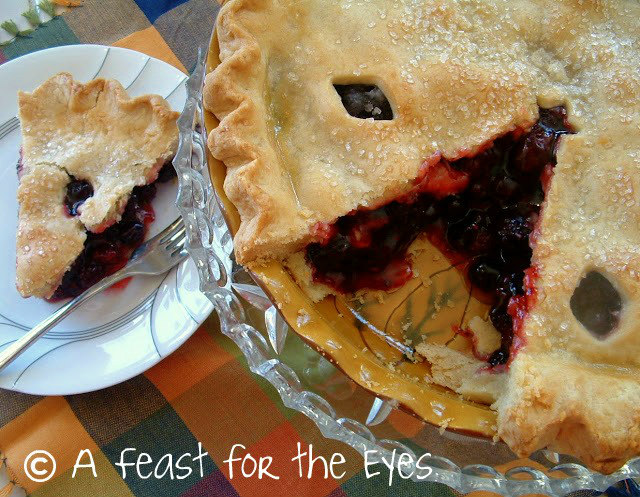
This Olallieberry Pie has a tender and perfect butter pie crust. After years of experimenting, I have finally found my groove in rolling perfect pie crusts, crimping them baking them to a tender and flaky golden brown– and I’m sharing with you how to make flaky and pretty pies!
For those of you who can’t find olallieberries where you live, I’m so sorry. (You can easily substitute blackberries and raspberries for a great pie.) Olallieberries are a cross between a loganberry and youngberry, which has are also crossed to blackberries, raspberries and dewberries. To me, they taste like a blackberry, with a bit of tartness like a raspberry.
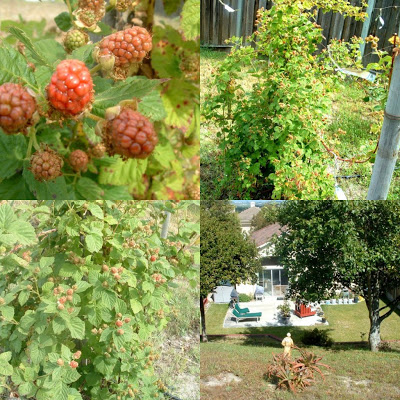
My husband has been nurturing an olallieberry plant that we purchased about four years ago at Linn’s Farmstore in Cambria, California. I took these photos a little over two weeks ago. Craig’s green thumb has paid off, because there are a lot of berries. The lower right shot is taken from the steep hill where he planted the bush. We do love our panoramic view of the Salinas Valley!
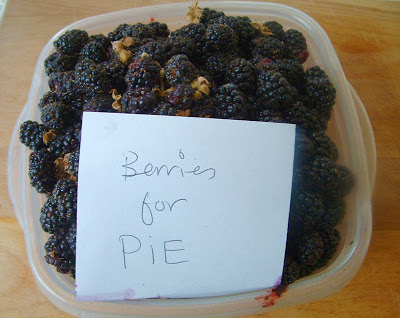
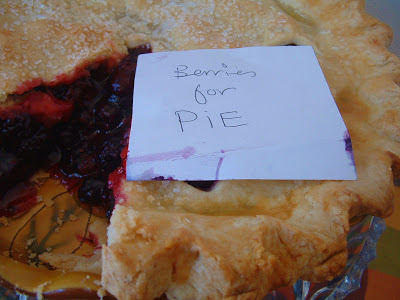
Yesterday, Craig said that the berries were ready and there were lots of them. “Yeah, yeah”, I thought, as I honked into some tissues– thanks to the tail end of a summer cold. This morning, I slept in (yes for vacations) and Craig had gone off to work. This is what I found by the coffee maker, when I woke up…
My husband loves berry pie. He especially loves olallieberries. For those of you who can’t find them where you live, I’m so sorry. They are a cross between a loganberry and youngberry, which has are also crossed to blackberries, raspberries and dewberries. To me, they taste like a blackberry, with a bit of tartness like a raspberry. Pie making is something I love to do, so I smiled at his note. After years of experimenting, I have finally found my groove in rolling perfect pie crusts, crimping them baking them to a tender and flaky golden brown.
I’ve also tried many pie crusts recipes, but I hadn’t tried Ina Garten’s recipe, yet. I’m agree with Ina– if I can use my food processor, rather than elbow grease, I’m in! If you have made tough pie crusts, or feel you can’t work with a rolling pin please sit back and watch. I hope to show you the techniques and tricks that I’ve finally mastered.
It’s really very simple as long as you use quality ingredients and you keep the butter and shortening ice cold. Trust me, this makes all the difference in the world! I only use King Arthur Unbleached Flour. No, they don’t sponsor me (I wish they did). If you knew how bleached flour is made, you’d never touch it again. Spend an extra couple of dollars, and you won’t regret it. I also buy organic vegetable shortening at Whole Foods. Why? Because many people get the heebie jeebies over the “other” brand. I do believe that shortening is a key component to flaky pie crusts. So, let’s go! First, the pie crust:
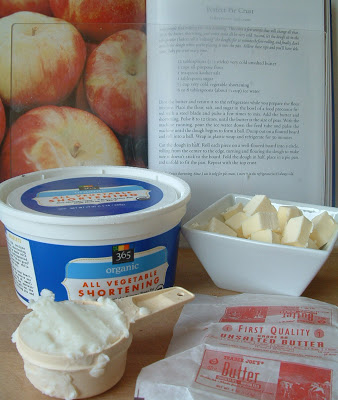
I own Ina’s cookbooks. All of them. Her pie crust recipe is in her Barefoot Contessa Family Style. You need to dice 12 Tablespoons unsalted butter and 1/3 cup vegetable shortening. Keep it in the fridge until you are ready to use it. You want it very cold. You also need ice water.
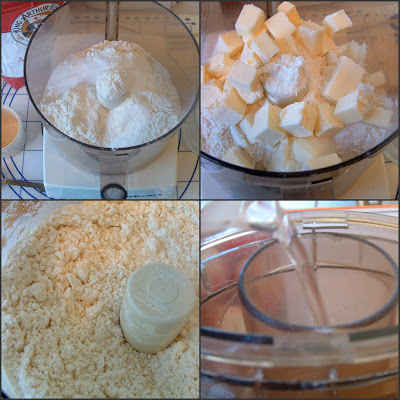
You can use a pastry cutter. I have one. Want it? Seriously, my food processor is 30 years old and still going strong and it works great for cutting pastry dough. For the dry ingredients, you want 3 cups of unbleached flour, 1 Tablespoon sugar and 1 teaspoon of kosher salt. Pulse it to mix. Add the cold butter and cold shortening. Pulse it in short bursts (about 12 times) until the butter is the size of peas. With the machine running, pour the ice water (not tap water cold, but refrigerator-with-ice cubes-cold) down the feed tube and pulse the machine until the dough begins to form a ball (bottom photo, top left)
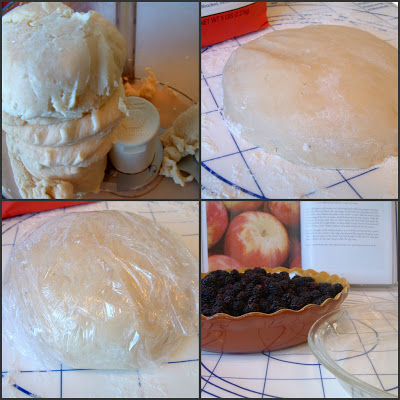
Dump the dough out on a floured board and roll into a ball.Wrap in plastic wrap and refrigerate for 30 minutes. Whatever you do, don’t skip the step in allowing the dough to rest. This is how you increase your success in making a tender and flaky pie crust. So, now for the berries. I have an assortment of deep dish pie plates, but I wasn’t sure that I had enough berries to fill one. I grabbed an ancient pie plate that is a lot more shallow and smaller.
We’ve had an unusually wet winter, and our summer has gotten off to an unusually slow start. Craig didn’t add the irrigation system to the top of our hill, until recently. I think that’s why the berries are a little smaller than usual and a little more on the tart side, rather than sweet. I ate one, and I puckered up. Whoa!
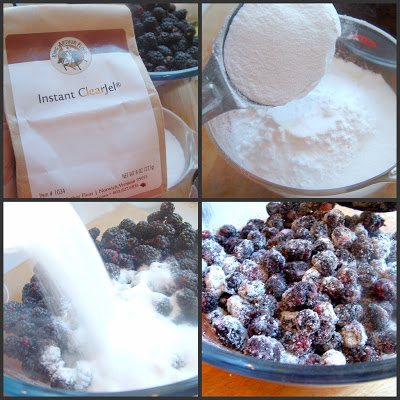
I want to give kudos to a nice little product that I buy from the King Arthur Website. It’s called Instant ClearJel. I’ve used this product as a thickener for berry crisps, berry puff turnovers and fruit pies. I find that using flour or cornstarch isn’t my #1 choice as a fruit pie thickener. ClearJel doesn’t cloud the fruit and it works great! I’m sold on that product, but I think I’d go with cornstarch as my thickener as my substitute. I wasn’t sure how much Clearjel I should use, so I made a phone call to the King Arthur Flour Baker’s Hot Line and I got “Frank”. Nice guy! His suggestion is that I use 3-4 tablespoons of Clearjel for 8 cups of berries– which is what I ended up with. Otherwise, I’d be inclined to try about 2 Tablespoons of cornstarch or tapioca for the filling. If you’re not sure, call King Arthur Flour! They are very helpful, indeed.
You want to add the thickener to the sugar and whisk it. Pour it over the berries. I know this looks like a lot of sugar. If your berries are sweeter, then reduce it. Add about 1 Tbsp of lemon juice and a pinch of kosher salt. It might sound weird, but salt does bring out the sweetness more. Really! Set the berries aside.
For the crust: My “must have” tools for pie crusts are a rolling mat (I’ve had this tupperware one for years and years). Put a damp cloth underneath so it “sticks” to the counter. I prefer a French rolling pin, because I feel I have better hand control You can use a traditional one, but if you get the hang of using one of these, you won’t want to use anything else.
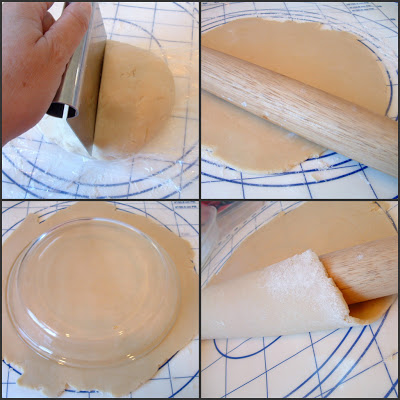
Sprinkle the mat (or board) with a little flour. Remove the dough from the fridge and cut it in half. Here’s what finally solved my dilemma with mangled pie crusts… roll from the center to the edge, turning and flouring the dough to make sure it doesn’t stick to the board. Roll, turn, roll, turn. Duh! I can remember having stuck pie dough that I’d tear, trying to remove from the board. Roll, turn, roll, turn. I’m telling you, it works every single time!
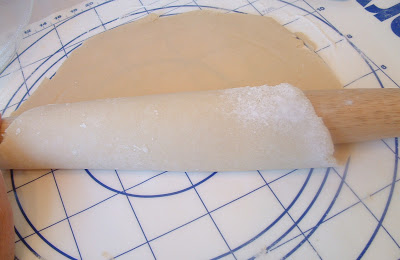
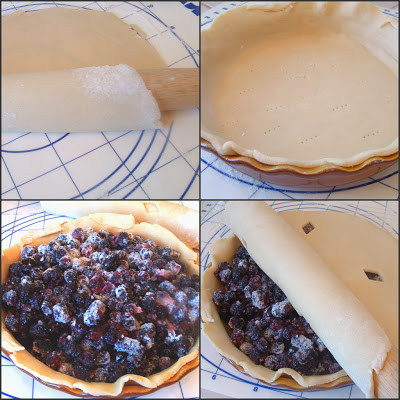
At first, I decided to use my smaller glass pie dish. I’m showing you how much overhang I like. Ready for my fool-proof technique in how to transfer the pie crust onto the plate? Lay the rolling pin at the edge of the pie crust, and roll it over the pin. I don’t like to fold the crust in half and then unfolding it over the pie plate. I’ve broken a few too many crusts this way. This is now my favorite technique. It works so well…
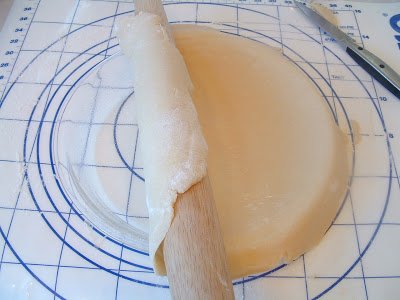
This is a glass dish, so you have to look hard. See? There’s one problem, though. I changed my mind and decided to switch to the larger pie dish. I just picked up the dough the same way and…
Whoops! This pie plate is a bit large. No worries. I’ll just make a larger top crust and seal the two together….
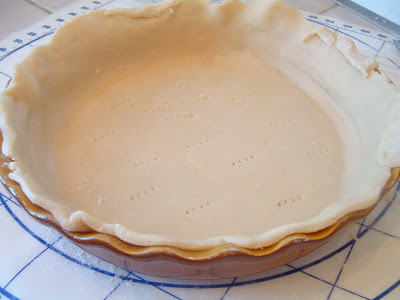
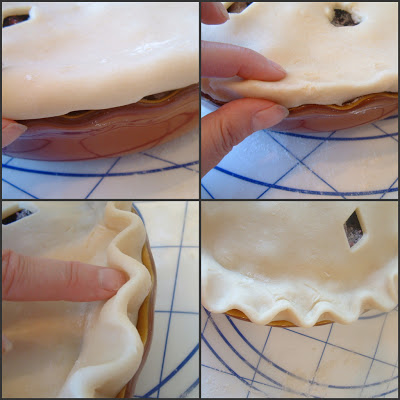
Before adding the berries, I poked a few holes on the bottom crust. It’s a good thing that I switched to the larger pie plate, because I had plenty of berries. The berries didn’t macerate too much, so you’re seeing sugar. I’m sure it’s fine. Before I lifted the top crust, I decided to cut a few holes with a Linzer Cookie Cutter. So, now you see me applying the top crust. Crimping… I used to feel totally incompetent, at first. It’s actually quite easy. First, I tucked the overhang of the top crust under and then sealed the two crusts together.
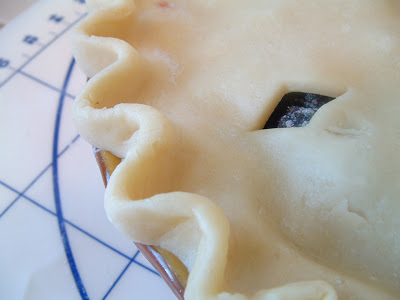
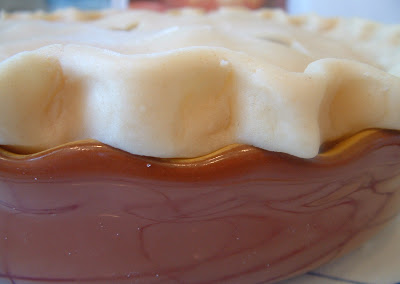
This crimp technique is so easy. I use my left hand index finger as a guide, and then push in with my right index and thumb to create this crimp.
The Best Olallieberry Pie and Pie Crust (plus pie crust baking tips)
Ingredients
CRUST:
- 12 tablespoons unsalted butter very cold
- 3 cups all-purpose flour
- 1 teaspoon kosher salt
- 1 tablespoon sugar
- 1/3 cup vegetable shortening very cold
- 6 to 8 tablespoons ice water about 1/2 cup
BERRIES:
- 8 cups of olallieberries or any kind of fresh berries in your area
- 1 cup sugar less, if the berries aren’t tart
- 2 tablespoons Clearjel from King Arthur flour, or 2 tablespoons flour or cornstarch (whichever thickener you prefer)
- 1 tablespoon fresh lemon juice
- 1 pinch kosher salt
- 1 egg and splash water optional
Instructions
Pie crust:
- Dice the butter and return it to the refrigerator while you prepare the flour mixture
- Place the flour, salt, and sugar in the bowl of a food processor fitted with a steel blade and pulse a few times to mix.
- Add the butter and shortening.
- Pulse 8 to 12 times, until the butter is the size of peas.
- With the machine running, pour the ice water down the feed tube and pulse the machine until the dough begins to form a ball.
- Dump out on a floured board and roll into a ball. Wrap in plastic wrap and refrigerate for 30 minutes.
- Cut the dough in half. Roll each piece on a well-floured board into a circle, rolling from the center to the edge, turning and flouring the dough to make sure it doesn’t stick to the board.
- Fold the dough in half, place in a pie pan, and unfold to fit the pan. Repeat with the top crust.
Berry filling:
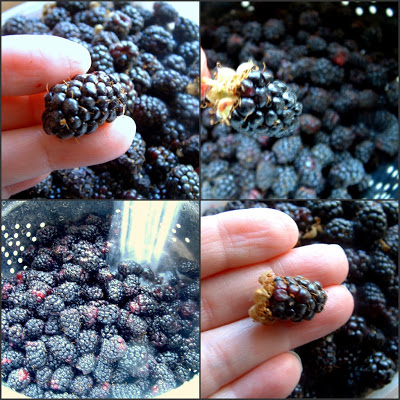
- Pick any stems and debris from the fresh berries. Rinse and drain.
- Note: frozen berries work fine, too.
- Combine Clearjel (or flour or cornstarch) to the sugar and whisk to combine. Add the lemon juice and allow to sit for a few minutes. Stir in the berries. Taste to check for tartness.
- Once you have the bottom layer of the pie crust in the pie pan, poke the bottom with a fork a few times. Add the berries mixture. If desired, you can add a few pats of butter.
- Cover with the top pie crust. Cut slits for steam to escape. Crimp to seal both pie crusts.
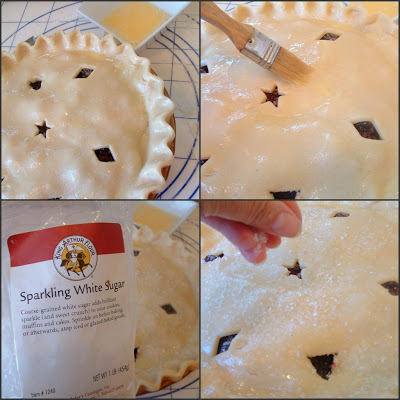
- Whisk egg and water and brush the egg wash over the pie crust, before baking, if desired. This gives a nice golden color to the pie. If you have coarse sugar, it’s a nice tough to sprinkle some on top, if desired.
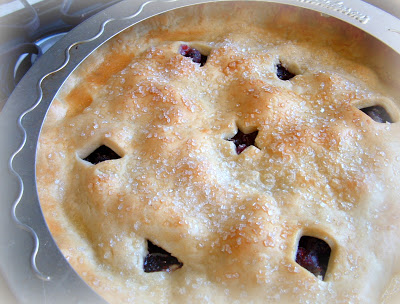
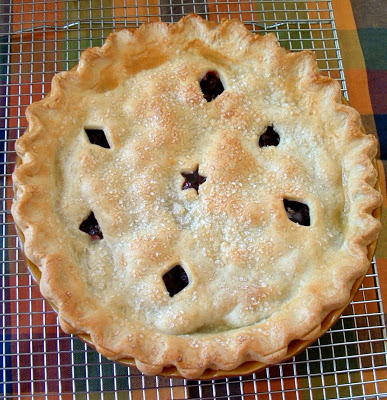
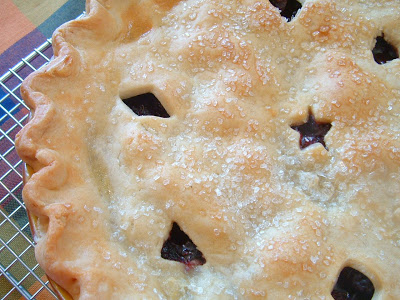
- On a baking sheet, place the pie into a 375°F oven and bake for about 50 minutes, or until golden.
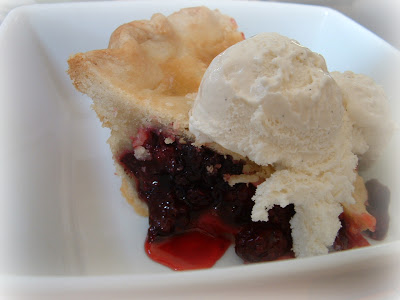
- Allow to cool for at least 6 hours. Serve with vanilla bean ice cream.
Notes


This looks so good I can't tell you how much I was drooling..very cute touch saving the note and adding it to the finished pie!! I guess I have to buy some clearjel..I use arrowroot powder for thickening and it works well with no thick aftertaste. Very nice pictures as always. Glad to see you are up and about!
Hi, Debby. I appreciate the very clear tutorial (and agree completely about Ina's books and pie crust recipe, which is one I use, too!).
I think we call olallieberries "tayberries" up here. They're great regardless of name….
Thanks,
Dan
YUMMY! I have never had or heard of olallieberries…I wonder if they are like mullberries??? They look like it.
I'm sure you did him proud- that is one fantastic looking cake! great job momma 🙂
Nothing like a subtle hint to get a pie baker up and running! What a gorgeous crust – you are an expert crimper! I'm going to look for that organic shortening.
ABsolutely perfect looking pie crust. I will try this recipe. I use tapioca with berry pies for thickening to keep the juices clear. Works like cornstarch, but I will be purchasing the thickener you mentioned as I am curious about it. Thanks.
I never heard of olliaberries but you're right they look like blackberries. Your pie is sheer perfection.
O'd have to say you have mastered the art of pie making:D
What a beauty. You do make fabulous looking desserts Debby! I just found out we have wild strawberries, also known as Alpine Strawberries, growing up near the edge of the house. Wierd since they weren't there last summer. Thanks for the beautiful inspirations.
Oh I love berry pie..any kind of berry pie! This looks wonderful..no wonder your husband left the subtle hint.LOL. I'm going to try the crust recipe..I always forget that I have a food processor and it's good for things other than just chopping up veggies.
That is one gorgeous pie!
Perfect pastry crust….so professional! I know what you have been doing on your vacation!
Wow, That is a good looking pie. "DROOL"
yummy yum yum! i have been craving homemade cherry pie and i will have to take this piecrust recipe for a test run.
This pie looks perfect!
Talk about fresh!!=)
Lotta trust happening! 🙂
You know you inspired me to get over my pie baking fears.
~ingrid
I love your clear easy to follow directions and great pictures,but I can't stand Ina Garten.I hope you aren't related!
I ADORE fruit pies…I've never heard of or had olallieberries before…but I'm sure I would love them. Your pie crust looks better than professional! This summer might just have to be my summer of pies. You've inspired me.
That is the most gorgeous pie I have ever seen, honestly. I am going to bookmark this and give it a try when I am feeling better
This just may be the most beautiful pie I have ever seen! Thank you for the wonderful tutorial! You have now inspired me to make pie =)
What a pretty pie! Wish I had a slice just about now!!!!
one more thing……I've never used unbleached flour, may I use it for everything? Will using this flour affect the taste,texture, or color in my recipes?
To answer your question, which I think was which "celebrity chefs" do you like, I would have to say Jacques Pepin is the most technically superior, Mario Batalli is the most inventive (for Italian food), Lydia Bastinach is very good and the rest I either don't watch enough or have dismal views of them. Oh, even though she's totally obnoxious and really isn't a chef, I think Martha Stewart has a great sense of food (or her staff does).
Thanks for the beautiful pie post Debby. My grandmother loved Olalliberry Pie (she lived in Long Beach). Her favorite pie to get when we went out. 🙂 Brings back some good memories.
I am going out tomorrow to pick some strawberries. Do you think I could substitute strawberries? I would love to just use your recipe, but use strawberries instead. Hope it works!?
That looks amazing. You are so cute 🙂
that is one incredible pie!! your crust looks phenomenal!
thanks for sharing
Dennis
That is one stunning pie! Simply beautiful!
This recipe seems perfect and so delicious. I love Ina Garten and her way of cooking. I don't miss one of her TV shows.
My condolences for the lost of your beloved horse. It must be very painful and sad!!
Love Lia.
Good job on a very good looking pie! Your pie crust method & ingredients look very similar to what I do…with a food processor & a mix of cold buttah & organic shortening. It works! (And I bake the extra bits of pie crust, sprinkled with cinnamon & sugar for a snack.) The olallieberries look similar to our marionberries.
What a gorgeous pie. It really looks amazing and I'm sure, because it comes from your kitchen, that it is tastes every bit as good as it looks.
I hope you enjoy your vacation. Have a great day. Blessings…Mary
What a wonderful step by step photo tour of this pie. I've never herad of this berry variety, bad girl – me! I have to try this crust since I've always used my mother's fool-proof crust recipe, but your's looks perfect! Just checking in to see how you are doing as well.
Roz
Wonderful post! Thanks for all the time you took to give the great instruction. Your pie is absolutely gorgeous and looks and sounds amazing:) Your husband is a lucky guy. I am a huge, huge pie fan. I do not think there is a pie I don't like…hmm..okay maybe mincemeat..lol.
I only use King Arthur flour when making pasta too. I was told by an aunt that it is the only one to use.
Thank you so much for this step by step on pie crusts.
Beautifully exicuted pie! You make it sound and look so very easy. You're an excellent teacher. Thanks!
You can invite me over for pie any time! The pie crust looks perfect.I use this recipe for pie crust as well. Great job.
So excited to find your blog! Picked fresh olallieberries yesterday and wanted to try my hand at a pie. I'll post some pics on my blog this week sometime! I'll be back!!!!
I really must try this recipe fro pie crust Debby. I have had very little success in the past.
I am not a baker. Hell, I'm barely a cooker- but I decided
For my first-ever pie to try this recipe. I couldn't find ollalieberries (yet) so I used blue, black and raspberries. Holy. Crap. Actually one of the best pies I've ever had (and so agree my friends, and my bosses!) These were amazing instructions (again, not a baker, so I tend to get lost in a lot of reciepies). Very clear, very thoroughly explained. Thank you so much for posting this, I think I just found my new hobby.
Dear Darian:
That's one of the nicest comments I've read in a very long time. I'm so glad that the tutorial helped!
Debby