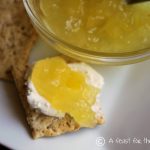
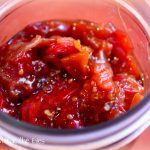
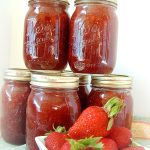
Homemade berry jam is both fun to make, more delicious and economical than commercially made jam. Our favorite olallieberries are indigenous to the Pacific Northwest. Genetically, the olallieberry is a hybrid of the blackberry, the dewberry, and the raspberry. They taste a little tart, a little sweet– almost like a blackberry. We grow these in our own California backyard, and they are delicious as pie as well! If you can’t find Olallieberries where you live, blackberries are a great substitute.
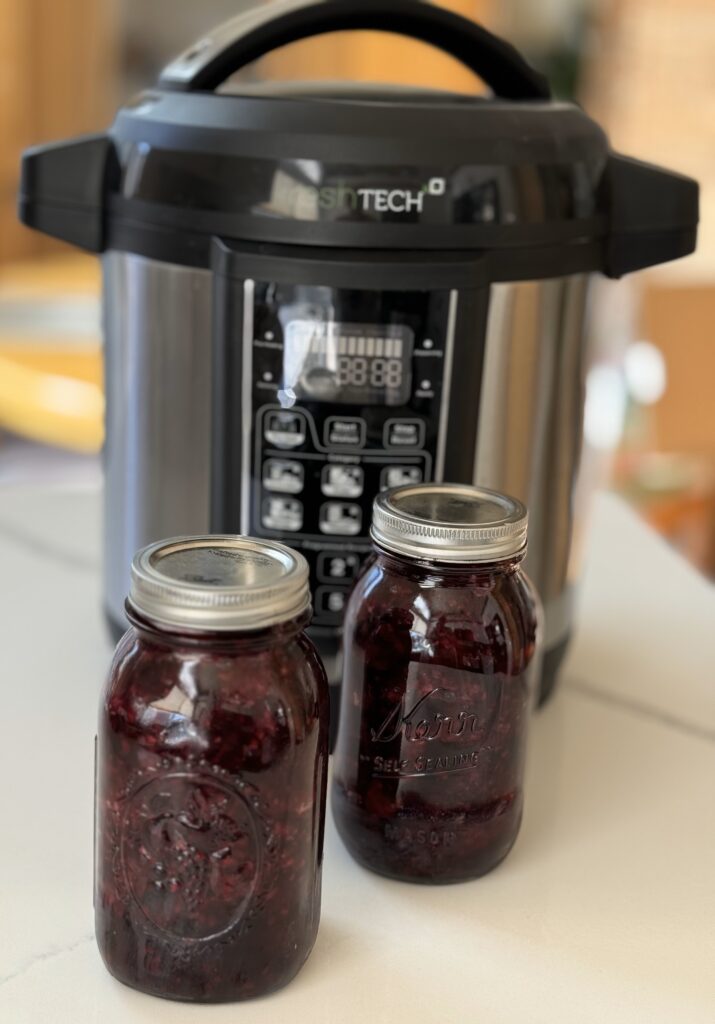
This post has been updated with newer photos. The FreshTech Canner, that is shown in the above picture has been (sadly) discontinued. There is an updated water canner, by Ball Canning, that I have not personally used. If my FreshTech water canner every breaks, I will buy it, after I quit crying!
We live on the Central Coast of the Monterey Bay (Paradise, to us.) On occasion, we have visited Cambria, where Linn’s Restaurant and Farm Stand are known for their Olallieberries. We bought an Olallieberry plant in early 2000. My husband planted it, and the brambles have really grown! Every May/June, we have a bountiful harvest of these berries. Jam and Pies are always on our list.
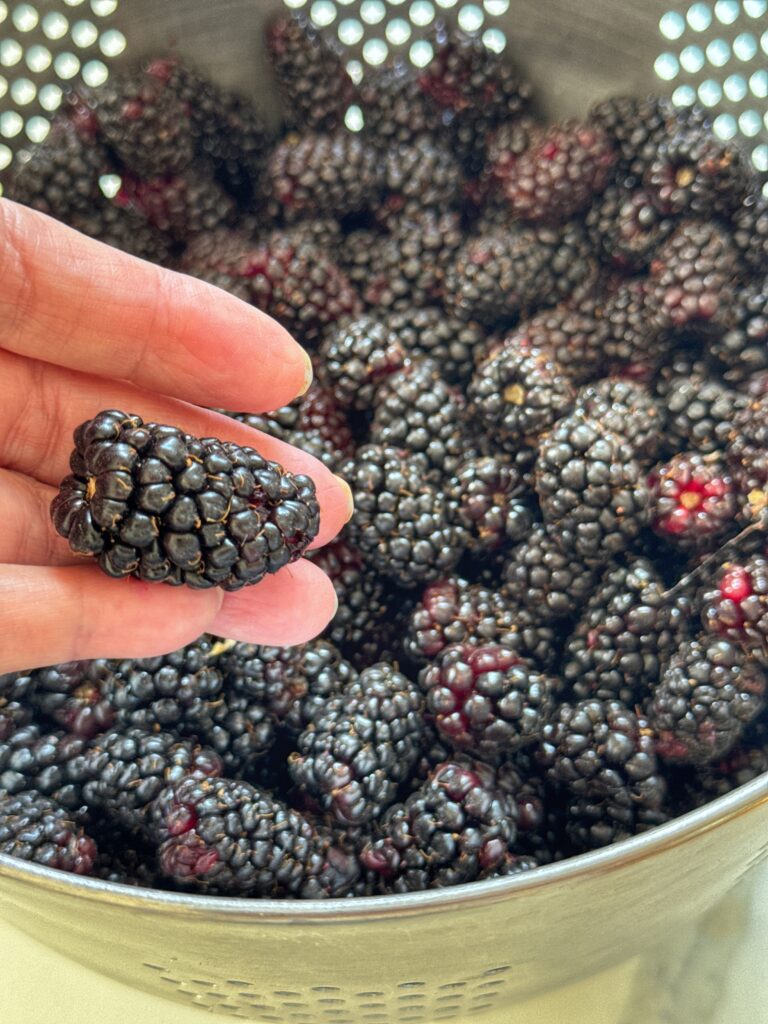
Canning isn’t difficult. You just need a few pieces of equipment: A large pot with lid, a canning rack, large tongs and canning jars. Nowadays, I prefer to use an electric water canner. Why? I don’t need a huge and heavy pot of water that’s hard to lift and then empty. Small batch canning is my preferred method, now that we are empty nesters.
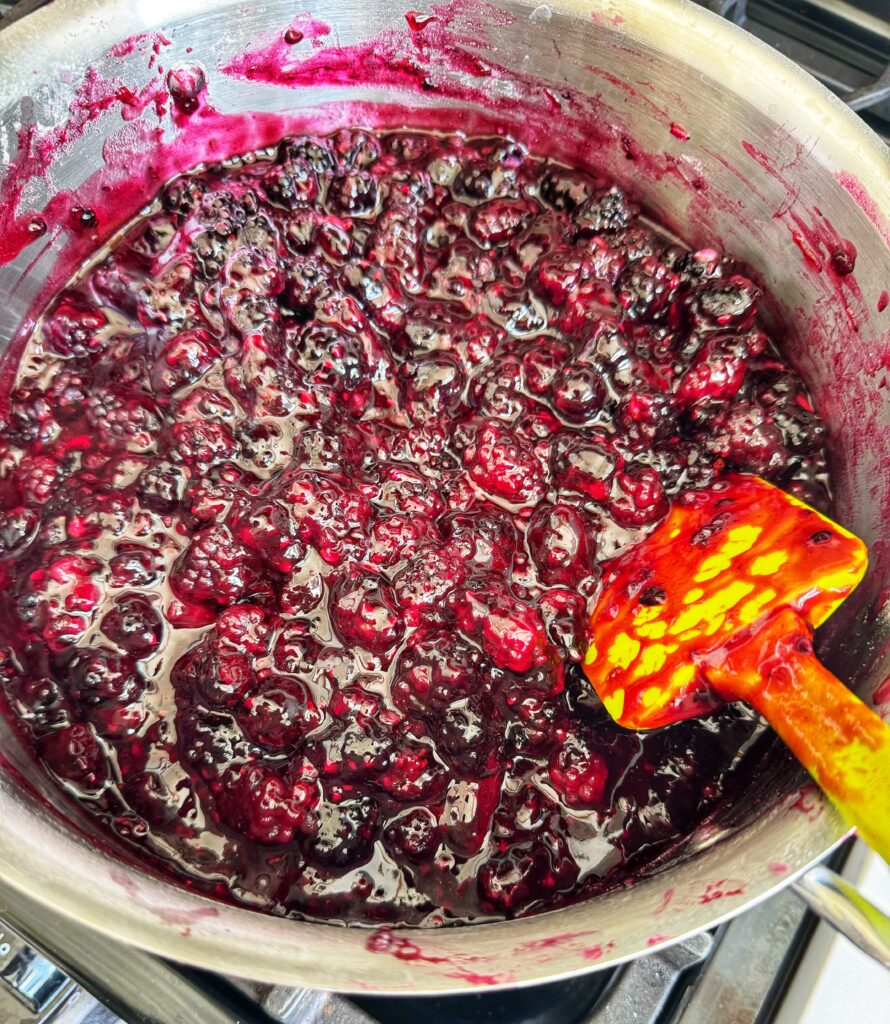
Once the sweetened berries are cooked, test the jam to make sure it’s ready to be canned.
 I like to place a small plate and spoon in the freezer. That way I can add a small amount of jam onto the plate. If it “divides” easily, the berries reached the gel stage I wanted.
 Return the filled jars to the pot and cook for 15 minutes. Carefully remove the jars (this is where tongs are necessary), and set them on a cloth. You’ll want to listen for the “pop” of each jar. The jars are now ready for storage.
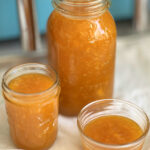
NOTE: Now that I’ve switched to an electric water canner, I am not using as much gas as I once did, on the stove. The point is, I know I made this myself. I have plenty more recipes where I’ve created some of my own flavors, that I can’t readily fine at the grocery store– such as my favorite Apricot-Pineapple Jam.
Olallieberry Jam (or any kind of berry jam)
Instructions
- I use the water canning method. You need a large pot with a lid, a canning rack, wide mouth funnel, fresh and clean towels and a baking sheet.
- Bring a pot of water to boil, and sterilize the jars (I use half-pint jars) for a few minutes (Likewise, I know people use the dishwasher to sanitize the jars. Set the sanitized jars on a large baking sheet, covered with a clean towel.
- In a separate pot, boil the lids and rims.
- In a large pot (I use a non-stick), bring the crushed berries, sugar, pectin and lemon juice to a boil; add the butter.
- Allow to come a rolling boil for about 10 minutes; until the mixture appears gelatinous. TIP: I freeze one small plate and a couple of spoons. When the jam coats the back of the spoon, it’s ready. I double-check by adding a little jam to the frozen plate, then run my finger down the middle. If it stays apart, it’s ready.
- Using a wide funnel, carefully ladle the jam into the sanitized jars, leaving about 1/4″ of headspace (basically the space from the rim to the jam).
- Seal and tight on a rim– use care, as these are very hot! I wear an oven mitt and turn with a terry towel.
- To water can, bring the pot of water back to a boil, and using tongs (I use special canning tongs) drop onto the rack and lower. Once the water comes to a full boil, set the timer for 15 minutes.
- Carefully remove, with tongs. You should hear the sweet “ping” of the lids sealing each jar. Some folks say to put the jars upside down. I don’t. You decide. Test to see that you have a good seal– press on the lid. If there is no resistance, you have the vacuum seal you want. If it “gives”, you either eat this within 2 weeks (and refrigerate it right away) or you can repeat the water bath for 15 minutes.
- Store in a cool dry place; my jam can keep, easily for over a year. But, it’s usually gone by then!
Notes




MMMM I love puff pastry! And that jam looks delectable 🙂
That is sweet, I am often the same way, paralyzed for the same reasons. I make Jam every year, but for some reason this year I am not inspired.
Congratulations on overcoming puff pastry AND for canning!! I agree, it may not be cheaper than buying the store bought jam/jellies, but YOU know what goes in them and have learned a valuable skill!
Good for you! I am so afraid to do canning at home – it's inspiring to hear that you had a good experience. I'm just afraid that I won't get the jar sterile enough and someone will get sick (worst nightmare for a cook!). I did hear that Ina just runs her jars in an empty dishwasher to sterilize them, which seems simple (maybe too simple…). But both the turnovers and jam look wonderful! Bravo!
Congratulations on tackling your fears. There is nothing more satisying then homemade jam made with your own hands. You're right though, I doubt very much it's cheaper than store bought unless you grow your own fruit. Your pastries look divine too!
I've worked with puff pastry before, but i've never made turnovers- they look incredibly flaky and delicious!
I've never made jam either. I bought all the stuff to do it last summer, but I ended up eating all the strawberries 🙂 I guess it's cheaper is you grow the fruit and have a surplus of it and you recycle jars…
It must be the German in us…I tend to over-think things, also. For me, anything that has the word "yeast" means it goes on the list that is at least five years in length…
Good for you in overcoming the phobia!! 🙂