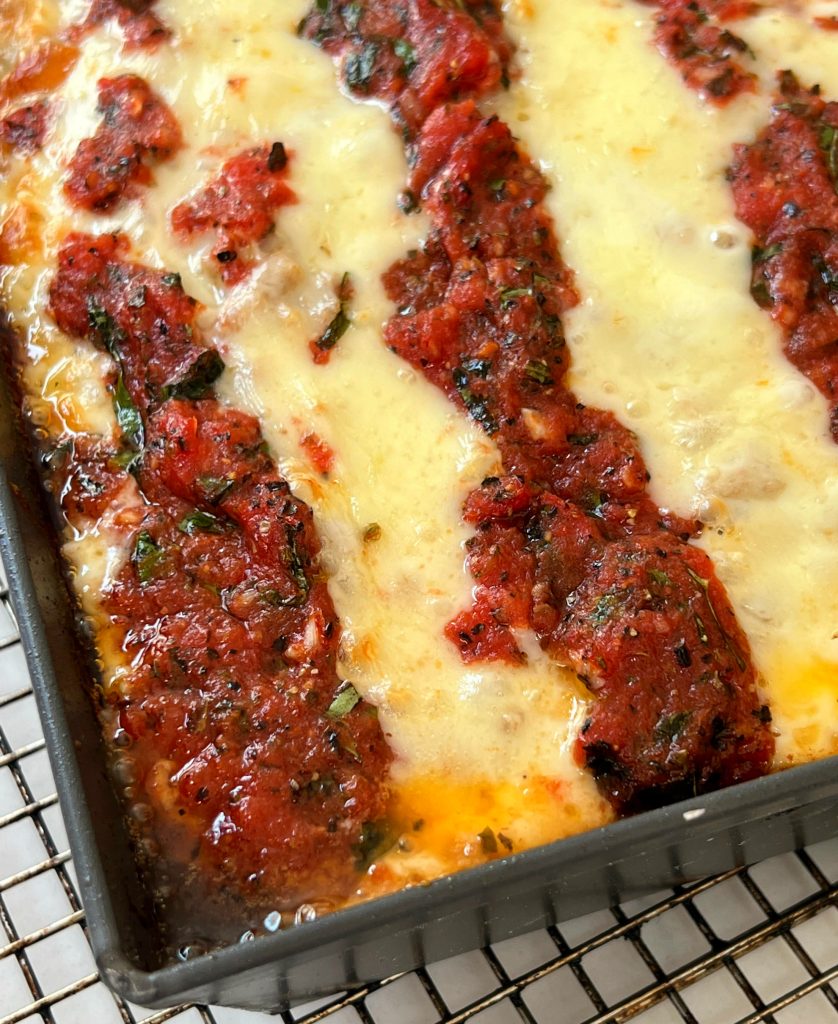
This homemade Detroit-Style Pizza was a new-to-me recipe that was fun to make. It’s unique in that the crust is thick and tender (almost like Focaccia). The cheese is Topsy turvy as the easy homemade pizza sauce goes on top! The crispy edges of the pizza are so good! You can leave this meatless, or add Pepperoni or sausage to jazz it up to your liking.
I love making homemade pizza. Pizza dough isn’t terribly difficult to make, I promise. Detroit-Style Pizza was as new to me as was making Chicago-Style Deep Dish Pizza. Considering I’ve never visited either place, I believe all the great reviews on how fabulous both pizzas are.
There’s an interesting history as to the origin of Detroit-Style Pizza.
The Detroit-Style Pizza legacy began at Buddy’s Rendezvous Pizzeria on Six Mile and Conant street on Detroit’s east side when in 1946 Gus Guerra and Concetta “Connie” Piccinato made their first square-shaped pizza. Baked in forged-steel pans borrowed from local automotive plants, they were able to produce a very light and crispy crust which is now known as Detroit-Style Pizza. This was the first known square pizza in the U.S. and now, more than 75 years later, the pizza style has become a national favorite.
Buddy’s Rendezvous Pizzeria website
One of my favorite recipe sources, “Cooks Country” (Paid Subscription) recreated this famous pizza so we could make ours at home. I watched their video, read rave reviews, so I decided to see what all the hullabaloo was about.
To make this pizza dough, you need a stand mixer with a dough hook. Sure, you can mix this by hand with some elbow grease, but I’ve come to depend on my stand mixer– and it’s used a lot!
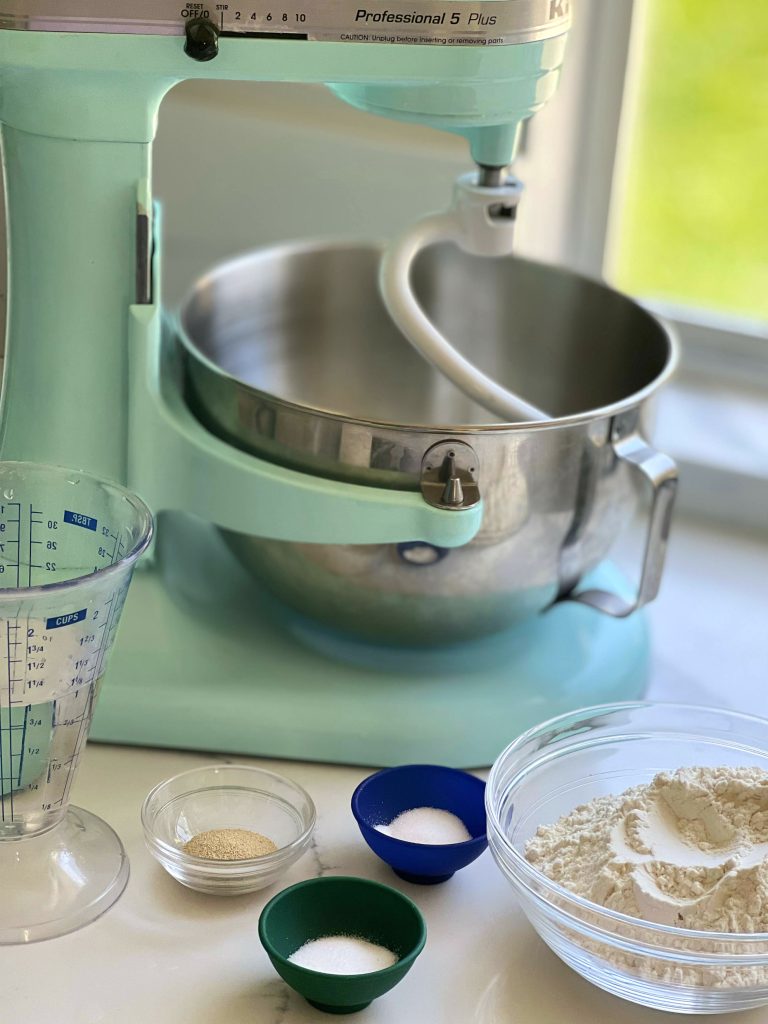
The ingredients are simple: all-purpose flour, salt, sugar, instant yeast (or rapid rise) yeast and room temperature water.
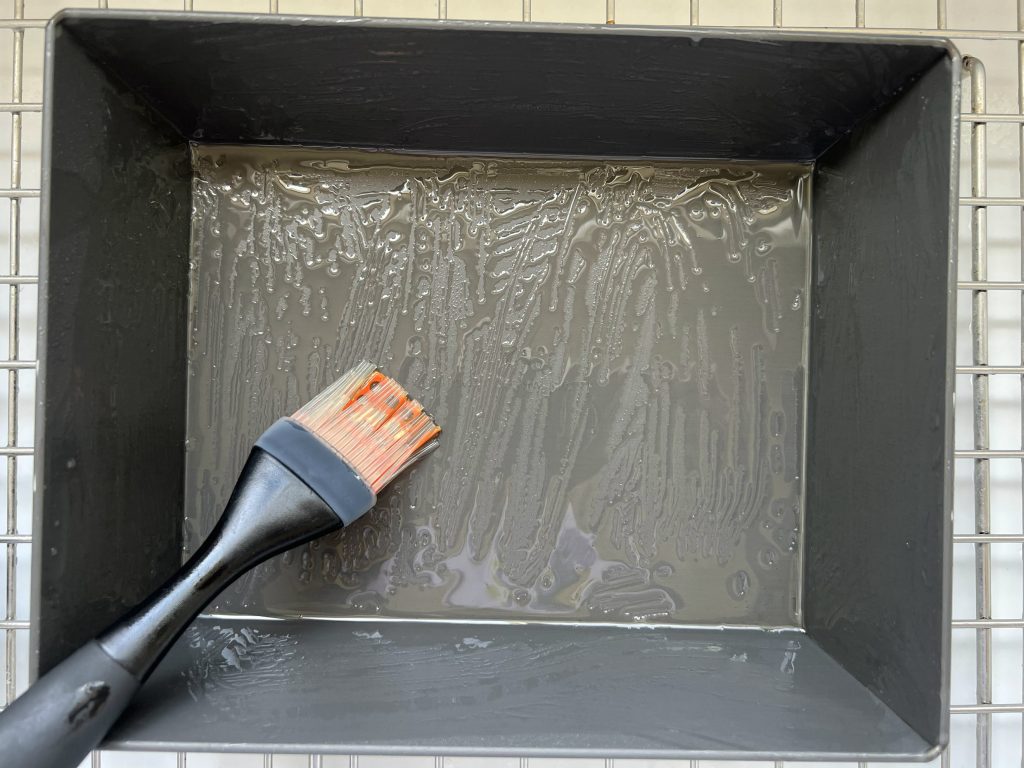
Let’s talk about the pan that you need. Cook’s Country developed this recipe using a 13X9 non-stick pan. I decided to invest in the Detroit-Style Pizza Pan, figuring I’d find more uses for it. I decided to buy the Lloyd’s 8×10″ pan, since that would be a perfect fit. Generously grease the pan with oil, including the corners and edges (my pizza stuck a little bit, because I didn’t cover the top areas of the pan).
For the dough: I used to be impatient when making dough in my mixer, because I would worry that the dough wasn’t coming together fast enough. I’d add more water, and more water– and then it’d be a disaster! Now, I know to be patient, and allow the mixer to do its job. The dough came together, well, without needing additional water.
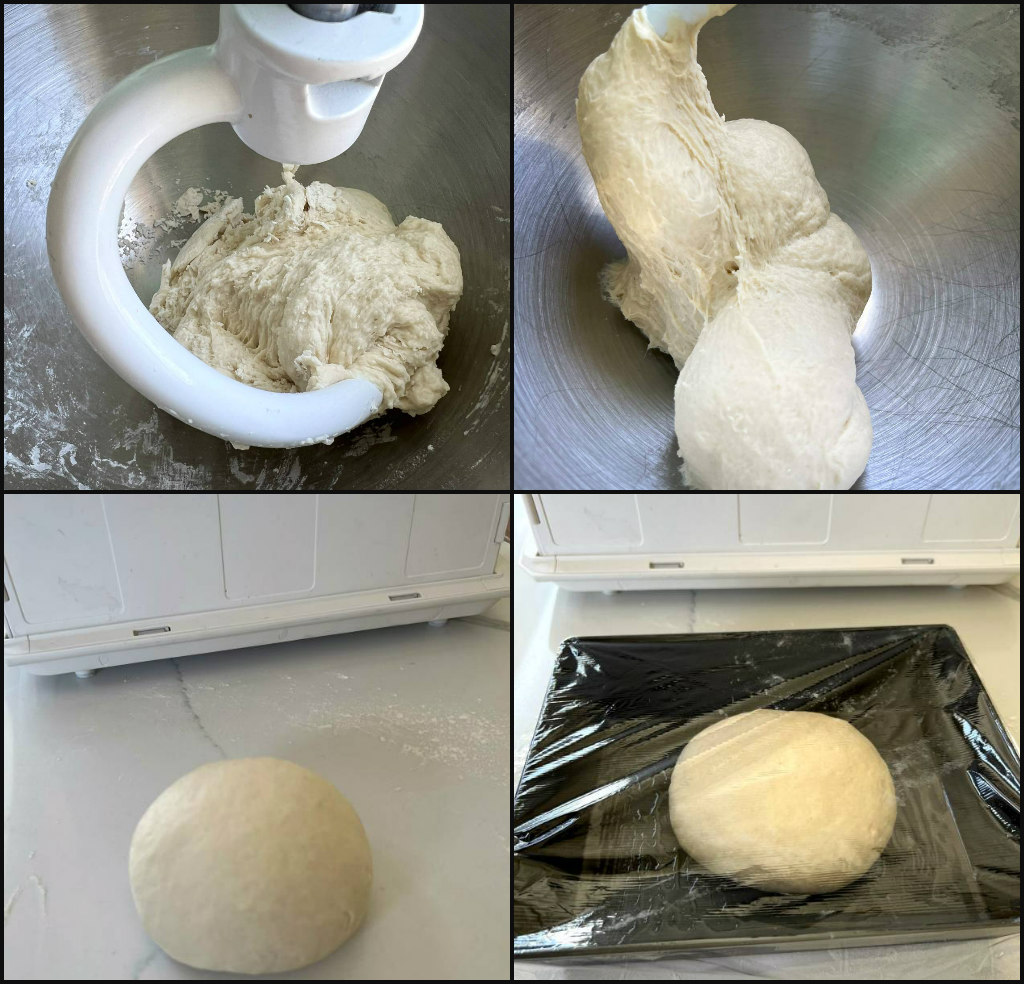
Once the dough is finished knead until smooth on a lightly floured surface. Place the dough in the pan, and cover with plastic. (In the background you see my Dough Proofing Box— my gift to me, since bread baking is a passion of mine.) While the dough rests, I made the no-cook pizza sauce.
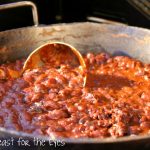
It starts with crushed tomatoes. I had 28-ounce of crushed tomatoes, but I only needed 1 cup. I grabbed a small can of whole tomatoes, drained them and crushed them with my immersion blender. Done!

The sauce can be made a day ahead of time, but takes only minutes to prepare.
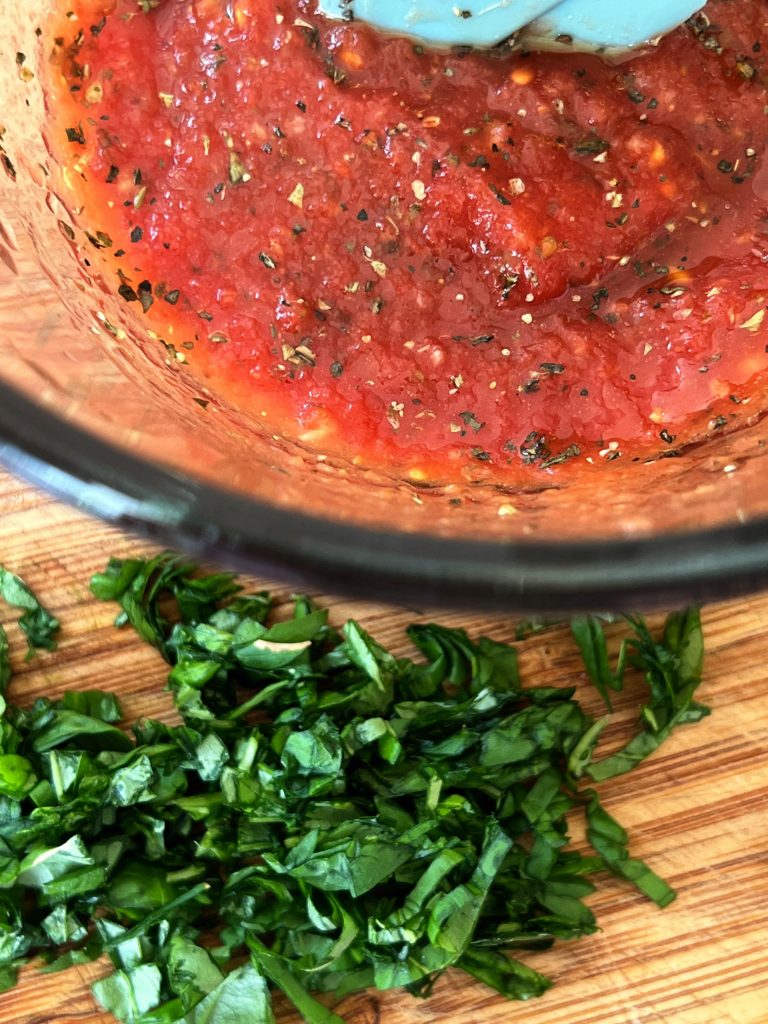
Garlic, dried herbs, sugar, salt and pepper and fresh basil is added to the crushed tomatoes. Done!
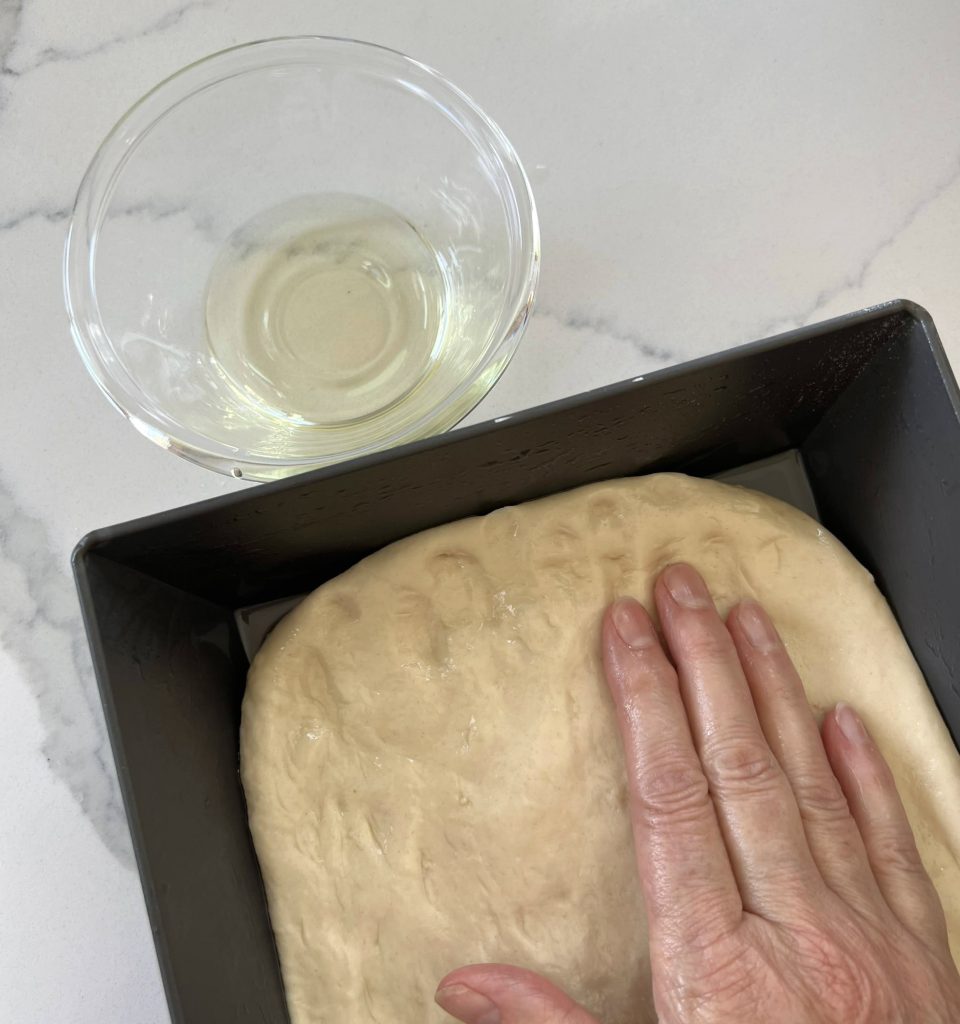
Back to the dough– With a well oiled hand, press the dough into the pan, getting it all into the corners. Cover the dough again and proof for 2-3 hours.
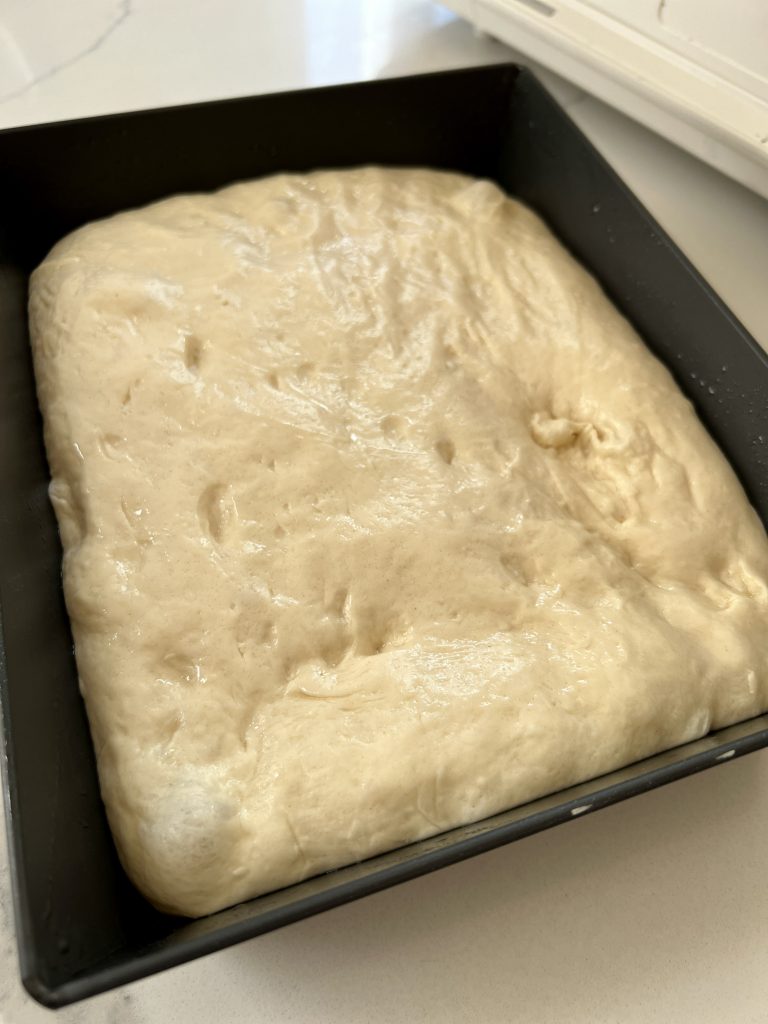
The dough is puffy and bubbly, so the oven has been preheated, on the lowest rack, to 500F.
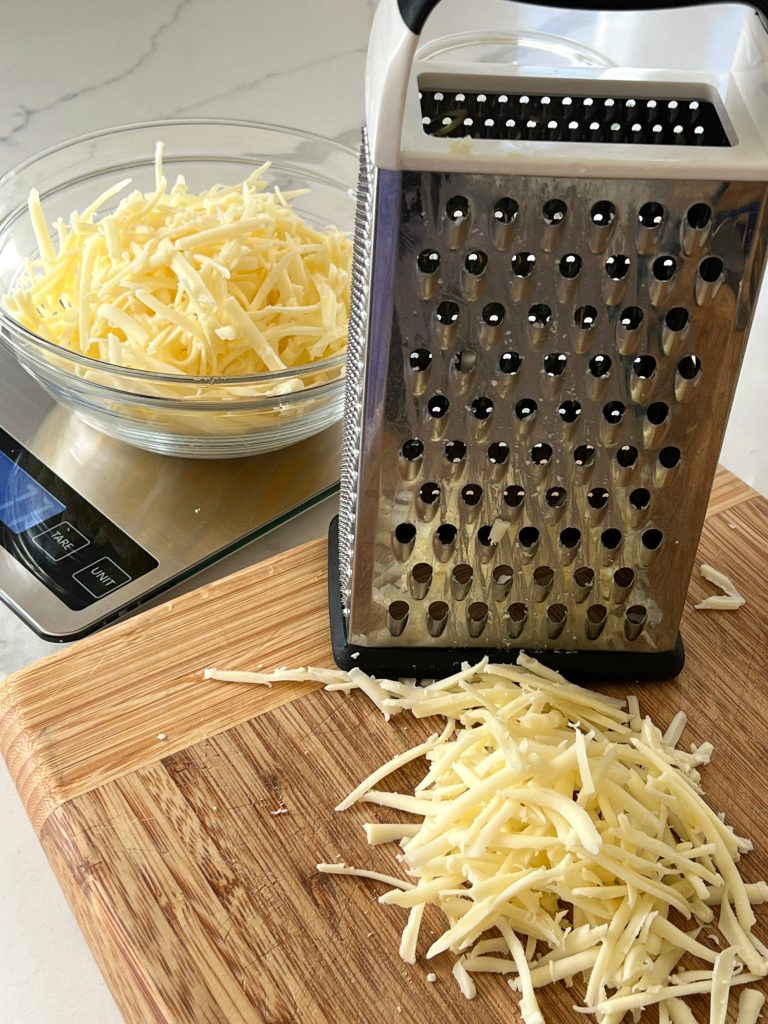
Since I don’t have the traditional Brick Cheese, I’m using Monterey Jack cheese as a substitute. This is where Detroit-Style Pizza is very different. The cheese goes on BEFORE you add the sauce. I decided to add cooked Turkey sausage to the pizza. Don’t make my mistake! I added the cheese and realized that I should’ve added the meat UNDERNEATH the cheese. D’oh!
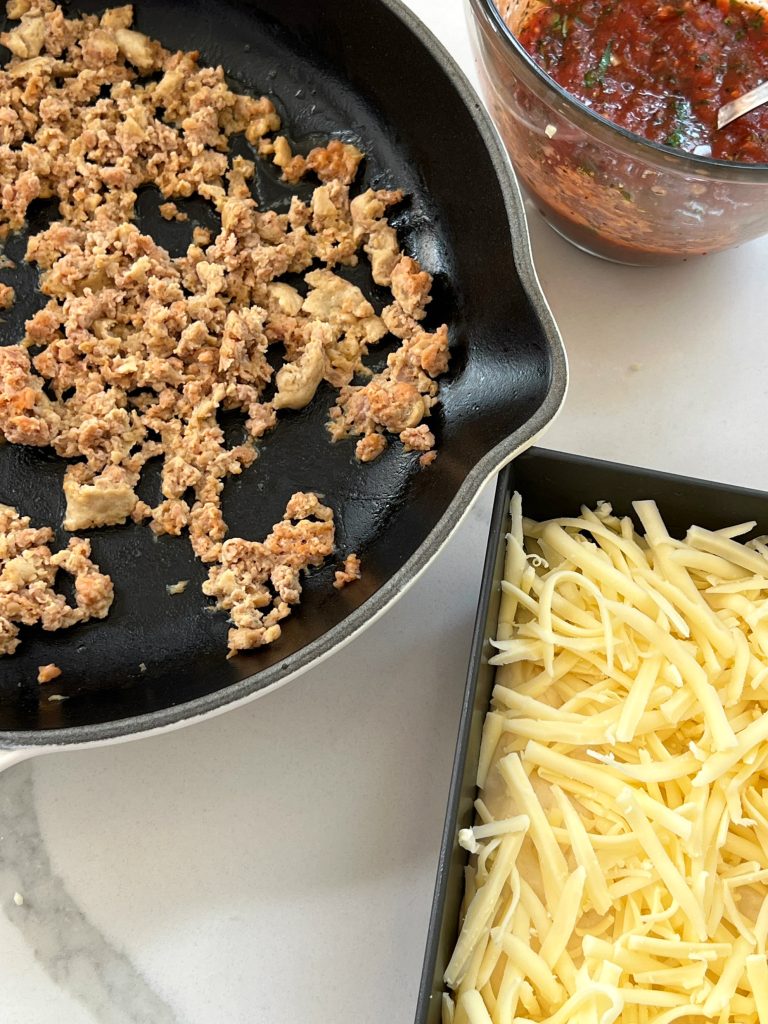
I removed the cheese, added the cooked sausage, replaced the cheese and then spooned on the classic stripes of pizza sauce. Of course, you can also add pepperoni– or simply keep this as a plain cheese pizza.
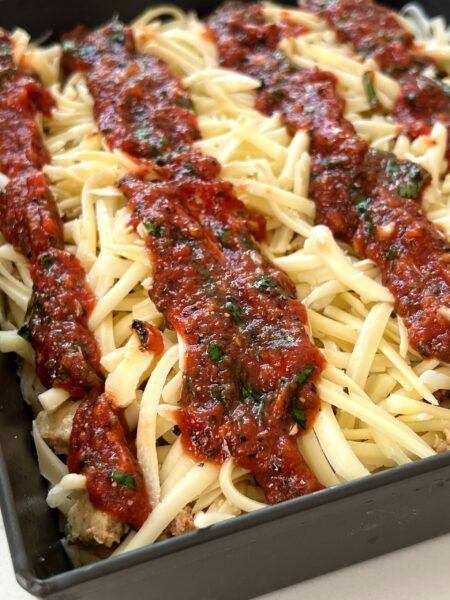
Preheat the oven to 500F. Slide the pizza pan onto the lowest rack. Set a timer for 15 minutes. Mmmm, the aroma of pizza is intoxicating.
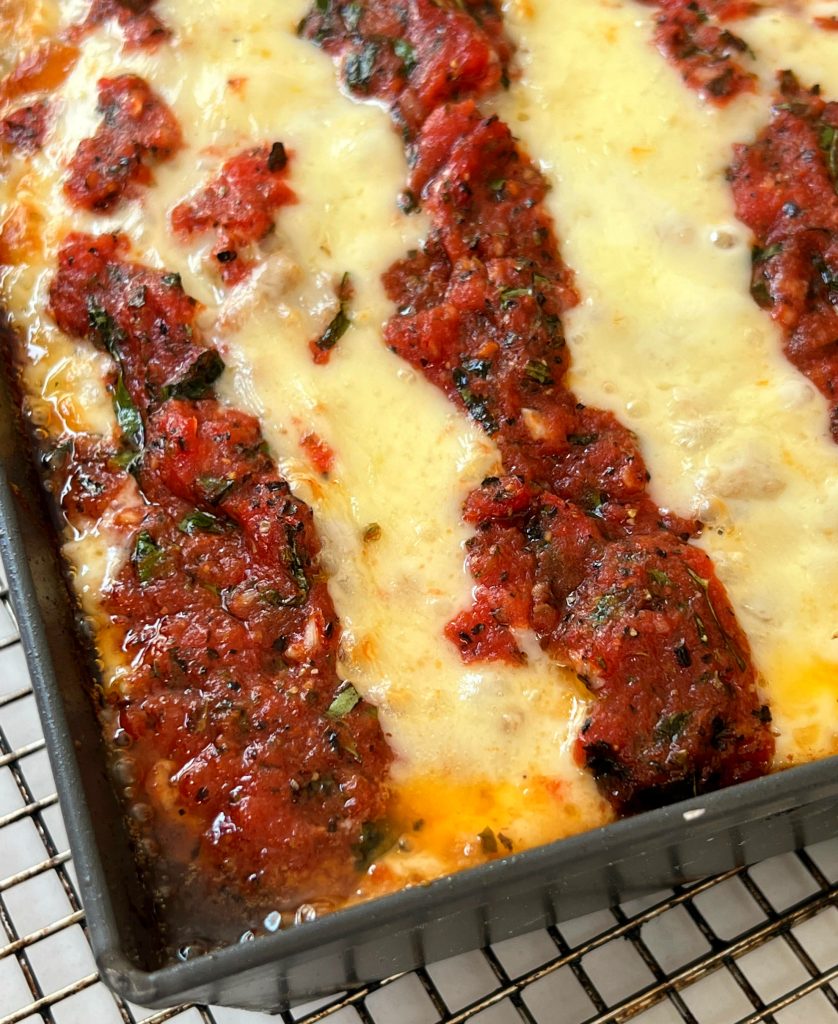
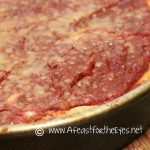
The pizza was sizzling hot, with bubbling oil around the edges. Look at all that cheese! The pizza has to sit, on a wire rack, for 5 minutes.
Time to eat! I had a little bit of trouble removing the pizza, and it’s my fault. I didn’t think the pizza would rise as much as it did– so I didn’t take extra care to generously oil the pan thoroughly. I took a knife and really worked it around the pizza so I could slip it onto a cutting board, with a large spatula. Finally, the pizza released from the pan.
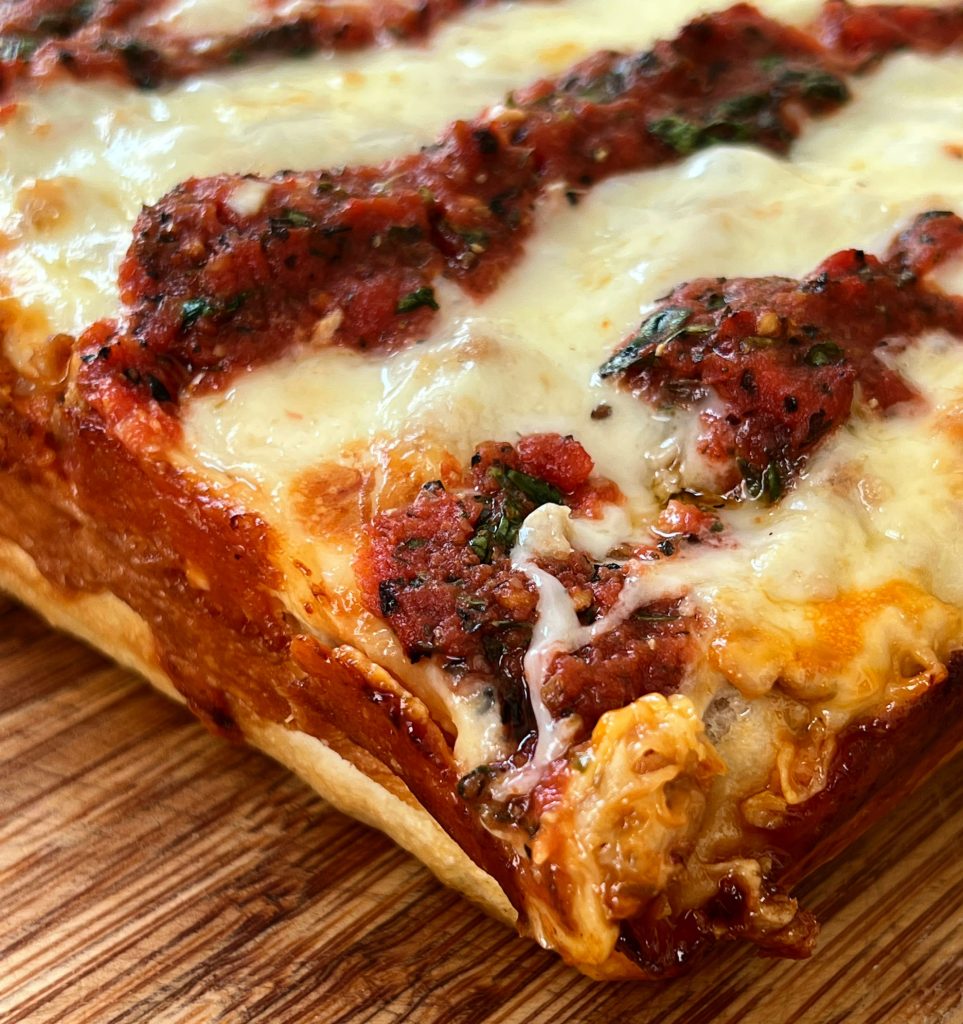
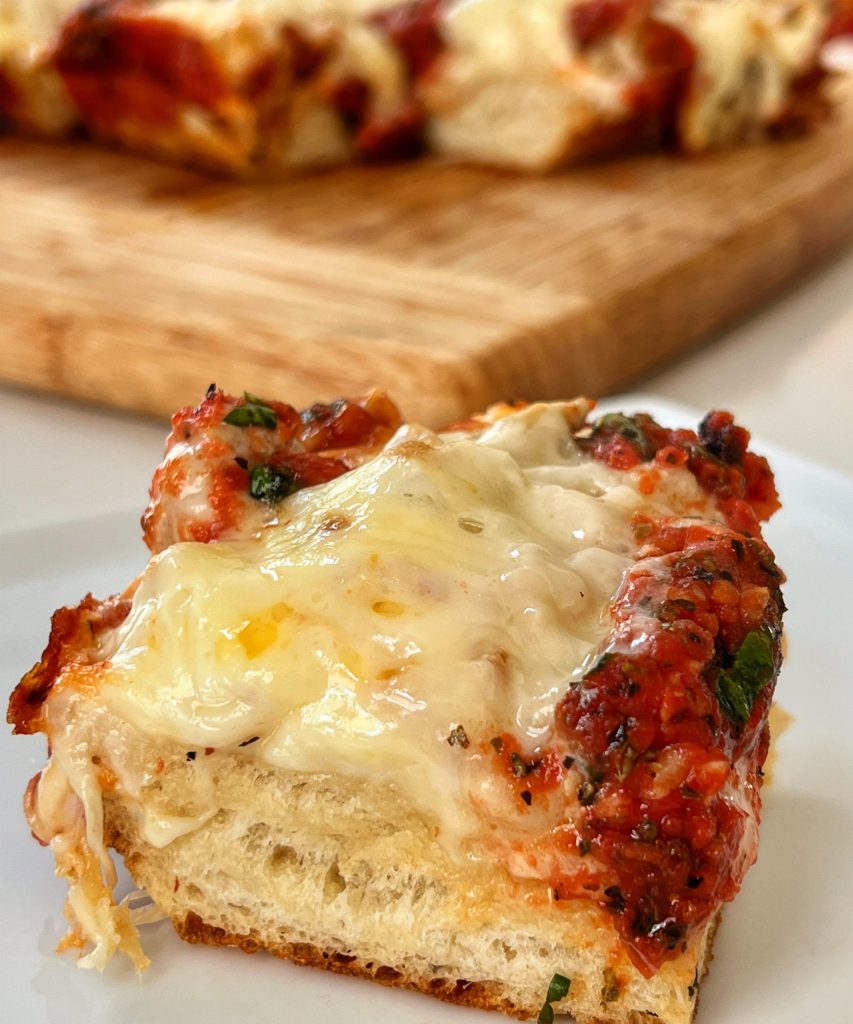
There it is, in all its glory! Can you see those crispy edges? I’m really excited to try this pizza.
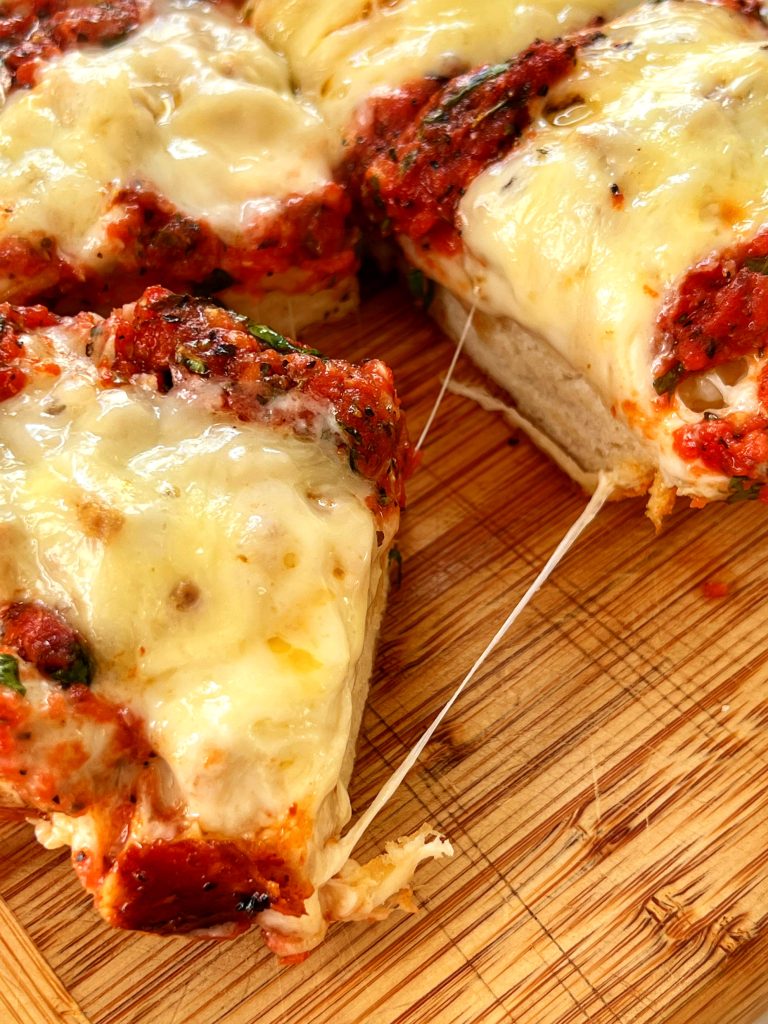
Hello, Cheese Lovers!
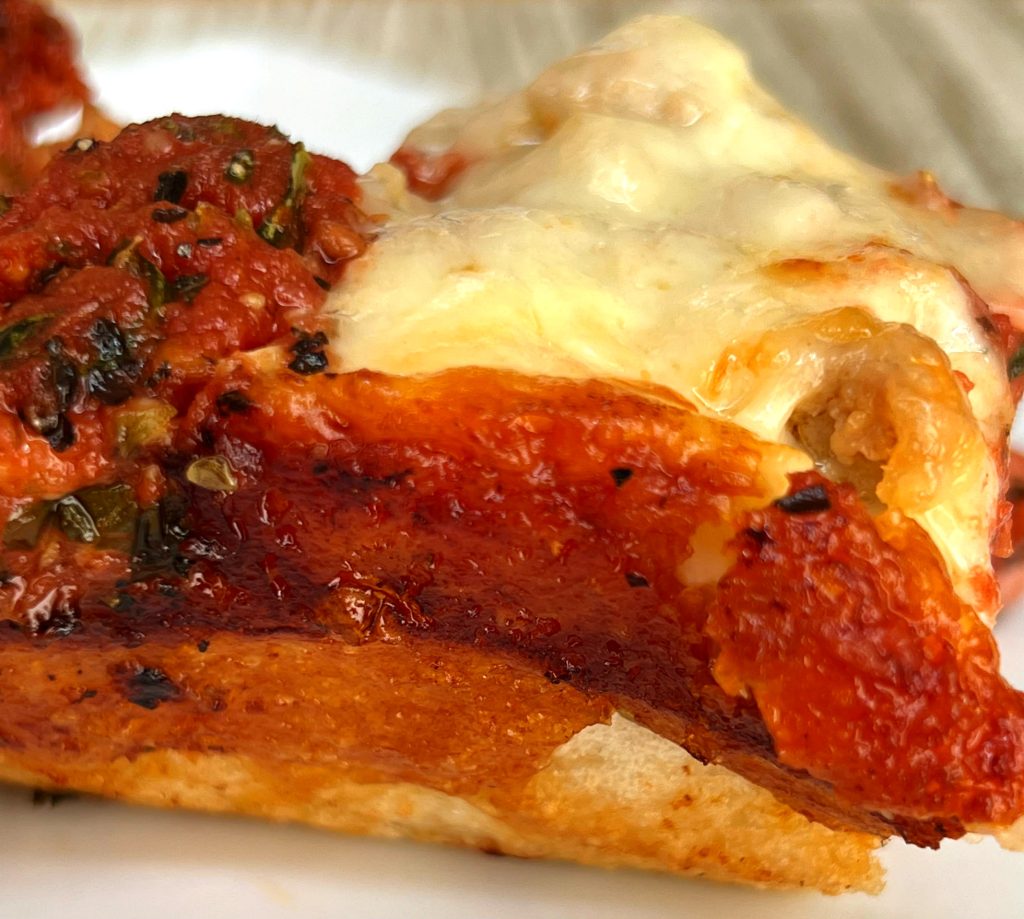
TASTING NOTES: I couldn’t resist spinning my plate around to admire the crusty, crispy edges. I took a bite, chewed and smiled. The texture of of the pizza crust is very different from traditional chewy pizza crusts. It truly reminds me of focaccia bread– soft and tender. The tomato sauce isn’t overpowering, but has just the right amount of tang. While I liked the sausage that I added, I think I’d really like this pizza as just a plain cheese pizza. I love the buttery flavor of Monterey Jack Cheese, and this pizza showcases it well. We did have leftovers, and I found that I could reheat it in my Air Fryer. So, all the rave reviews about this recipe are well deserved. I’ll definitely make this again…and again!
Detroit-Style Pizza
Equipment
- Detroit Style Pizza Pan More authentic Pan for traditional Detroit Style Pizza
- Dough Proofing Box My most used Kitchen accessory for yeast dough
Ingredients
For the Pizza:
- 1 tablespoon extra-virgin olive oil
- 2 ¼ cups all-purpose flour 11 1/4 ounces
- 1 ½ teaspoons instant yeast or rapid-rise yeast
- 1 ½ teaspoons sugar
- 1 cup water room temperature
- ¾ teaspoon salt
- 10 ounces Monterey Jack cheese shredded (2 1/2 cups) (see notes)
For the Sauce:
- 1 cup canned crushed tomatoes see notes
- 1 tablespoon extra-virgin olive oil
- 1 tablespoon chopped fresh basil
- 1 clove garlic minced
- 1 teaspoon dried oregano
- 1 teaspoon dried basil
- ½ teaspoon sugar
- ½ teaspoon pepper
- ¼ teaspoon salt
Instructions
FOR THE PIZZA:
- Spray 13 by 9-inch nonstick baking pan with vegetable oil spray, then brush bottom and sides of pan with oil. Using a stand mixer fitted with dough hook, mix flour, yeast, and sugar on low speed until combined, about 10 seconds. With mixer running, slowly add room-temperature water and mix until dough forms and no dry flour remains, about 2 minutes, scraping down bowl as needed. Cover with plastic wrap and let stand for 10 minutes.
- Add salt to bowl and knead on medium speed until dough forms satiny, sticky ball that clears sides of bowl, 6 to 8 minutes. Turn dough onto lightly floured counter and knead until smooth, about 1 minute.
- Transfer dough to prepared pan, cover with plastic, and let rest for 15 minutes. Using your well-oiled hands, press dough into corners of pan. (If dough resists stretching, let it rest for another 10 minutes before trying again to stretch.) Cover with plastic and let dough rise at room temperature until nearly tripled in volume and large bubbles form, 2 to 3 hours. Adjust oven rack to lowest position and heat oven to 500 degrees.
FOR THE SAUCE:
- Combine all ingredients in bowl. (Sauce can be refrigerated for up to 24 hours.)
- Sprinkle Monterey Jack cheese evenly over dough to edges of pan. Spoon three 1-inch-wide strips of sauce, using 1/3 cup sauce for each, over cheese evenly down length of pan.
- NOTE: If you'd like, you can add pepperoni on top of the cheese and sauce or add cooked sausage by pressing it into the dough before adding the cheese.
- Bake until cheese is bubbly and browned, about 15 minutes. Let pizza cool in pan on wire rack for 5 minutes. Run knife around edge of pan to loosen pizza. Using spatula, slide pizza onto cutting board. Cut into 8 pieces and serve.
Notes
Nutrition






Where does the Olive oil come into play for for the dough?
I’m puzzled with your question. Did I forget to include instructions? Nope, the instructions are there! It’s common to JUMP to recipe, and skip my step-by-step photos. There, I show how the oil is used to coat the pan, as well as coating my hands before adding the dough into the well-oiled pan! I hope this clears up your confusion. In addition, I have posted my email, and I would’ve answered much quicker if you had emailed me foodiewife@gmail.com. Sorry, but I was traveling, so I just now spotted your comment/question.